

|
| Matt_jew |
|
||
|
Nah mine was nothing to do with the cabin lights. Mine just locks as soon as the ignition turns on.
_________________ {USERNAME} wrote: More people paid for a ride in a VT commodore then an AU Falcon so the VT is superior.
Based on that fact my Mum is the best around! |
||
| Top | |
||
| snap0964 |
|
|||
|
Sounds like a job for remote start.
_________________ 96 XH Longreach 'S': LPG, Alarm, 3.23:1 LSD, Cruise, Trip Comp, ABS, Power Windows, Mid Series Dome Lt, Climate Ctrl |
|||
| Top | |
|||
| BenJ |
|
||
|
A couple of weeks ago, I joined with some members from OzeCruisers AFF group, and was lucky enough to have 'wulos' do a photo shoot of the Wagon.
Some pics from the day. 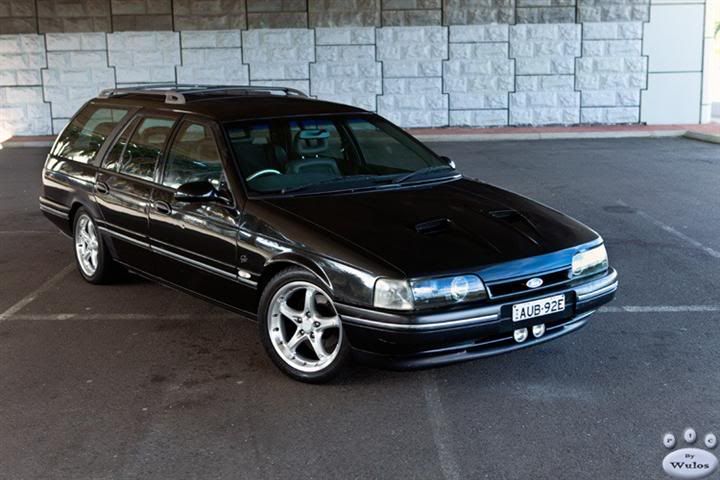 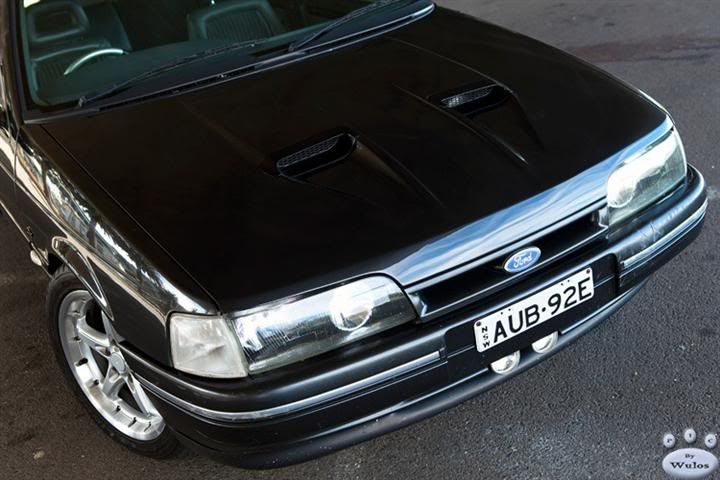 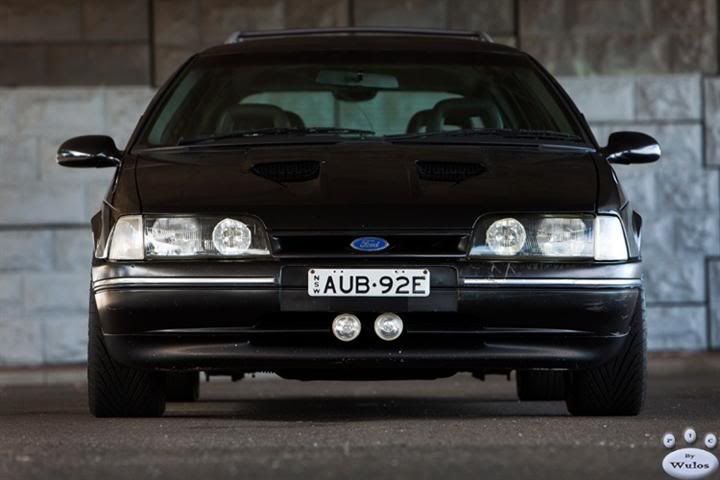 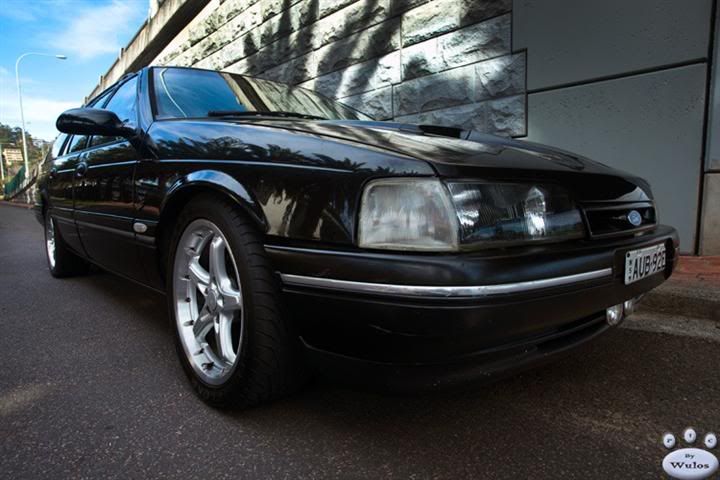 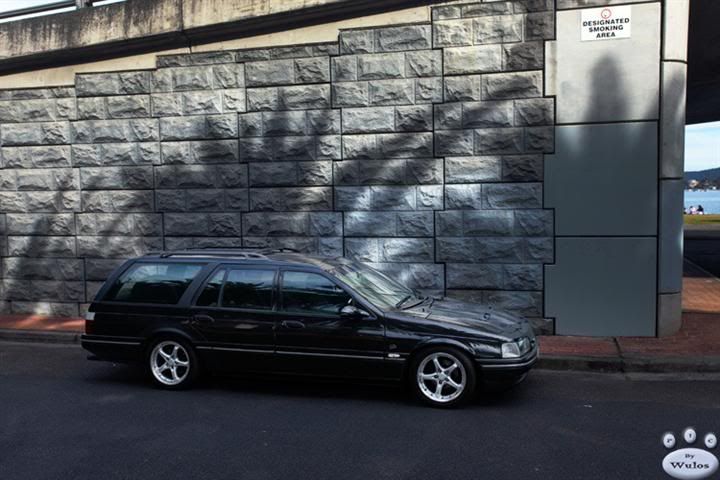 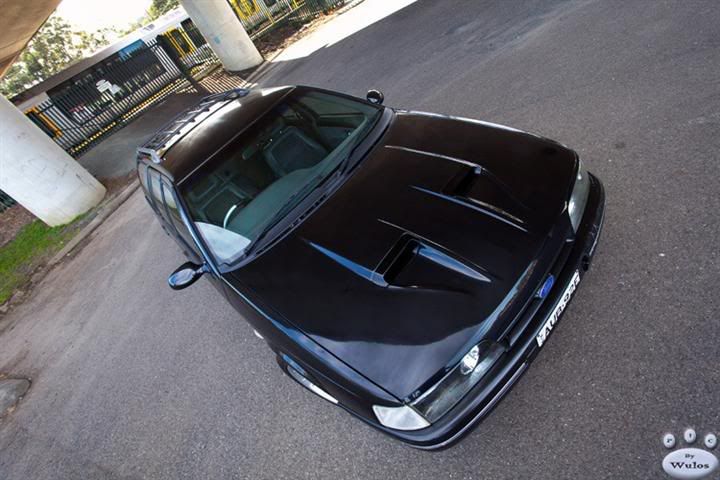 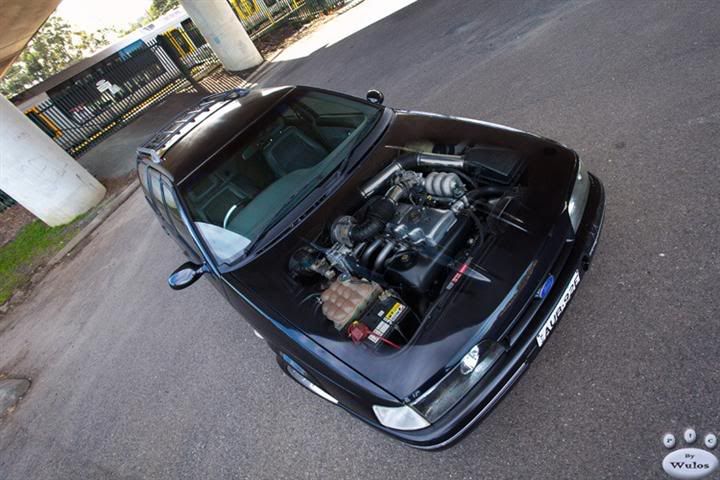 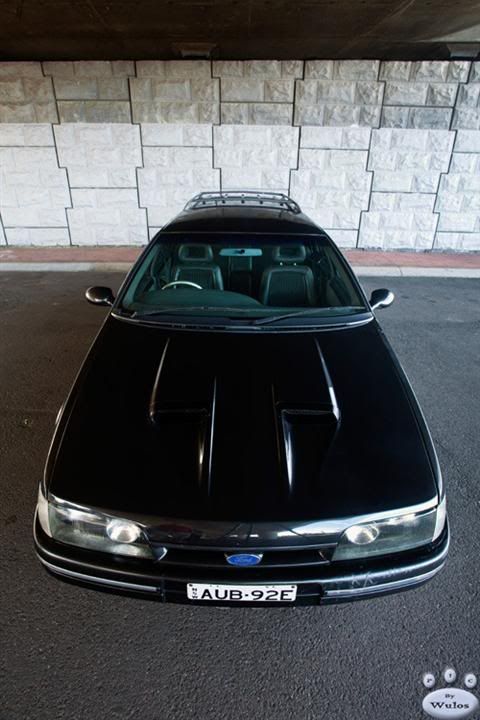 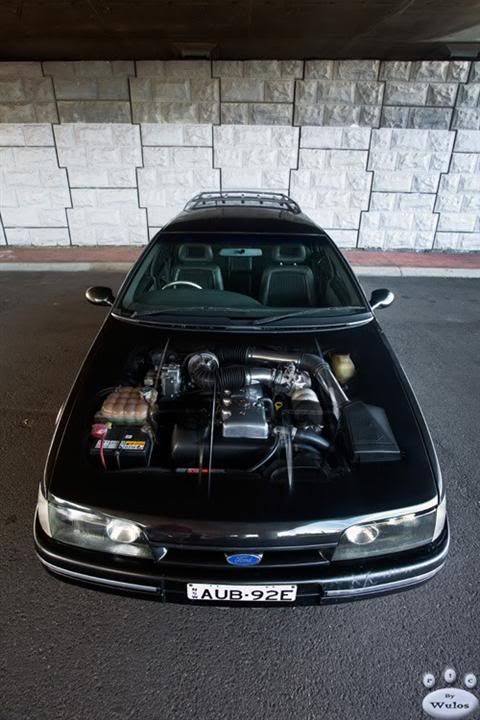 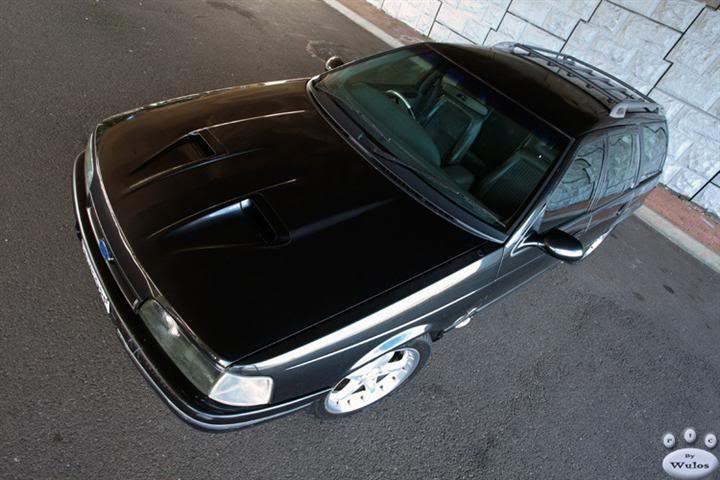 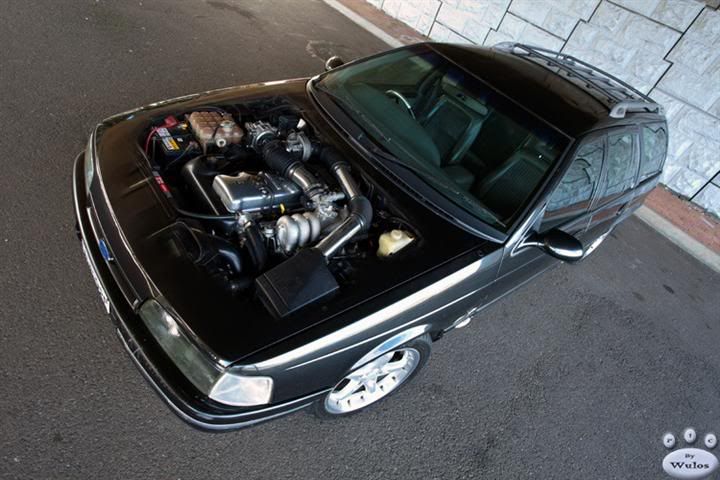 And a couple I took on the day. 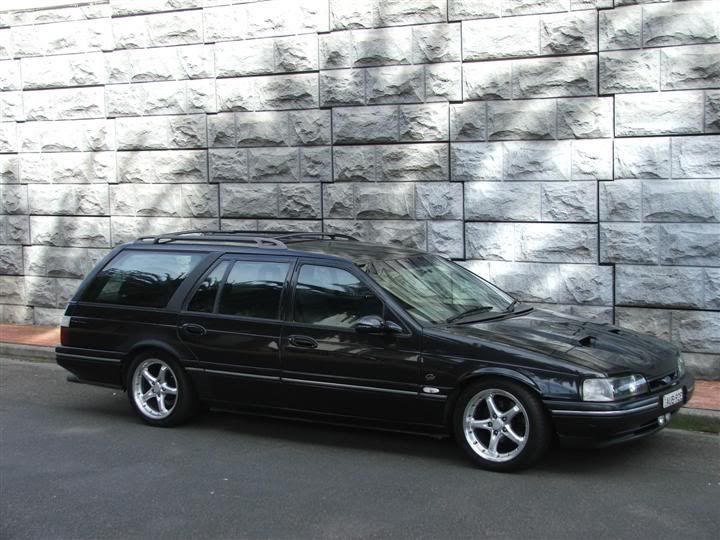 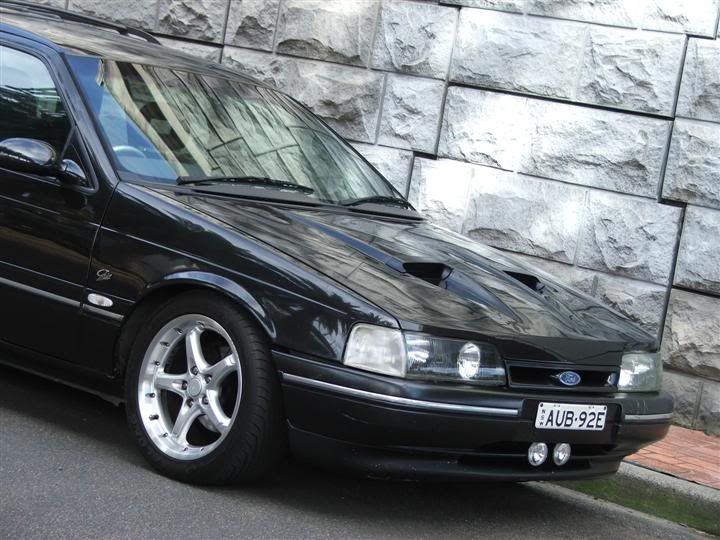 Hope you all like them Cheers BenJ
_________________ {DESCRIPTION} - Current Ride |
||
| Top | |
||
| fiend |
|
|||
|
 {USERNAME} wrote: I actually like the last one the best. That would look brilliant blown up and hanging up in the pool room! Yeahp, and with a two minute touch up, it could just about even be good enough to convince someone to print it......
|
|||
| Top | |
|||
| BenJ |
|
||
|
After I had finished the BA Headlight mod, there was one thing about the final look of the front end that still bugged me. Yesterday, I took care of it.
Have a look at this photo from the All Ford Day, and see if you can figure it out. 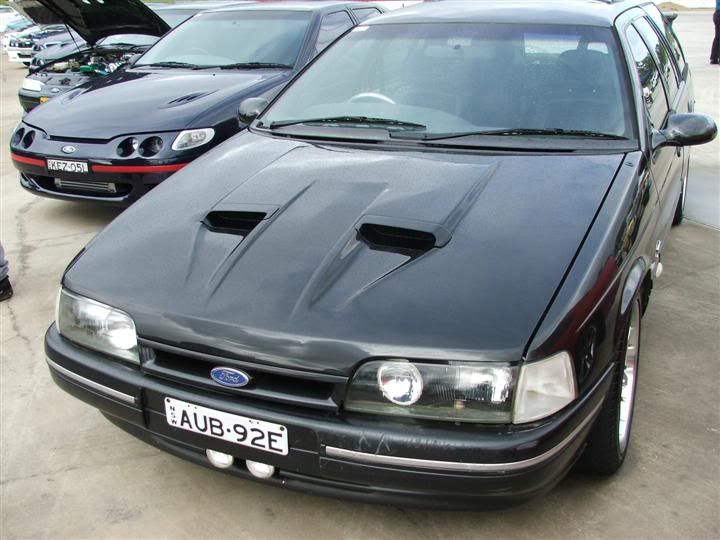 Got it yet? No? Well look at this photo of the finished changes, and see if you can spot the difference. 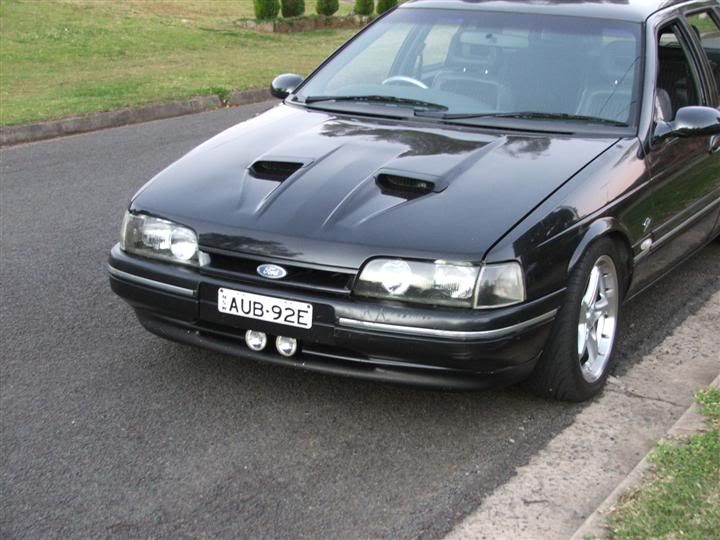 Still don't have it? It is a subtle change which gives a cohesive look to the front end. If you are having trouble picking it, then I have done my job well. In my mind, a mod well done is often hard to identify, as the changes made look like it should have been that way the whole time. Give up? Look closely at the front indicators in both photos. The clear indicators are too bright in the first photo. While they didn't look bad, they did draw the eye to them. I have had an idea on how to darken them for some time, and yesterday after work decided to see if I could do it. Start with one aftermarket Clear Indicator. 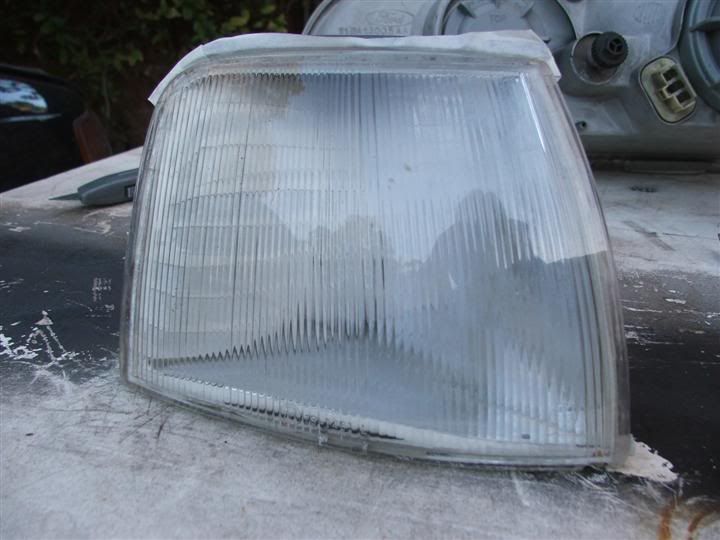 Use small flat blade screwdriver, and some muscle, pull the lense off. Be careful, as you could break it easily. Then mask up the internal lense and sand the silver side and bottom. 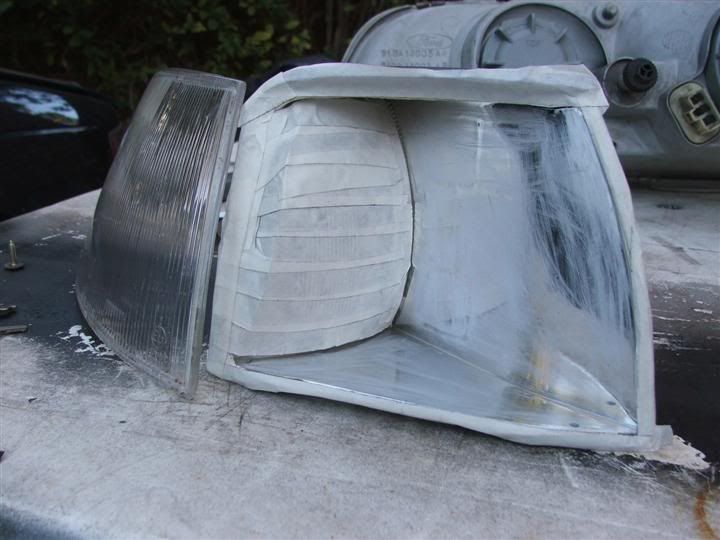 Grab some black paint. I used black engine enamel as that is what I had lying around. Paint. 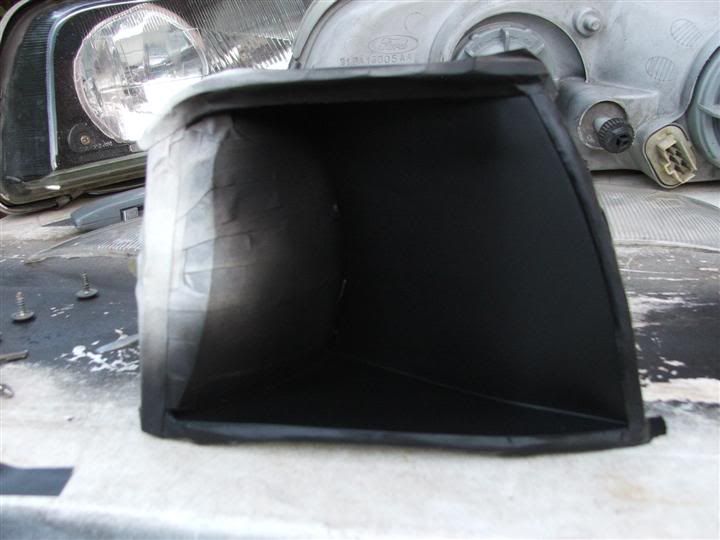 Remove masking tape, and this is what you have left. 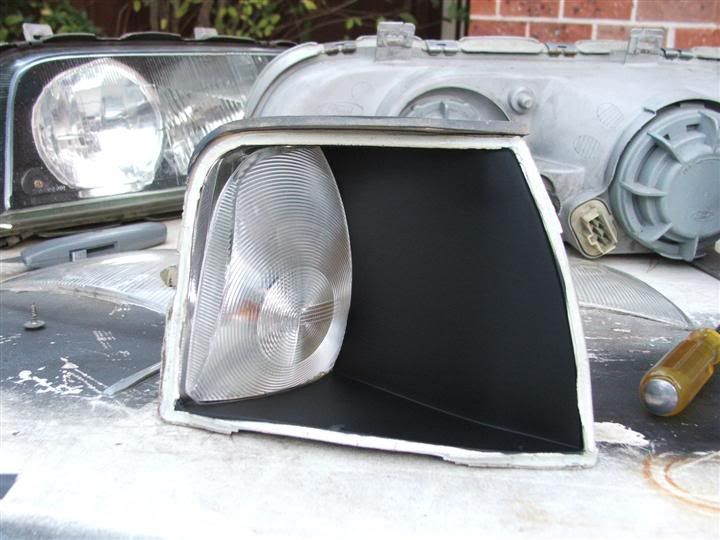 Stick the lense back on. I used Marine Silicon, as it is waterproof, sticks to anything, and dries clear. 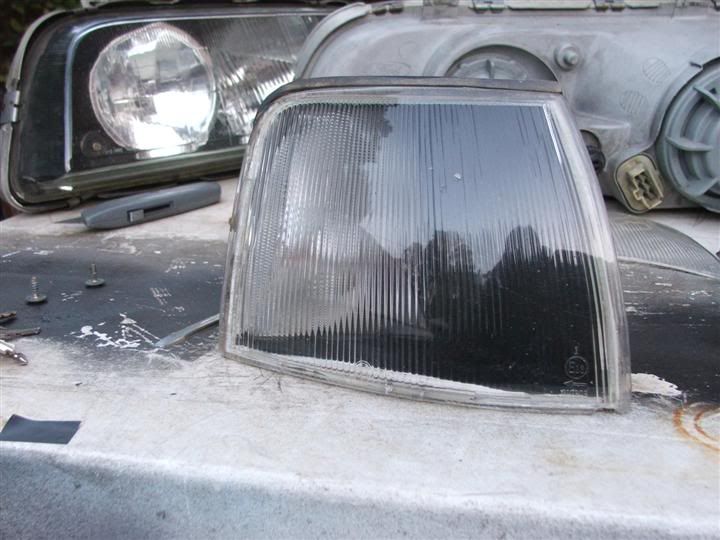 Put back in car. 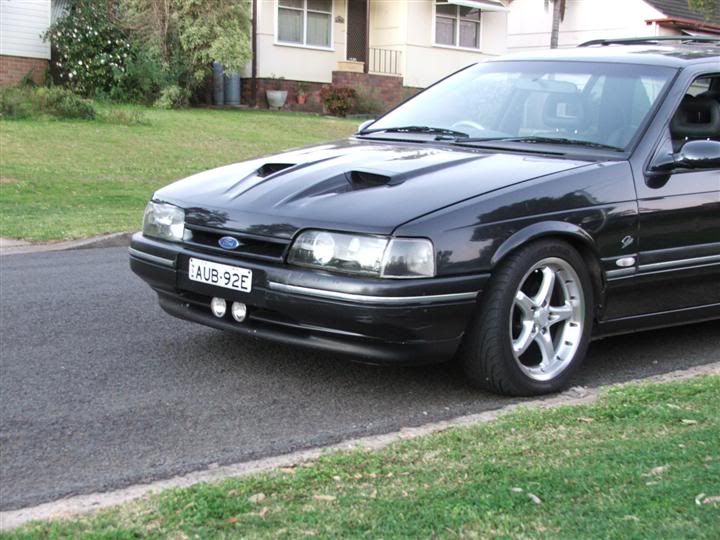 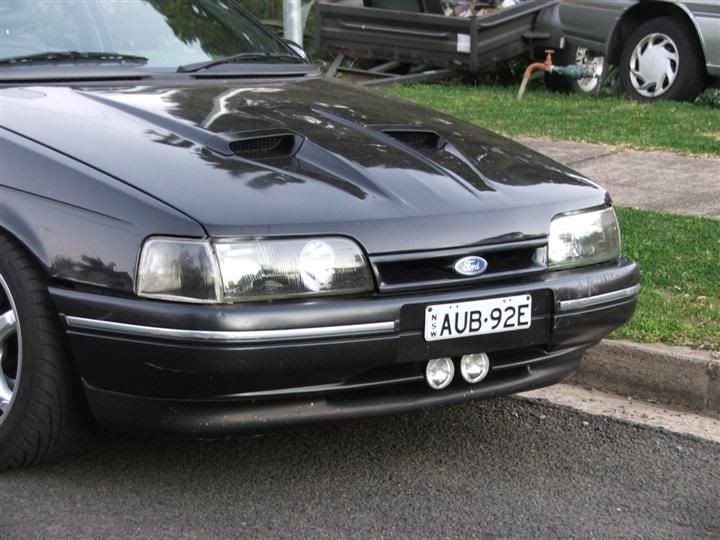 Much better. The indicator still works well, and makes the clear lense glow nicely. The black and clear finish works great with the BA headlights, which have a similar look. Cheers BenJ
_________________ {DESCRIPTION} - Current Ride |
||
| Top | |
||
| ausedwagon |
|
|||
|
nice i was waiting for you to do something with them... look better and still fantastic
_________________ {DESCRIPTION} |
|||
| Top | |
|||
| KWIKXR |
|
|||
|
Damn, that looks good, blends in a lot better with the BA headlight mod now. They dont stand out like the bright clear lenses do on most boxcars. Nice work
|
|||
| Top | |
|||
| XFWAGON |
|
|||
|
{USERNAME} wrote: I actually like the last one the best. That would look brilliant blown up and hanging up in the pool room! " This ones going STRAIGHT to the pool room!" |
|||
| Top | |
|||
| XR-Lane |
|
|||
|
Looks good Ben, i like the shot of the engine bay, how does he do that shot, did you have to take 2 shots in the same angle?
|
|||
| Top | |
|||
| BenJ |
|
||
|
{USERNAME} wrote: Looks good Ben, i like the shot of the engine bay, how does he do that shot, did you have to take 2 shots in the same angle? Yep, used a really tall tripod and a remote trigger, and took pics with the bonnet up and then the bonnet down. Then you use photoshop to blend the pics together. BenJ
_________________ {DESCRIPTION} - Current Ride |
||
| Top | |
||
| fiend |
|
|||
|
{USERNAME} wrote: {USERNAME} wrote: Looks good Ben, i like the shot of the engine bay, how does he do that shot, did you have to take 2 shots in the same angle? Yep, used a really tall tripod and a remote trigger, and took pics with the bonnet up and then the bonnet down. Then you use photoshop to blend the pics together. BenJ And I thought I was original doing that to show my air intake last year. Hmmmph. What a pillock. Although the air intake graffix actually used four photos of the car in different states of undress. Ah well, what the hell.... By the way. Spot the difference between   Just thought no one had noticed... Hate to actually demand people take notice (!!) but there you have it. Right, butting out now Benj. You're just lucky I lost your cellphone number mate. I can be really annoying you know...! All those late night phone calls and random requests for odd wiring diagrams and other queer requests. You're a lucky man alright Benj, a lucky man. Okay okay, here's another one of my FAMOUS FIEND EDITS... [edit]  How's this then??[/edit] |
|||
| Top | |
|||
| XR-Lane |
|
|||
|
Fiend you made the paint darker and added a shadow on the kerb at the bottom right of the pic.
edit, and in the last pic you removed the damage on Bens bumper from when he reached in the car and stared it in gear and the poor wagon went for a short drive by it self? Last edited by XR-Lane on Thu Aug 27, 2009 8:49 pm, edited 1 time in total. |
|||
| Top | |
|||
| fiend |
|
|||
|
Actually, there is colour variations all over and more contrast (especially in the background) that lends itself to creating a much better visually impacting print or screen graffix... And the third picture is different again.... Squint at it long enough..............
Ah - I see you're editing it and noticing more and more as I speak!!! Good on you. That EDIT function rocks! Keep it up. Last edited by fiend on Thu Aug 27, 2009 8:50 pm, edited 1 time in total. |
|||
| Top | |
|||
| XR-Lane |
|
|||
|
look at my last post i made an edit but you where too quick for me
|
|||
| Top | |
|||
| fiend |
|
|||
|
Snap.
- Although the bumper damage was dealt to in the first picture too mate.... |
|||
| Top | |
|||
| Who is online |
|---|
Users browsing this forum: No registered users and 35 guests |