

|
| bradders |
|
|||
|
i'll swap it over then since i have to open it up, i can leave the base resistor the same, just swap over the one component?
_________________ PH 4480 racing extractors
|
|||
| Top | |
|||
| bradders |
|
|||
|
{USERNAME} wrote: you can piggyback the stock VR sensor brown wire, but you need to connect the stock VR - (grey wire) to the MSII gnd also. It will work. Generally set you MSII pots full CCW, then 1 turn CW on each. so i can tap the signal off the brown wire, do i tap the grey wire as well, or do i disconnect it from the stock ECU completely?  Will the stock ECU continue to work if the grey wire is brought to MSII ground and pin or brought to MSII ground and disconnected?  alternativly, i was reading this: http://www.megamanual.com/ms2/vradjust.htm i could just raise the trigger threshold resistor (R56) to around the bias offset i measured at the brown wire before and leave the hysterisis resistor (R52) to ~1 turn. (option C)  heres some pictures 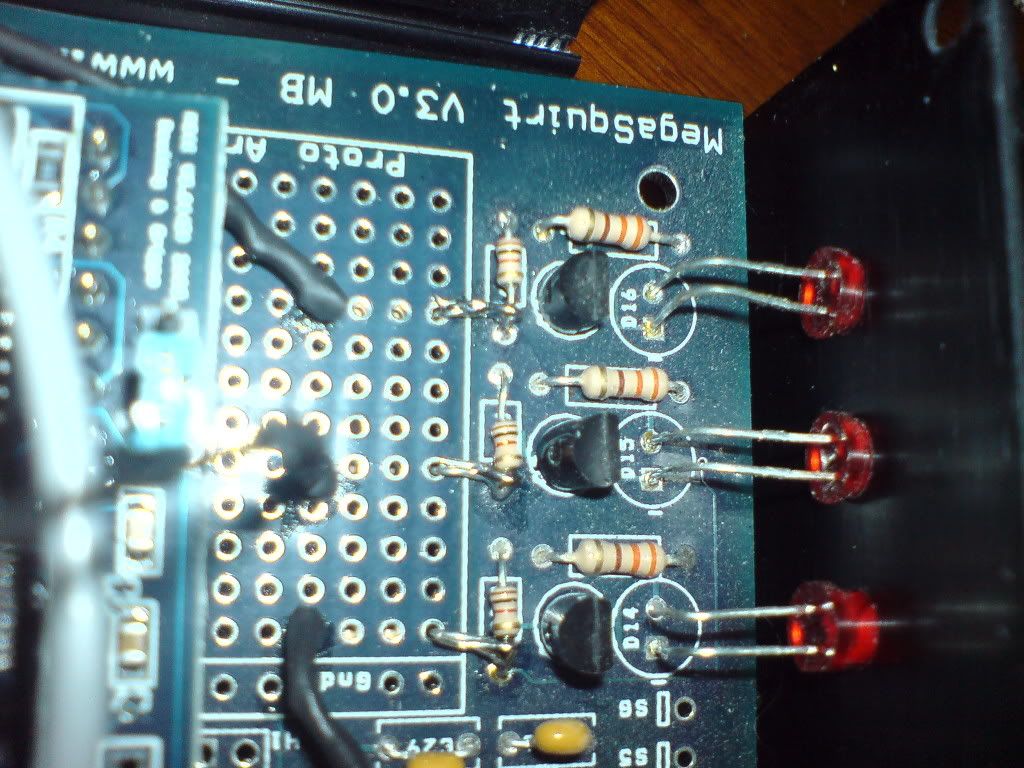 here you can see the signal wires used to control the coil drivers (black heatshrink) and where the driver resistors have been tapped off the existing resistors 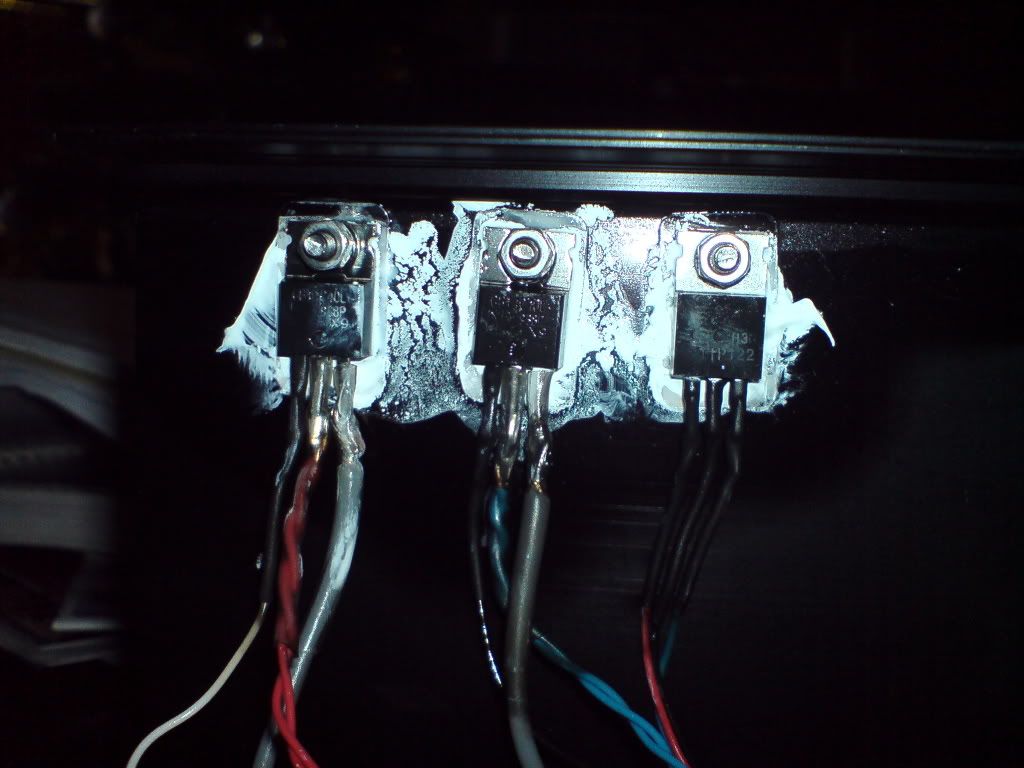 Here are the additional transistors used to ignite the coils and drive the pwm controller along with heatsink paste all over the place 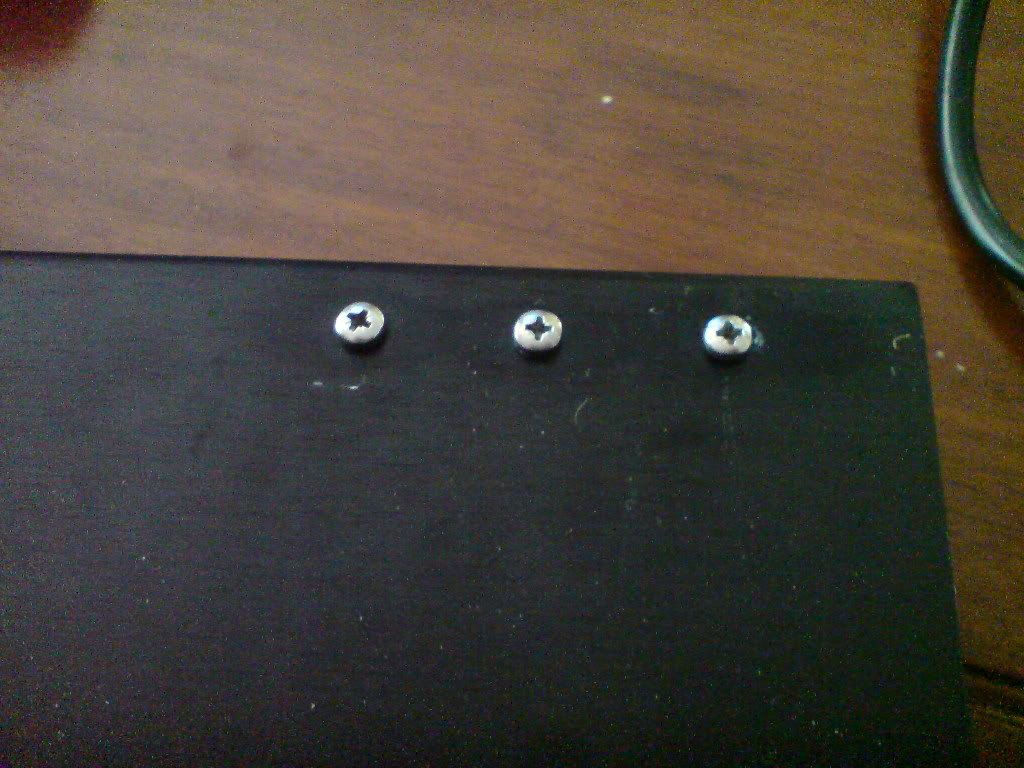 self explanatory 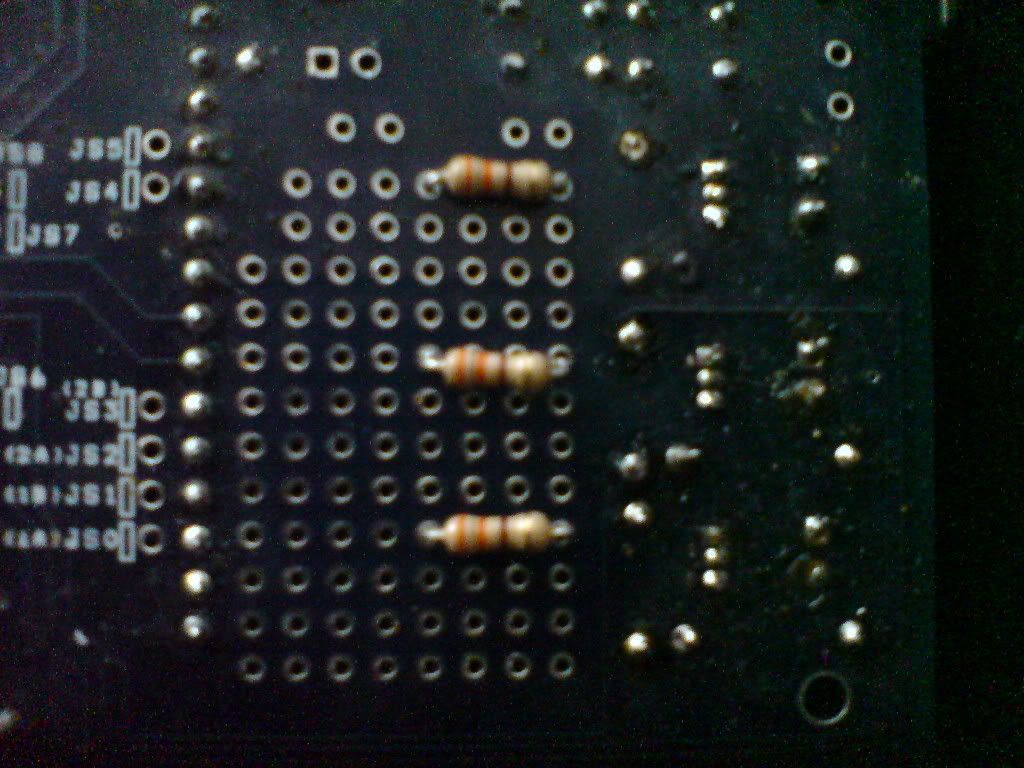 these are the additional resistors required to deliver the signal current to the new transistors 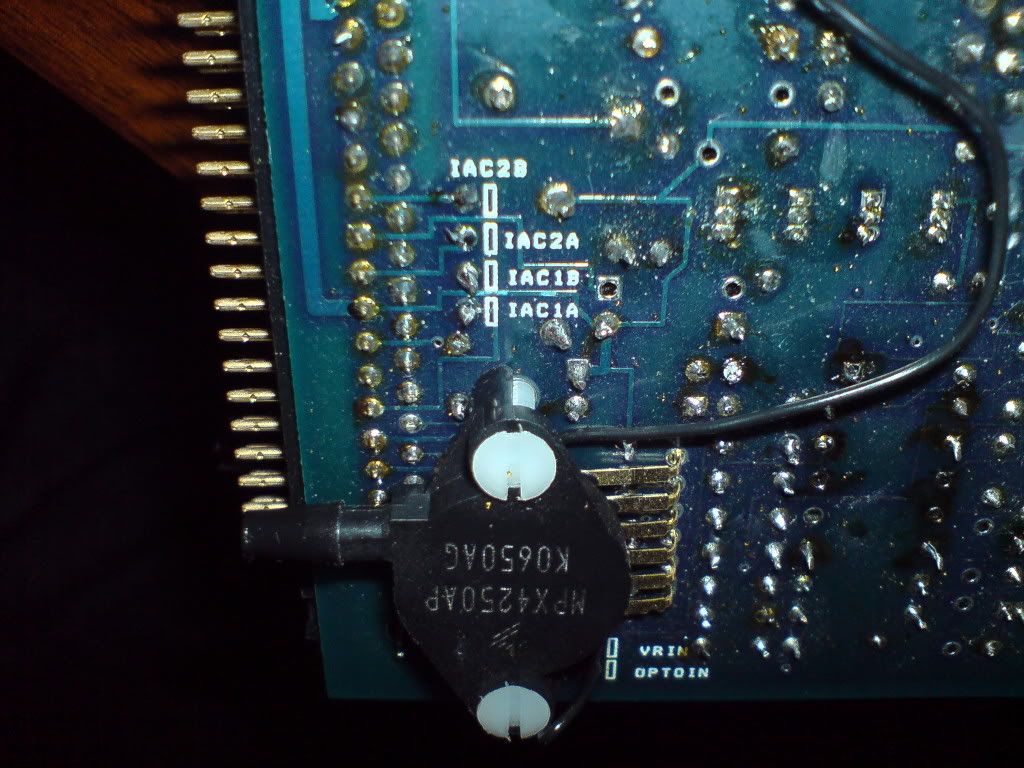 IGN jumpered to IGBTOUT jumpered to SPR4 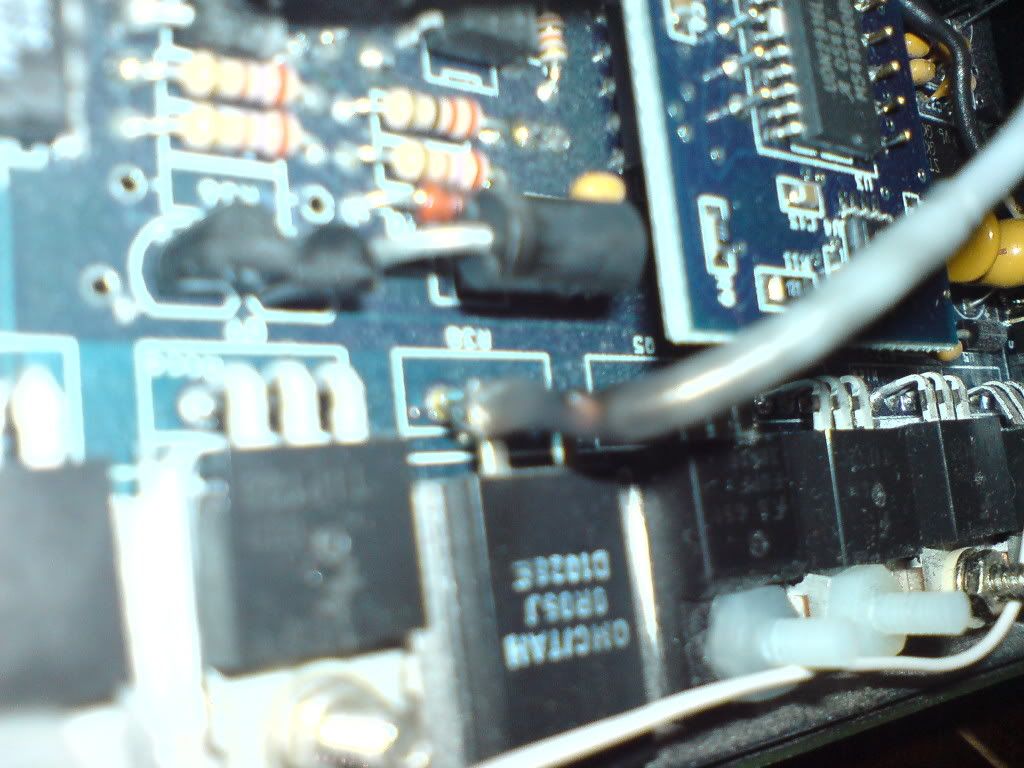 connect to the meaty grounds of R37 and R38, using fairly meaty cable and heatshrink to make the connection 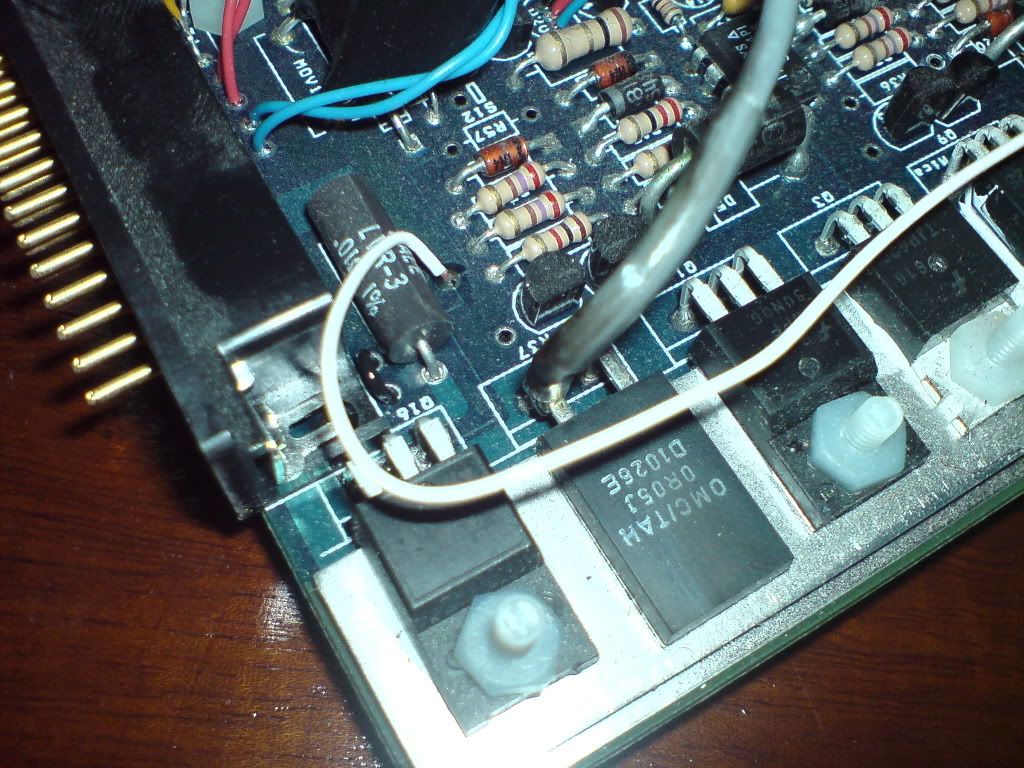 connect to the meaty grounds of R37 and R38, using fairly meaty cable and heatshrink to make the connection 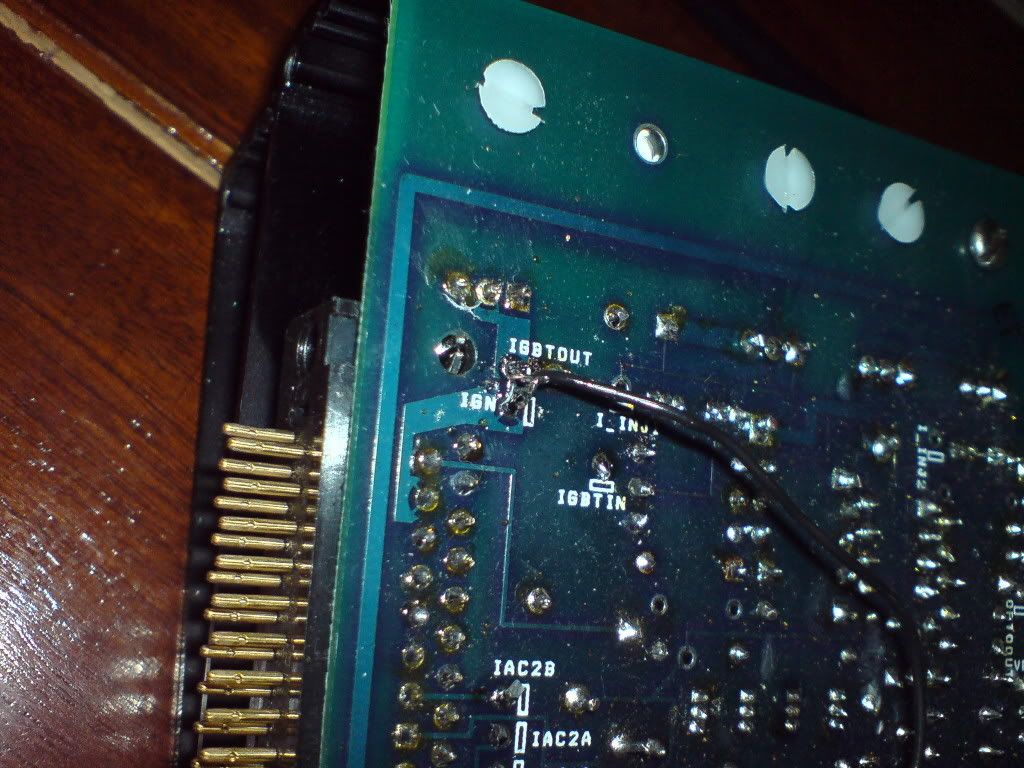 IGN jumpered to IGBTOUT jumpered to SPR5 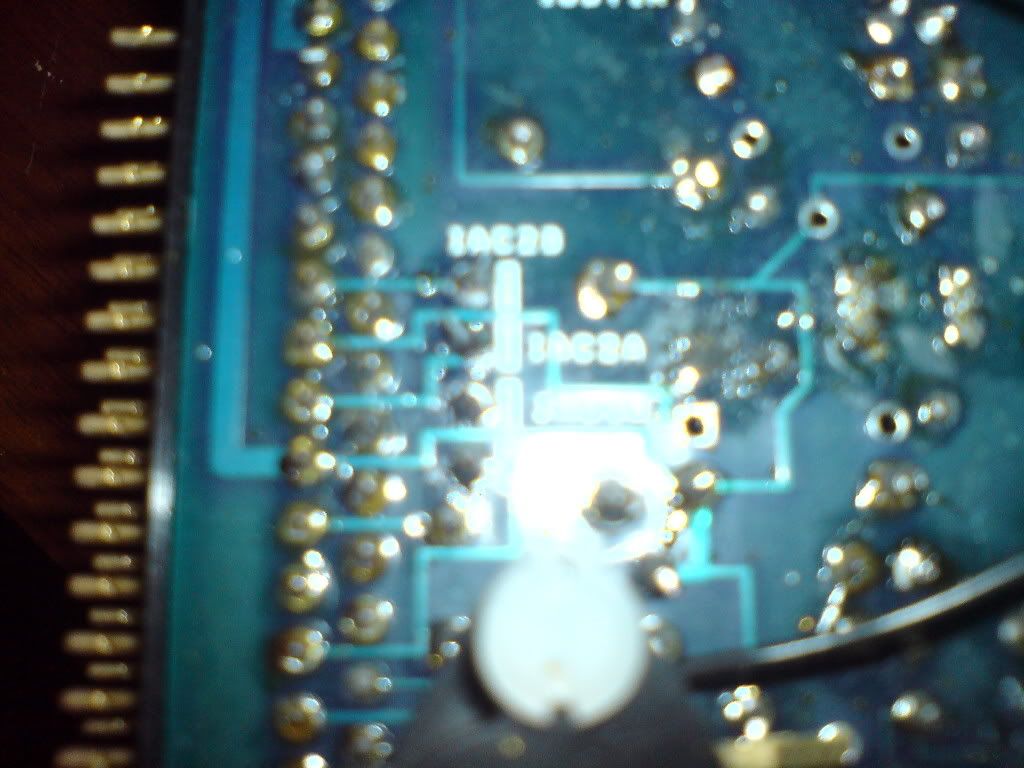 coil B is connected to IAC1A and IAC1B output on R37 connector, coil C is connected to IAC2A and IAC2B. Using two spare pins allows for the sinking of the current 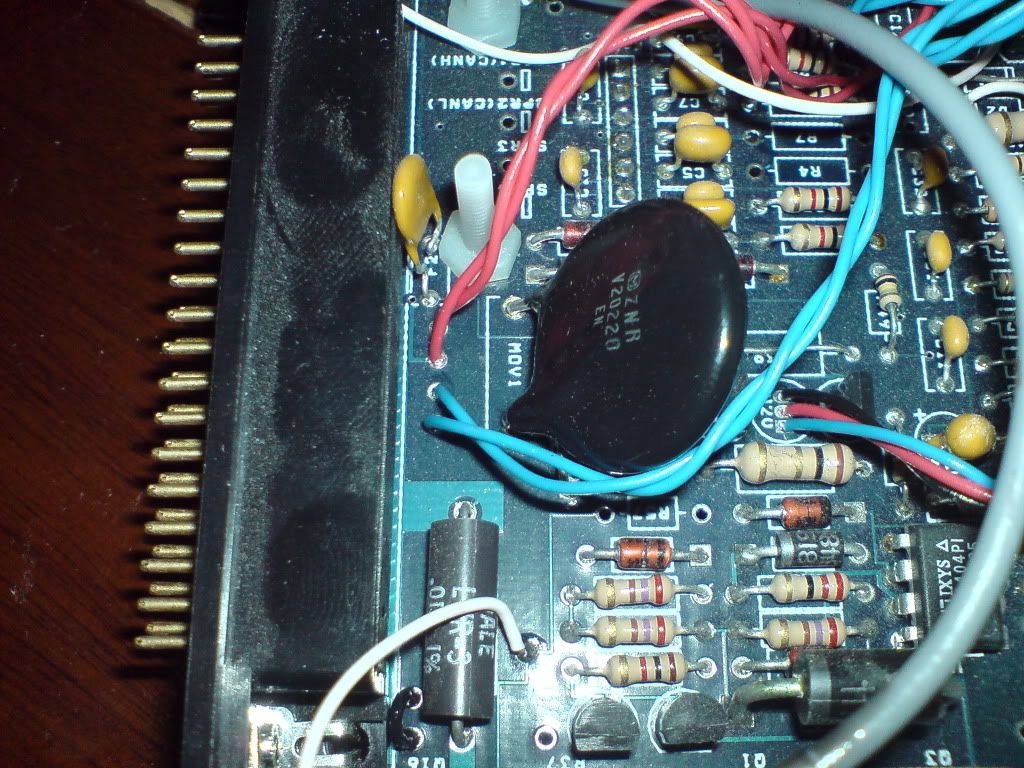 here you can see the coil driver signal for coil A (white wire) connected to IGBTIN, and the output wires for coil B and C, two wires were used to better handle the current
_________________ PH 4480 racing extractors
|
|||
| Top | |
|||
| bradders |
|
|||
|
great success, i wired all my sensors in today after switching to the VR circuit. Using wiring option C. It worked first time to my amazement! once it was in i stopped the engine, opened it up and measured the voltage on R48 and R54 to make them the same by adjusting R56, then i set the hystersis to 1 turn as 66 coupe suggested. i found that it started sparking sooner (can tell from the LED's indicating spark) after starting the engine.
_________________ PH 4480 racing extractors
|
|||
| Top | |
|||
| 66 coupe |
|
||
|
use 'A' as you will get sync losses without the ground connected to the VR. The VR needs to be referenced to ground with the megasquirt.
|
||
| Top | |
||
| bradders |
|
|||
|
more progress updates, this morning i had the MSII in the car reading all the sensors, but i kept loosing serial link. turns out there was a tiny tiny solder bridge on the daughter card, that took a little while to identify, additionally, the MSII had been drawing alot of current and the voltage at the regulator was 3v i guessed that maybe i'd put the wrong protection zener in, but it turns out i had put the 5.6v zener in but it wasn't working properly (confirmed because it was hot), so i removed the zener (D19) the voltage was fine.
_________________ PH 4480 racing extractors
|
|||
| Top | |
|||
| bradders |
|
|||
|
hello everyone, any tips on tapping off the intake manifold for barometric measurement?
_________________ PH 4480 racing extractors
|
|||
| Top | |
|||
| 66 coupe |
|
||
|
just use the internal map, we dont have any huge mountains here for it to be an issue
|
||
| Top | |
||
| bradders |
|
|||
|
sorry i meant tapping off the air line, not tapping off the falcon map sensor. Although, oneday i might consider differential pressure readings just because lol. just got to focus on getting it going atm
i noticed that theres only one point on the manifold where air hoses attach, i was thinking i could buy a splitter, but wouldn't there be an effect from the break boost and AC and so on, or would it be negligible? alternativly, i was thinking of drilling a hole and tapping a thread into the manifold to put on a nipple of somesort for a fresh hose (efforts) don't suppose you know much about the stock temp sensors in the falcon? and the ecu internal bias resistor value would be super?
_________________ PH 4480 racing extractors
|
|||
| Top | |
|||
| bradders |
|
|||
|
i'm just going to put a T-junction off the fuel regualtor and use that for my mapping sensor signal. I've been calibrating all the temperature sensors, got the air temp good but hit a snag with the coolant temp. The ECU switches the biasing resistor at ~80C so i'm going to do what 66 coupé originally suggested and install the thermostat housing from an EA/B along with thats thermistor, then i'll have to calibrate that with ice water, boiling water and room temp water.
heres the link to my temperature sensor page {DESCRIPTION}
_________________ PH 4480 racing extractors
|
|||
| Top | |
|||
| 66 coupe |
|
||
|
Its easiest to screw a GM temp sensor into the thermostat housing, and select GM sensor in tunerstudio and hit the go button
|
||
| Top | |
||
| bradders |
|
|||
|
I'd still need to install the thermostat housing from an E series falcon, because the AU's don't have the thread tapped into them for a sensor, and i wouldn't want to tap a thread that large into cast alloy (eeek). I bet the heater hose will be fused to the housing aswell and i probably will have to go on a mission to find the gasket. I got a much simpler solution:
{DESCRIPTION} I'll simply screw it down onto whatever i can find on the engine with the same thread as the lug which is a tiny M3, then based on what the datasheet that comes with i'll choose a resistor (that i have on hand) to accentuate the temperature range around 60C. I'll probably try and find a thermistor with an M6 lug so i can connect it to the thread on the thermostat housing (maybe with a little drilling out) when i used to work at d**k we had thermistors which had like M5 or M6 lugs on them but alas DSE sucks these days so i'll have to look around, i'm not too fussed about getting the exact coolant temp so rekon an external bolt on solution will be the way to go
_________________ PH 4480 racing extractors
|
|||
| Top | |
|||
| 66 coupe |
|
||
|
dont take shortcuts... use a proper sensor, and change the thermostat housing if you have to.
How reliable do you think that thermistor will be, with its 0.5mm leads and the engine vibrations... and you want a sensor that will read > 100*C You need accuracy, if you ever intend on runnning thermo fans off the megasquirt |
||
| Top | |
||
| bradders |
|
|||
|
I intend to use the stock ECU for controlling the thermofans, i only really need a temperature reading so the MSII knows when to use HEGO closed loop control and when to stop startup-fuel-enrichment and a couple of other things. My understanding that exact temperature knowledge isn't essential, especially when simply knowing the temperature of the coolant only tells you a fraction of the story. It would be best to calculate the actual heat transfer to the coolant, so you'd need to know the temperature of the coolant before it cools the engine, the temperature after the cooling and the flow rate (ideally the density curve and the specific heat capacity curve with temperature at a particular concentration of coolant). I think its a fair assumption to assume that the thermostat housing eternal temperature is ~equal to the coolant temperature and can be assumed to represent the block temperature. I'll defo need a thermistor that'll go above 105C. The proper sensor is just an NTC thermistor anyway.
I agree with you tho lol, those leads will probably wear out fairly quickly and i doubt i'll be able to find a thermistor with a lug big enough to bolt onto anything existing anyway. I'm reluctant because i remember trying to remove a thermostat housing from an EA engine in the past and the heating pipe was completely fused to it. In the end i removed the pipe as well, (i was replacing the thermostat housing in my old EB). Do you know how those heating pipes are sealed onto the thermostat housings? is it just a press fit? the use of sillicone? I might try coventries and see how much it costs to buy an EA housing new (if they are available) i went in there a little while ago and they couldn't get hold of the gaskets any more, so i'll have to use sillicone
_________________ PH 4480 racing extractors
|
|||
| Top | |
|||
| 4LEDboy |
|
|||
|
God its about time I updated my progress
Got a nice soldering station for christmas, none of the plug in jobbies I had would of been sutable for this job What size solder are you guys using though? and temp do your run the soldering iron at? I plan to have the car running on the MS by april, I want to have completly backwards compatabe though so if I have to go back to the EEC I can without fuss, I'll leave the dissy in to plug the hole until I know I have it down pat then I'll put the AU item in. Love reading the posts in this thread, very informative.
_________________ {DESCRIPTION} < Click on it! You know you want too! Quote: Thats not the point *a**hole
|
|||
| Top | |
|||
| 4LEDboy |
|
|||
|
{USERNAME} wrote: Do you know how those heating pipes are sealed onto the thermostat housings? is it just a press fit? the use of sillicone? I might try coventries and see how much it costs to buy an EA housing new (if they are available) i went in there a little while ago and they couldn't get hold of the gaskets any more, so i'll have to use sillicone They seal with an O-ring if I remember correctly, I have a spare AU lower housing spare if you want it. I would think you could get the upper and lower housings new though. The AU/EB lower housings have the same bolt pattern on the head end but not the thermostat end. EA/EB/ED use a rubber ring around the thermostat to seal but the AU's use a proper gasket. I have an AU engine in my ED, so I'm using the sensors in the thermostat housing, but if possibe I'm going to use the AU temp sensor in the back of the head for the MS as its brand new.
_________________ {DESCRIPTION} < Click on it! You know you want too! Quote: Thats not the point *a**hole
|
|||
| Top | |
|||
| Who is online |
|---|
Users browsing this forum: No registered users and 31 guests |