

|
| low_ryda |
|
|||
|
I was just reading through that thinking you have a tig! make one! haha
don't hide it though, the breather looks good, fab up a nice matching washer fluid tank.. then an overflow tank.. then a p/steering res.... lol on the stock car front the b series have the guard mounted washer fluid setup so may be more easilly adapted?
_________________ Not to get technical, but according to chemistry alcohol is a solution. |
|||
| Top | |
|||
| dsyfer |
|
|||
|
Postie has been busy
Gaskets and head bolts 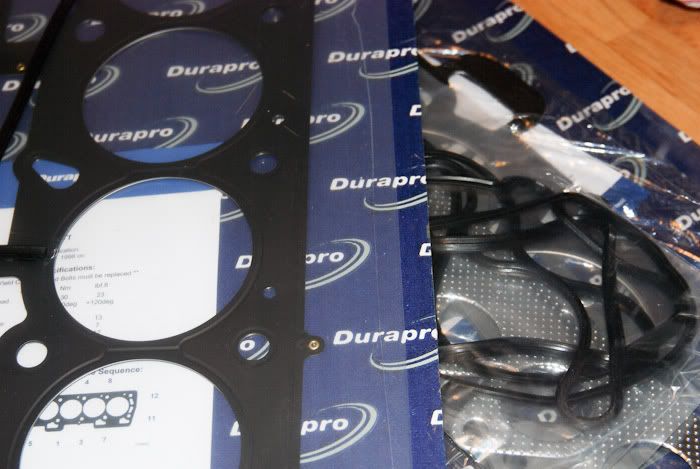 Injectors, box of 8 so got a couple of spares 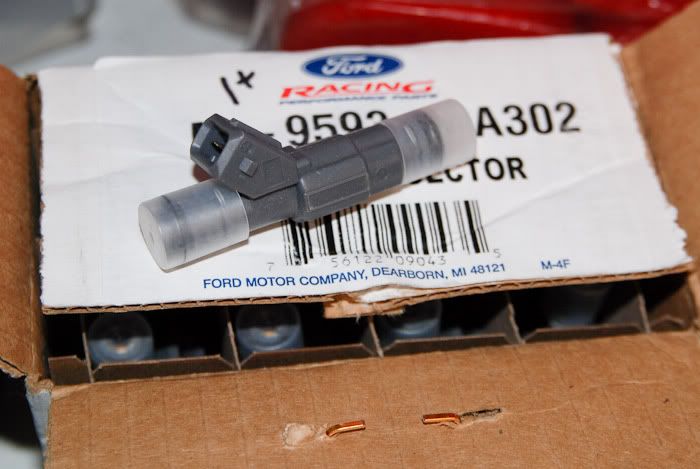 Filter socks, until I have time to make an airbox 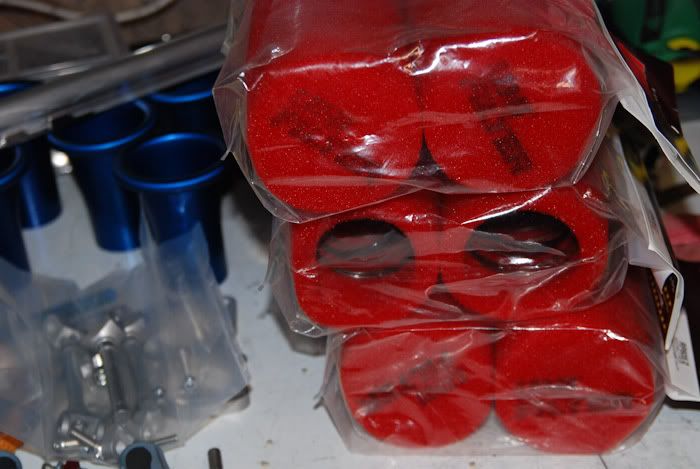 Fuel rail, need to drill injector ports, so I can size the mount posts 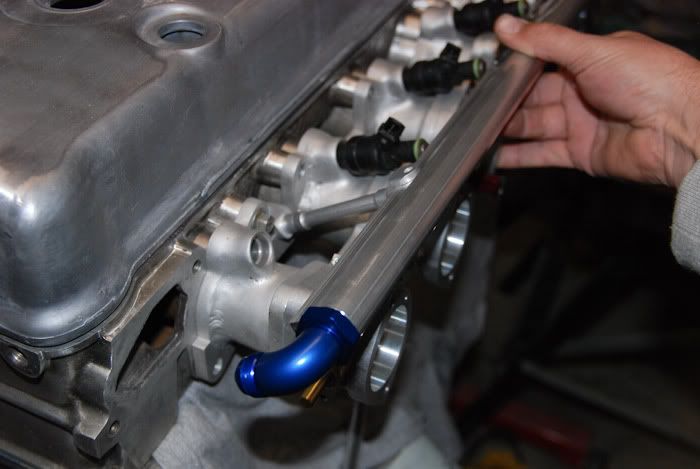 -8 fittings 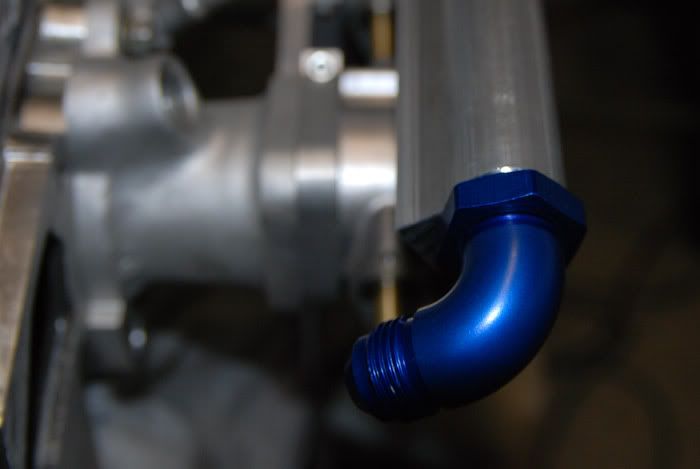 Rail mounts, x 3 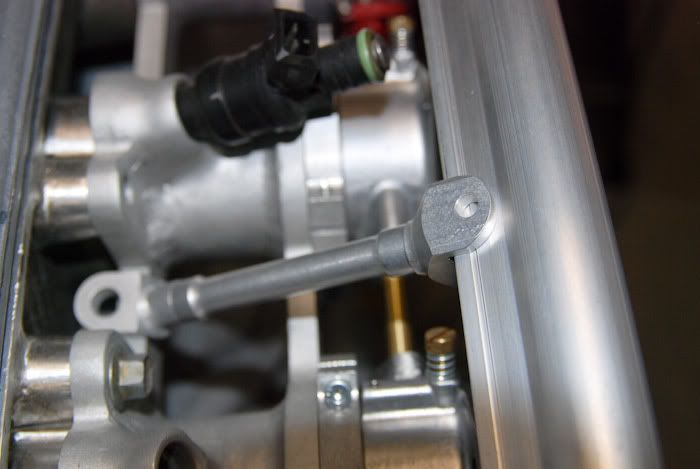
|
|||
| Top | |
|||
| phongus |
|
|||
|
looking good
You must be on first name basis with the postman by now...
_________________ phongus = Post whore 2006 |
|||
| Top | |
|||
| 66 coupe |
|
||
|
steve do you have the correct injector drill, or are you just going to step it with normal bits?
dont drill right through the rail, leave a couple mm inside the rail so the o-ring bottoms out in the rail then set your posts so the injectors have a small bit of freeplay. reg not shown up yet? |
||
| Top | |
||
| dsyfer |
|
|||
|
{USERNAME} wrote: steve do you have the correct injector drill, or are you just going to step it with normal bits? dont drill right through the rail, leave a couple mm inside the rail so the o-ring bottoms out in the rail then set your posts so the injectors have a small bit of freeplay. reg not shown up yet? Was going to drill it in the mill at work, 9mm through to inner rail, then 14mm down to 8mm depth, then chamfer out edge to protect o-ring, the guys in the workshop here said they can make me up a step drill, but if it's clamped correctly I'm thinking the mill should be fine with a new 14mm bit. I got the rail posts longer so I could lathe them down once I had drilled the fuel rail, so 1-2mm play? is good. We are normally one day later with parcel delivery, couriers normally hand ball final leg to Aus Post, as i thnk we are 12kms outside normal delivery, so it should get here today. |
|||
| Top | |
|||
| dsyfer |
|
|||
|
{USERNAME} wrote: reg not shown up yet? Speak of the devil 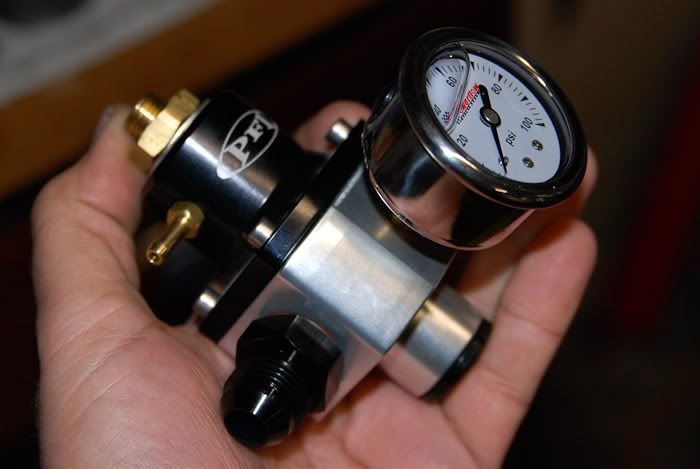 Didn't get my wideband controller and sensor But I do have a week off work after next week Will finish making all parts tomorrow, and start wiring the EMS, see what the difference in standard form an EMS makes for a week, the poor thing is running real rich on the Ford ECU (Would an XR6 manual ECU have more advanced timing than the standard Gli Auto? or would it adjust to compensate over time?) I think the standard O2 sensor is dead or dying, as it runs great once the ECU is reset, but sldes back out of tune over a couple of days. Can't wait for wideband O2 and data logging |
|||
| Top | |
|||
| fordman351 |
|
|||
|
Will you have enough clearance between the fitting on the end of the fuel rail and the thermostat housing?
|
|||
| Top | |
|||
| dsyfer |
|
|||
|
{USERNAME} wrote: Will you have enough clearance between the fitting on the end of the fuel rail and the thermostat housing? It should fit, as it is only slightly longer than the standard rail, and I can adjust where the injector holes start, fingers crossed. |
|||
| Top | |
|||
| dsyfer |
|
|||
|
{USERNAME} wrote: Will you have enough clearance between the fitting on the end of the fuel rail and the thermostat housing? Did some checking today, it would be a very tight squeeze and the injector hole would be too close to the fitting thread, so I will get a new thermostat housing and remount the bolt holes (weld new tabs & mill flat) so it faces forwards, there is enough room between the rocker cover to put a 90degree elbow on the bleed hose. Thanks for the tip, I should have had one on the dummy motor, but don't have a spare. Got the coil brackets all made and welded in, couldn't get into the machine shop at work all week as students are flat out finishing assignments, so had to do them the old fashioned way, angle grinder, die grinder and dremel. They look good though 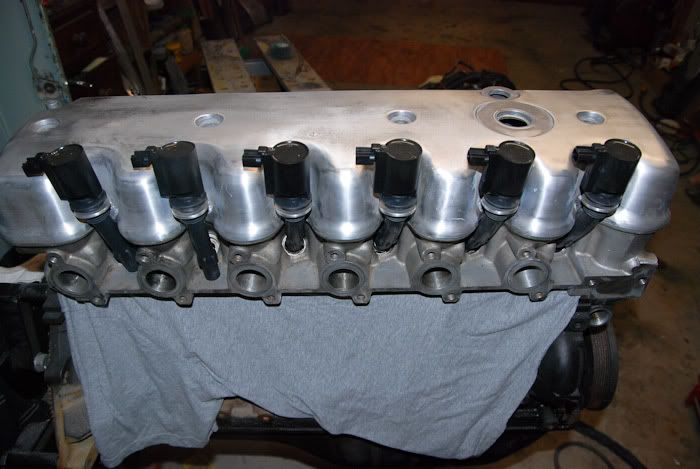 I'm glad I went this way, it sort of balances out the TB's on the other side 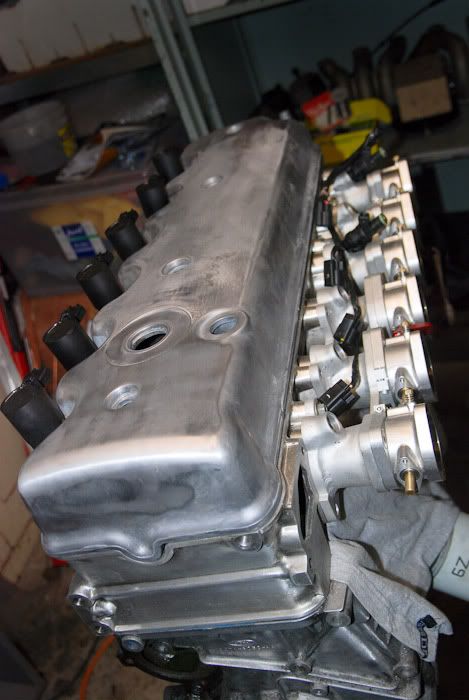 Standard loom fits but is a bit dodgy looking, so I have about 7 meters of black heat shrink and will make a nicer loom during the week. 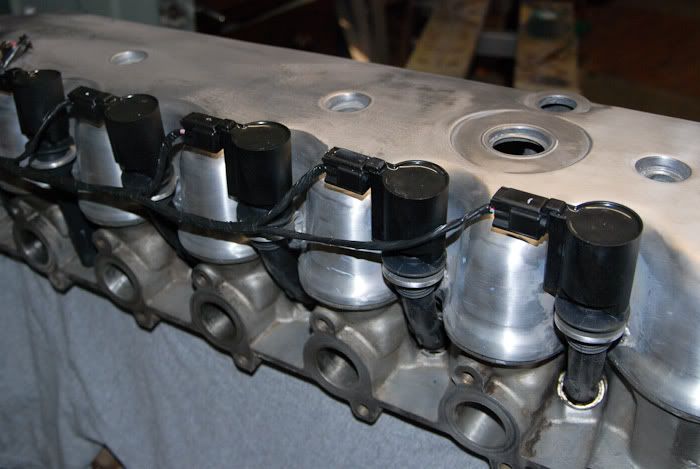 
|
|||
| Top | |
|||
| 66 coupe |
|
||
|
just looking at your coil wiring, could you make an ally channel and either run it along the top of the rocker cover, or along the left hand side, ie 'holding the coils back' between it, and the r/cover, and run all the wiring within that?
then a screw down cover that goes over that channel thus hiding all the wiring. It would be a bit of work, but you have the skills, and tig |
||
| Top | |
||
| DormanAU |
|
||
|
I do like where this is going. Keep up the hard work, I'm sure it will be well worth the effort. Look forward to see this beast going.
_________________ Au factory 5sp, rolling on 20'z, full custom extractors, redback cat and back. has a new motors, only 27,000ks |
||
| Top | |
||
| kelv_05ef_wagon |
|
||
|
hmmm i bet you have a miss fire
looks liek 5 and 6 arent on properly haha
_________________ xb falcon 500: currently being striped for full respray |
||
| Top | |
||
| 4LEDboy |
|
|||
|
Are you an engineer by trade? You've got some incredible attention to detail!
_________________ {DESCRIPTION} < Click on it! You know you want too! Quote: Thats not the point *a**hole
|
|||
| Top | |
|||
| fordman351 |
|
|||
|
{USERNAME} wrote: Did some checking today, it would be a very tight squeeze and the injector hole would be too close to the fitting thread, so I will get a new thermostat housing and remount the bolt holes (weld new tabs & mill flat) so it faces forwards, there is enough room between the rocker cover to put a 90degree elbow on the bleed hose. Thanks for the tip, I should have had one on the dummy motor, but don't have a spare. Yeah i didn't think there'd be enough room for that haha. I too have a suggestion for the wiring of the coils, you could, if it's around, find some black plastic channeling and run it on top of the coils for th full length of the engine, so you don't see any wiring whatsoever. Otherwise like you suggested, use heat shrink and cut equal lenghts between each plug and where the wire runs into the plug immediately run the next coil wire out of that, similar to that of a retractable car antenna, if you get what i mean |
|||
| Top | |
|||
| EFFalcon |
|
|||
|
very nice with the coils, the engine bay is going to look fantastic.
_________________ FALCN6 - EF GLi Turbo, 20" Rims, Air Bag Suspension, Straight LPG, 225rwkw |
|||
| Top | |
|||
| Who is online |
|---|
Users browsing this forum: Google [Bot] and 91 guests |