

|
| huggiebear |
|
|||
|
this is the diagram i got made up for me to follow
its basically the same as yours but i think the wires may be in different spots 
|
|||
| Top | |
|||
| huggiebear |
|
|||
|
differences
my diagram | your diagram input | ground earth | battery + battery + | thermos thermos | switch |
|||
| Top | |
|||
| bluecube |
|
|||
|
hmm. well all i know is that mine worked for me
maybe try swapping them and see how u go. electrical stuff can be soo frustrating
_________________ Sold my EB |
|||
| Top | |
|||
| huggiebear |
|
|||
|
yeah i will do. cheers for the help. ill try it tomorrow night if i get time
|
|||
| Top | |
|||
| huggiebear |
|
|||
|
its that time again for an update. i finished work at 4pm today so i got a bit of work done. i picked up some oil and an oil filter from supercheap auto this morning and already had the oil drained. i replaced the oil filter today, and fitted the 4.0 head with new headgasked and head bolts. i got a little confused with the stupid fuggn rubber gasket for the timing chain case... (stupid idea, why not just leave it one piece?) but i got it on and torqued down. tonight ill be out removing the shims from an old rockerset and placing them into the ED ones i have here so i can run the aftermarket cam.
i probebly wont have time to do any work on the car tomorrow night but tuesday i have off aswell as wednesday so ill get it running with the BBM then... as soon as its running nicely it will be removed for the T5 to go in. protorque is the brand gasket. its pretty cheap but feels half desent so it will do for now till the turbo motor is built. 
some nice penrite 20W 60 oil. i went for the slightly thicker oil as its the origional rings in it and thorght thicker might be better for it 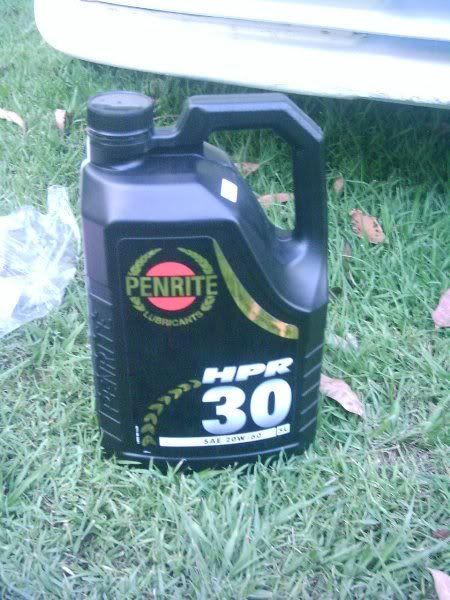
got these from repco for $43 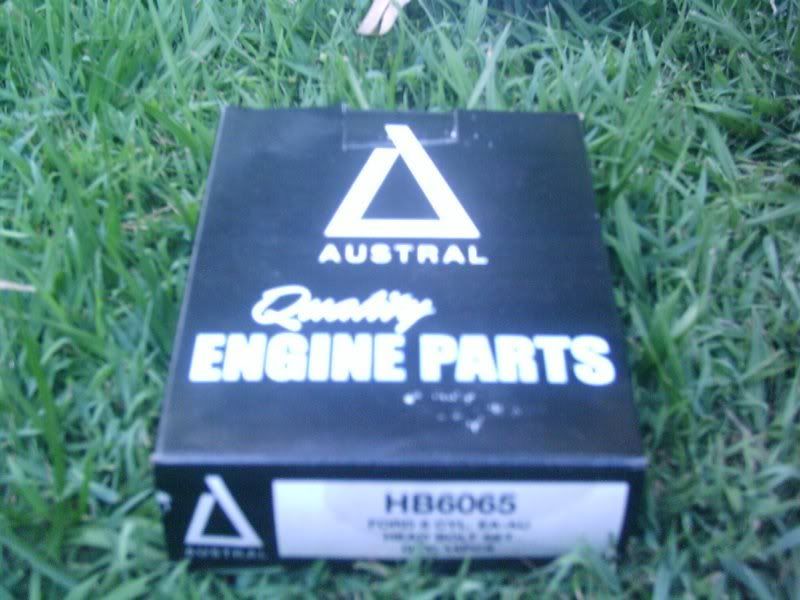
and every car modification needs one or two of these 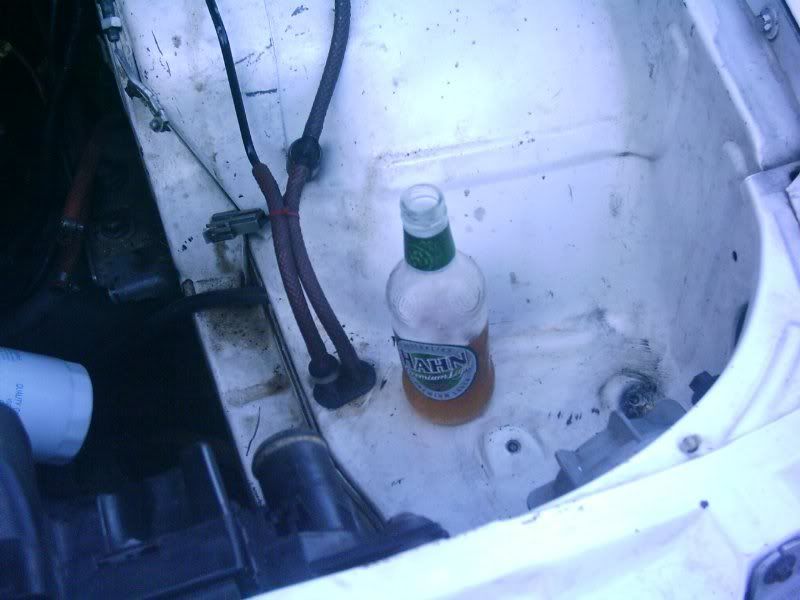
head is on 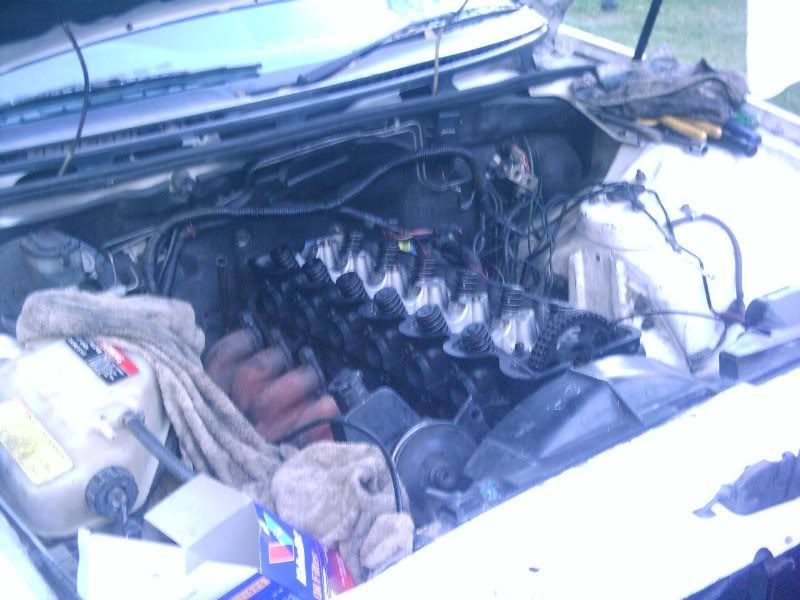
everything bolted up to the recomended torque settings. 
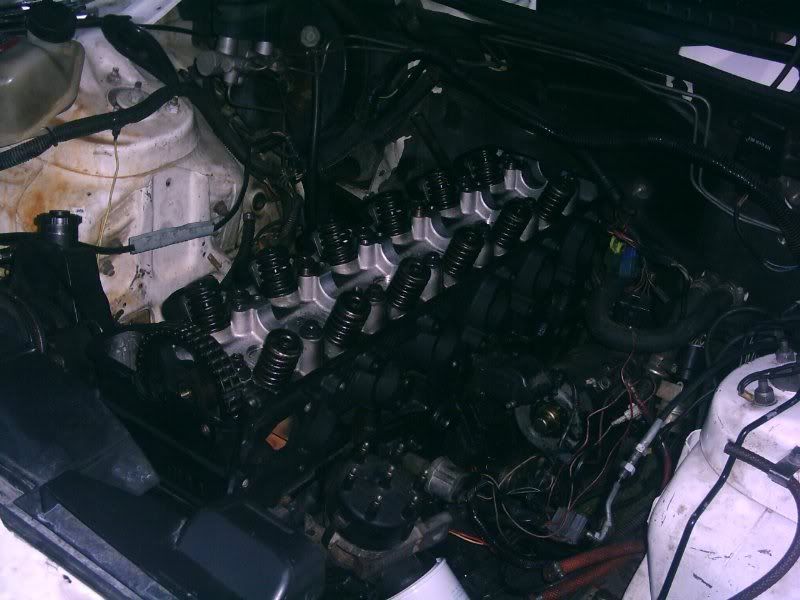
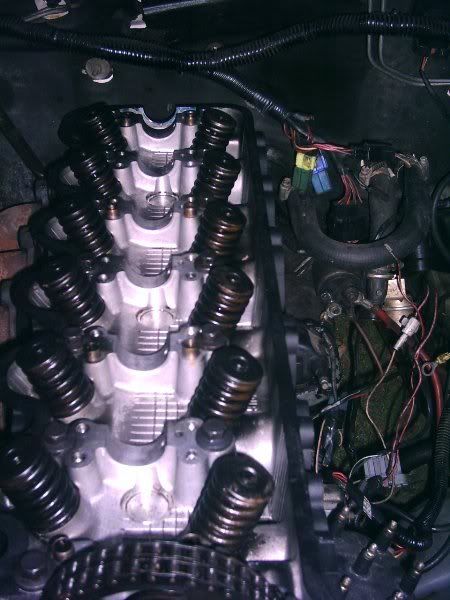
|
|||
| Top | |
|||
| fairmont599 |
|
||
Posts: 1135 Joined: 27th Oct 2005 |
Looking good there mate, hope to hear shes goen good soon
|
||
| Top | |
||
| huggiebear |
|
|||
|
WOO got the thermos working. im extremely happy.
im using 3 relays (i now know i could have gotten away with 2 but i think this way is simple. so now one is hooked to the upper fan from thermo switch two is hooked to the lower fan from thermo switch three is hokked to the lower fan from air con compressor ill be buying 3 fuses this week so that i can run the constant without worries. i have been told 30amp per relay. |
|||
| Top | |
|||
| huggiebear |
|
|||
|
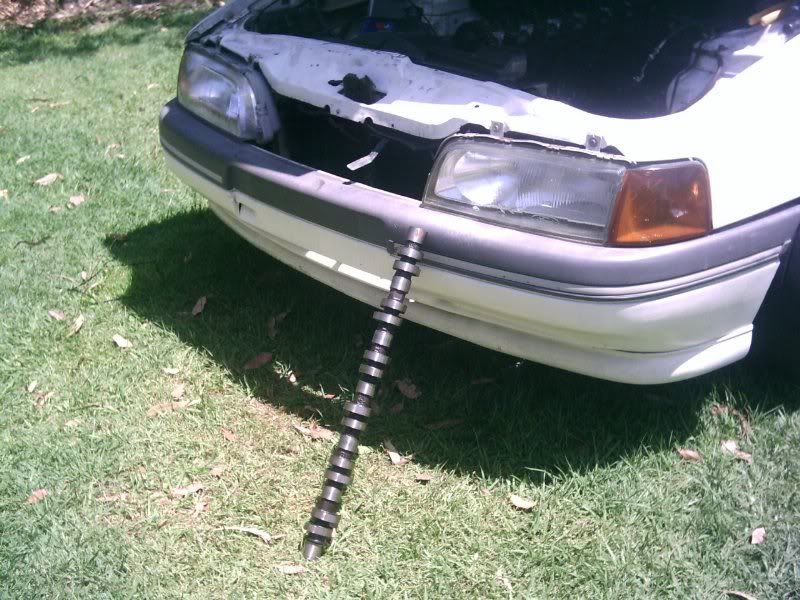
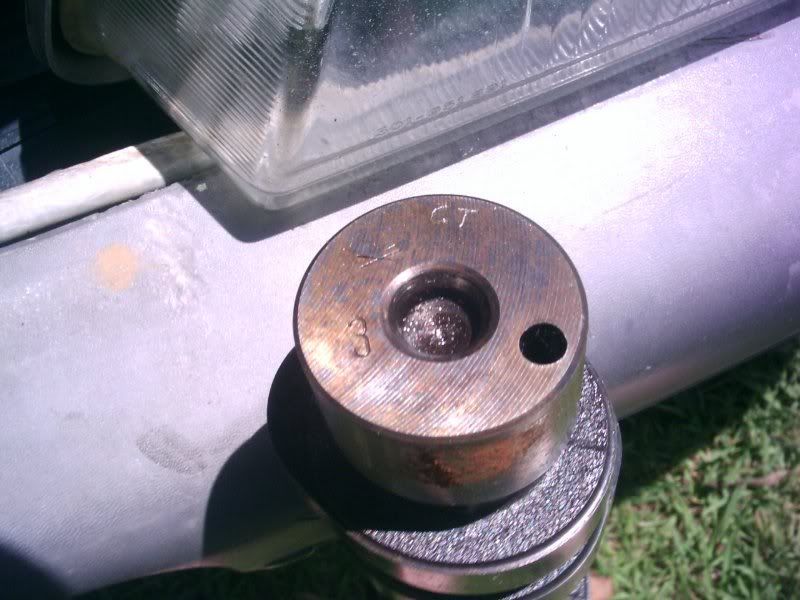
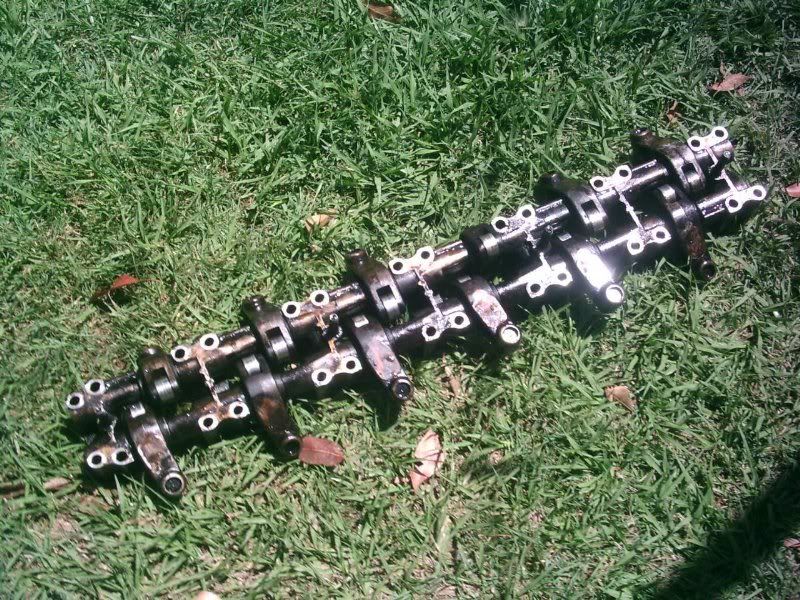
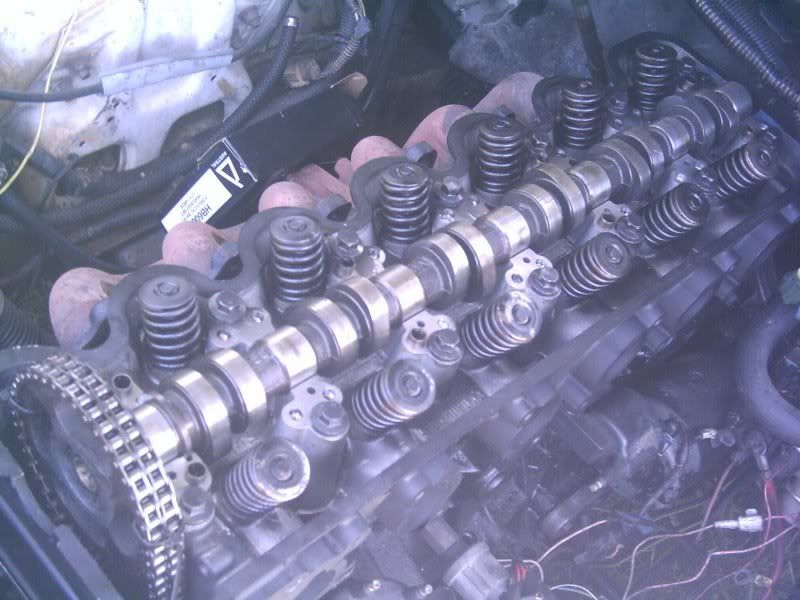
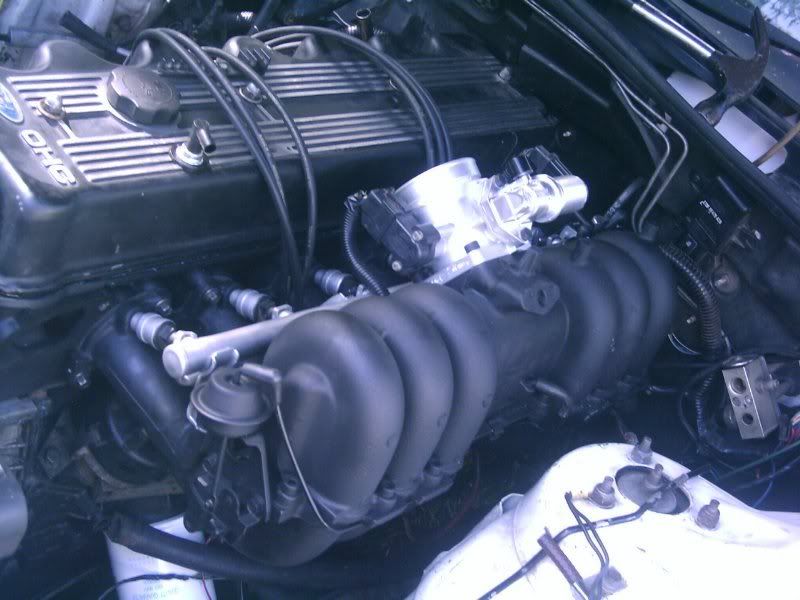
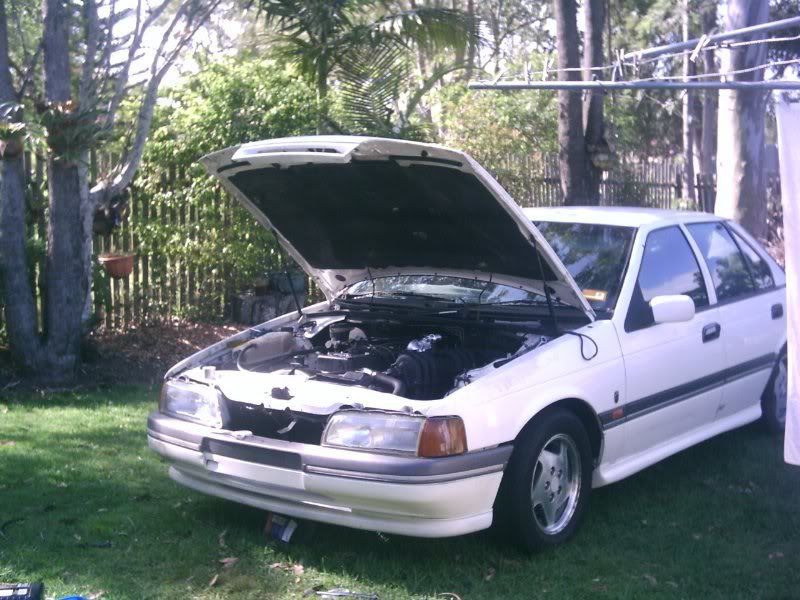
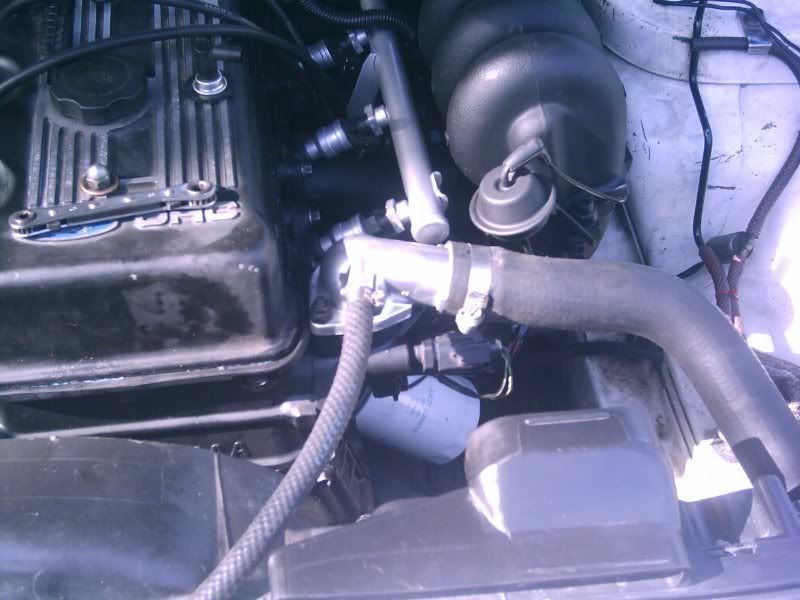
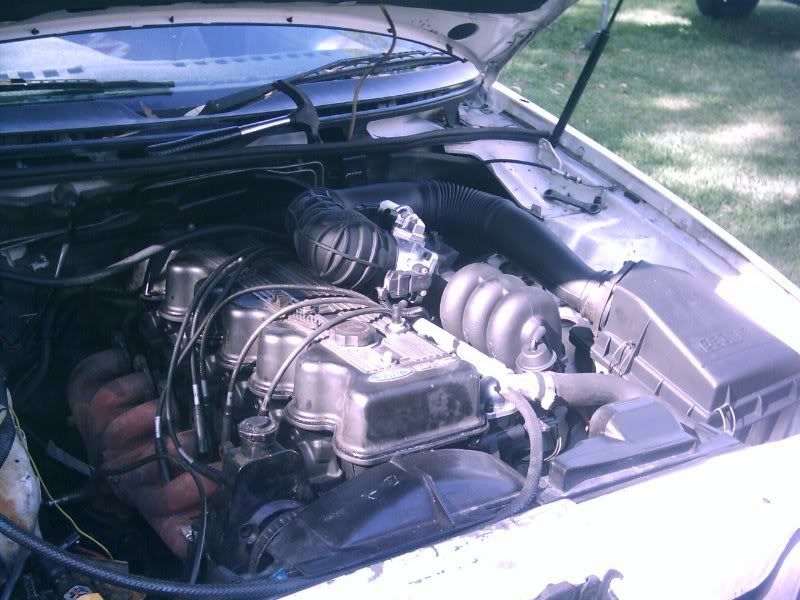
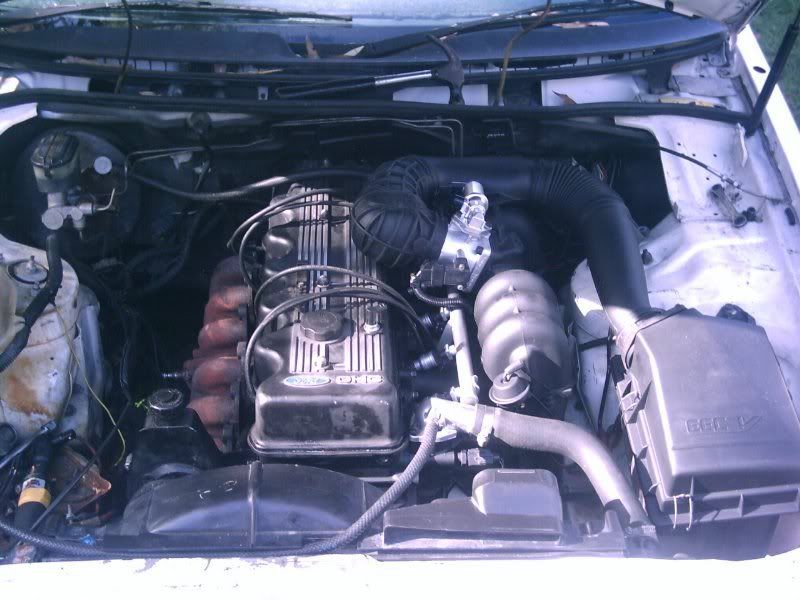
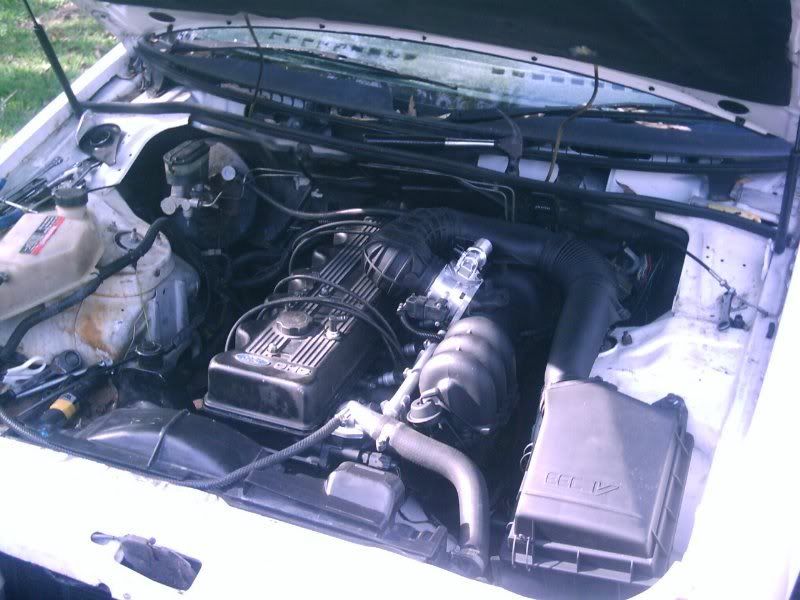
finally a worthy update... BBM is in. left to connect up is one hose under the manifold, and the fuel lines. the exhaust manifold isnt on as i need to buy a new gasket for it. i installed more shims into the rockergear to cater for the new cam
the radiator will be replaced tomorrow and the thermos installed. the problem i have ahead of me: brackets/battery tray for the EB overflow tank hoses for the tank (EA CPI radiator dosnt have the extra hose output for air) oh i also need to install the spark plugs. once the spark plugs are in and the exhaust manifold is on i can start the car 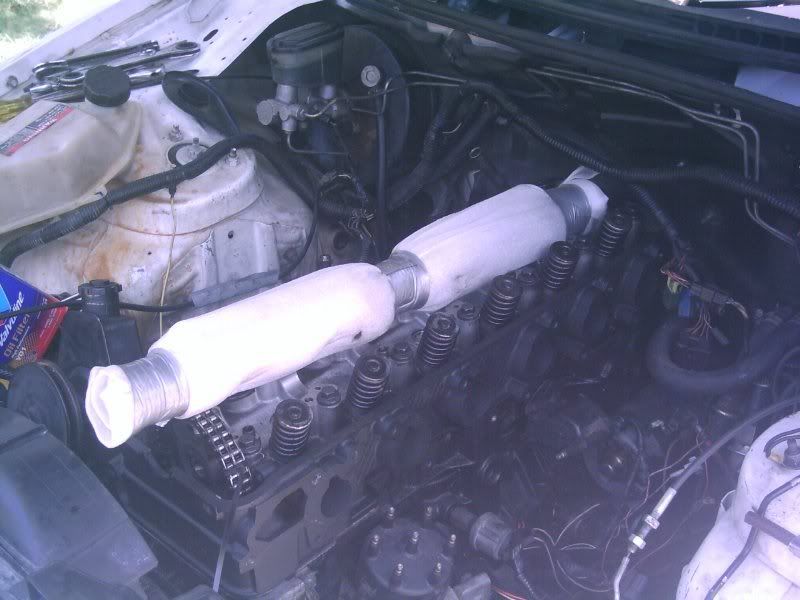
|
|||
| Top | |
|||
| benno's ed |
|
|||
|
Looking good mate keep up the good work
|
|||
| Top | |
|||
| fairmont599 |
|
||
Posts: 1135 Joined: 27th Oct 2005 |
bloody oath that look tidy. Hope she starts first go man. goodluck and it all seems to have been worth it
|
||
| Top | |
||
| TROYMAN |
|
||
|
HEY
huggiebear did you have to change the whole thermostat housing or just the top water neck???.. ive decided to do the bbm conversion. im going to get all the parts tomorrow i just want to make sure i dont forget anything. so far the only thing im not 100% sure on is the thermostat housing,water neck and the heater hoses ????? |
||
| Top | |
||
| estgonXR6 |
|
|||
|
Nice job....
So what type of cam did you give her..??? I wish that I had some spare time to tidy up my engine bay, But ill prob do that when I do my CAPA blower upgrade.. NICE |
|||
| Top | |
|||
| huggiebear |
|
|||
|
you need the BBM itself, with all the hoses and pipes coming off it. you WILL need the heater hoses as the EA-ED hoses hit the bottom of the BBM and you have to firce it in (so i found out - i got the spares)
when you do it you need to remove 2 loom pieces not just the one as the EF/EL loom has both looms in one (i guess i have a modified EL loom not the modifed EB one as i firstly thorght) oh and gasket paper is a good purchase too i used the EL thermostat housing as the pipes drop differently to clear the bottom of the BBM. also there is different sensors in there. i havnt worked out where the plug is or what the yellow sensor is. the cam is actually unknown, it was claimed to be a RPD stage one BUT i emaild jaysen about them and he said the markings dont match his. i also emailed a few other companies and they too gave me the same answer |
|||
| Top | |
|||
| TROYMAN |
|
||
|
ok
i will get the whole lot .. i will probably use my ea loom and lengthen the ones that need to be modified .. .thanks huggiebear |
||
| Top | |
||
| huggiebear |
|
|||
|
no problems.
still to be done: thermo fan install power windows new dash possibly climate control engine bay painted black - heatproof enamel LSD install (have to fix the brake line T junction T5 gearbox with HD clutch so hopefully if i get time tomorrow ill strip the power window mechanisms out of the spare doors i have and remove the interior of the falcon to put them in. but i dont really want to leave it half done till i get time in a week. had anyone made brackets or made a replica battery tray and bracket for the overflow tank? i had a look today and i have to remove the one from the EB and weld it into the EA to fit it all unless i go custom. so im unsure on what to do about this bit |
|||
| Top | |
|||
| Who is online |
|---|
Users browsing this forum: No registered users and 56 guests |