

|
| nicco |
|
|||
|
Some of you proly remember me trolling around here earlier on in the year asking for info on wiring and different amps and so on. Well, i finally got the opportunity to do some work to the car. (See I'm not all talk... mostly!!
Originally the system I had in the car consisted of: Pioneer MP3 HU 4 x Kenwood 3 way 6" speakers (in doors and parcel shelf) 1 x 12" Kenwood 800W Sub (400w rms) Clarion 2 Channel 200W (1 x 100w rms or 2 x 50w rms) amp I installed all this into the car back in year 12 (2004) and it did good... for a while. 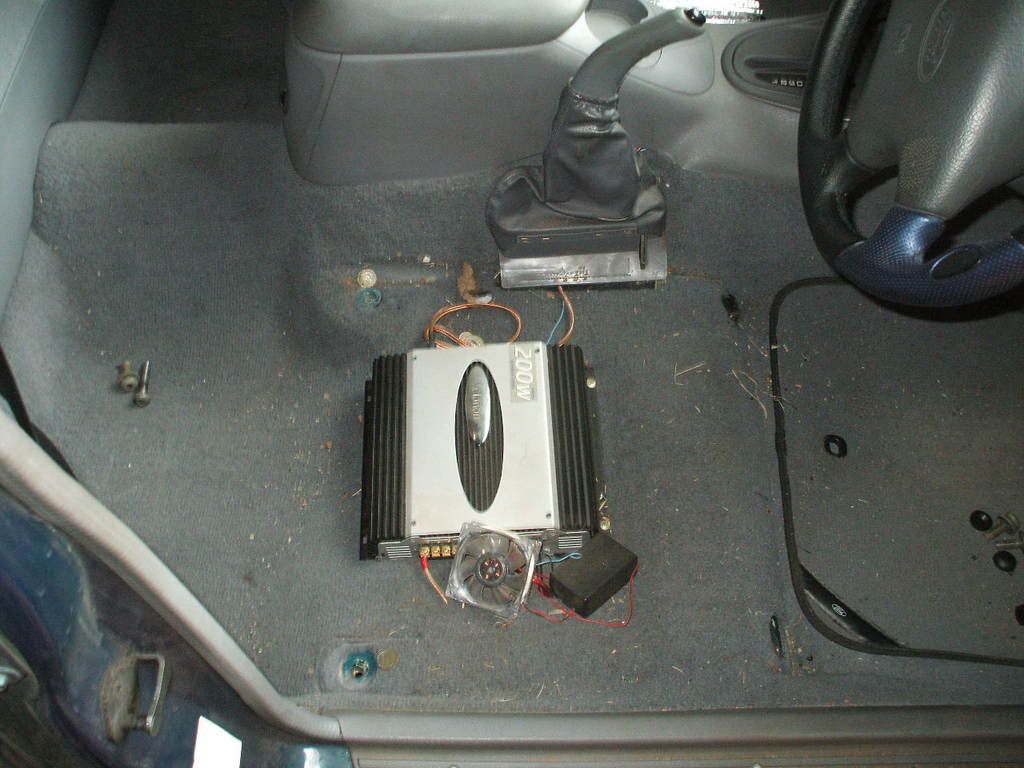
(Old amp under the drivers seat) 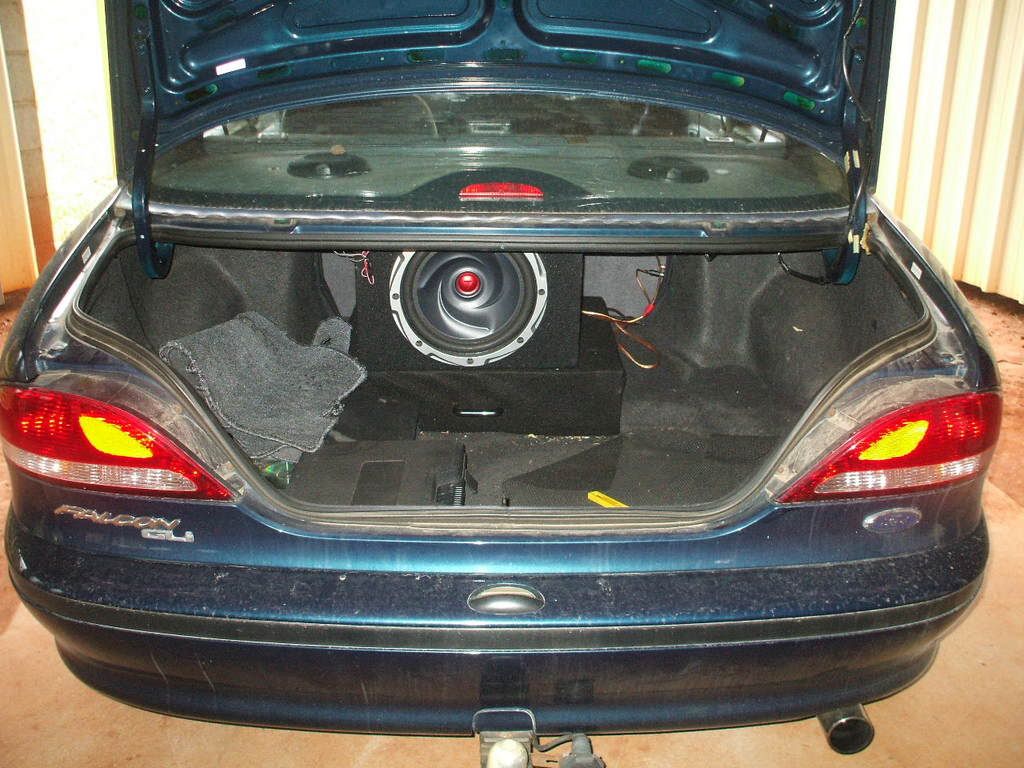
(Sub sitting in place with my old shelf that i made up) At the start of the year, I helped a mate install a HU and some speakers into his *cough* daewoo I am more into a nice SQ style system than an SPL system, so first thing i went out and bought were some Alpine SPS-171A splits for up front. I ran these off the head unit untill last week, and they sound amazing, specially compared to the, at best, average kenwood 6". 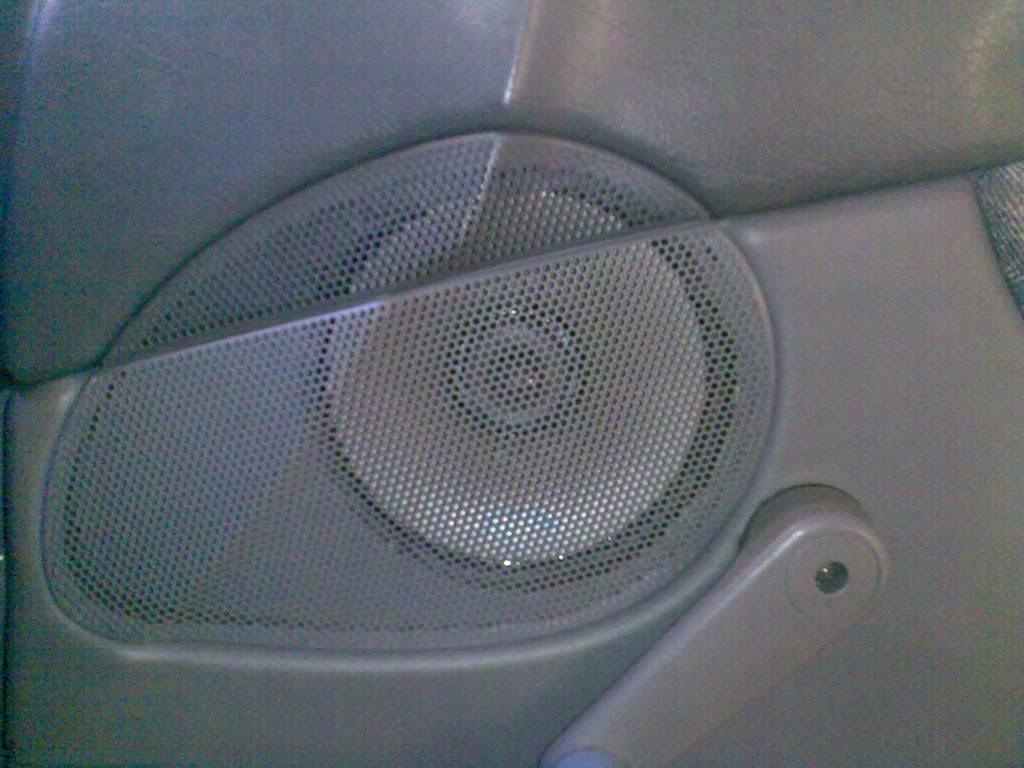 [IMG]http://i226.pho [IMG]http://i226.pho
(btw: the alpine cross overs fit perfectly above the headunit and below the middle air con vents I was half tempted to just leave it at that for... ever, but I know this is wasting the good splits, which really deserved to be amped. They also run at 50w rms (hello, same as the amp i already own!!) I was on the look out for a decent monoblock at a good price, and was looking at Jaycar stuff, but instead i stumbled across a Kenwood KAC-9103D amp at the right price (~$200 less than retail over the net) This puts out a solid 500w rms @ 4 ohm, 900w rms @ 2 ohm and "over" 900w rms @ 1 ohm. Once this was done i started planning to do the install over the mid year uni holidays. This got put back untill the mid semester break as I had to go to northern NSW for vac prac over the hols!! Day 1: So last week was D day. Firstly, strip out the boot lining of the car. First thing i find is that the old shelf I made for the sub had got wet at some stage over the last few years... got to make sure that doesnt happen again.  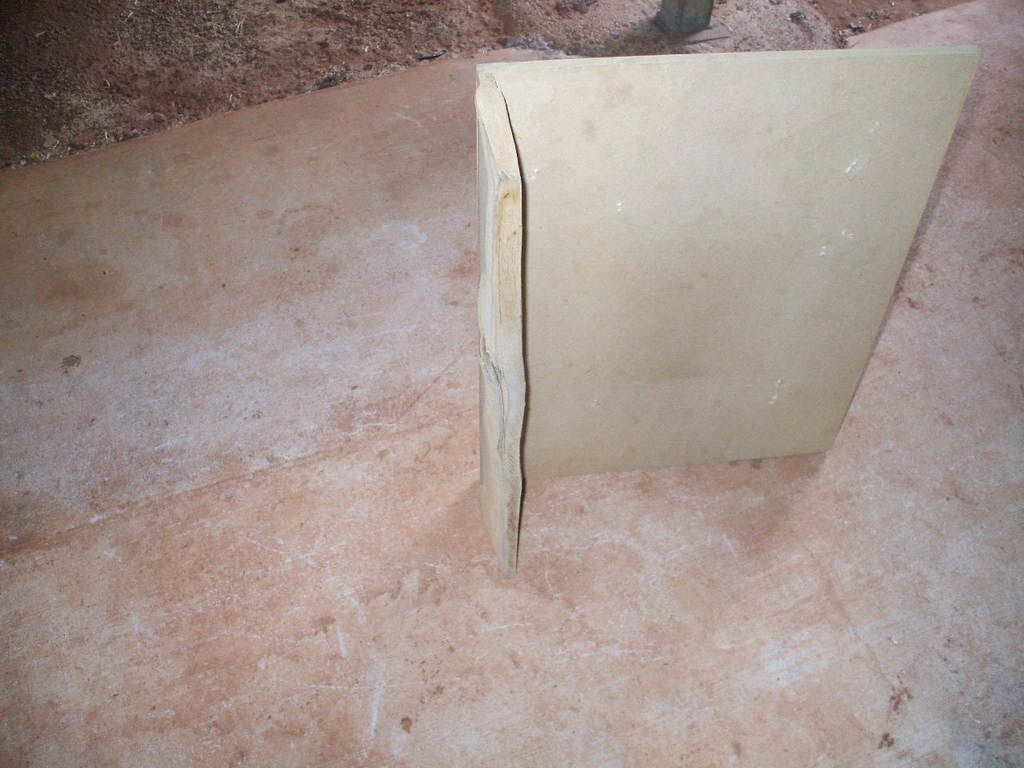 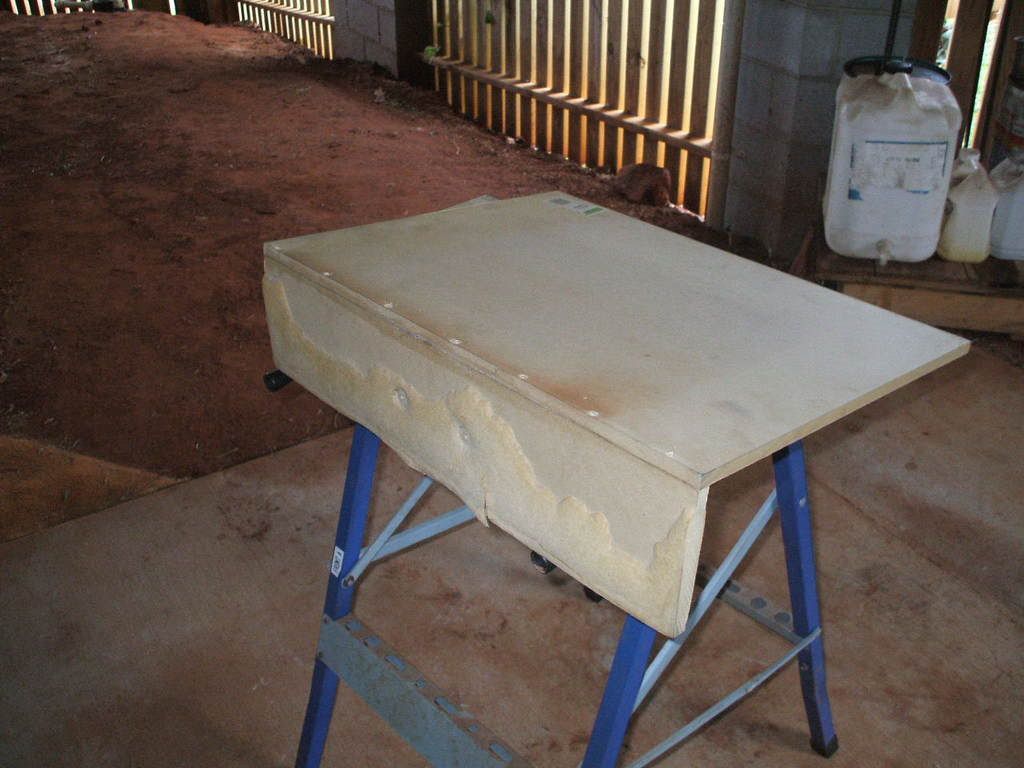
Next thing was to work out roughly where the amps were going to sit in relation to the boot. I was going to have them on separate platforms but i had a perfect sized bit already cut. 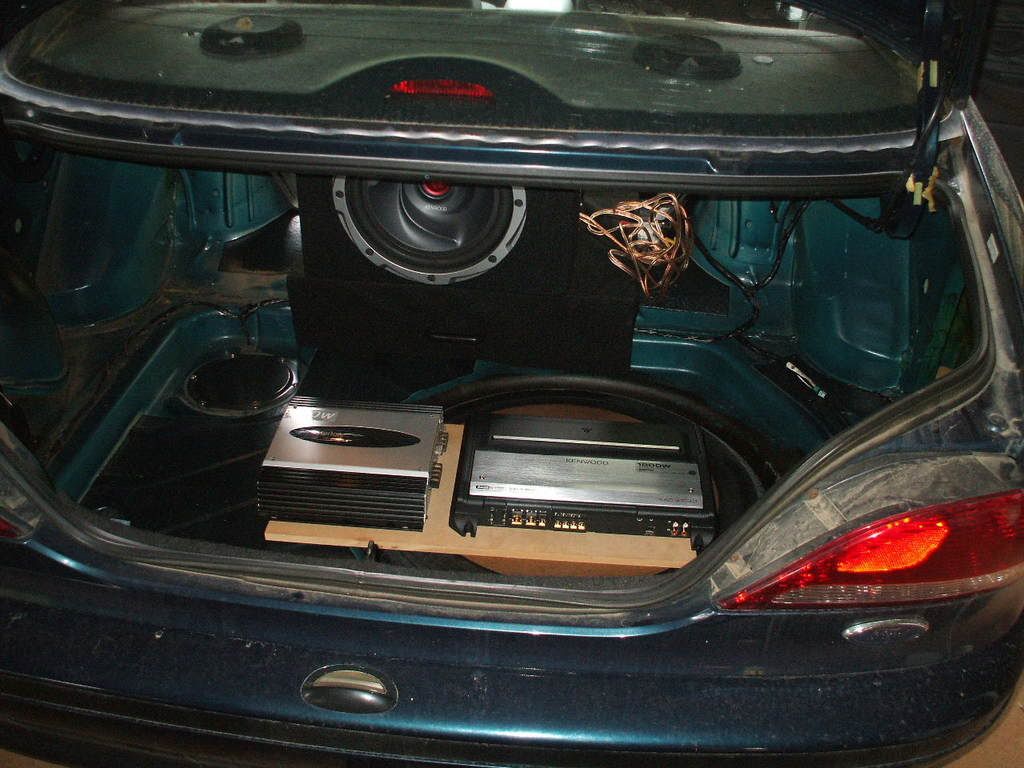
From here i worked out where i was going to put my toolbox. Dont want to have to leave that out!! 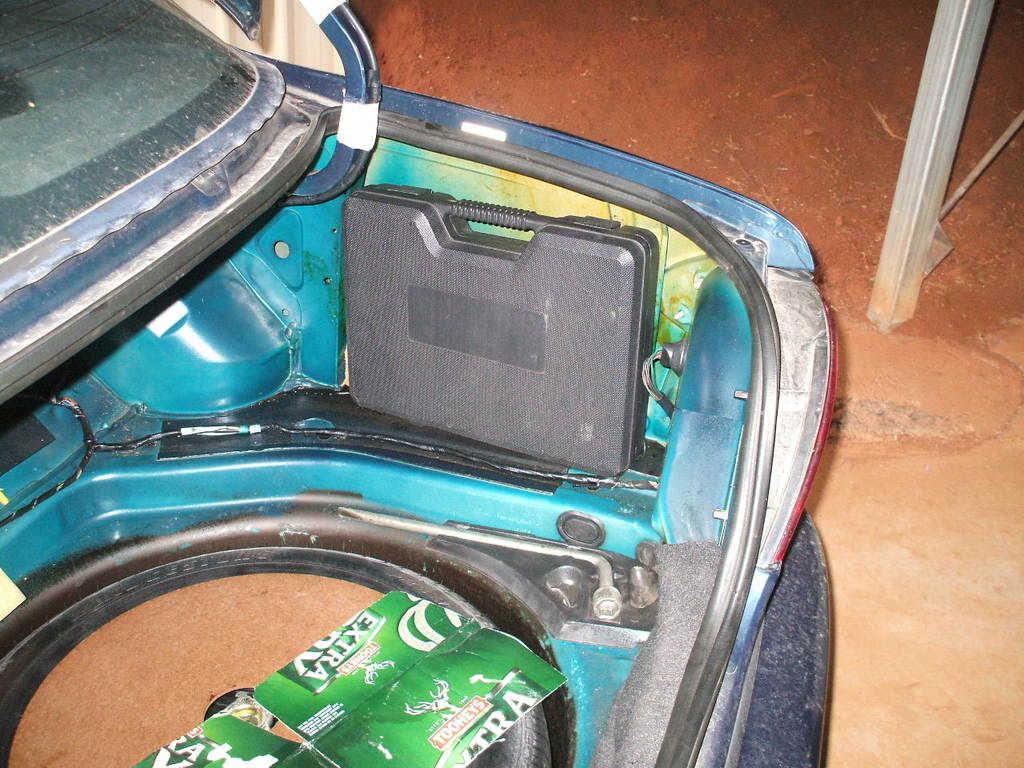
The next thing was to set about making up a basic frame for the floor to sit on. First I mocked them up out of cardboard (hence the TED cartons lying on the ground in a lot of photos 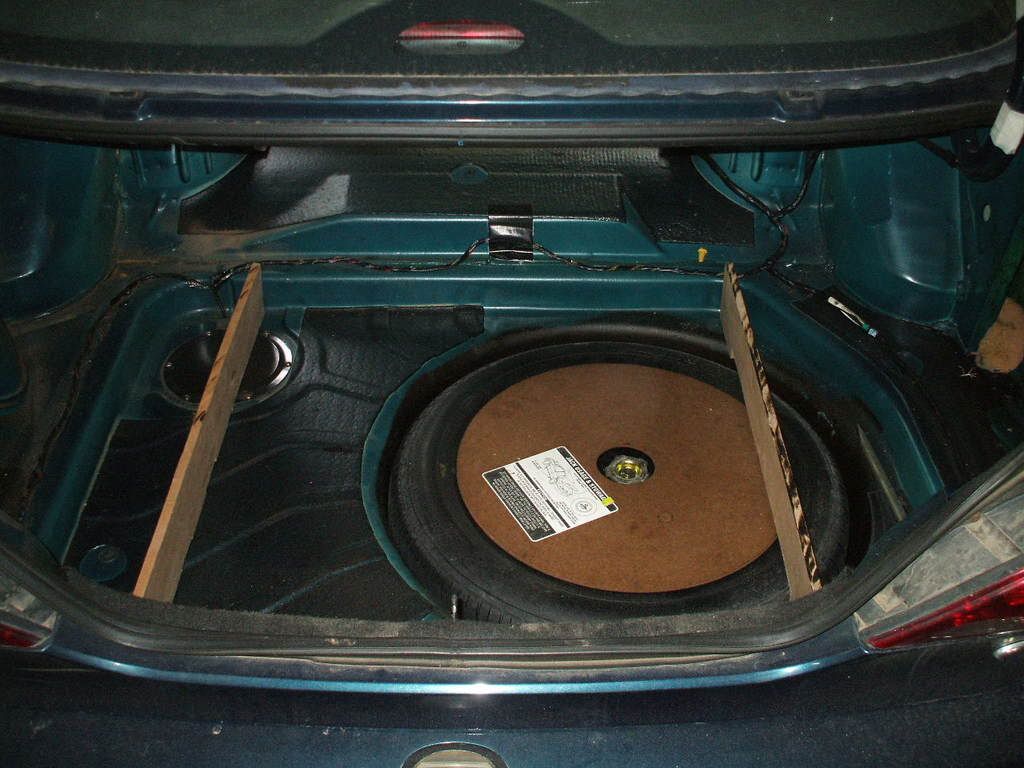 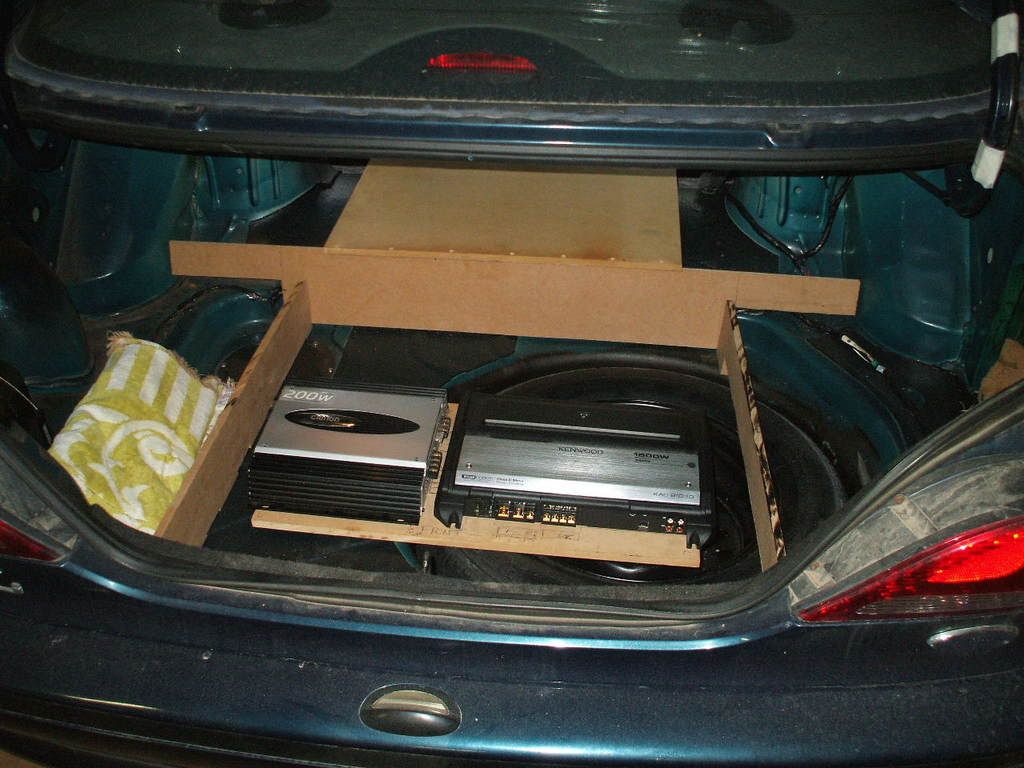
Day 2: I decided overnight that it was a good idea to get the wiring roughly in place before doing to much wood work, so I spent day 2 doing that. 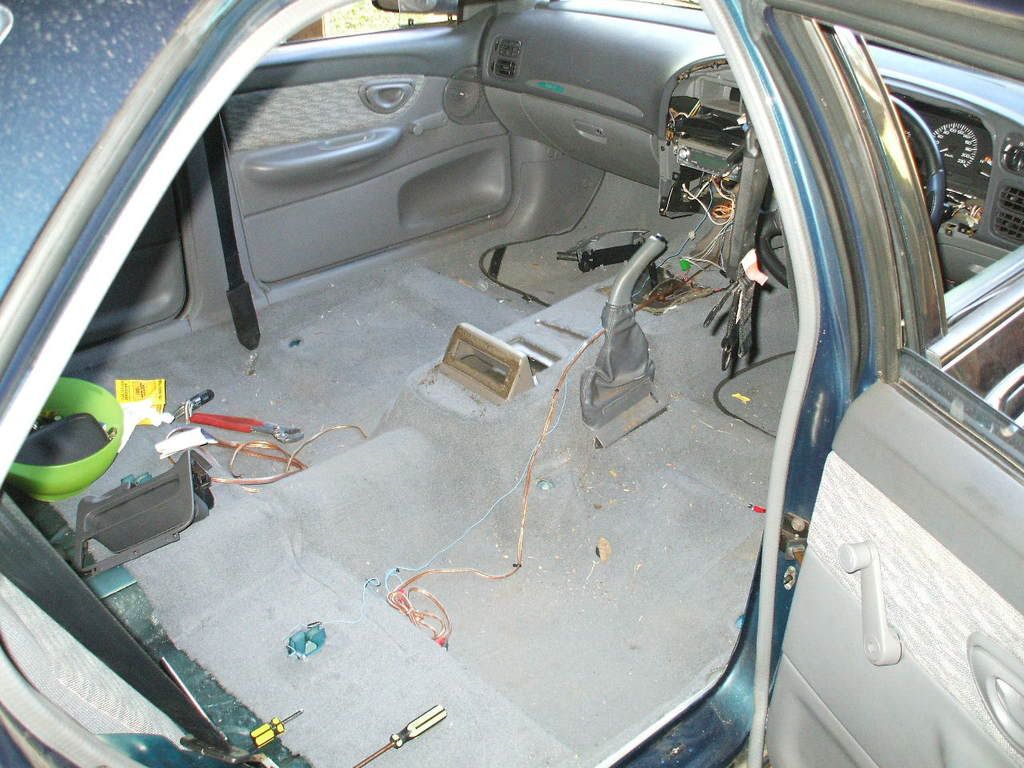
At this point I'd like to thank my Ebay special wiring kit for being half the price i could find it anywhere else!! 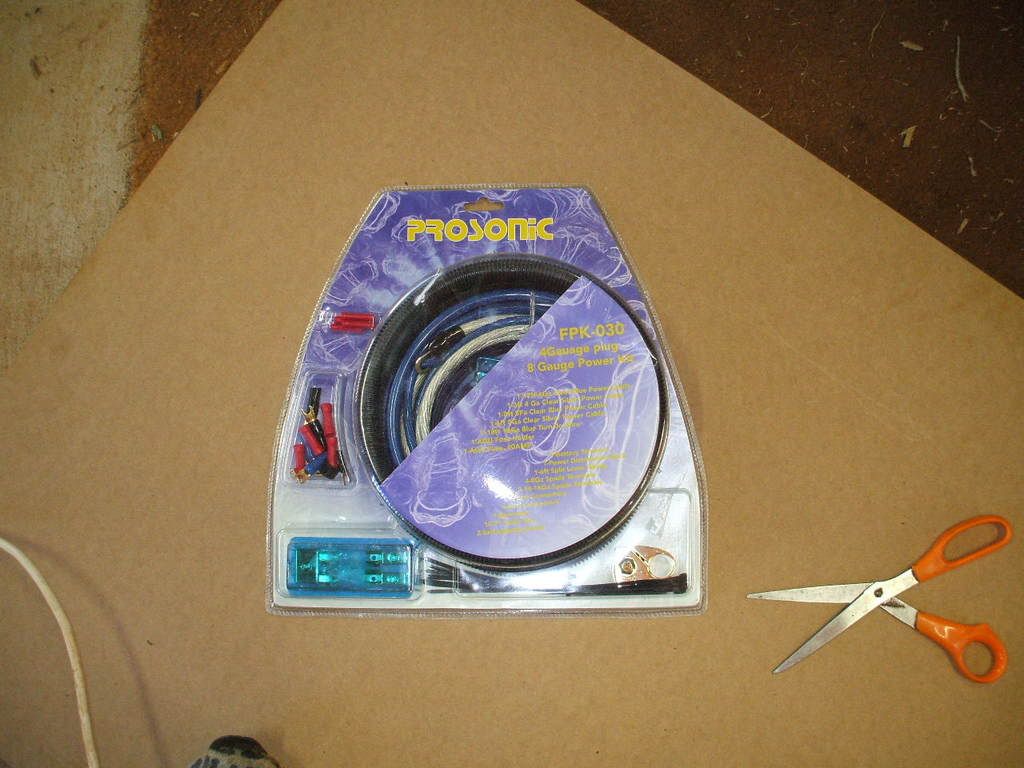
Most of the wiring was fairly straight forward, but i decided to run the power cable in behind the headlight and over the wheel arch for three reasons: a) Its nice and neat. b) No drilling holes. c) Thats where i had it last time, so i knew how to do it. (Thanks to Joolz for the inspiration on that one back in 2004) 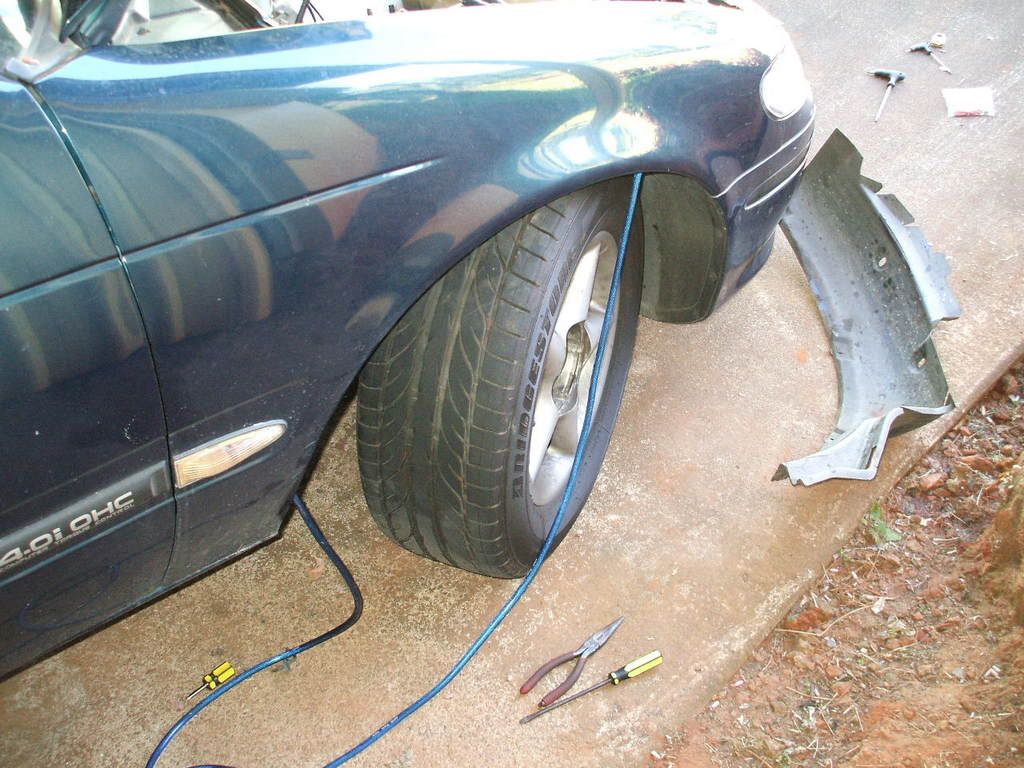 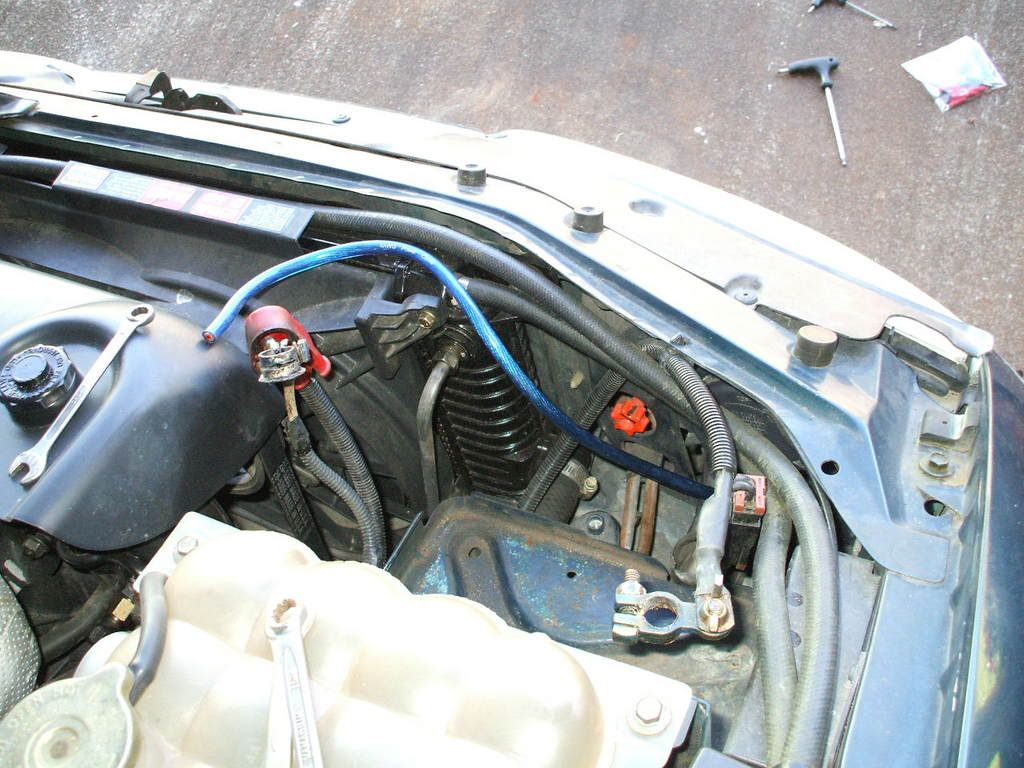 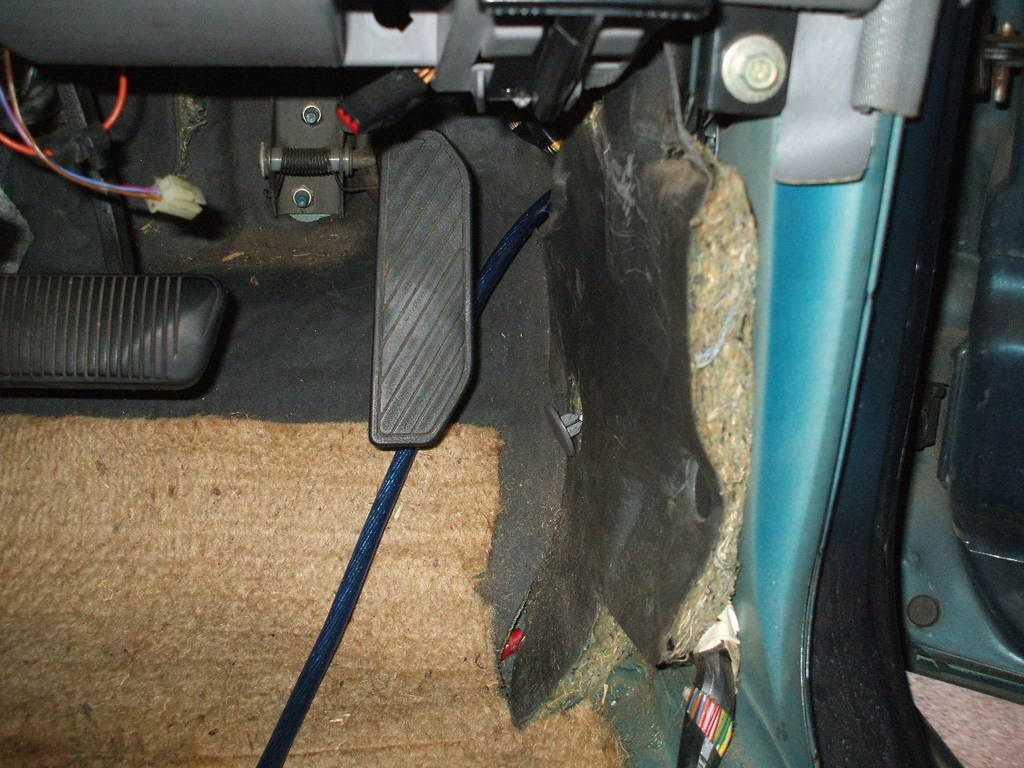
Another thing i wanted to do was use an ANL style of fuse, i had contact issues with the old AGU one i had and had to bodge it up to contact properly. This new fuse holder is a big bastard and hard to fit anywhere around the front. This is what i came up with. 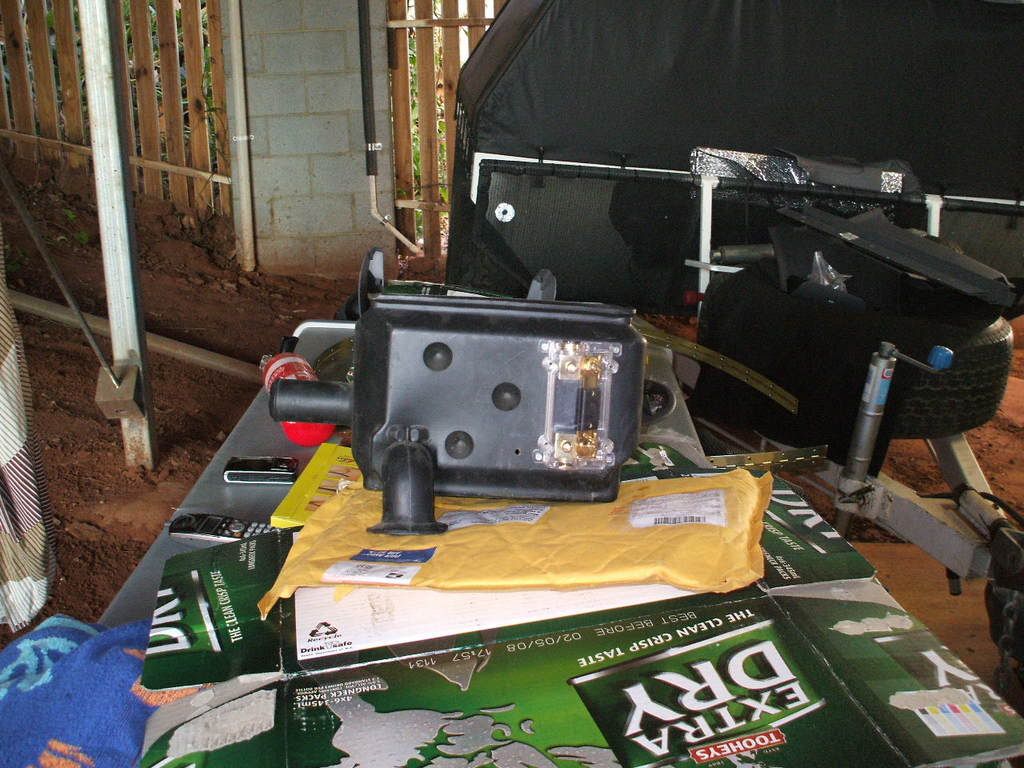
After that came a test run to make sure it all worked at least kind of properly. 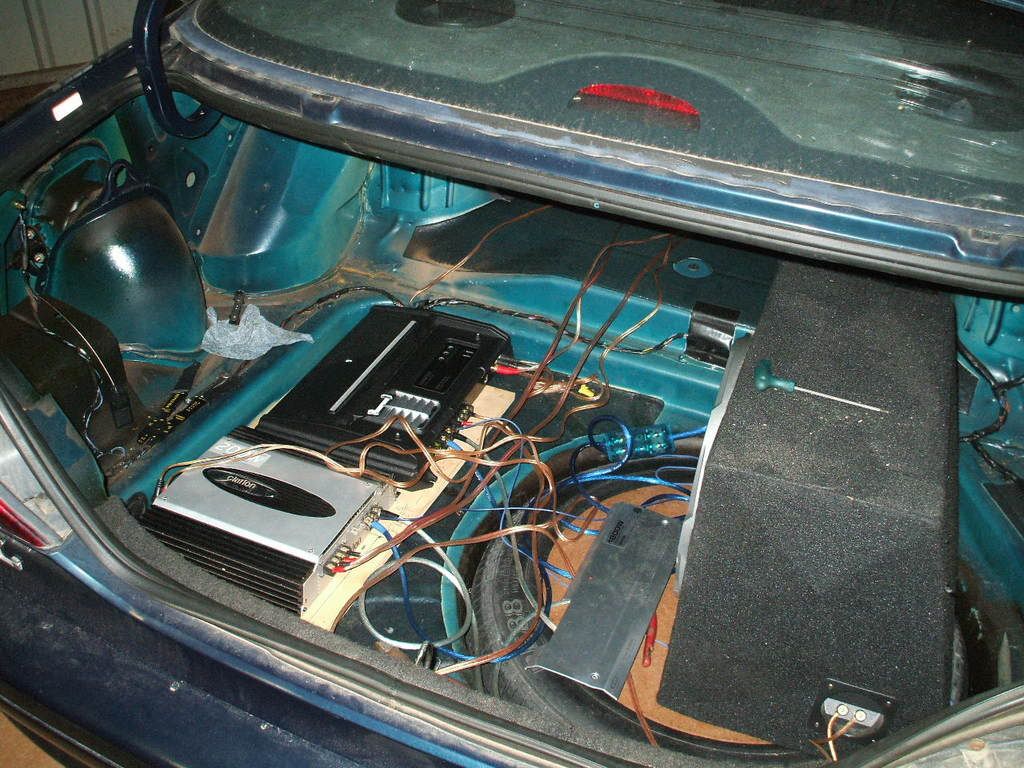
All worked except for one side on the splits. Thats cool, I obviously didnt wire it up right, i was in a hurry. Day 3: My now race spec falcon (drivers seat and no other interior 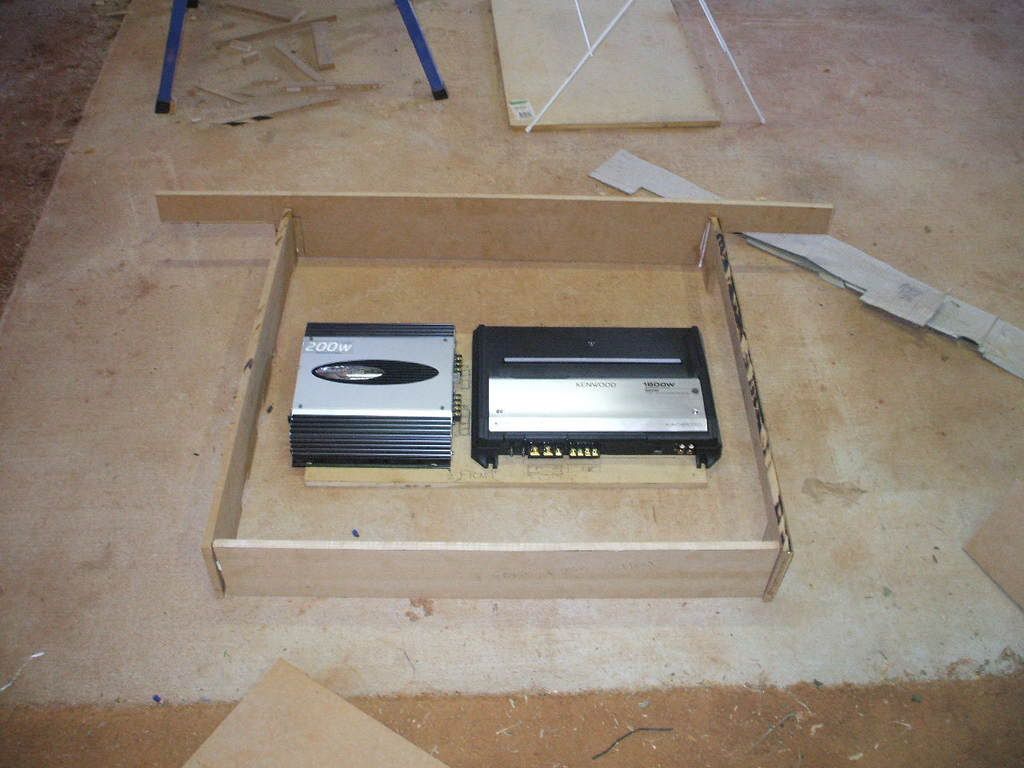
(With the front support board i made up) Next was the side floor bits. These were also mocked up out of cardboard to get the curve correct around the shock towers. 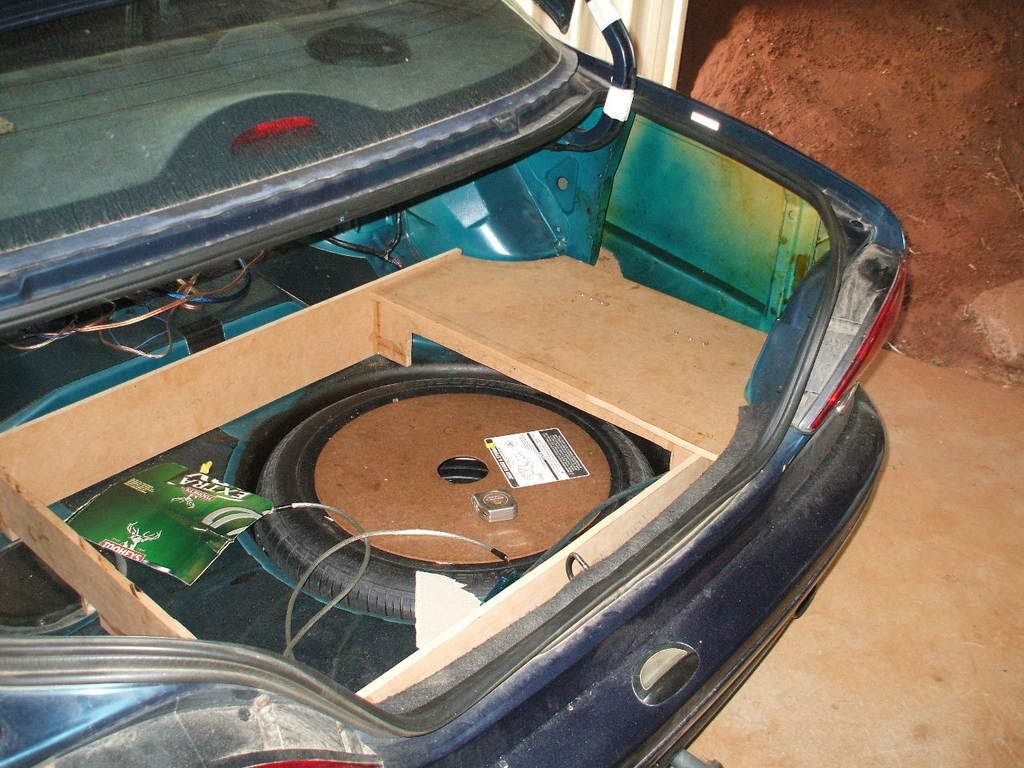 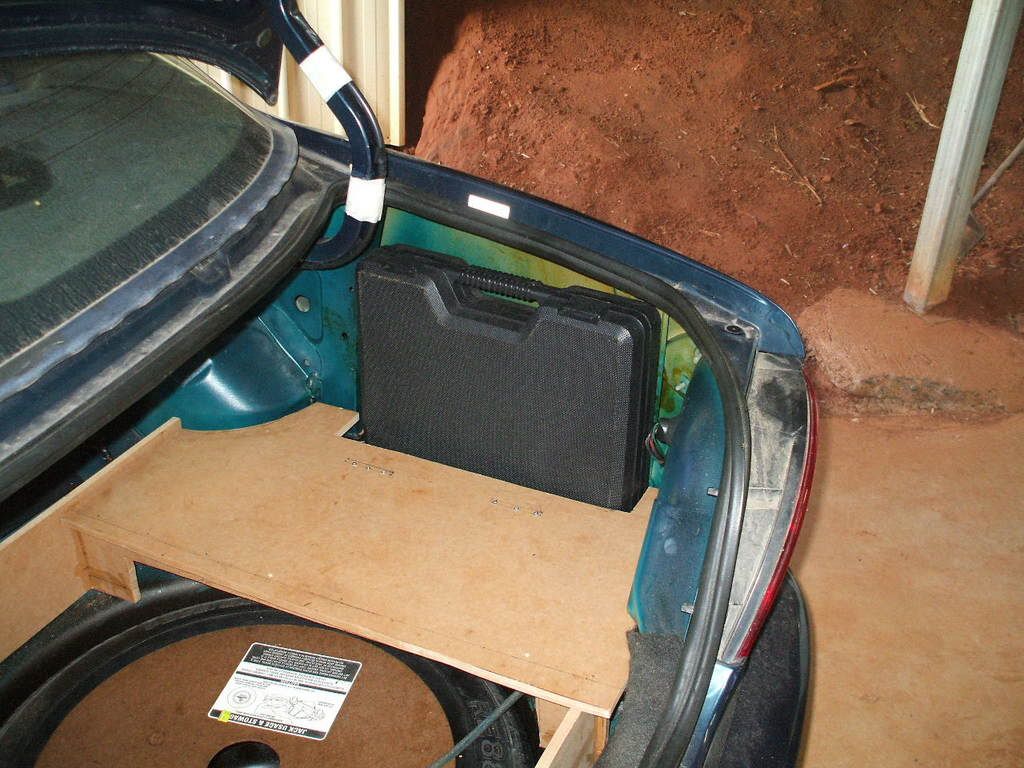 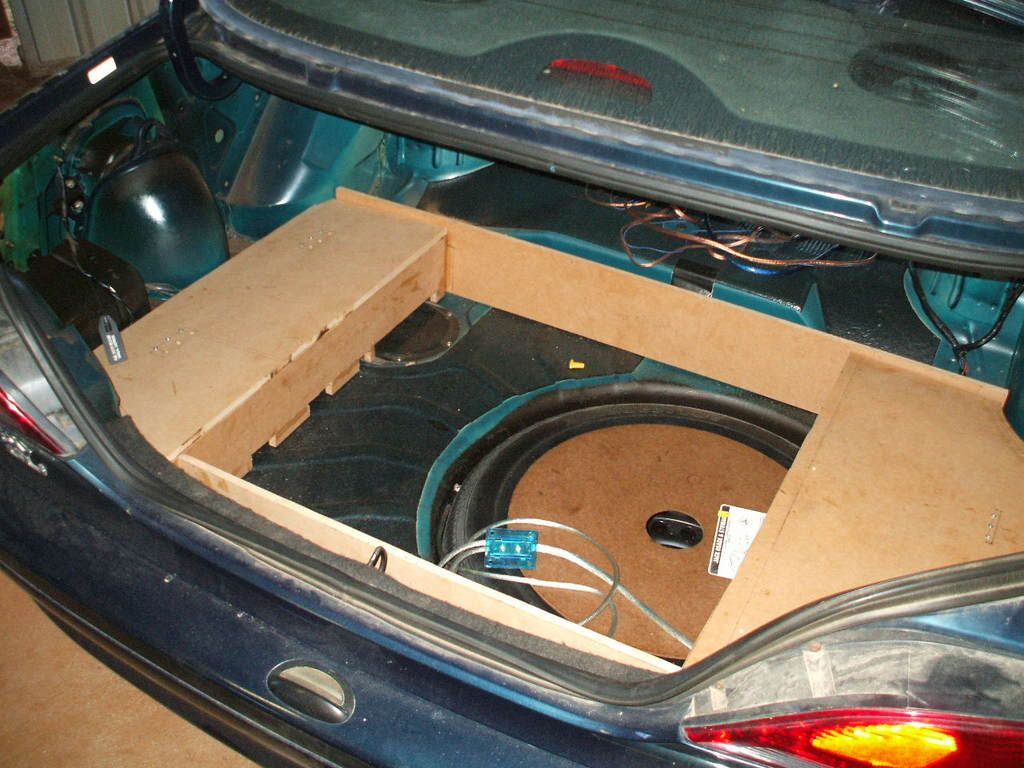
At this point i realised it was a little tight around the amps... but it still fit, so I was still happy. 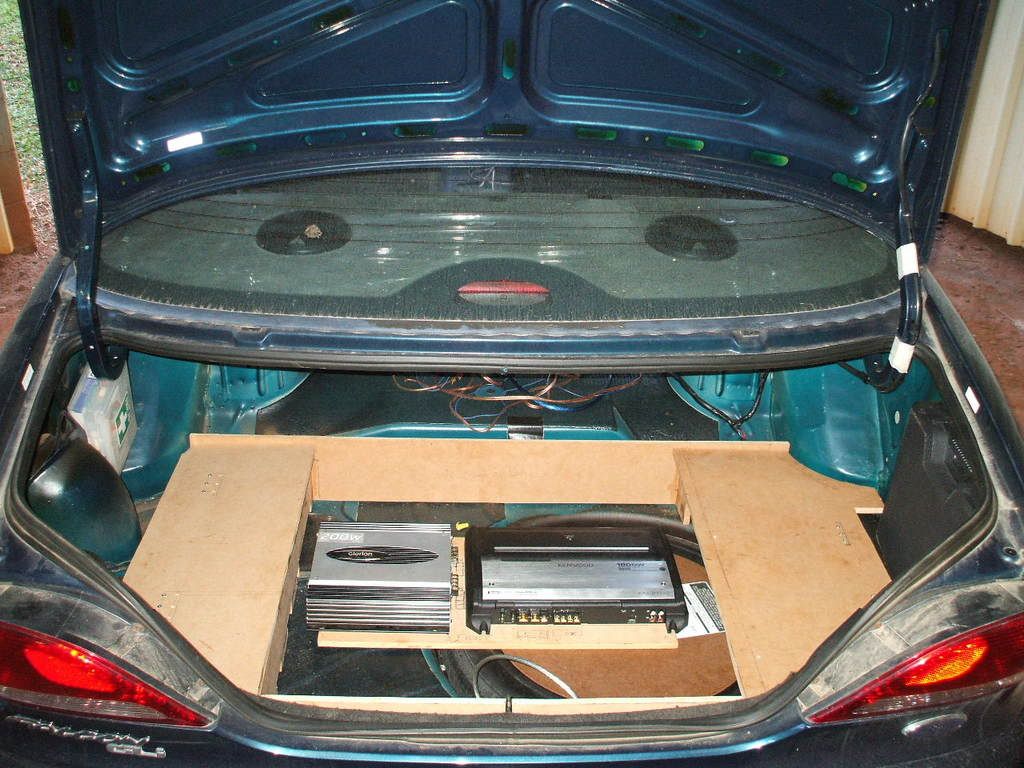
From here the last thing for the day was to make a floor for the centre bit. 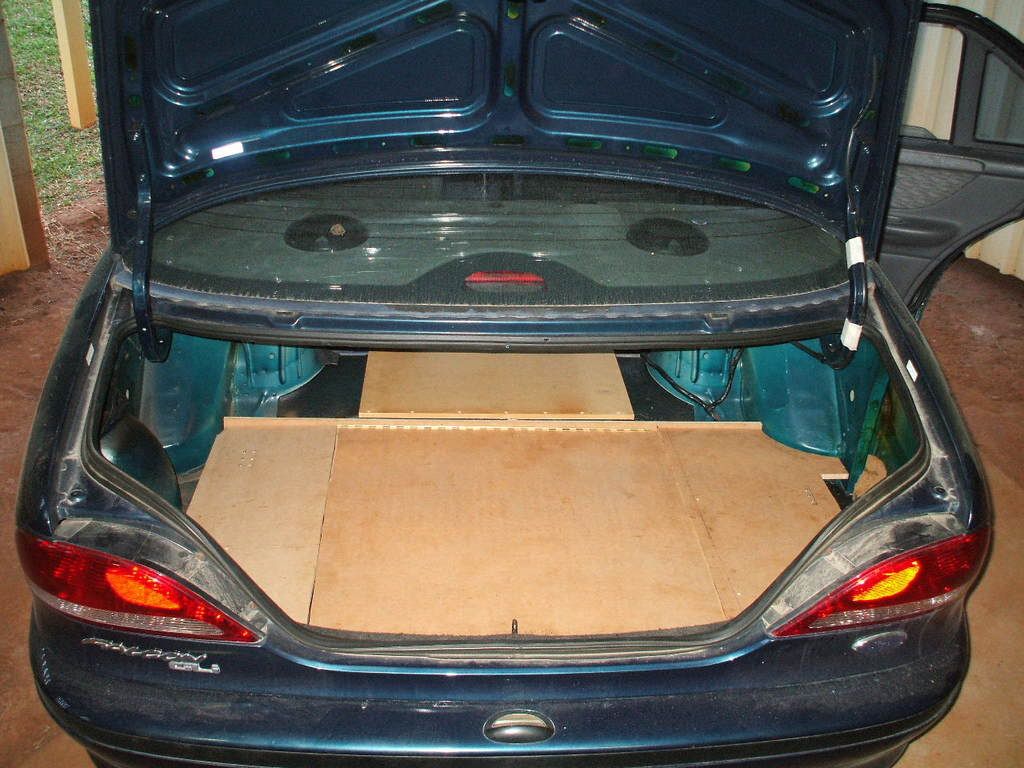 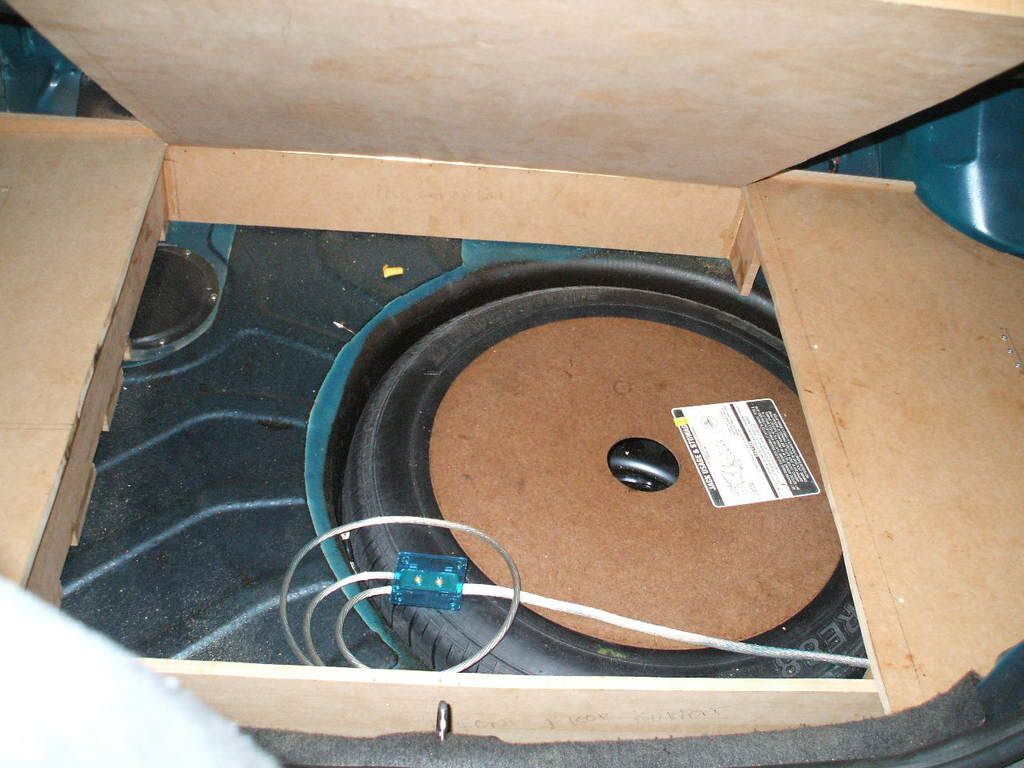
Day 4: Now i had to make the cradle for the amps to sit in. First off the "front" bit. 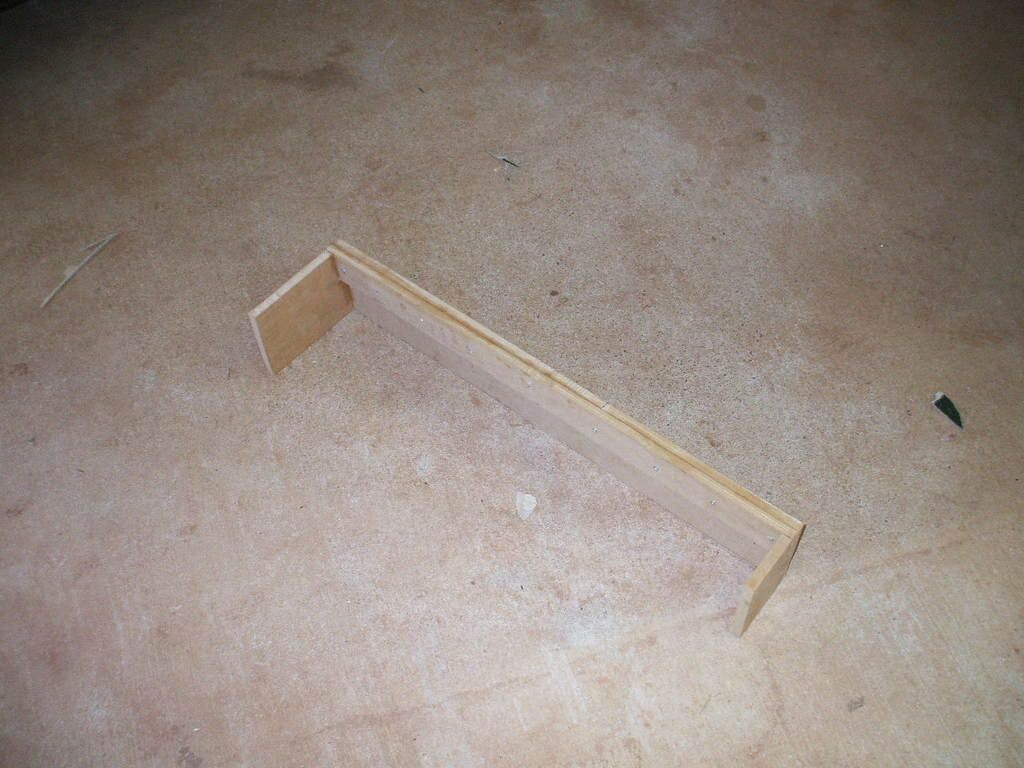 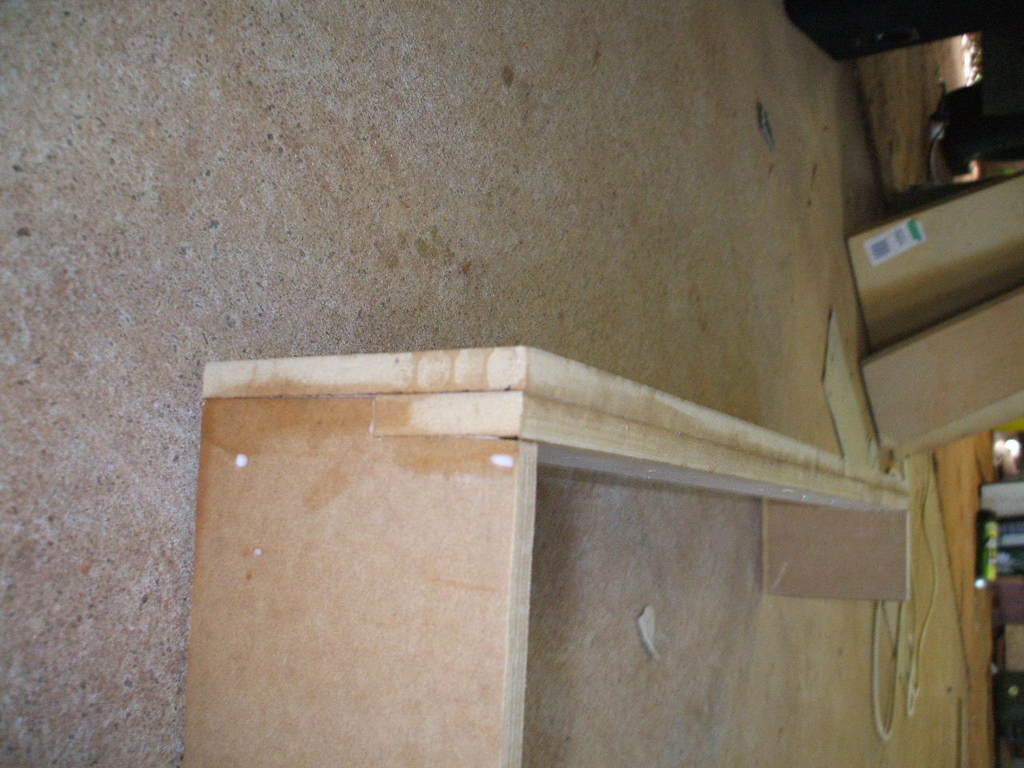
I was almight proud of my work in that second pic, fit together first time sweet as!! Then came the rear bit which then all got bolted to the floor. Did more work than photos here, so it jumps from the rear bit to being bolted to the floor and the hatch in the floor being cut out. 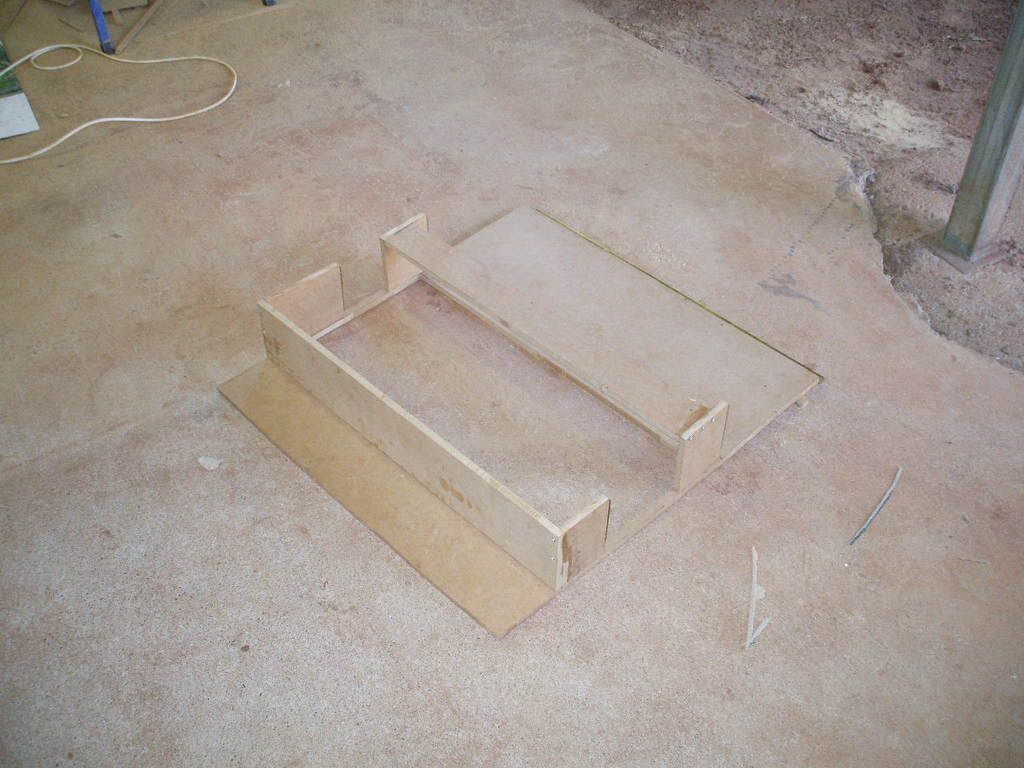 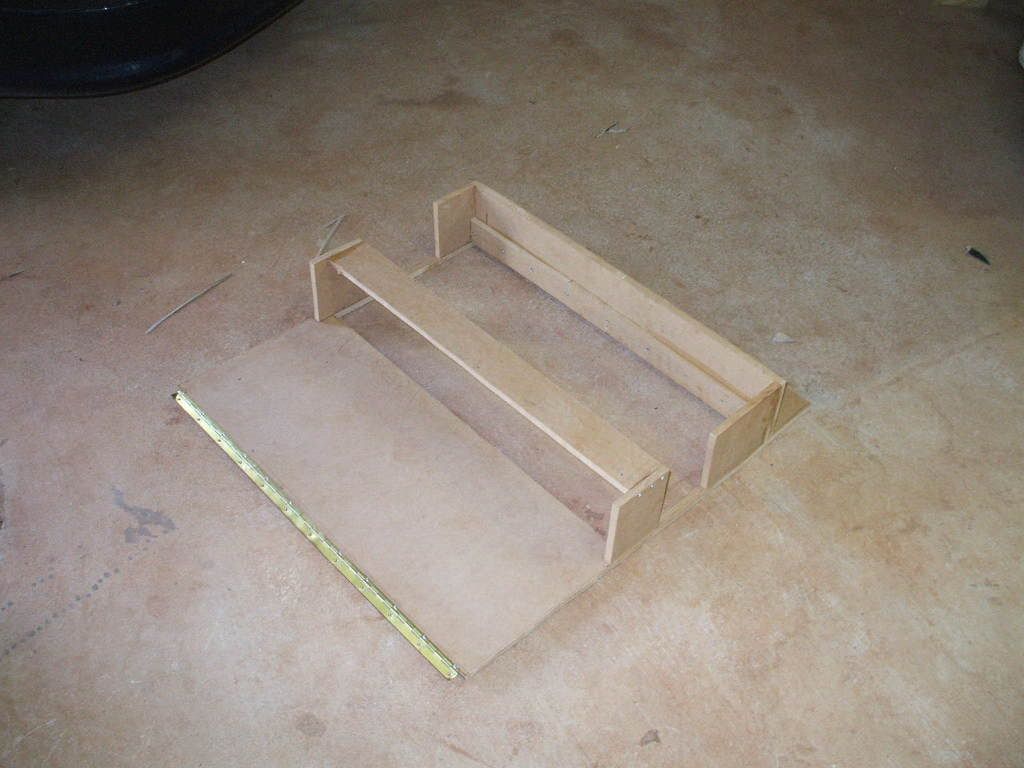 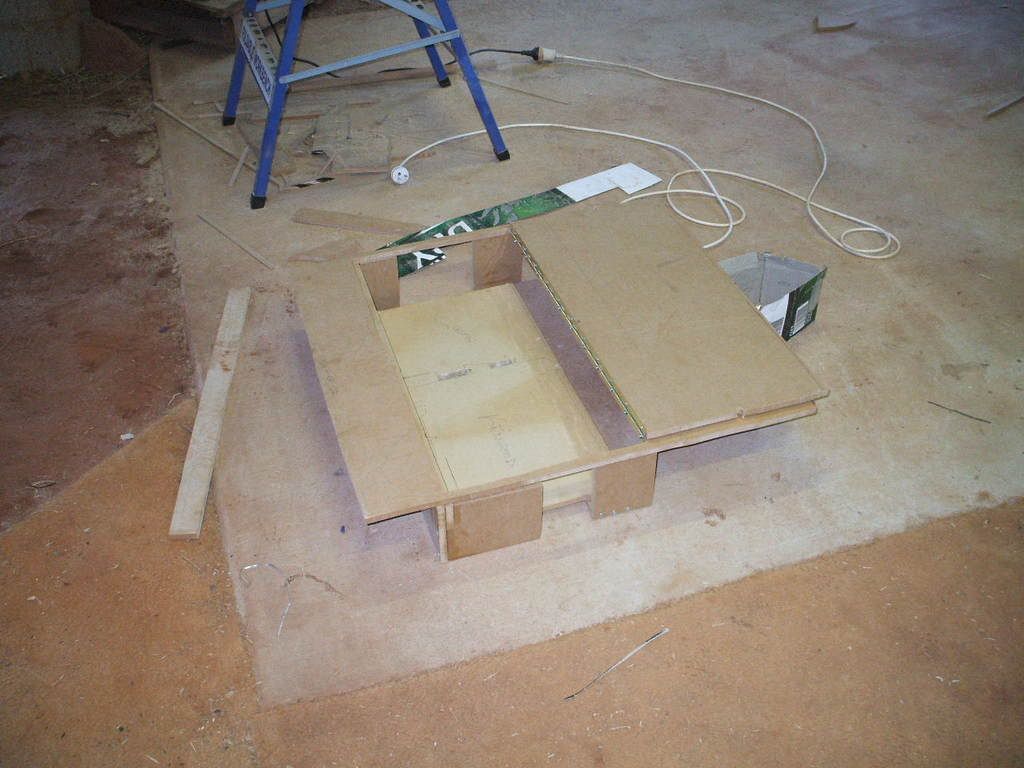
To finish off the day, i put a hinge on the hatch and bolted that in place. 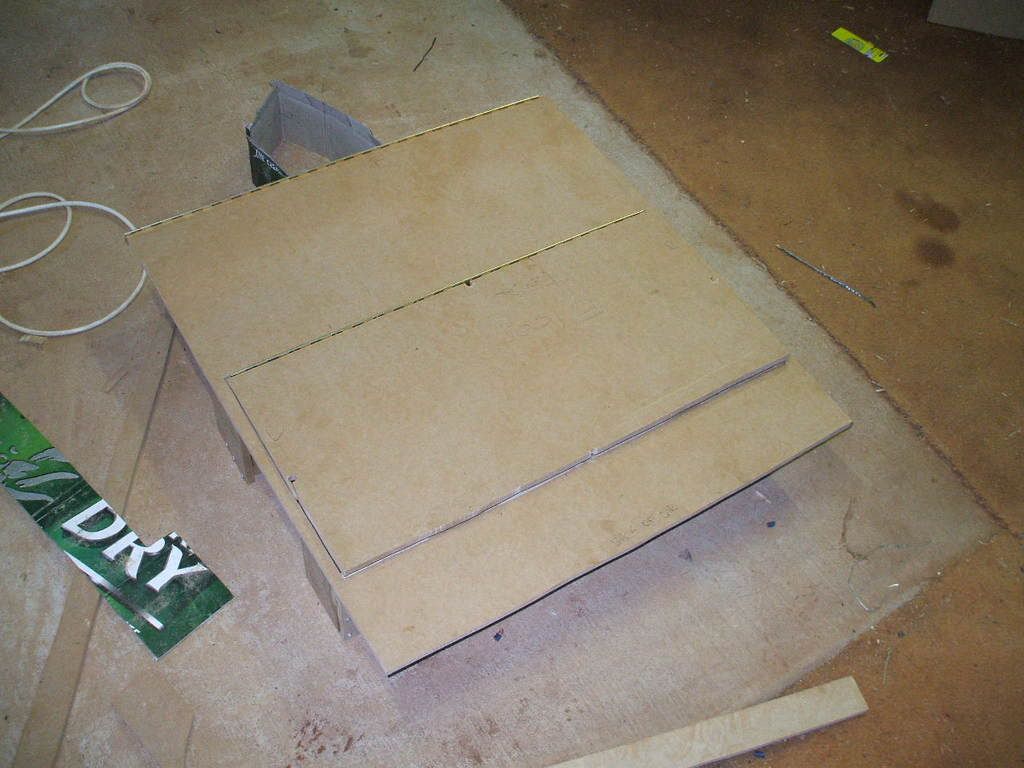 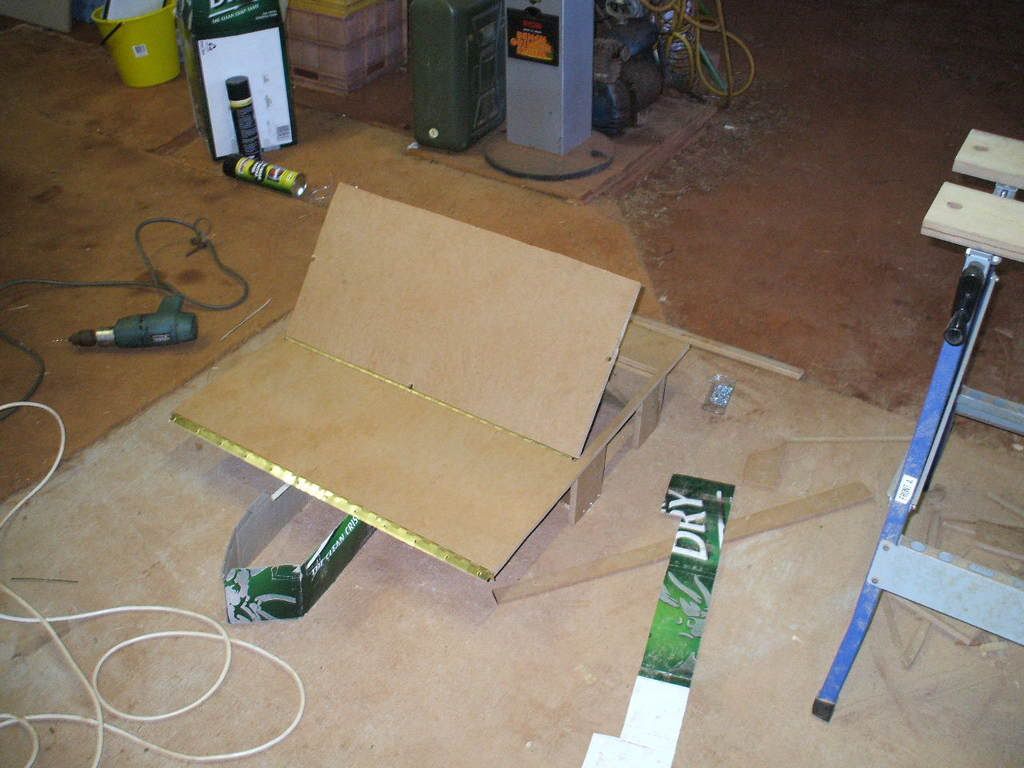 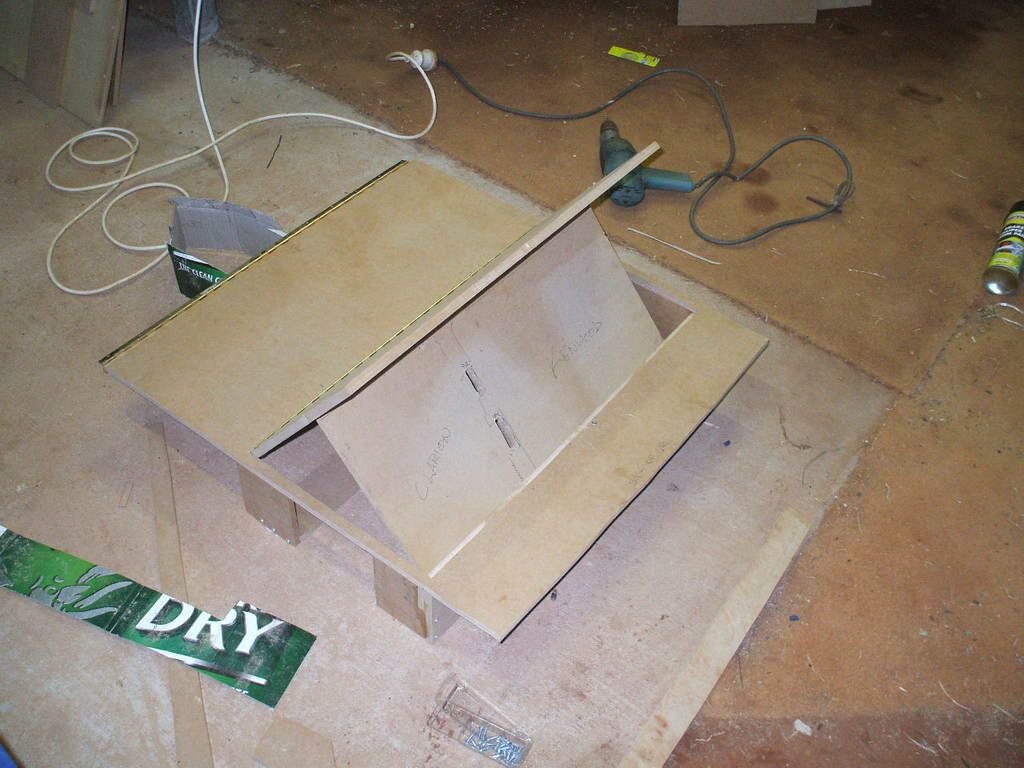
At this point you should get a bit of a feeling for what the final product should be like. Day 5: As you may or may not have noticed the side around the hatch on the floor are particularly thin, this obviously needed some bracing, but space was an issue. If i made a brace around the outside, it would foul on the frame, and if i did it on the inside it would foul on the amp rack itself. So a good friend of mine suggested using some metal to help spread the load (of course, i had my head stuck on wood... not like that you dirty bastards!! 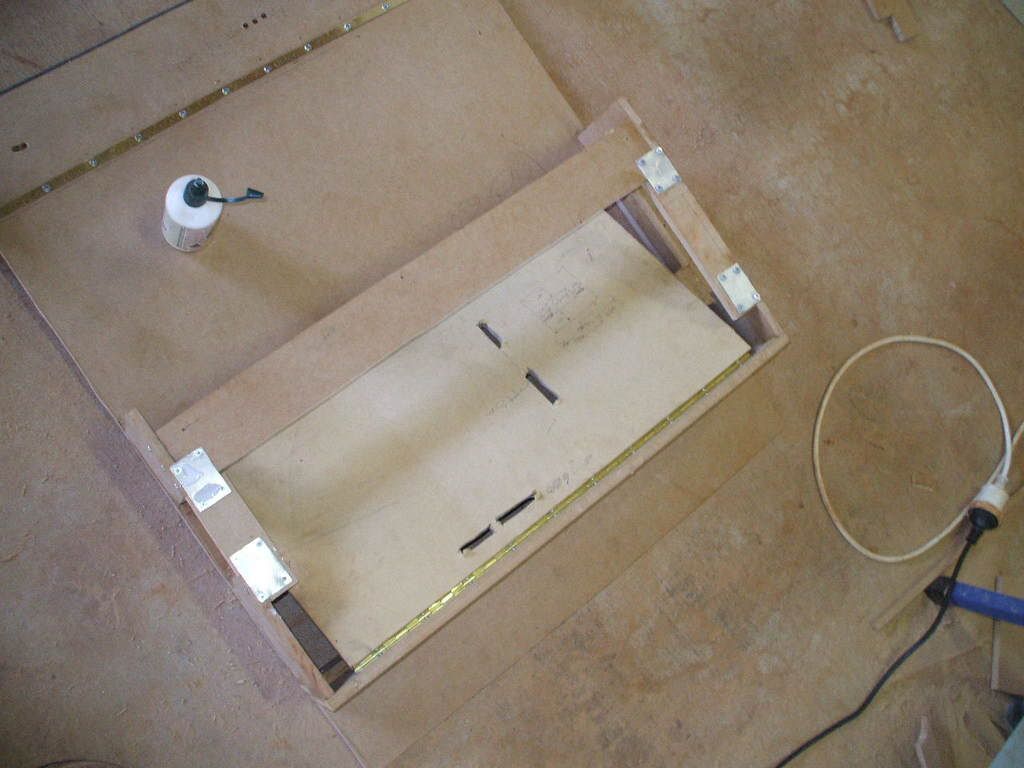 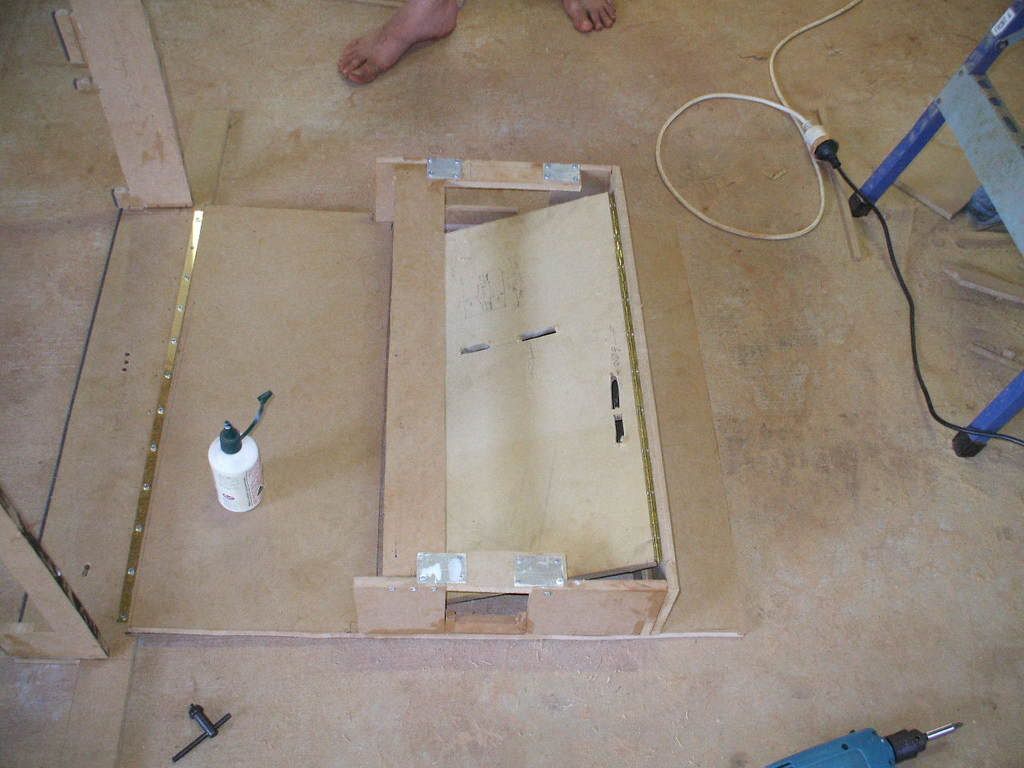
While doing this the blade in the my $19 The Warehouse jigsaw commited suicide!! 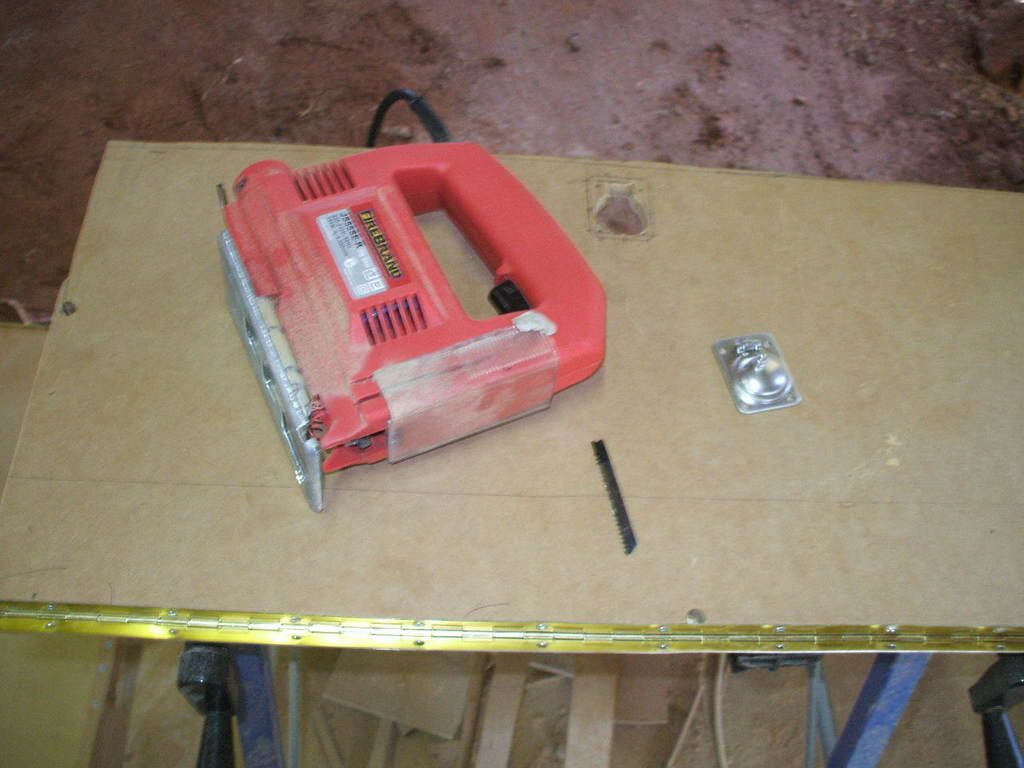
With new jigsaw blades in hand we could keep going and proceeded to wire the whole jigger up. 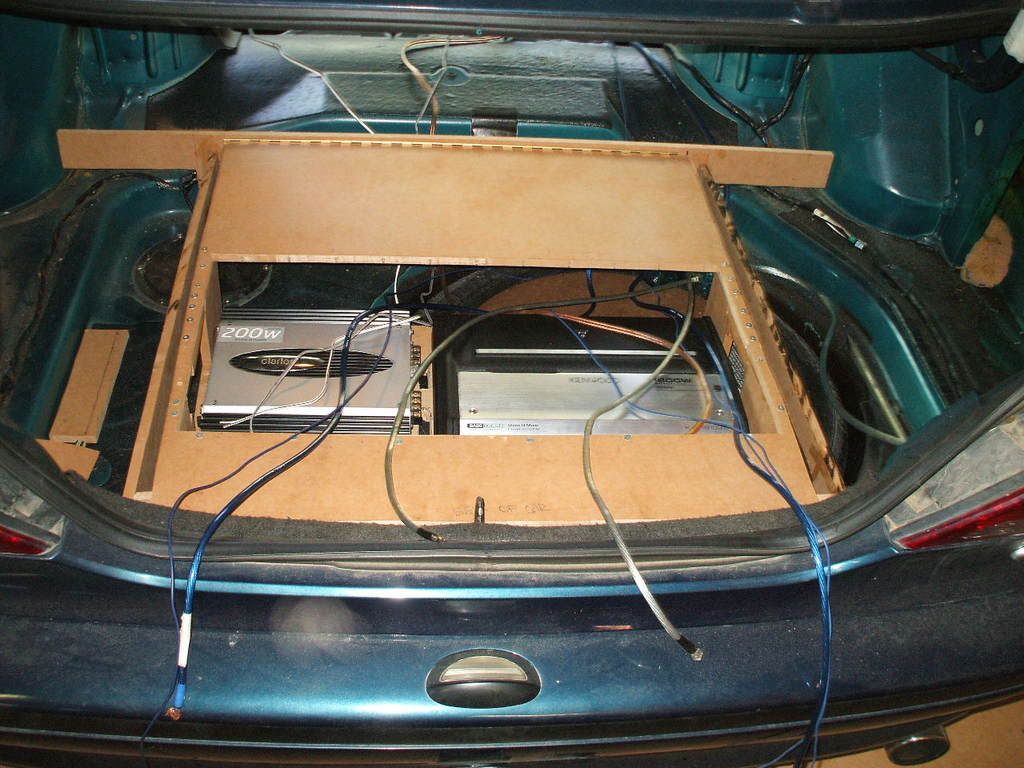
Dodgy brothers chocks helped while feeding cables under. 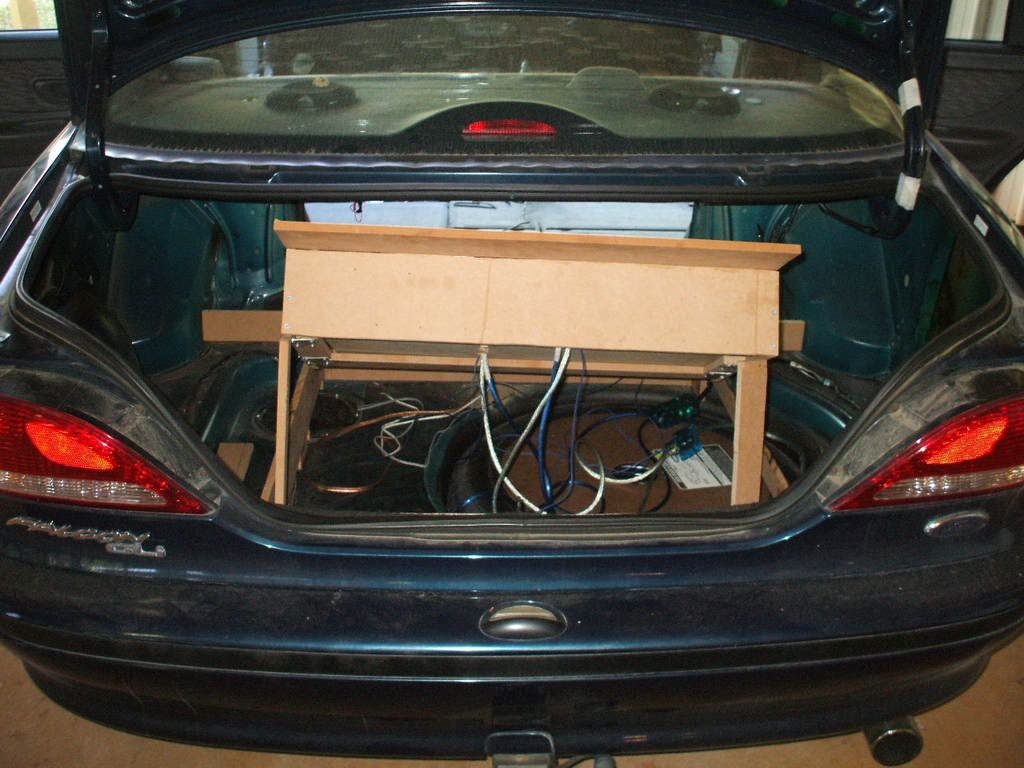
From there the mad rush was on to get everything done as i needed to go out that night, was busy saturday and had to drive from cairns to townsville on sunday!! 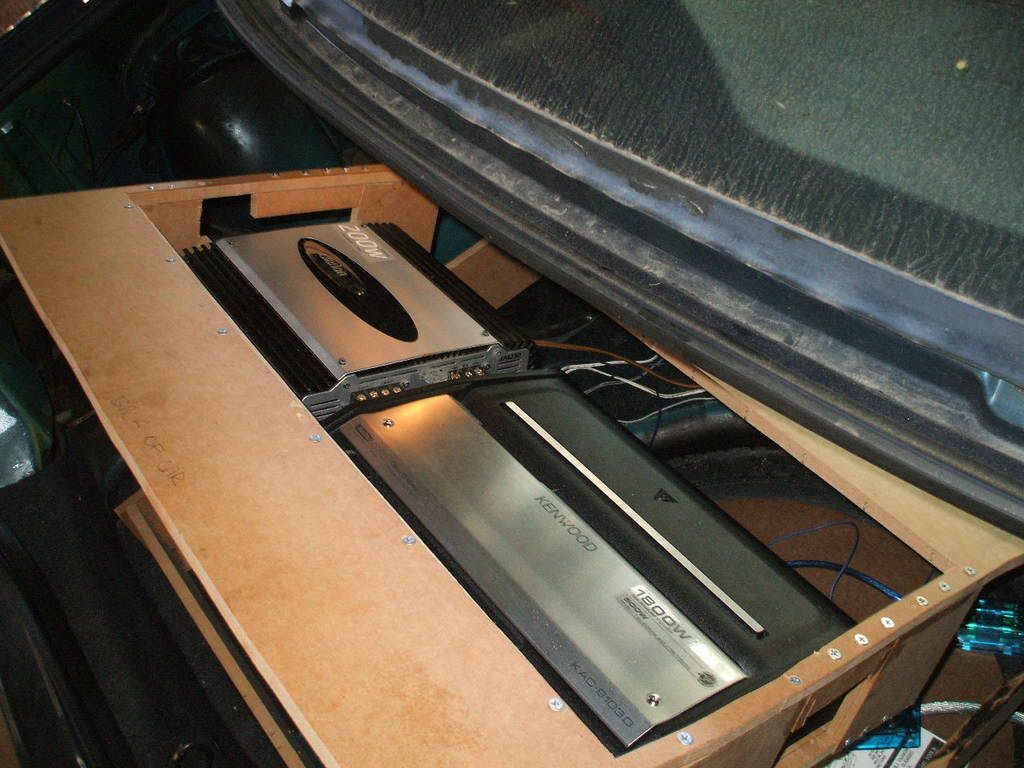 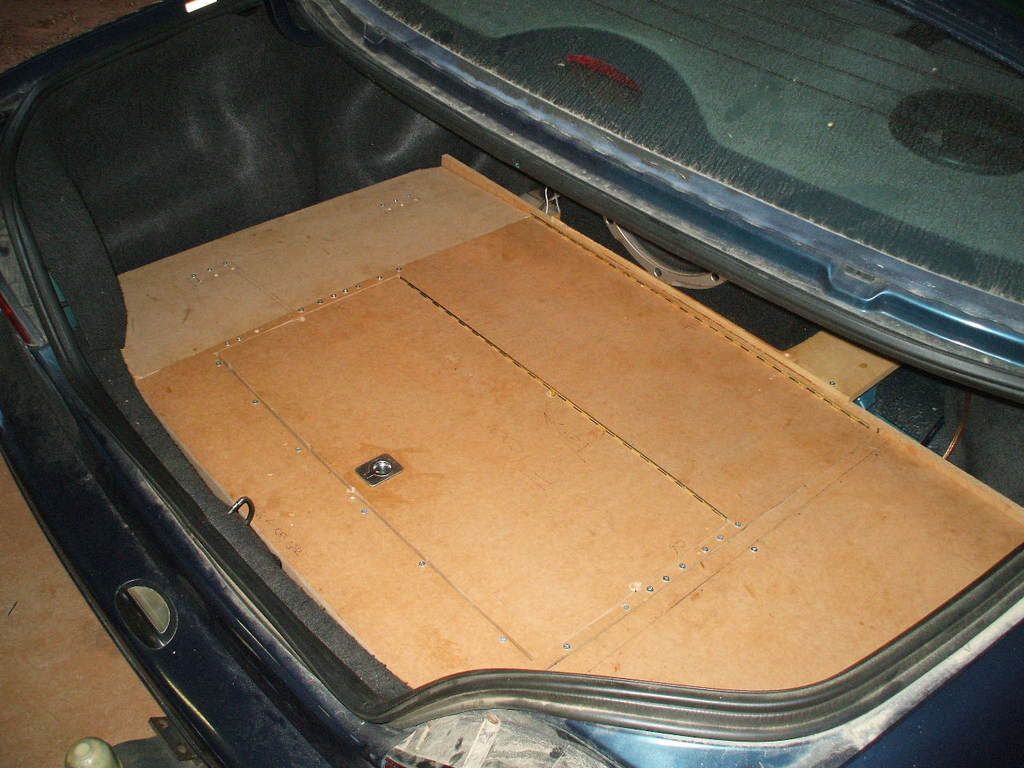 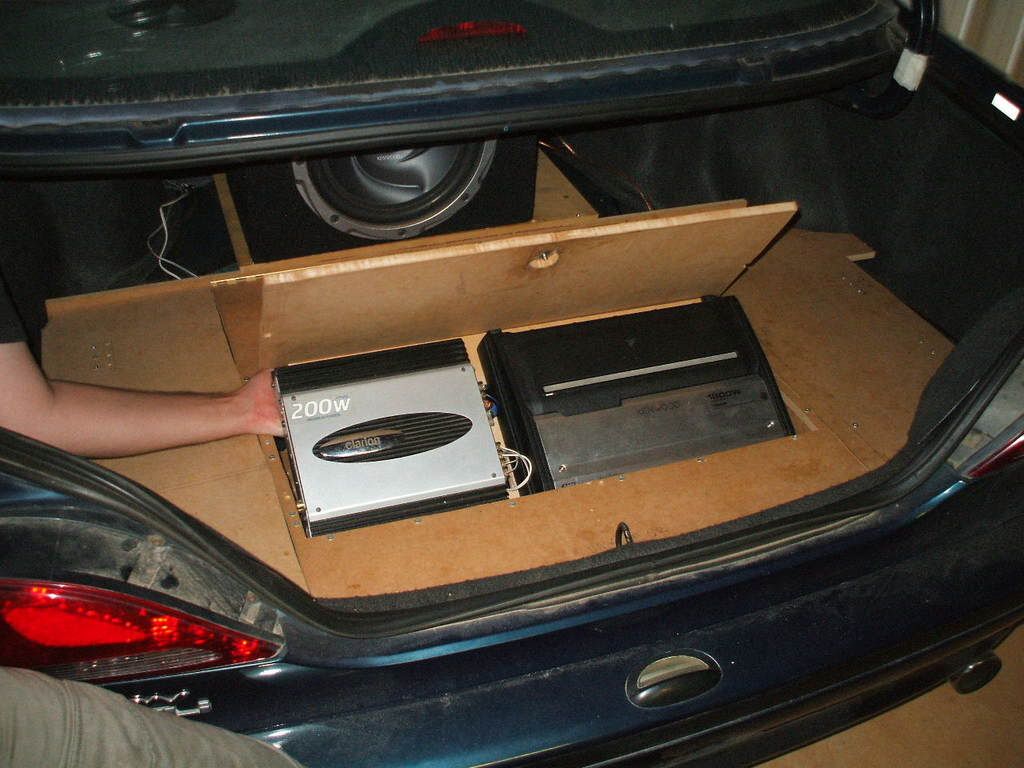
And so with the finished product!! btw: not my sexy arm! I ran out of time to crapet it and screws to make a chock to hold the amps up on the angle when open (hence old mates arm) but that is the general idea. Dunno when I'll get to finish it with carpet and what not, pretty busy at uni (and I just spend 1 hr uploading photos and writing!! Some other cool bits: I have put a switch in the trigger cable for the monoblock amp so I can switch it off when needs be. Its handier than you think!! And in the old setup, its not really needed now, i had put RCA ends on the speaker cables for the sub and wired them through the shock cover panel. This was handy for if i wanted to chuck something through the split fold. 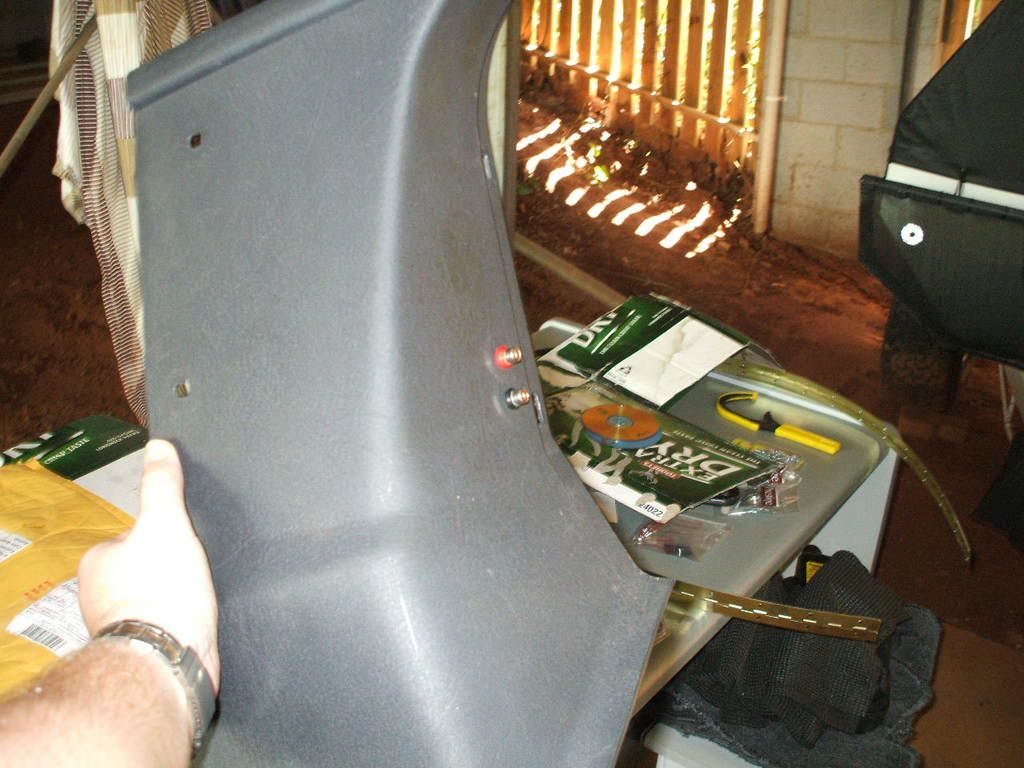
As for the sound: Some issues with the wiring in that the way the amps are configured, I had to cross power and speaker cables (they are run very separately from each other in the car though) And you know how i said i had wired that speaker wrong on the test run... turns out my amp has s**t itself and dropped a channel. I noticed it go quiet about 3 weeks ago, and it never clicked untill i started working with speakers what it was. So in conclusion: needs a tune badly!! Sounds good on the one side that works... Last edited by nicco on Mon Oct 01, 2007 9:34 pm, edited 1 time in total. |
|||
| Top | |
|||
| nicco |
|
|||
|
btw also: not my bare feet in the picture, that was old mate as well... bloody bogan that he is!!
And if anyone has a Clarion APA-250 amp lying around that works but they dont want/need, pm me! |
|||
| Top | |
|||
| MRE-50L |
|
|||
|
Very niclly done nicco , good job
_________________ Chance Favors The Prepared Mind ! |
|||
| Top | |
|||
| phongus |
|
|||
|
dayum...nice gadgetry there =D...looking good so far.
phong =P~
_________________ phongus = Post whore 2006 |
|||
| Top | |
|||
| MoNGooSE |
|
|||
|
Good to see you finally getting stuck into it Nicco. Putting in a hell of a lot of work. Looking forward to seeing it finished.
_________________ EF GT6 - 129.4rwkw - Feautured in Street Fords Issue #77 |
|||
| Top | |
|||
| dcstraight |
|
|||
|
|
|||
| Top | |
|||
| Mogal |
|
||
|
who are you calling a bogan nicco i thought my feet were looking pretty good
_________________ soon i will have a real car not a ride on mower |
||
| Top | |
||
| mickysacca |
|
|||
|
Awesome stuff mate...looks absolutely sensational.
Gives me som inspiration to finish mine off...but time is money and unfortunately i have neither... |
|||
| Top | |
|||
| MR XR |
|
|||
|
Ahh so i gather your not going to do the the go fast mods soon
Nice work man, wish you were here so u could do mine, im still designing mine, and may just give a carton to the guys at work to throw it on the CNC router for us. |
|||
| Top | |
|||
| nicco |
|
|||
|
cheers guys.
dunno when i'll be getting around to carpeting it, if i get a spare weekend (as if!! Moggil, nice to see you here mate, btw you spelt your name wrong Jas, yeah nah, dunno if i'd be keen to go through that all again. the broskis is eyeing me off to put some shelves in the back of his gfs patrol at the end of the year! ha ha |
|||
| Top | |
|||
| Hybrid34 |
|
||
|
im still wanting to do an audio install for mine, but don't have the knowledge to do so:(:(,
but wow that is nice work, looks like you done it all proprly, and alot of work spent (espeically in the amps lifting up, great idea, have the boot space, + the looks whenu want +1 - Ash
_________________ Sucessful trades with Schmee, Braidy, Niko, The_Ghost, YBHVE4, Stalker
|
||
| Top | |
||
| nicco |
|
|||
|
ha ha cheers mate.
just give it a crack. The worst that will happen is that you have to throw away a bit of wood. All of what i did was running on my memory from shop in yr 10!! and yeah cheers, spent a fair bit of time thinking about the design, planned it for yonks... before id even bought the new amp and stuff. ha ha. and for anyone interested, i havent got around to carpeting it yet ( |
|||
| Top | |
|||
| nicco |
|
|||
|
Cheers mate. Glad to see this still gets a read every now and then.
Have decided in the mid year break I will do a few mods to the whole thing, i want to move the amps to the left hand side of the boot (above the fuel pump) to free up more room above the spare wheel (to make it easier to get in and out) so still no carpet yet! and funnily enough, the busted amp came back to life around september last year, and has been working fine since then. so i have no idea what was wrong with it, but i'm happy for now anyway |
|||
| Top | |
|||
| jonathon |
|
|||
|
some smaller photos wouldent go a stray.
but nice work
_________________ Owning 1 of 84,847 ebII. |
|||
| Top | |
|||
| frankieh |
|
|||
|
Nicco,
That ANL fuse should be right up next to the battery.. it isn't there to protect the stereo (amps have their own fuses for that).. it's there to protect the car.. I have zero guage (huge) cable and a 150 amp ANL fuse up next to the battery.. now say I didn't have the fuse, and the plase it goes though the firewall cuts into the cable.. I'd then fry my battery, not to mention the cable and any other wiring that was near the power cable.. but in my situation the fuse will just blow.... I didn't recognise the thing you had it bolted to, but it didn't look like something that sits close to the battery. I've been Fitting this stuff for years professionally, one day I'll show you some of what my car has in it. (crap install because its my own car, but lots of gear) rgds Frank |
|||
| Top | |
|||
| Who is online |
|---|
Users browsing this forum: No registered users and 48 guests |