

|
| MadMatt |
|
|||
|
What brand of kit do you have?
Is it a shim type?
_________________ Member Number 8804 |
|||
| Top | |
|||
| frankieh |
|
|||
|
Nah.. is a. K-mac adjustable kit. .. never fit one of those before but seems pretty straight forward.
|
|||
| Top | |
|||
| MadMatt |
|
|||
|
You are much better off with a shim kit.
The adjustable kits tend to sieze up over time and can be knocked out of adjustment....
_________________ Member Number 8804 |
|||
| Top | |
|||
| MadMatt |
|
|||
|
(I spent 10 years doing wheel alignments)
_________________ Member Number 8804 |
|||
| Top | |
|||
| frankieh |
|
|||
|
Good to know, I have a shim type set here somewhere it I was told to get the k—mac kit instead.
|
|||
| Top | |
|||
| frankieh |
|
|||
|
OK... I've just gone though the T5 and BTR ford manuals and wiring from the EL motor to the t5 loom should be easy..
On the T5 there should be a switch on the left hand side of the case, you will know you have the right one if would take a 22mm socket to remove it. There is also a neutral/drive switch, but I'm not sure what that would be for on a Manual. I'll test it with my multimeter tomorrow.. if all it does is make sure the car can't be started in gear, I might hook it up to the start inhibitor wiring of the BTR tranny. There is a plastic thing on the BTR with 2 plug sockets in it. on is two pin and is the gear position indicator and the other is 4 male spades and is both the reverse lights and the start inhibitor. Looking directly into the socket, the left top and bottom pair are the reverse lamp and the right top and bottom pair are the start inhibitor switch (which you would bridge so the motor starts.) I've put that there in case other people use search to look for such words as auto to manual conversion. might save someone some time. |
|||
| Top | |
|||
| twase |
|
|||
|
The easiest way for you is to remove the selector switch from the Auto and leave it plugged into the loom and in the park or neutral pos. The large round plug then just needs the resistor added to keep the cooling fans at bay. You will still need to work on the reversing lights though.
_________________ BF Fairmont Ghia Series II update. |
|||
| Top | |
|||
| frankieh |
|
|||
|
Thats a pretty good idea actually.. I figured the actual switch mech was probably inside the tranny somewhere, but if it's external that makes it easy.
I've decided against putting the camber kit in this weekend as I have a full set of new ball joints here as well that I want to put in at some stage (don't have time to get them pressed in this weekend) so better to do them and the camber kit at the same time so I don't have to get two wheel alignments just months apart. Toranaguy, you'll be happy to know that the heater pipe has been painted. |
|||
| Top | |
|||
| frankieh |
|
|||
|
Colour of the new engine bay is "Shocking"!
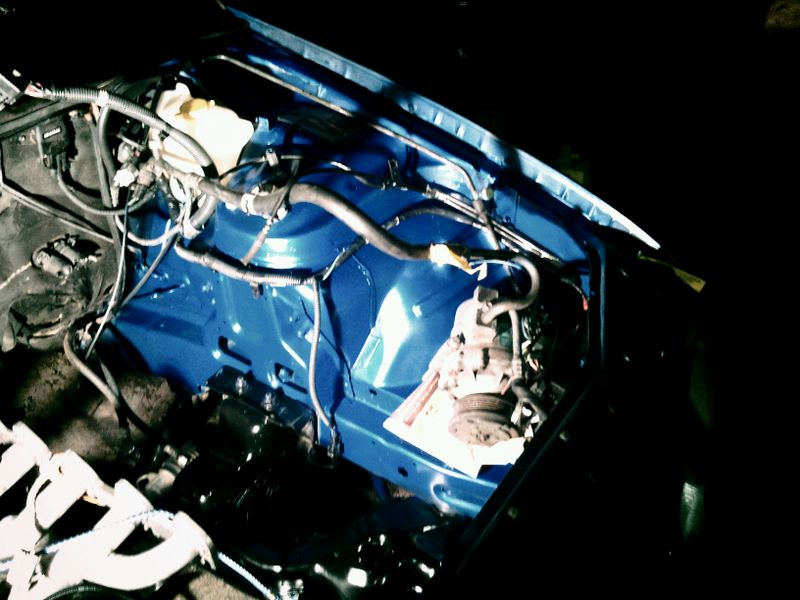 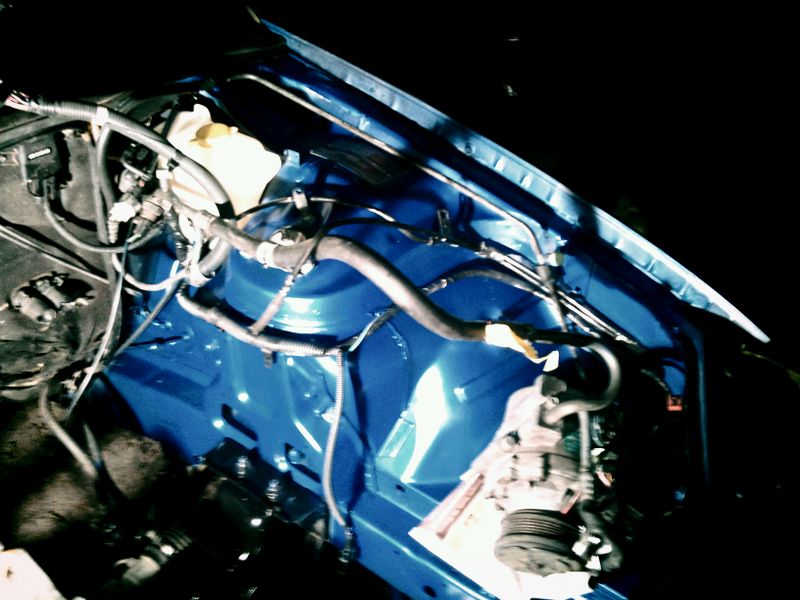 (In case people don't get that jape, the colour I chose is Ford Shockwave.) The whole car will be done the same colour once I have finished the front bar/side skirts, rear skirt etc. |
|||
| Top | |
|||
| frankieh |
|
|||
|
OK... didn't get the engine in as I'd hoped because the replacement extractor gaskets won't arrive till Wednesday and it's really hard to do them in the car.
So I had to console myself with working on the engine bay and assembling the rest of the engine. Worked out well as it allowed me to pull the engine loom out completely, degrease it, replace all the cracked plugs or ones with missing locks and extend the coil wiring so I can remote mount it.. it's been soldered, taped and heatshrinked till it looks new. The engine bay looks great in shockwave except the firewall so I'm thinking of ripping off the insulation and replacing it with Dynamat or some cheaper derivative. (think jcar sells a cheapie version) problem is that I don't know how they do with heat. Anyone know? Anyway, here is the engine bay as it looks now: 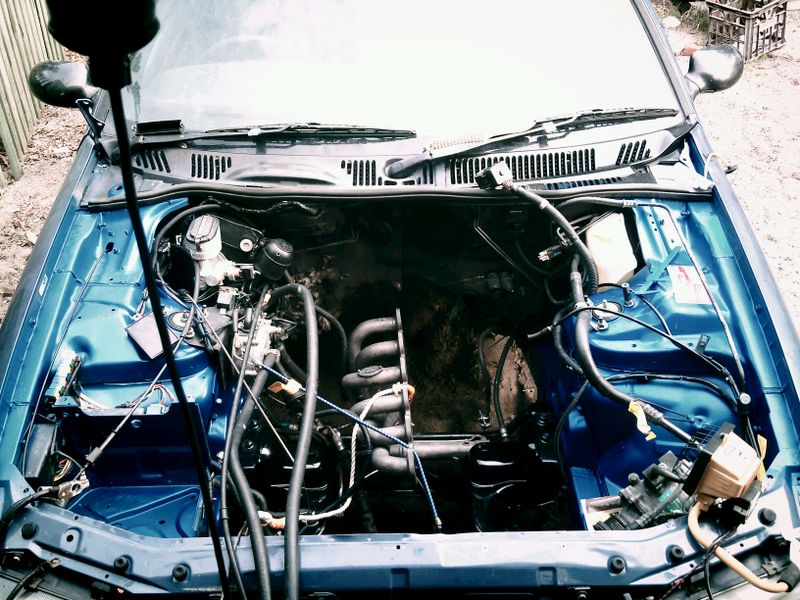 And here is the nearly finished engine, I must say that I'm very happy with the way it looks. 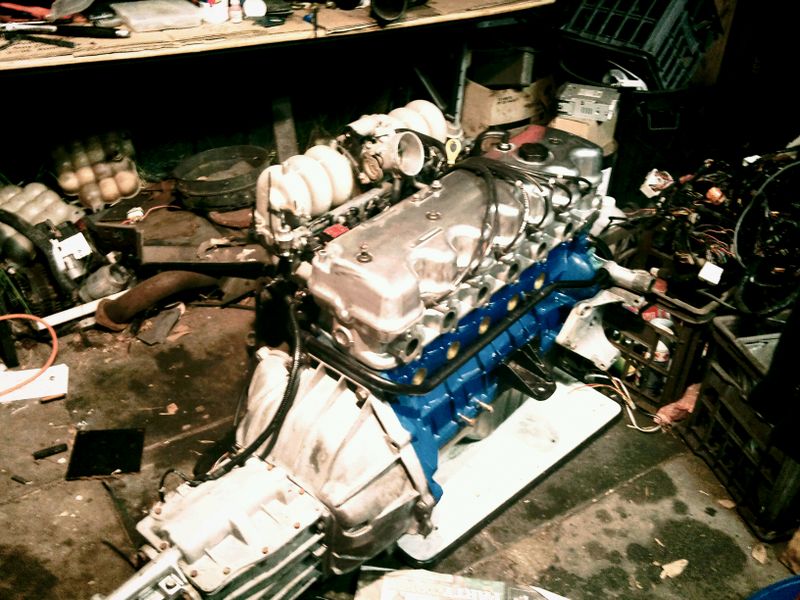
|
|||
| Top | |
|||
| dgb |
|
||
|
Hi Frankieh nice project. i read the whole thread a while back but can't remember if you ported the charger. Might be something to think about before it goes in? (late suggestion i know) I have an m112 to go on my au, i am slowly porting this following photos and info from US forums. SVT performance I think it was.
seems to give between 20 and 80 HP on their V8s i'm just doing it to reduce heat as i can't intercool (cheaply). |
||
| Top | |
||
| frankieh |
|
|||
|
hey DGB.... yes, porting is something I'll look at just before I put it in the car.. I have a new nylon coupler and stuff to put in it anyway so I might pull the dremel out for some creativity at that time.
I got the engine in... took ages because I seem to have to modify or clean up or paint everything I find.. Also had two broken engine mounts to replaced which delayed me a bit. Anyway, I bought some ACL heatsheild from Repco ($42) and used it to tidy up the firewall which had lots of yellow hanging out: 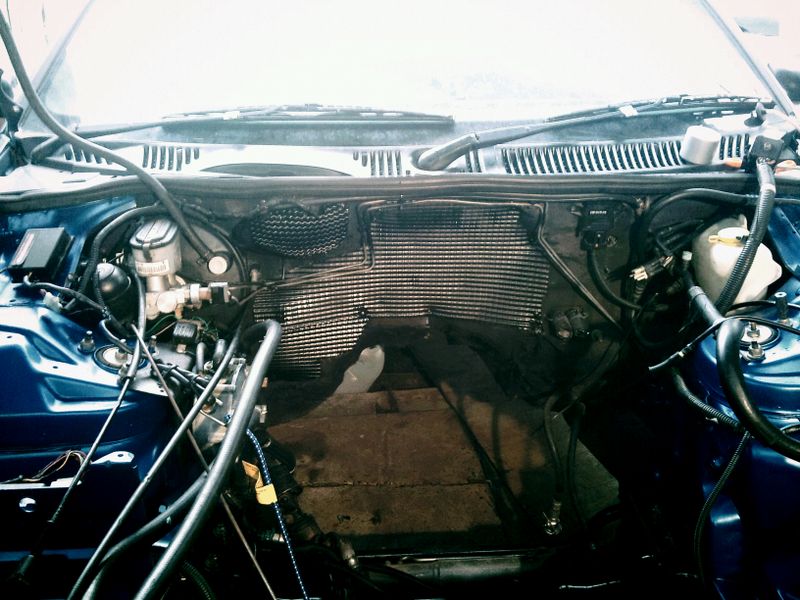 Anyway, here is the new engine in the car.. 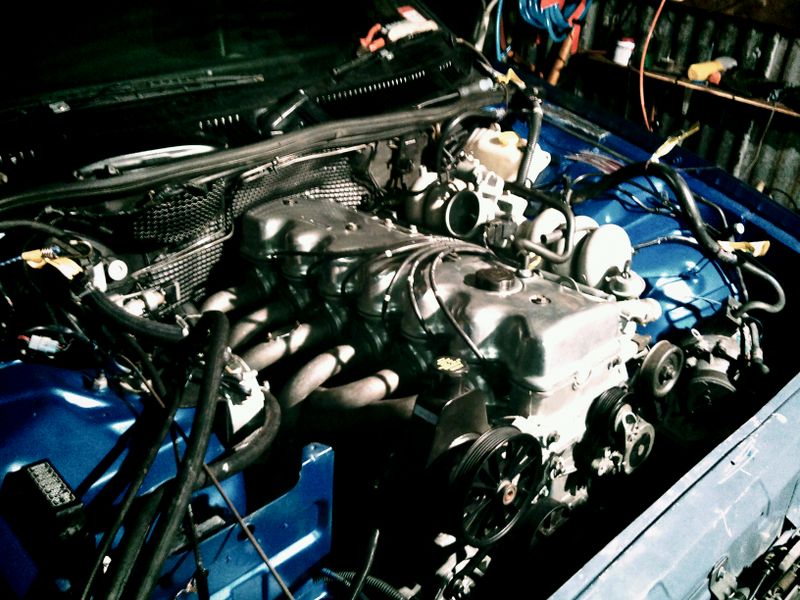 As you can see.. still loads of stuff to do, but there is a manual connection to that and all wired up ready to go. All the hard stuff is done now anyway, will feel better about it once I've heard it running. Bloody hard work putting and engine and gearbox in a car at night by yourself.. kinda fun though. |
|||
| Top | |
|||
| frankieh |
|
|||
|
Well... another weekend and still not driving yet. (had a 2yo daughter in hospital)... getting close though.
left right and rear engine mounts are in and done, exhaust is done, everything bar the tail shaft is done underneath. (damn lowered cars, even with the front on stands as high as they go, I can't get close enough to the diff to put the tailshaft in.) I also whipped the dremmel out and port matched the extractors to the head... and the gasket of course. I plan to keep this car for a long while, might as well do it right.. Only stuff left to do is hoses (replaced all of it with new stuff) and power steering, radiator, fanbelt etc etc.. the usual suspects.. then I find out how it goes. I do have a question or two though. In the little plastic box where the clutch cable goes, there is the lever going through the thrust bearing and the cable... and the round thing that grabs the cable and sits in the lever bowl. is that all that is supposed to be in there? it seems like if the cable stretches a little, the end would fall out of the round thing which just hooks around the T piece on the end of the cable... There has to be something else in there. My book doesn't tell me what that is. Also, how did you route the cable? I've never seen one of these set up so I just tried a few ways and choose what seemed to have the shallowest curves on the cable.. would like to match standard though if possible..... anyone clue me in ? (might ask in drivetrain too.) I'll be driving this tomorrow if all goes well. Last edited by frankieh on Sun Jun 12, 2011 2:37 am, edited 1 time in total. |
|||
| Top | |
|||
| JOSE |
|
|||
|
{USERNAME} wrote: OK... since I have only an M90 and not a 112, I have to make the absolute most of it.. in addition to the 10psi pulley I plan to add.... I just one this: {DESCRIPTION} It's a 4.3 litre/min diaphram pump capable of self priming and with a max temp of 60 degrees C.. perfect for the water to air intercooler I have here.... putting the pump after the radiator will mean that it will never see close to 60c and it pumps enough water that the intercooler will work nice and efficiently... I did make a pump, but it wasn't self priming and needed massive pipe adaptors.. in addition to being overly large and power hungry.. this one has reasonable power usage and is quite and small.... and cheap. one more piece of the puzzle accounted for. when that pump s**t itself let me know and i can set you up with a genuine shurflo pump, same size/design as that one but much better quality - On second thoughts im not sure thats even the right style of pump as its designed for high pressure/low volume work
_________________ Because i can. |
|||
| Top | |
|||
| frankieh |
|
|||
|
yeah.. it will do for the initial setup.... I have a second inline pump to boost flow.. I was thinking of triggering that one over a certain boost level.
This one in the photo cost me less than 50 bucks from memory.. if it dies in a year.... what is the big loss? |
|||
| Top | |
|||
| Who is online |
|---|
Users browsing this forum: No registered users and 4 guests |