

|
| B Bear |
|
|||
|
{USERNAME} wrote: Haven't seen this build before only had a quick browse tonite car looks the goods, good luck with the tune Cheers Wombi |
|||
| Top | |
|||
| B Bear |
|
|||
|
Picked up an xr6 steering wheel from Steedy, looks really good and only a bit of wear.
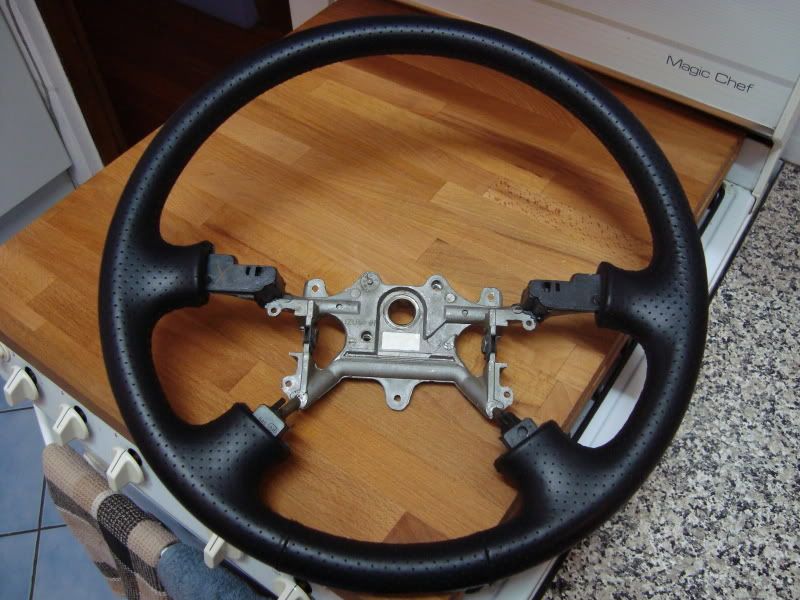 Also some new mesh down the bottom of the front bumper to try and hide the intercooler a bit. 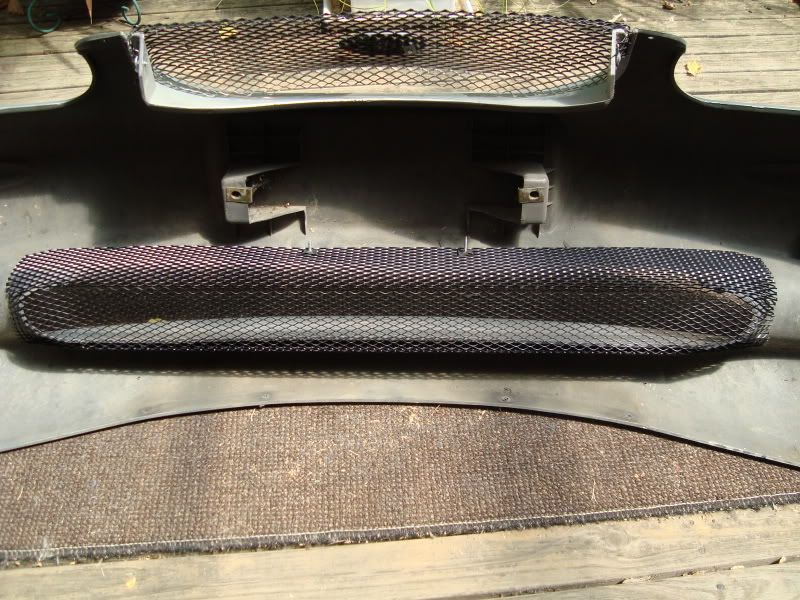
|
|||
| Top | |
|||
| B Bear |
|
|||
|
Front bumper and mesh is back on
Clears the intercooler and pipes. 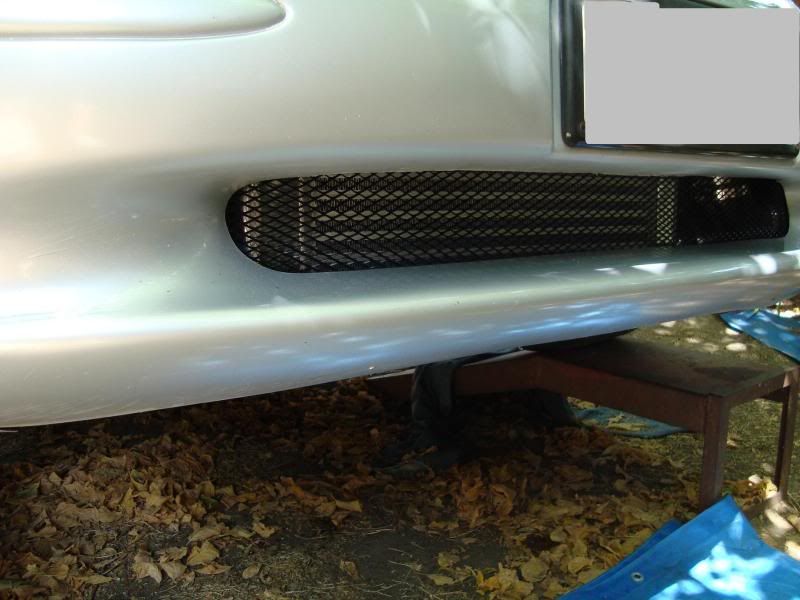 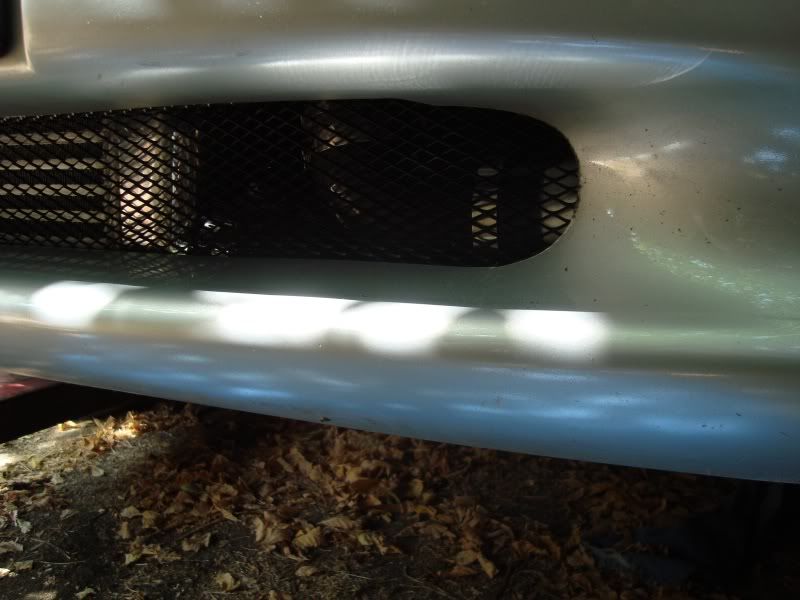 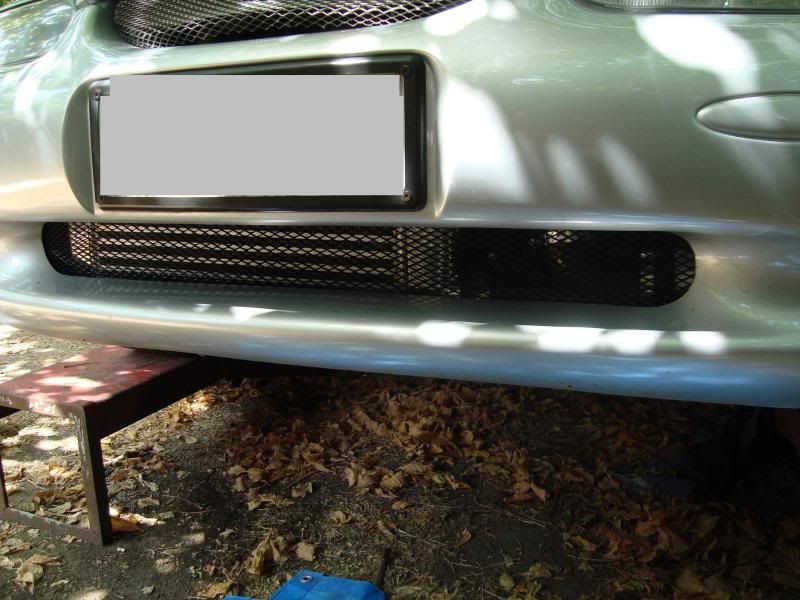 Also whilst the front bumper was off, we ran the car until it got home. You could deffenitely feel the difference from hot to cold side on the cooler and the inlet and outlet pipes were different temps. Looks like it works |
|||
| Top | |
|||
| B Bear |
|
|||
|
Bit of a further update with sorting all this stuff out... We weren't too sure what the side by side cooler was doing so we took it for another run. After watching the boost gauge it wasn't making boost, not even hitting 1 psi.
So out came the cooler and we fitted in a pipe bend to replace the cooler. Took it for a run and sure enough it made hit boost ! 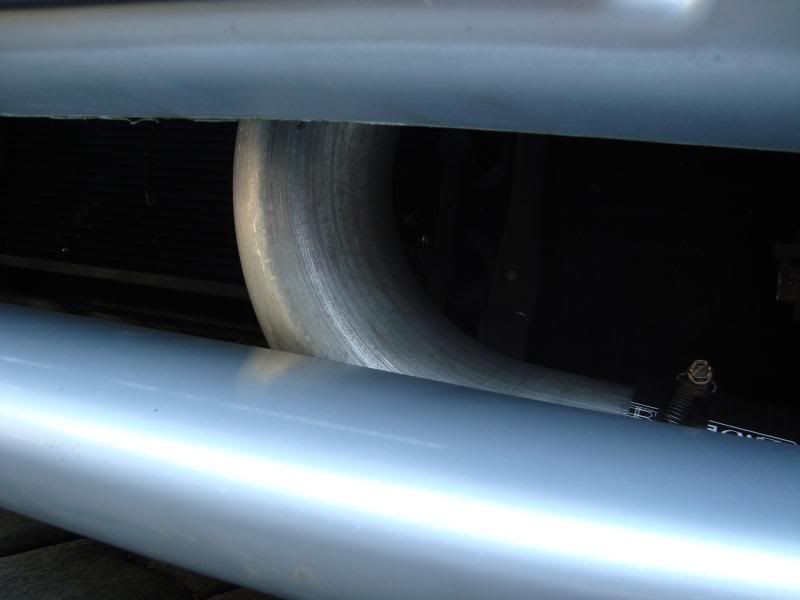 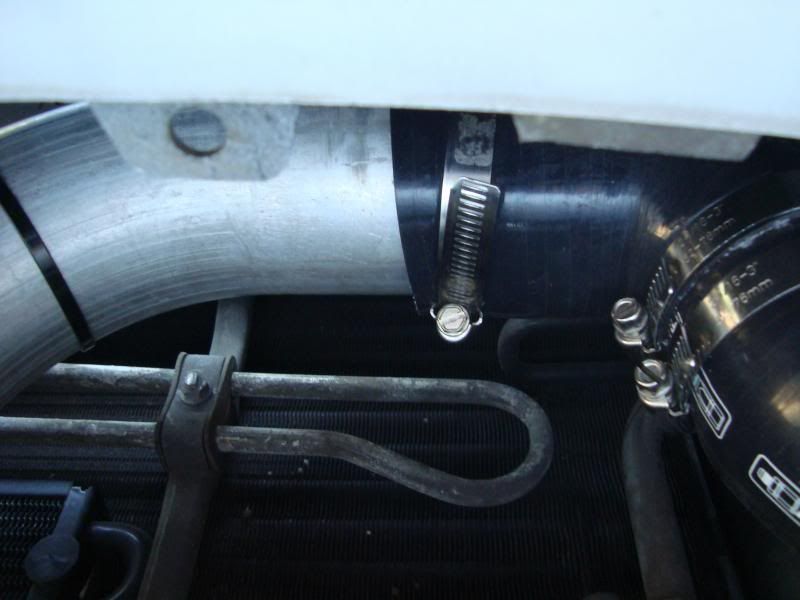 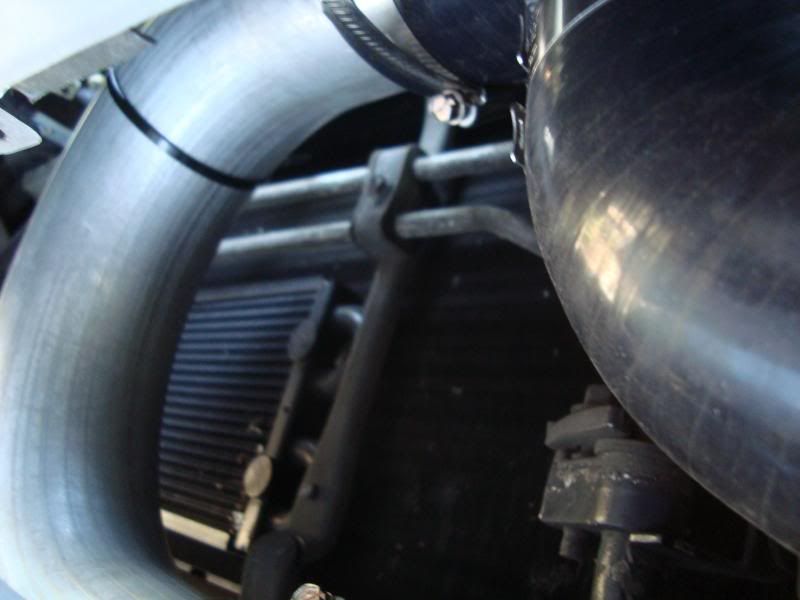 It was fortunate a mate had an intercooler spare, so he gave us that to use on the car. Now running the standard intercooler we put in some test pipe and sure enough it made boost with a quick run down the road. So with the setup now working the turbo cooler pipe had to be changed... 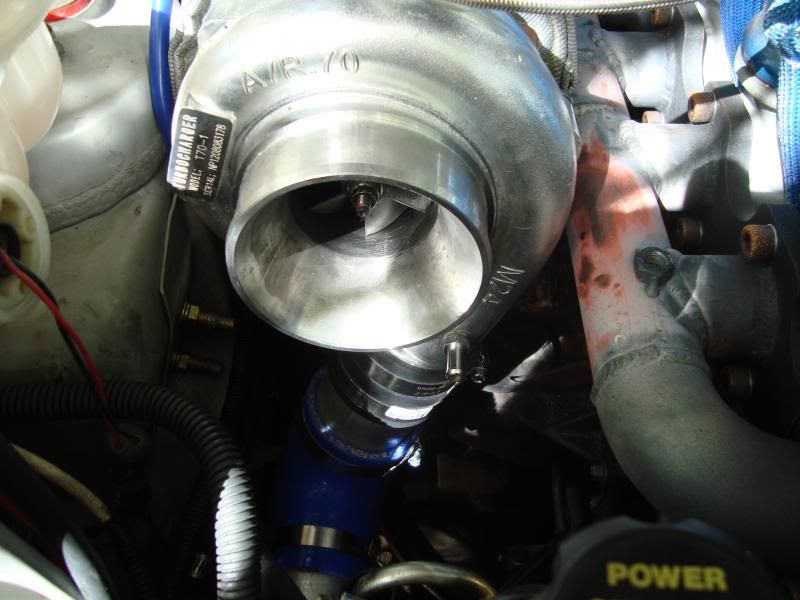 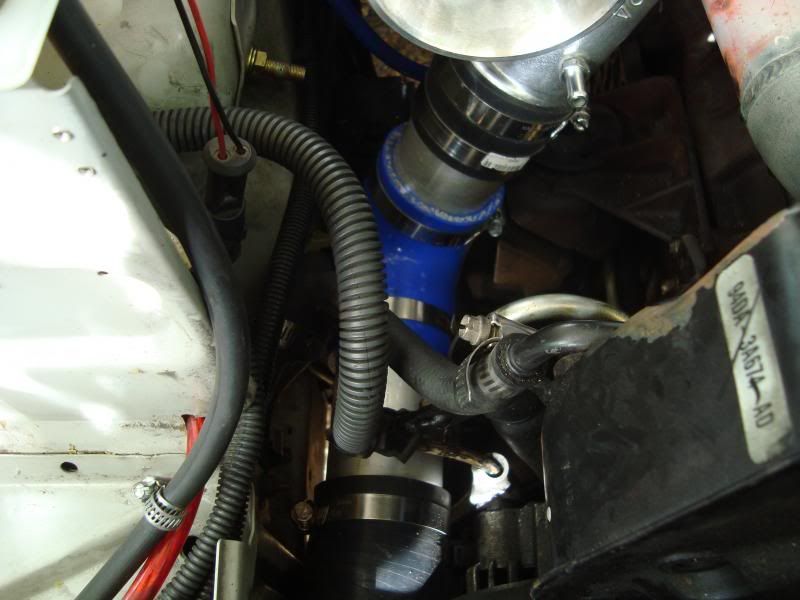 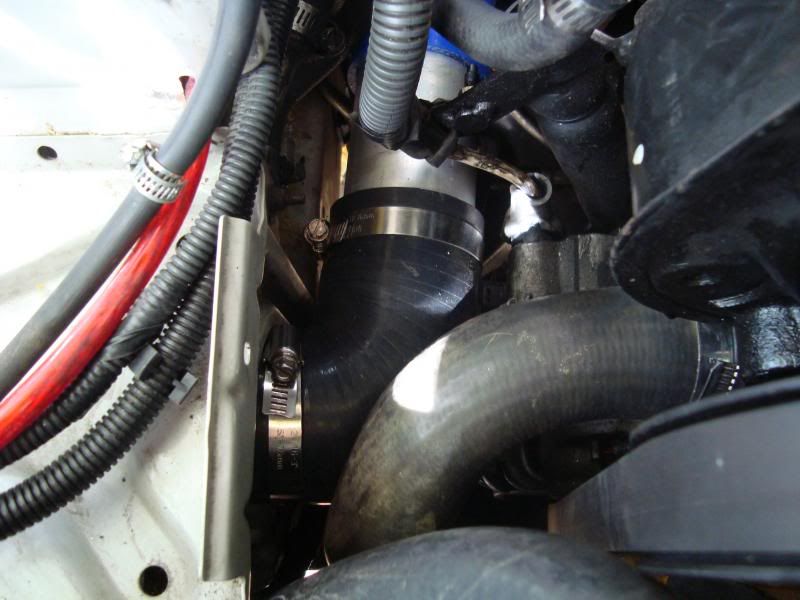 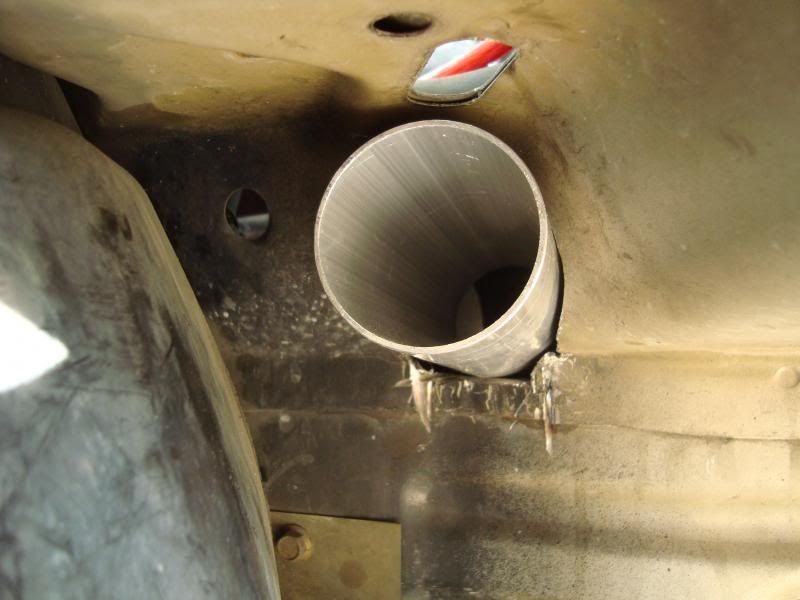 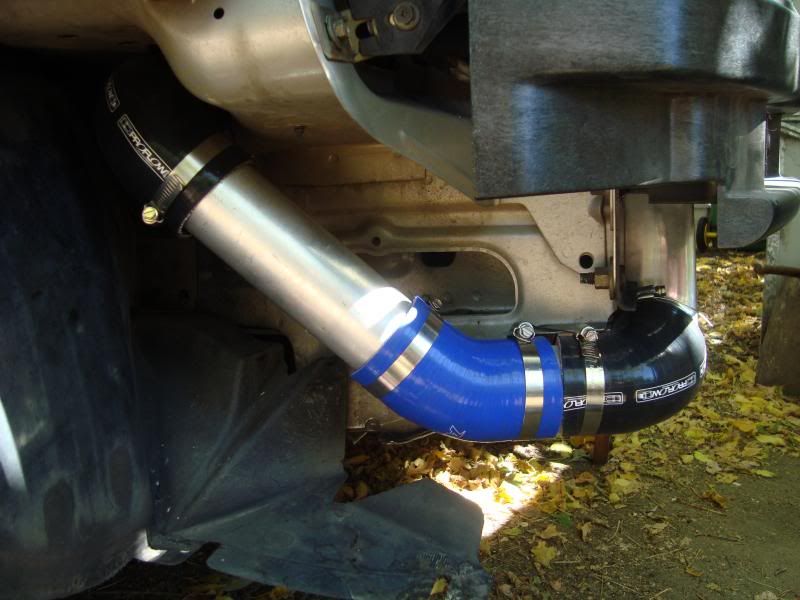 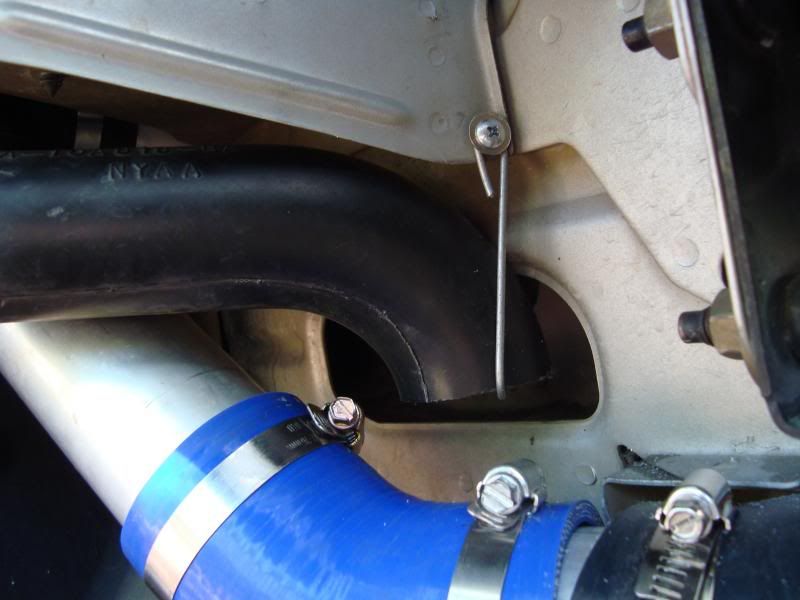
|
|||
| Top | |
|||
| B Bear |
|
|||
|
So with it all basically done, off to get it tuned this coming friday with some decent power
|
|||
| Top | |
|||
| drewh |
|
|||
|
{USERNAME} wrote: So with it all basically done, off to get it tuned this coming friday with some decent power Hmm! Looking forward to it!
_________________ 2001 AU II XR6 HP LIQUID SILVER UTE |
|||
| Top | |
|||
| B Bear |
|
|||
|
The car is done.....so far.
It made 185 rwkw and 443 Nm at 4.5 psi, which is great for low psi ! Trent did a great tune with what he was working with on the car. He was able to take the car up to 200 rwkw but wasn't happy with how the car leaned out in higher revs. Because we are running the car with standard ecu and J3 chip Trent was unable to squeeze more safe and reliable power as (form what I remember) some of the fuel codes we not available. I wouldn't mind getting a bit more power out of the car if possible... So contacted Jason, who is always great help and just need to send him the dyno sheets Really happy with how the car is at the moment, it idles great and puts the power down really well ! Anyway here are the sheets.... This was the read out with the problem intercooler and leak... {DESCRIPTION} {DESCRIPTION} Then with the final tune here are the results... {DESCRIPTION} {DESCRIPTION} {DESCRIPTION} |
|||
| Top | |
|||
| fullyforded |
|
|||
|
Man that is bloody awesome! Iv been reading over the thread this morning and all I can say is wow bloody excellent work mate.
_________________ Au series 1 ute. T5 manual, 2.5" redback zorst, Xtreme HD clutch |
|||
| Top | |
|||
| B Bear |
|
|||
|
{USERNAME} wrote: Man that is bloody awesome! Iv been reading over the thread this morning and all I can say is wow bloody excellent work mate. Thanks fullyforded, glad you like the work Just need to fix up a few things here and there, I don't think this car will every really be finished |
|||
| Top | |
|||
| B Bear |
|
|||
|
Also purchased a new Optima Yellow Top D34 battery as the old one was fading fast !
Because the hot side of the turbo pipe runs under the battery it was putting a bit of heat to the battery. But with the new dry cell battery this doesn't seem to be an issue |
|||
| Top | |
|||
| fullyforded |
|
|||
|
{USERNAME} wrote: {USERNAME} wrote: Man that is bloody awesome! Iv been reading over the thread this morning and all I can say is wow bloody excellent work mate. Thanks fullyforded, glad you like the work Just need to fix up a few things here and there, I don't think this car will every really be finished Haha, yer they never really are!
_________________ Au series 1 ute. T5 manual, 2.5" redback zorst, Xtreme HD clutch |
|||
| Top | |
|||
| bennettpr |
|
|||
|
{USERNAME} wrote: Modded up the air box with some holes cut out on the right hand side as some cool air gets around there when driving. Late to the party but that's a bloody good idea. I've been looking for ways to improve my stock 94 EB Fairmont V8 intake box and this would work a treat. Did much water get in, or is it more the front of the air intake that gets hit with water in the rain?
_________________ {DESCRIPTION} |
|||
| Top | |
|||
| B Bear |
|
|||
|
{USERNAME} wrote: {USERNAME} wrote: Modded up the air box with some holes cut out on the right hand side as some cool air gets around there when driving. Late to the party but that's a bloody good idea. I've been looking for ways to improve my stock 94 EB Fairmont V8 intake box and this would work a treat. Did much water get in, or is it more the front of the air intake that gets hit with water in the rain? Hi mate, I would recommend it for the standard air box on your EB Maybe even check out ways to create an air pick on the lower half that feeds air from around the headlight (similar to the FPV airbox). Hope this helps |
|||
| Top | |
|||
| 666DANZ |
|
|||
|
Hey, started reading your build lastnight. Last post was June last year and I was wondering where you had got to with it etc.
|
|||
| Top | |
|||
| bennettpr |
|
|||
|
{USERNAME} wrote: Hi mate, I would recommend it for the standard air box on your EB Maybe even check out ways to create an air pick on the lower half that feeds air from around the headlight (similar to the FPV airbox). Hope this helps Thanks - the stock airbox already has a drain hole in the base, so I might give this a whirl. Got some new intake piping on the way too, so it'll be a good first mod and easy to roll back if it doesn't work I saw a thread on here (can't remember where), where a guy modded an extra intake port into the front of the airbox (behind the headlight) so may give that a crack too.
_________________ {DESCRIPTION} |
|||
| Top | |
|||
| Who is online |
|---|
Users browsing this forum: No registered users and 51 guests |