

|
| nannas_ed |
|
|||
|
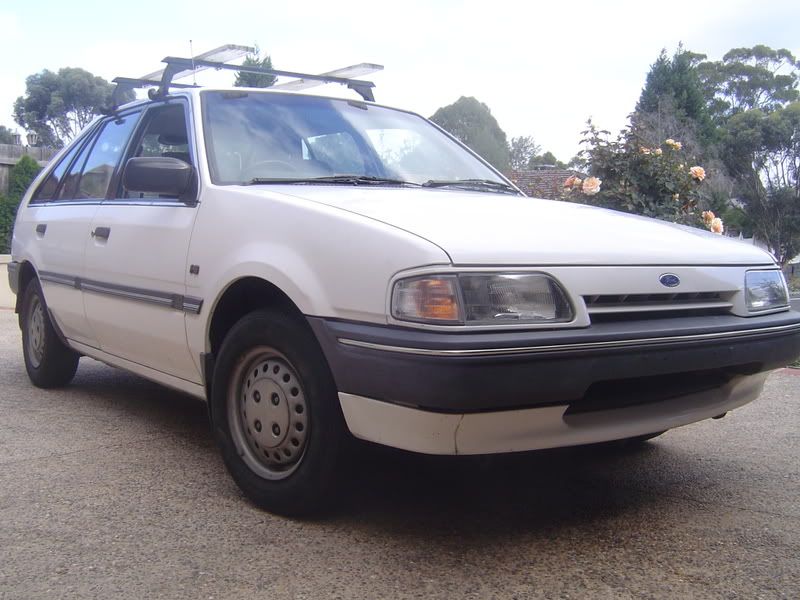
Bought this laser towards the end of last year of eBay for $300 and was told it had a blown head gasket. So i though stuffed gasket, no biggie. Turns out not only was the gasket rooted but so was the head None the less ran around at getting a reco head but the cheapest quote i got was $600. At this point im thinking hmmmmmmmm. At this point a new head was out of the question as it would completely blow the budget and plus if the head was that bad imagine what the bottom end was like. rang around and scored a 2nd hand motor for $400 with 140,000. all good. Put the car on stands and went over it writing a rwc list heres what i found: - Both front brake hoses split - Both Outer CV Boots Split (LHF Needed New Boot And Fresh Grease But the Right Hand Was Clacking Away So replaced that with a 2nd hand unit) - RHF Wheel Bearing noisy as hell - Centre muffler u/s - Rear shoes - Rear wheel cyl leaking - Front Pads - Front Sway Bar had been removed by previous owner - Rear Sway Bar Link Bushes - Front Sway Bar Link Bushes - Rear Tail Lights Holding Water Whilst waiting for a chance to borrow dad's ute to pick up the new motor i removed those horrid roof racks. Picked up the motor and began removing the old one. This took about a day. 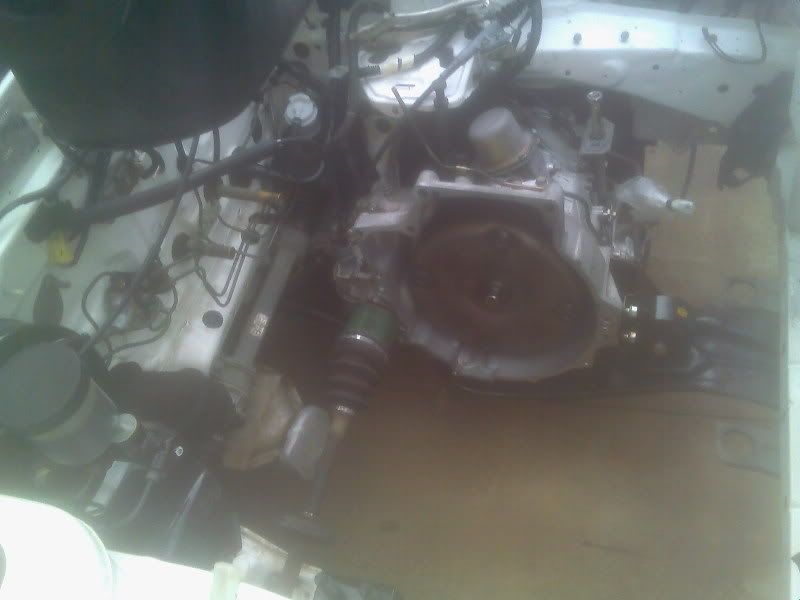
Now whilst the motor was out i figured it would be good practice to replace the torque converter seal. Now i dont have an engine crane BUT my dad has a 7tonne excavator sooooooo....................................... 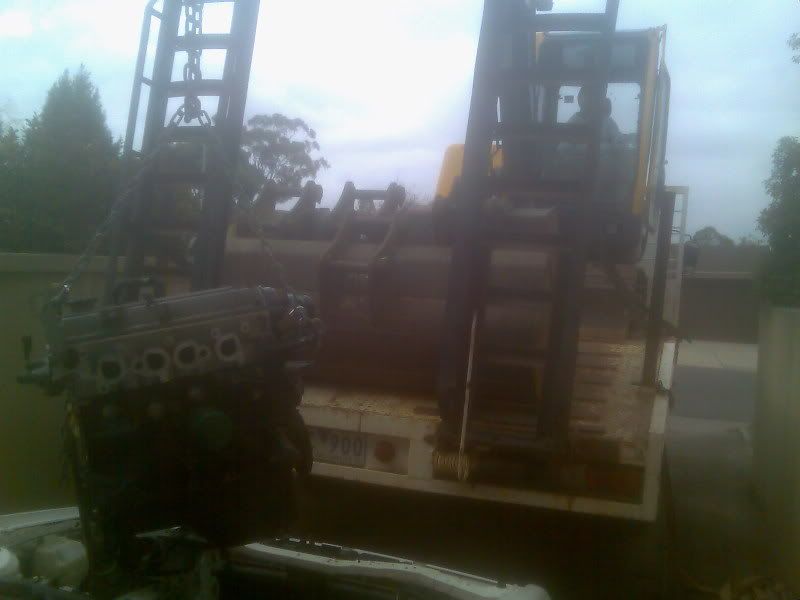
Hosited the new engine in place and bolted it all up. had the motor and everything bolted back up in about 1 1/2 days. Filled her up with fresh oil and fired her up. Fired first go but mis fired like a b**ch. Couldnt work it out for the life of me. After a few days i got sick of it and it sat on the nature strip for a while. i was dead set on it being the carby (well i was half right) posted a thread on here and tickford_6 came to the rescue. turns out it was the electronic choke. With that all sorted and the motor running good all other parts in the above list were fixed/replaced. TIME TO FIX THE RATHER SHABBY BODY Some pics before 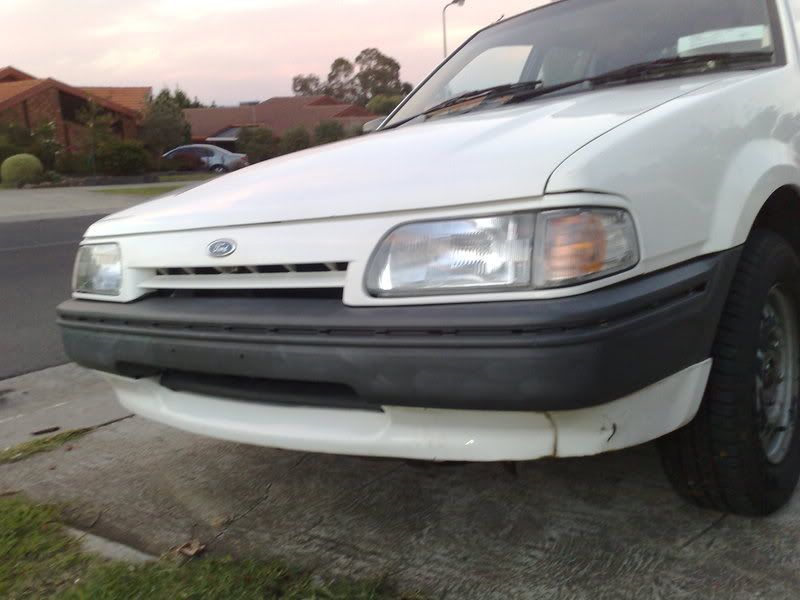
All grey moulds around the car looked pretty crappy Masked up the Door moulds and prepped em for paint Before paint when on i cleaned the surface with carby cleaner on a rag to get any s**t off. 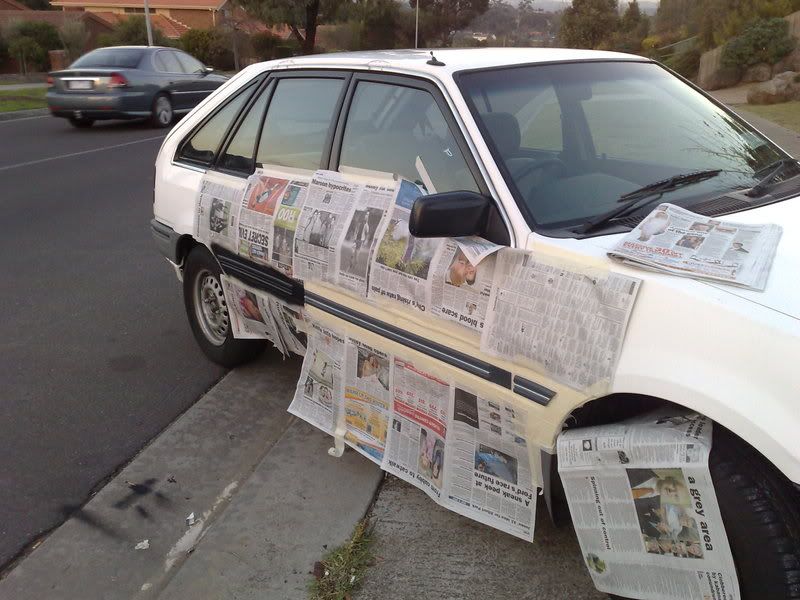
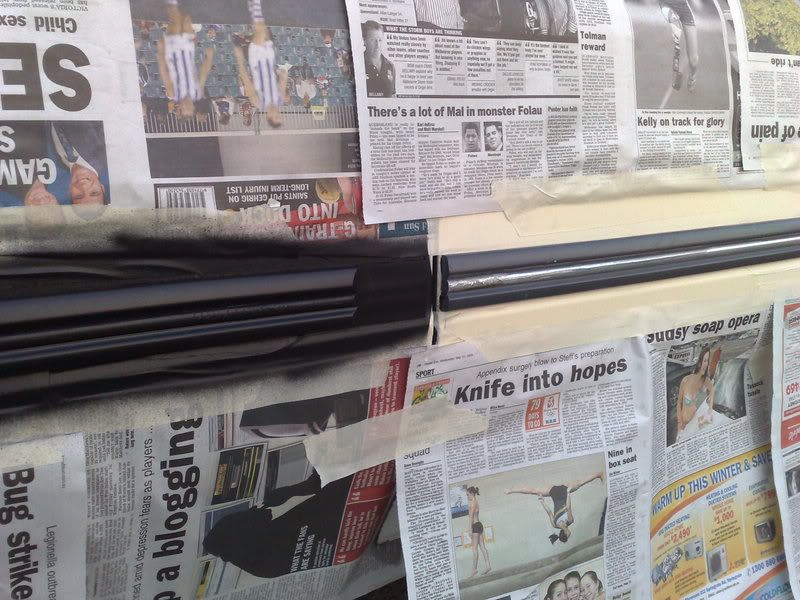
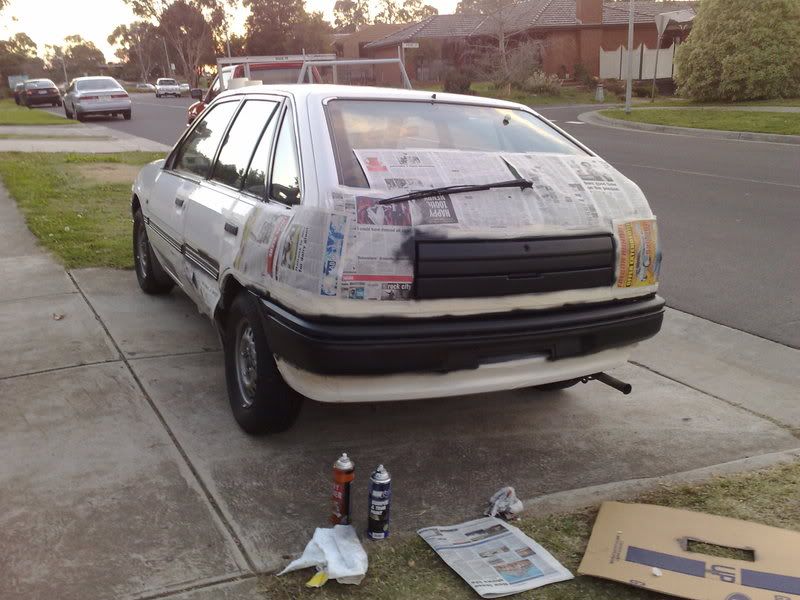
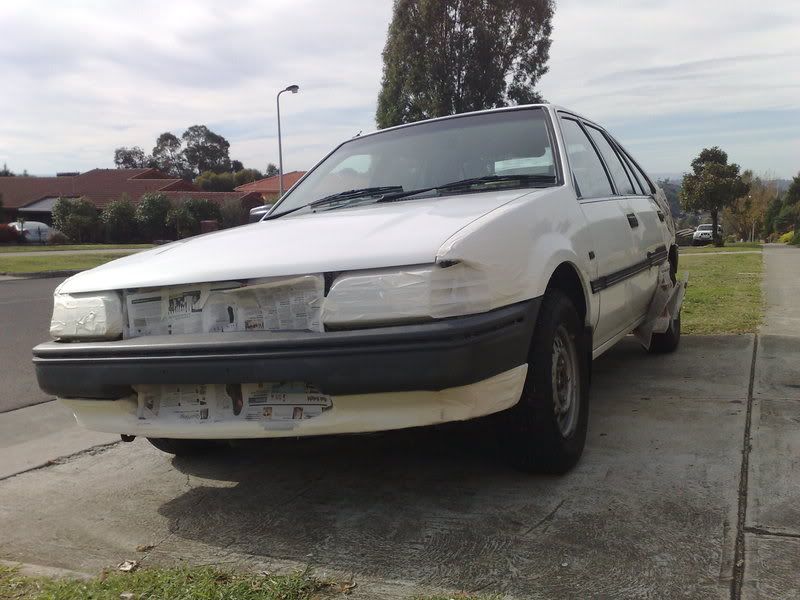
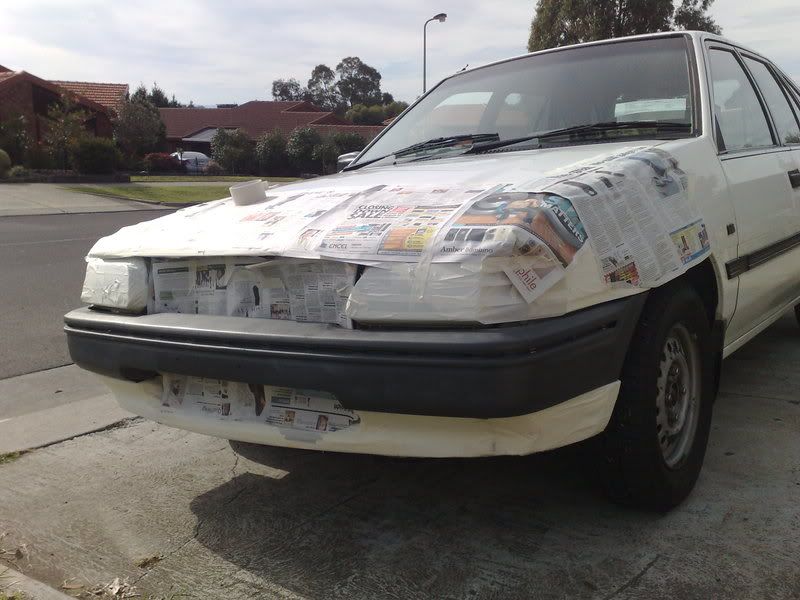
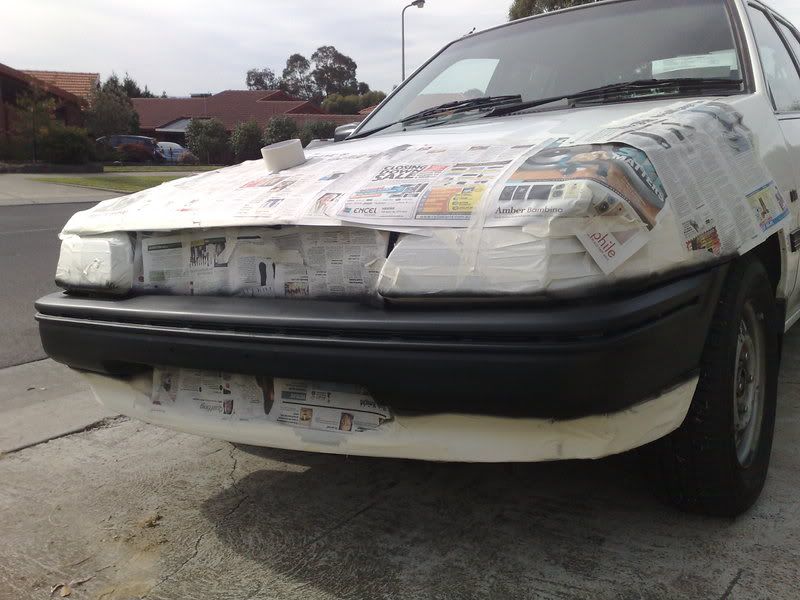
Gave each mould about 2 - 3 coats After all grey moulds/door handles were painted it was time to pay some attention to the wheels. 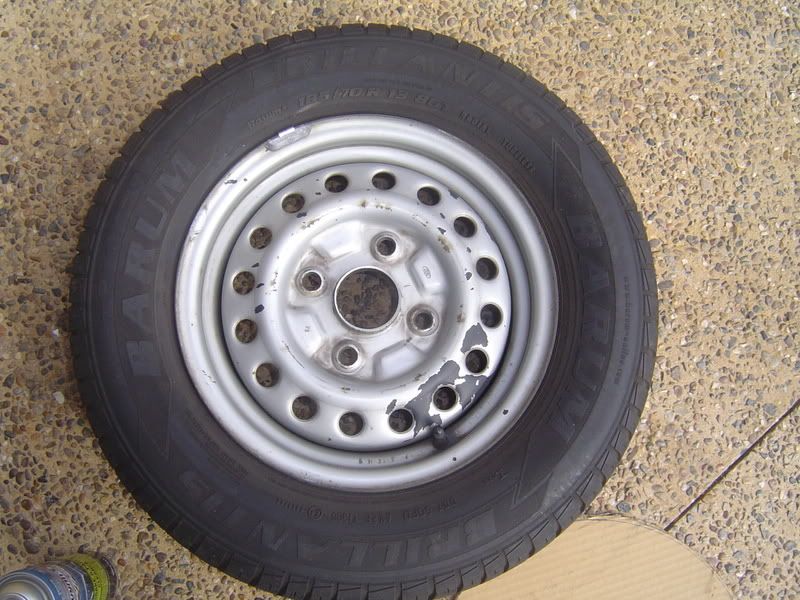
Once again put the car on stands and took the wheels off Cleaned the up with more brake cleaner to get all of the brake dust off and have a nice clean surface ready for paint masked the tires up to catch any over spray 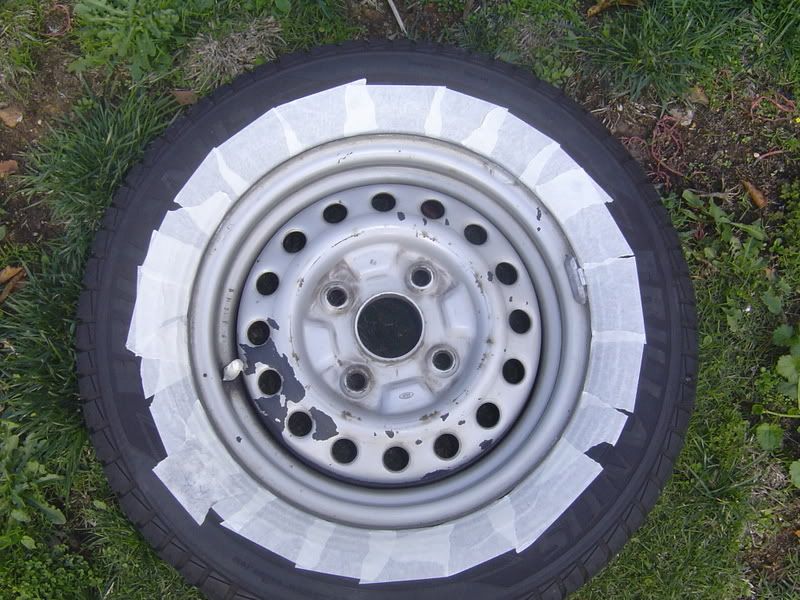
Had a big bit of cardboard i cut a rough 13" hole into and layed that over the wheel as i painted. Thought id better paint these in the back yard rather than on the nature strip 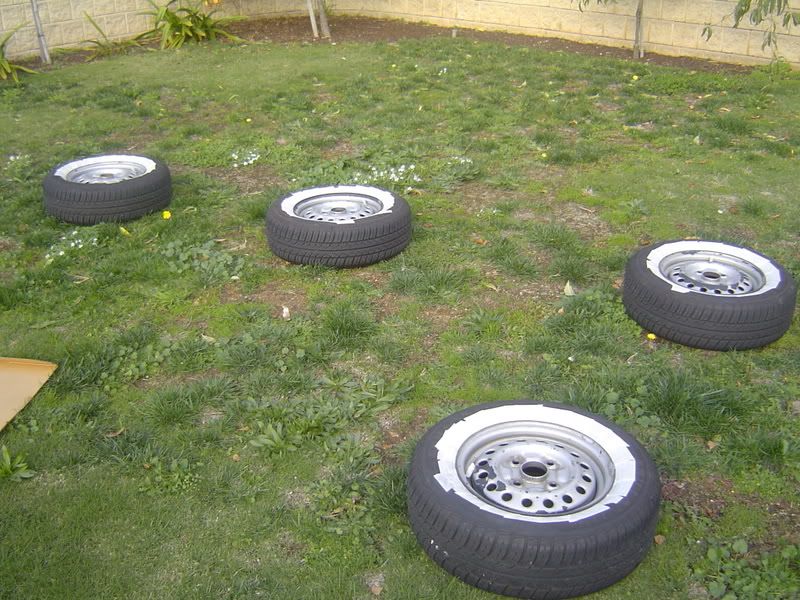
First coat was very light, let them sit for about 15-20min before laying on thicker 2nd and 3rd coats 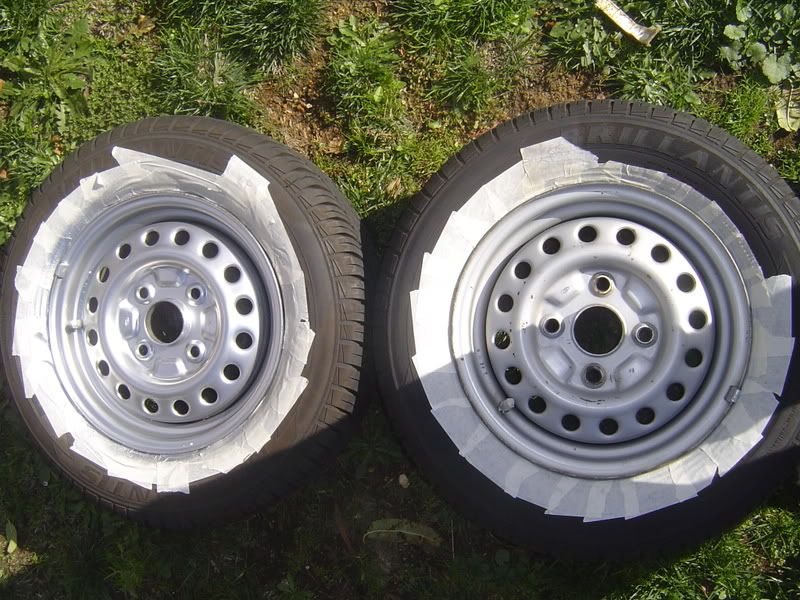
let the wheels sit for a few hours before i bolted them back up 
Whilst they were bolted back up i gave the wheels nuts and centres a quick spray. All painting moulds and wheels took a few days mainly because i would start at 3pm and work till dark (5:30) so heres the finished product 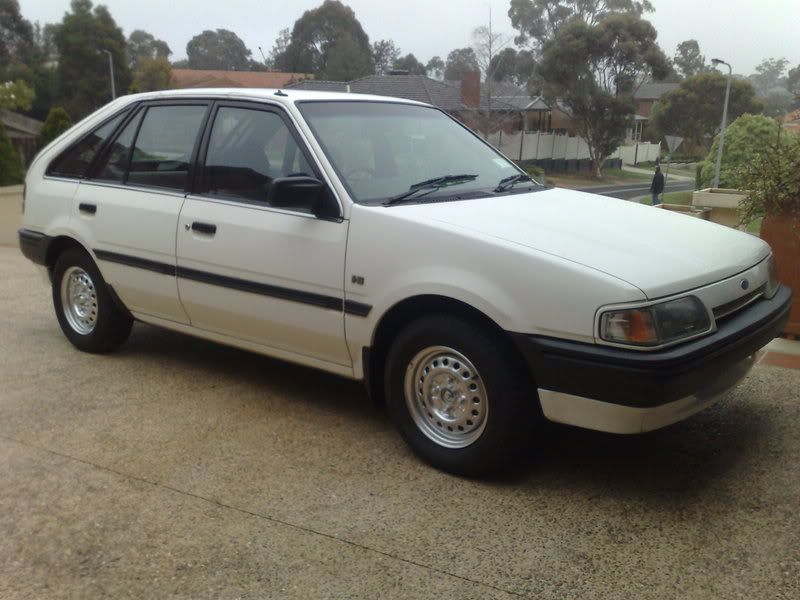

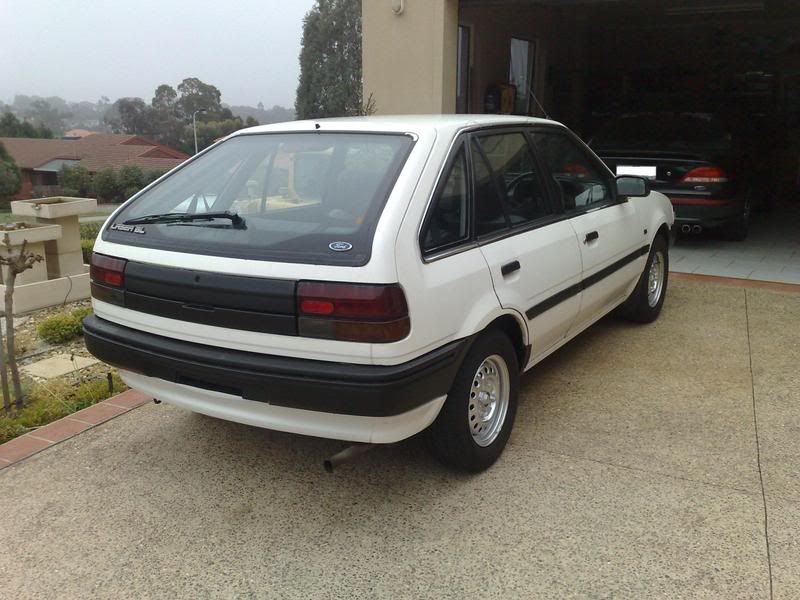
All up the car has cost me a bit over $1300 to get it as it is now rwc and ready for registration so incl reg will be $2000. Its more than i wanted to spend but there not much i can do about that now.
_________________
|
|||
| Top | |
|||
| Froudey |
|
||
|
should of but some big a** rims on it. lol
nice tidy little unit so is this just a run around?
_________________ R.I.P Tobias my son. |
||
| Top | |
||
| DJ_Brown |
|
|||
Age: 37 Posts: 290 Joined: 10th May 2006 Ride: 5 Spd EA Wagon, 5 spd EF Fairmon Location: Melbourne |
i dont think any automatic lasers ever left ford with a swaybar. something about trans sump clearance.
Either way, well done! all looks good!
_________________ If you're not driving a manual, you are only steering... |
|||
| Top | |
|||
| NAfairlane... |
|
|||
|
Thats a pretty neat little unit, nice work.
_________________ Mercedes 500SEC: -- GONE -- {DESCRIPTION} |
|||
| Top | |
|||
| phongus |
|
|||
|
Well done mate
The tyres look like they were white walled when you had the masking tape on it...should have kept the tape on as white walls phong =P~
_________________ phongus = Post whore 2006 |
|||
| Top | |
|||
| NCIILANE |
|
|||
|
Nice work there! I am currently doing a similar "tidy-up" on a 88 AT Telstar TX5 I bought from another FM member. Same colour as your car and I have the same problem with the old grey moulds looking like s**t. Did you have to prep the moulds with plastic primer before painting or did you just hit them with a few coats of colour?
Cheers, Mick
_________________
|
|||
| Top | |
|||
| nannas_ed |
|
|||
|
{USERNAME} wrote: should of but some big a** rims on it. lol
nice tidy little unit so is this just a run around? it is for now but as soon as the missus' sister gets her license she's gonna buy it
_________________
|
|||
| Top | |
|||
| nannas_ed |
|
|||
|
{USERNAME} wrote: Nice work there! I am currently doing a similar "tidy-up" on a 88 AT Telstar TX5 I bought from another FM member. Same colour as your car and I have the same problem with the old grey moulds looking like s**t. Did you have to prep the moulds with plastic primer before painting or did you just hit them with a few coats of colour?
Cheers, Mick no primer, i used k&h bumper and trim paint which already has a plastic primer mixed in with it. just clean the moulds with carby/brake cleaner. turps or thinners might even work
_________________
|
|||
| Top | |
|||
| festymick |
|
||
Posts: 152 Joined: 15th May 2008 |
Excellent results!
Wish mine was loved as much as yours! |
||
| Top | |
||
| Gavsed |
|
|||
|
lol awsm fit job
_________________ EF XR6 WGN LOWERED FG 19' XR6T RIMS SOUND SYS, 2 1/2' EXAUST |
|||
| Top | |
|||
| Who is online |
|---|
Users browsing this forum: No registered users and 87 guests |