

|
| Tragilgas |
|
||
|
Beautiful car johnzy!! Love the interior mods you've done, very tasteful and effective.
Did you manage to change the shifter without dropping the gearbox? I've been wanting to put a short shifter in my EF 5 speed but they only thing that has stopped me so far is that I thought I'd need to drop the box to get at it? |
||
| Top | |
||
| johnzy92 |
|
||
Age: 32 Posts: 43 Joined: 4th Aug 2009 Ride: 1997 EL XR6 manual Location: Gold Coast Queensland |
Hey thanks alot mate feedback is appreciated, I love it and hope to have it for a good while yet. As for the short shifter I didn't need to drop the gearbox all that was necessary for me to install it at home was to drill 2 holes through the tunnel big enough the get a socket through and removed 2 of the 4 bolts that hold the shifter on and the other two are easily accessible.
Best to remove entire centre console when drilling if u choose to do it this way. After I just painted the new holes with a rust protectant and fitted some grommets into them. Good luck with it and keep me posted, it makes a whole lot of difference expecially with sprinted driving
_________________ 1997 TICKFORD EL XR6 |
||
| Top | |
||
| johnzy92 |
|
||
Age: 32 Posts: 43 Joined: 4th Aug 2009 Ride: 1997 EL XR6 manual Location: Gold Coast Queensland |
FTR 17" REFURBISHMENT DIY!
After searching around I managed to find a set at aftermarket 17" FTR rims for sale for $150.00! Only downside was 2 of the rims were buckled and all 4 had deep gutter rash over 85% of the outside lip. I got a few quotes from local wheel and tyre companies and the best quote was $120ea to re-roll the rims and $155ea to remove the gutter rash and re-paint. 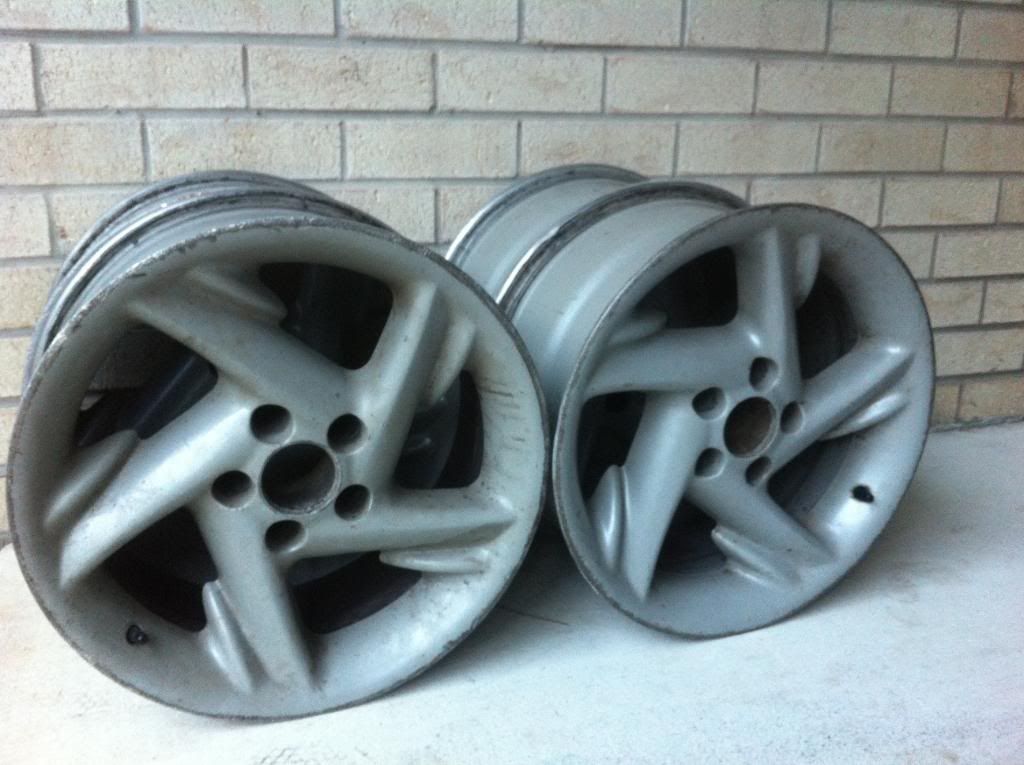 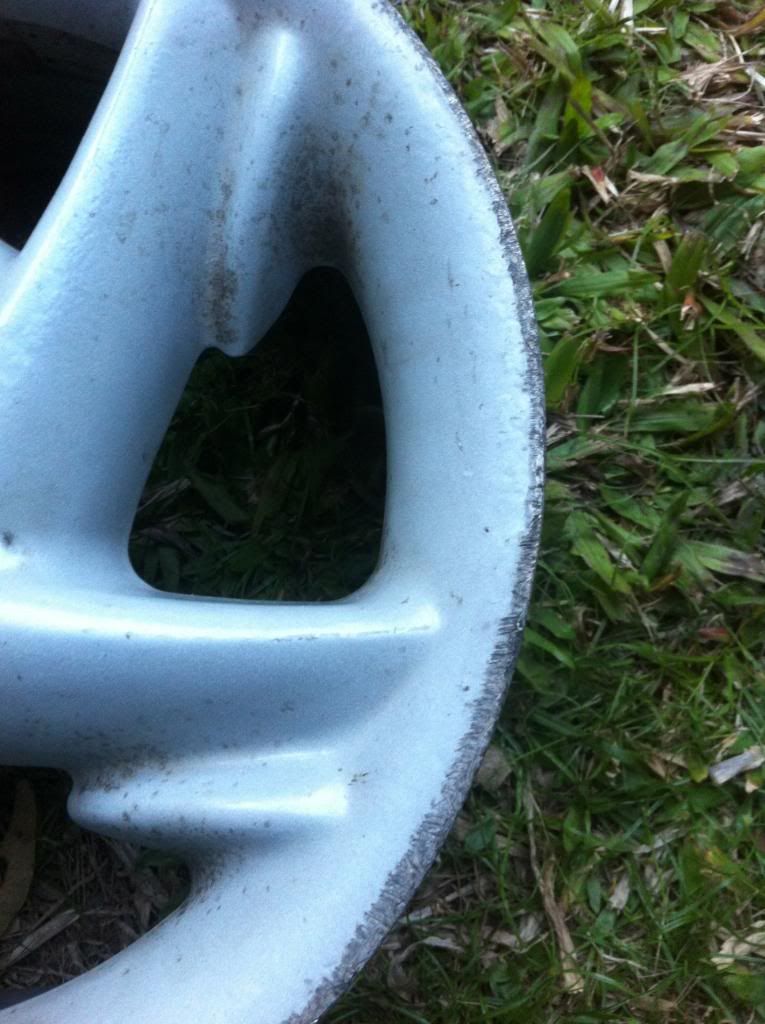 I wasn't keen on paying so much to refurbish the gutter rash alone so thought id attempt some DIY and post up the process and results. First I sanded down the rims with 3 levels of sandpaper starting with the gutter rash and working my way around the rims to the finest sandpaper for smaller scrapes and chips. I then removed any left over dust and applied some PERMATEX Liquid Metal Filler that I picked up at Super cheap auto and applied it along the lips of the rims filling up the deeper gutter marks. 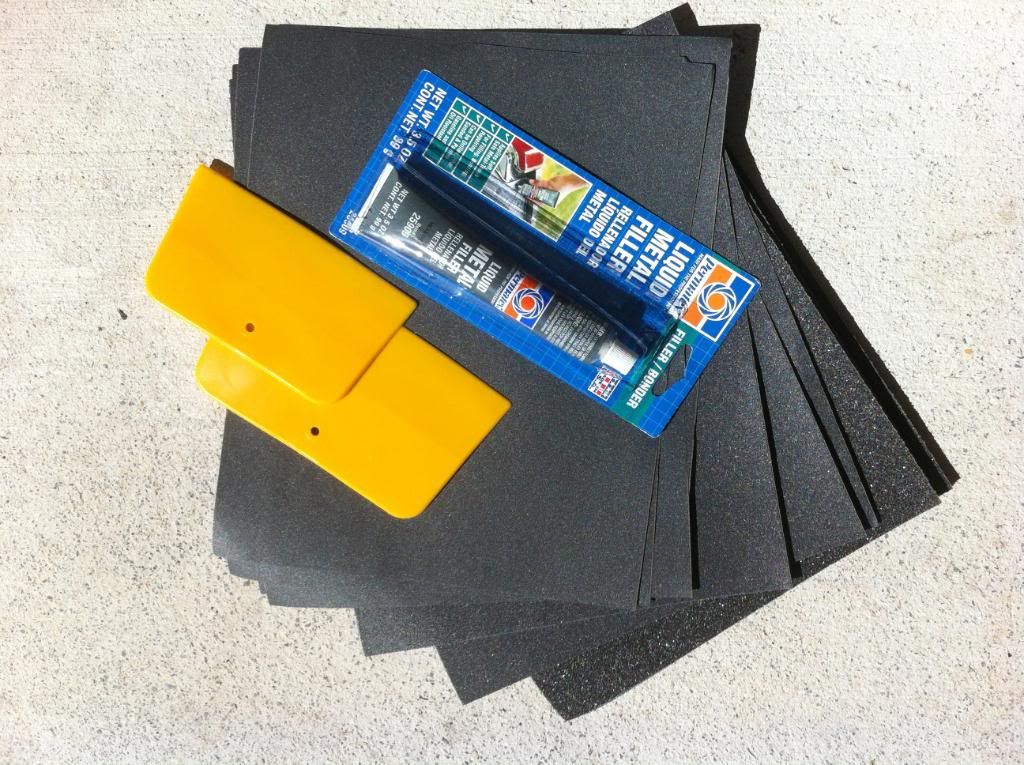 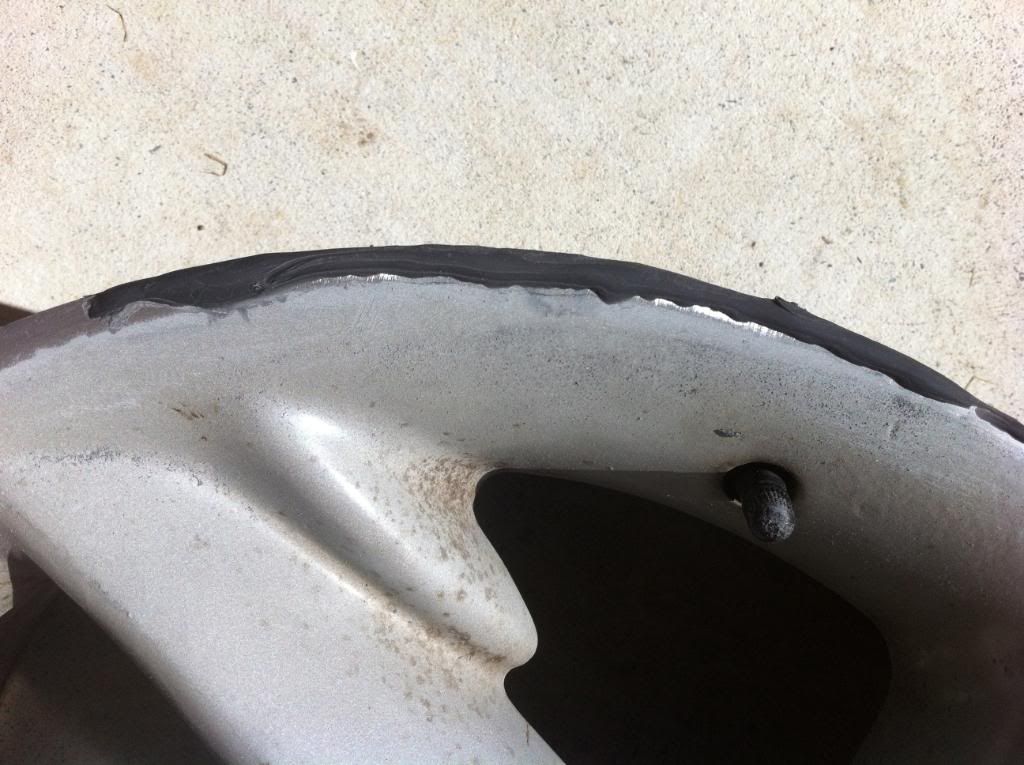 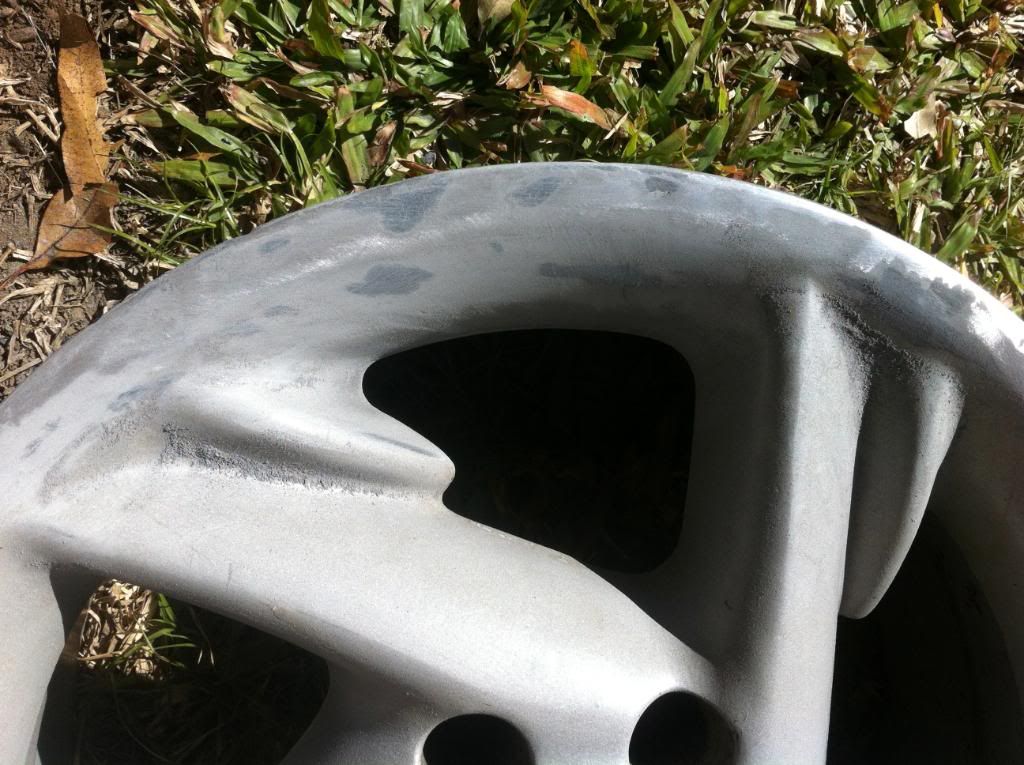  Once it had time to dry I sanded it back level to the rims and most of the scrapes were flush and smoothened out. I removed the 15's Tickford rims I currently have on my car to make sure the rims sat flush and had enough clearance with everything and to get a colour comparison. 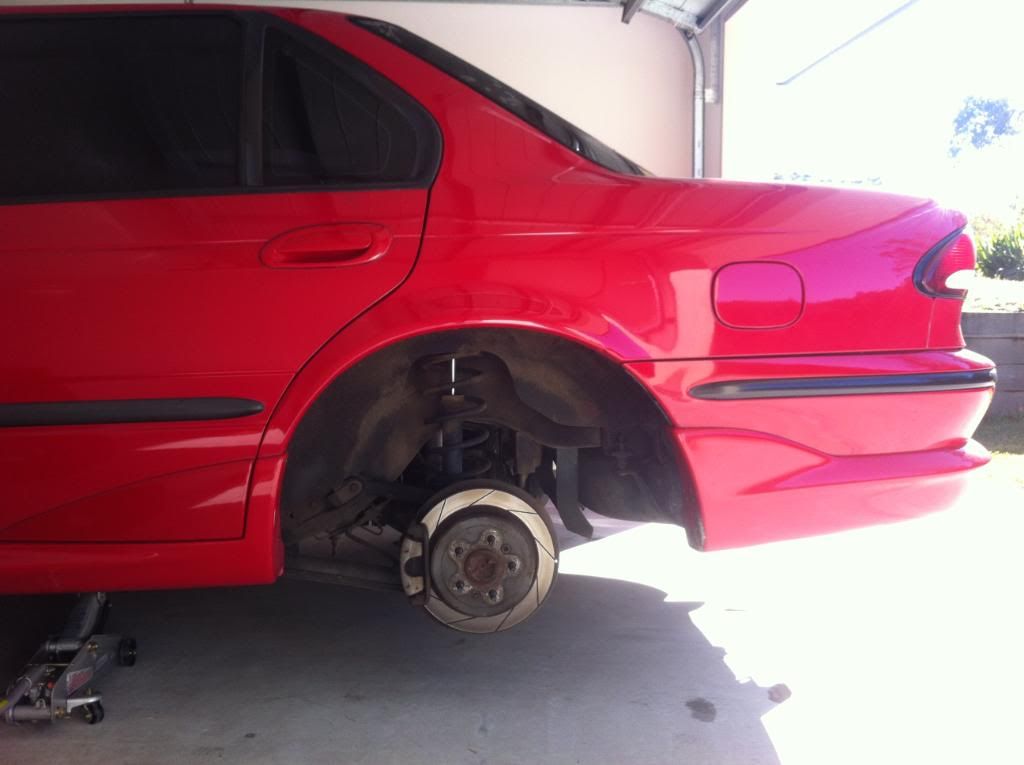 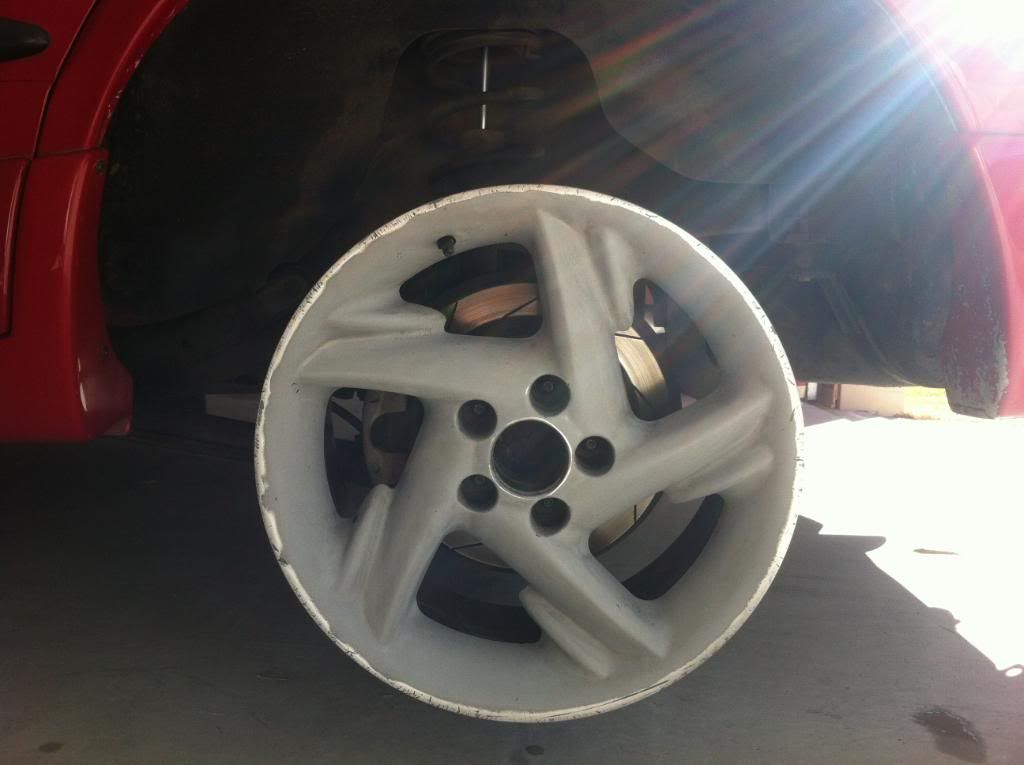 The next step was to apply SEPTONE Acrylic Primer Filler, this primed the wheels ready for paint but also filled minor scrapes I missed with the Liquid Metal. I applied 3 coats allowing 5 min to dry between each coat. the first two coats were very light and followed buy a thicker third coat. The last coat needed an hour to dry before working and sanding it back. 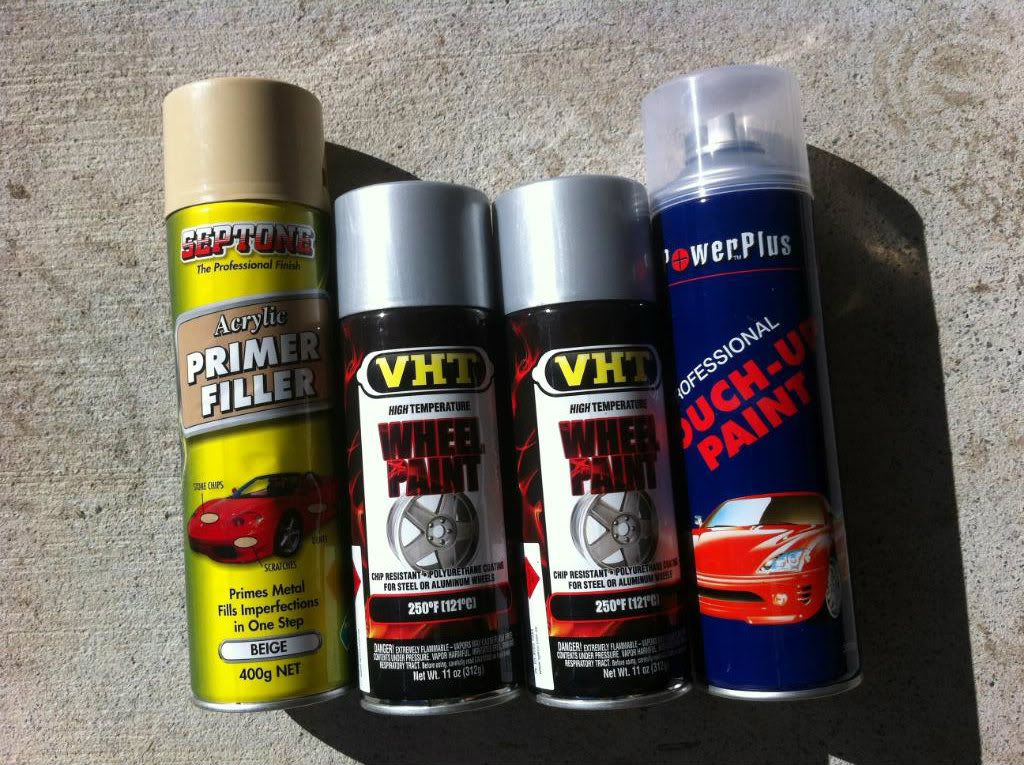 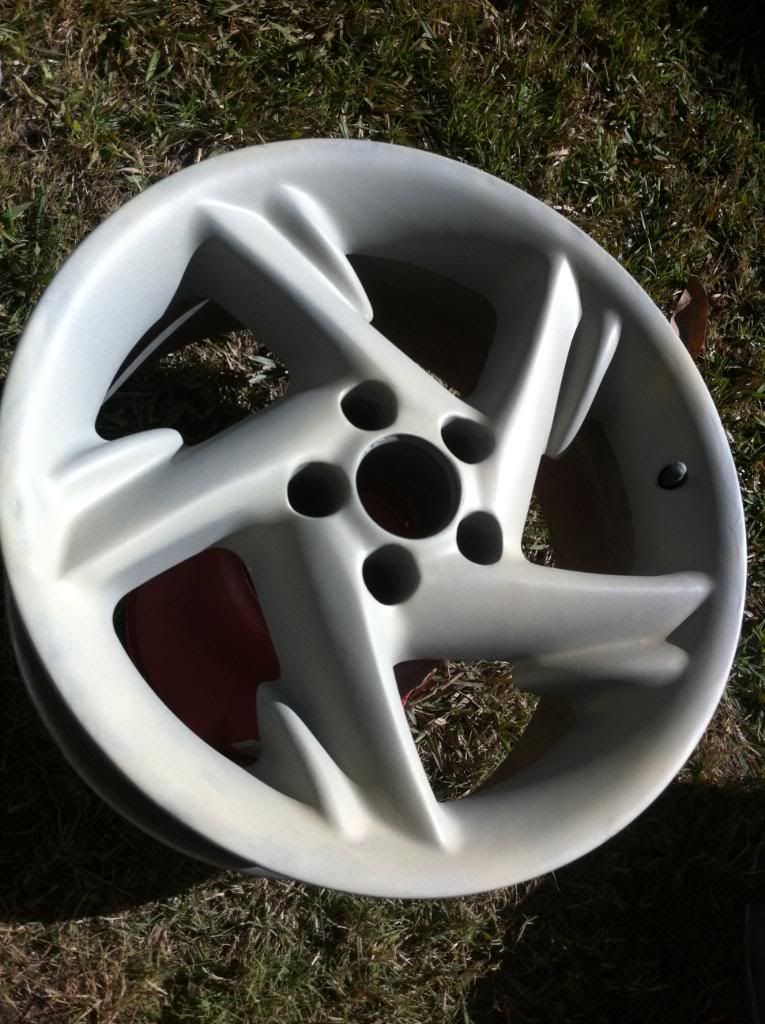 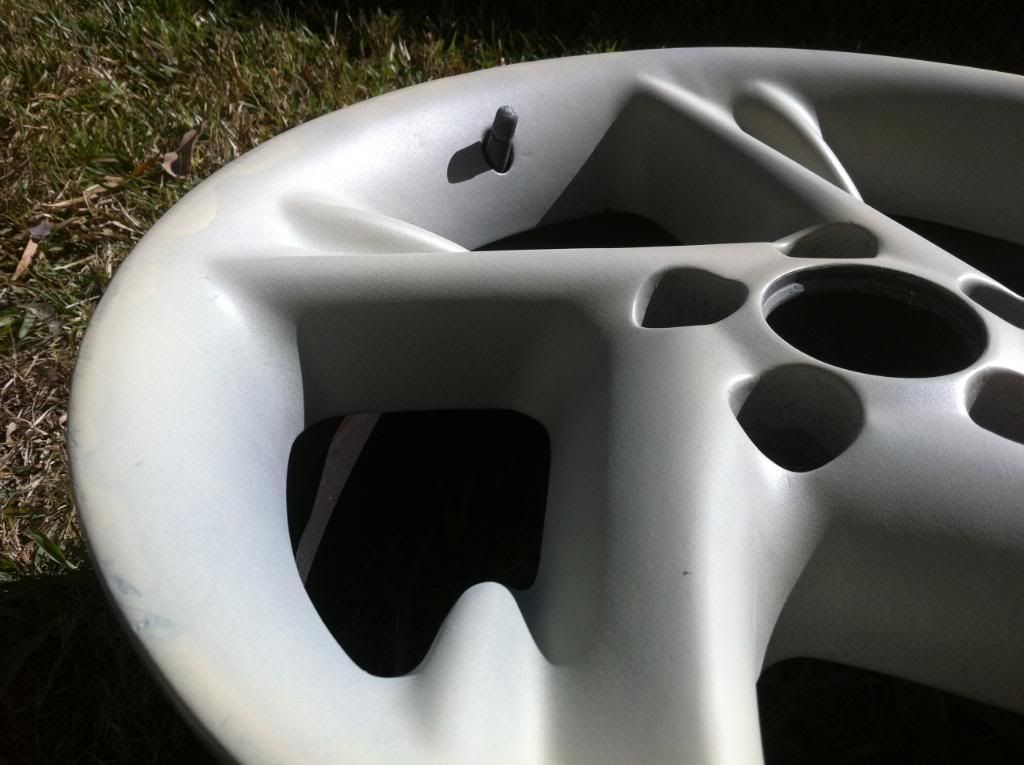 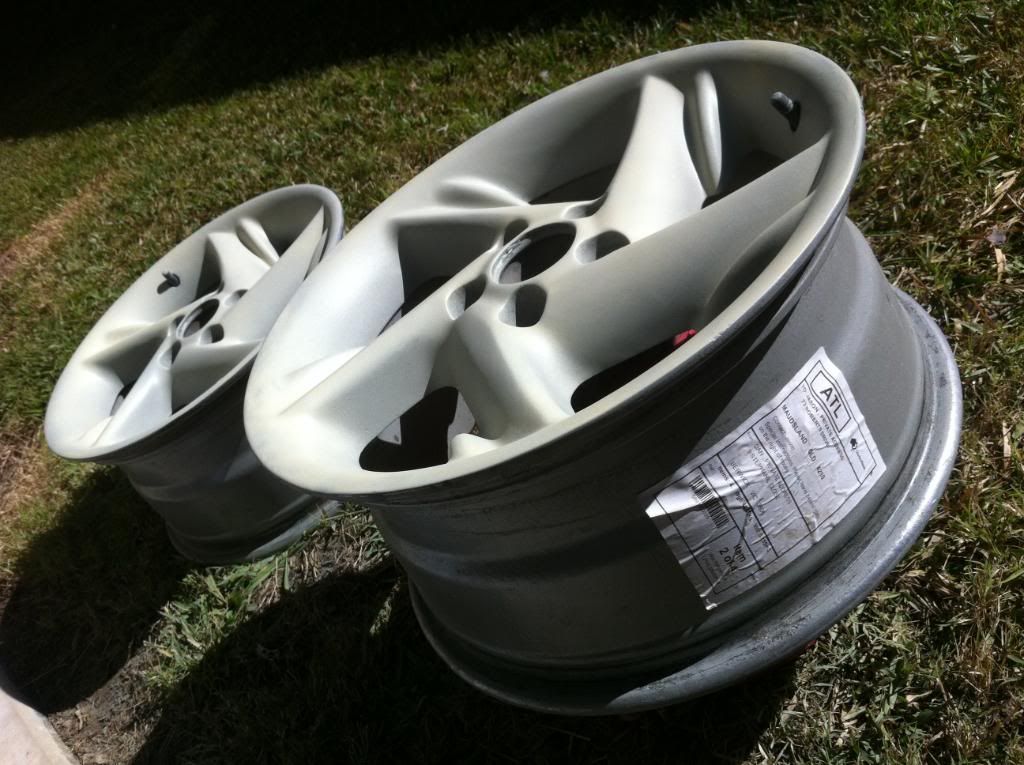 After the primer had time to dry I sanded it back and applied some VHT Wheel Paint (Alloy Silver). Again I applied 2 light coats allowing this time 10min to dry between coats and followed it by a heavier coat and sat them in the sun to dry for another hour. 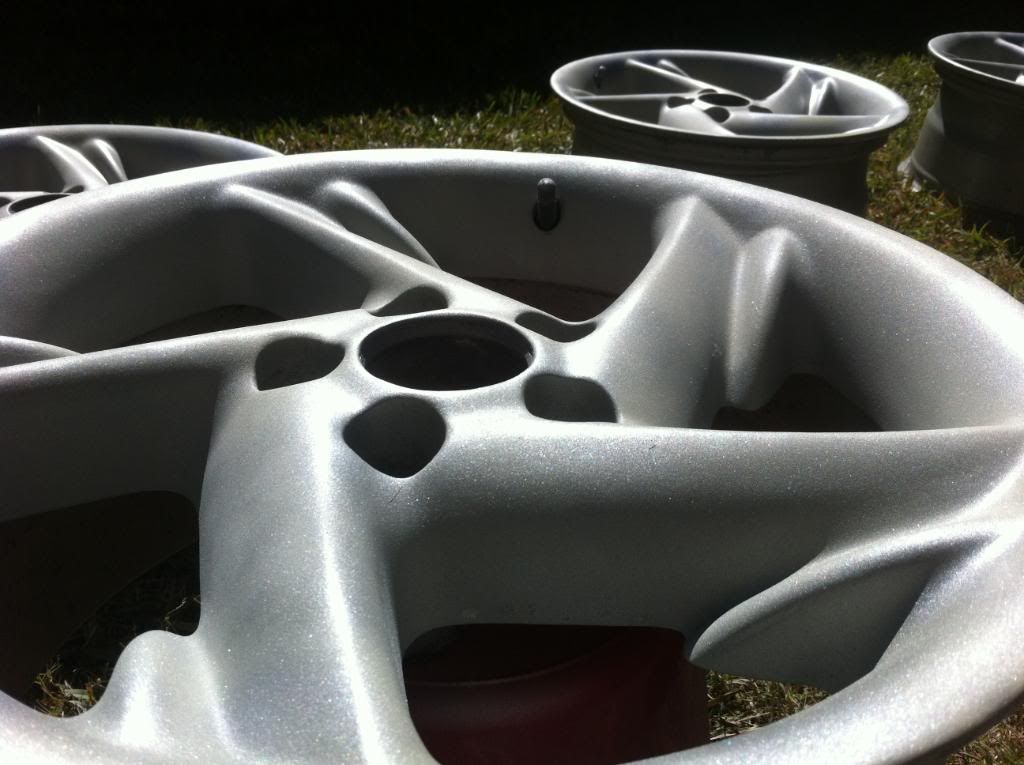 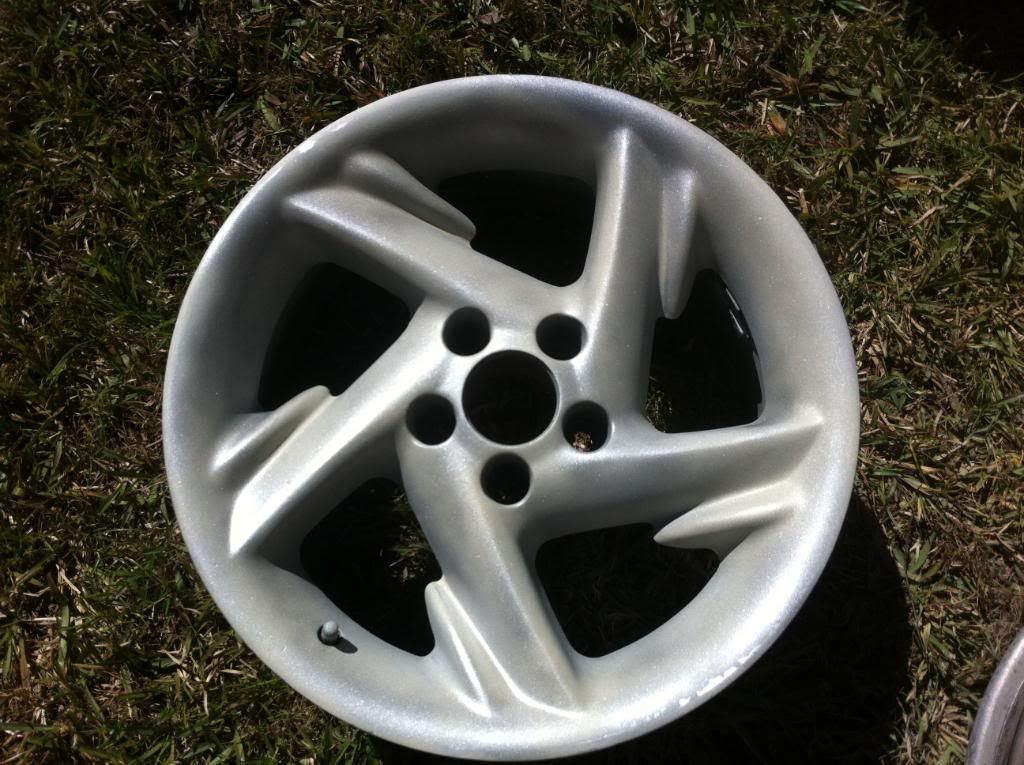 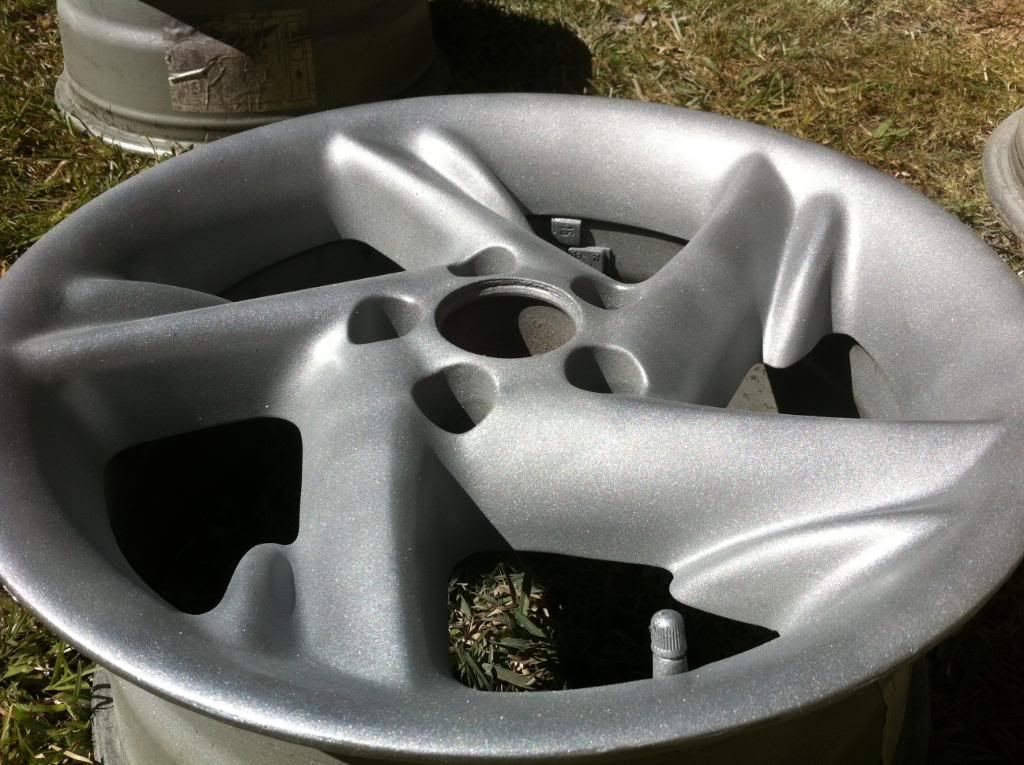 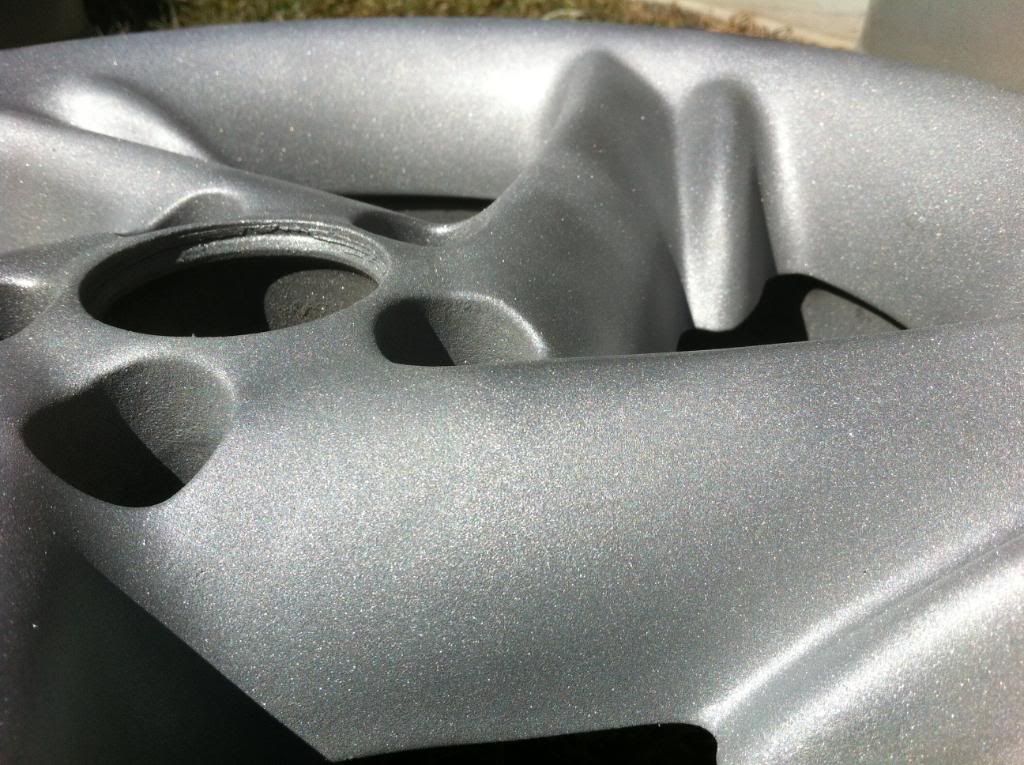 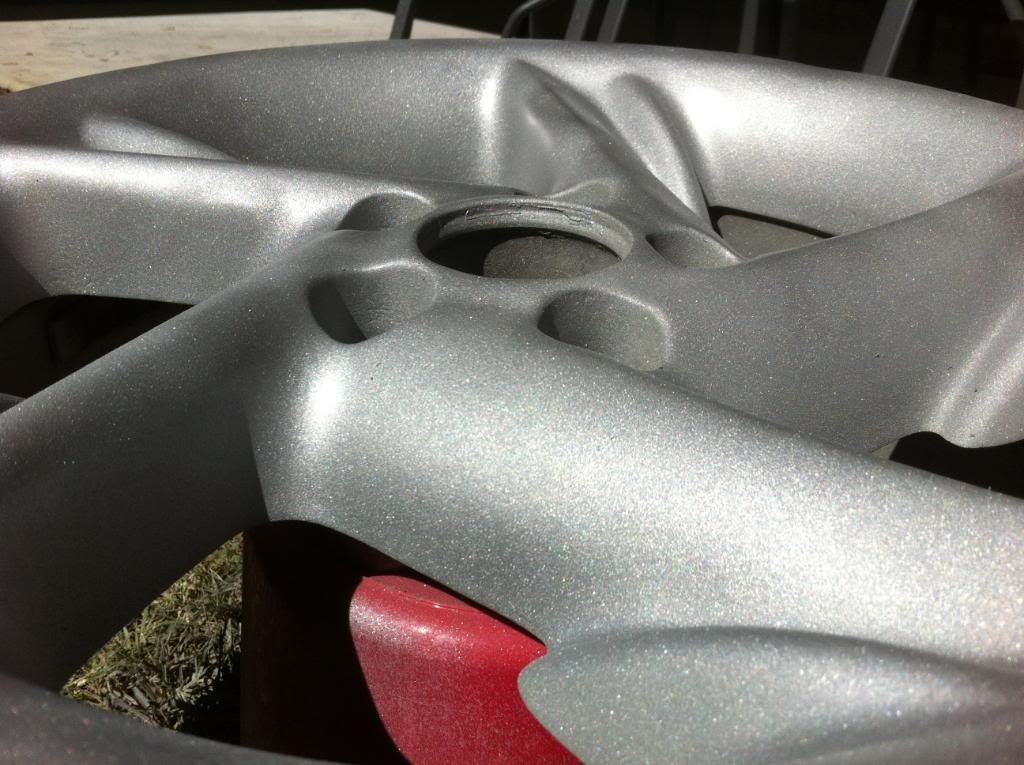 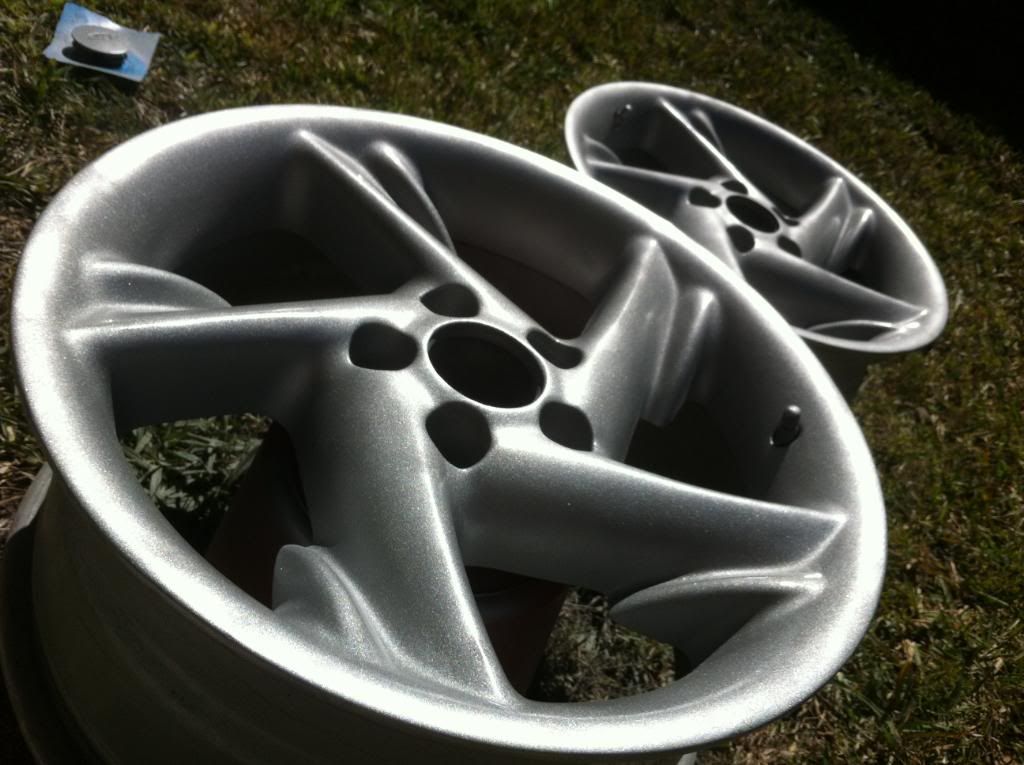 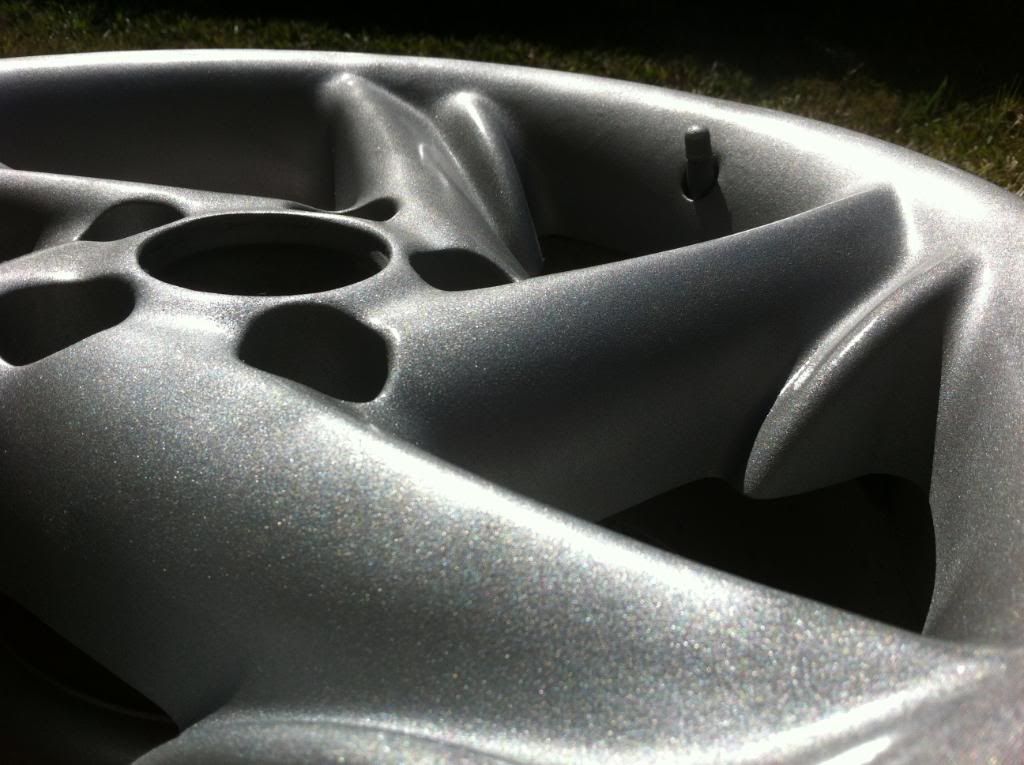 Then came time to apply the last coat of POWERPLUS Clear Coat. I applied 2 coats allowing 20min to dry between coats and left them in the sun to dry- This last step requires the wheels to be left in the sun for 3 days for the paint to harden. 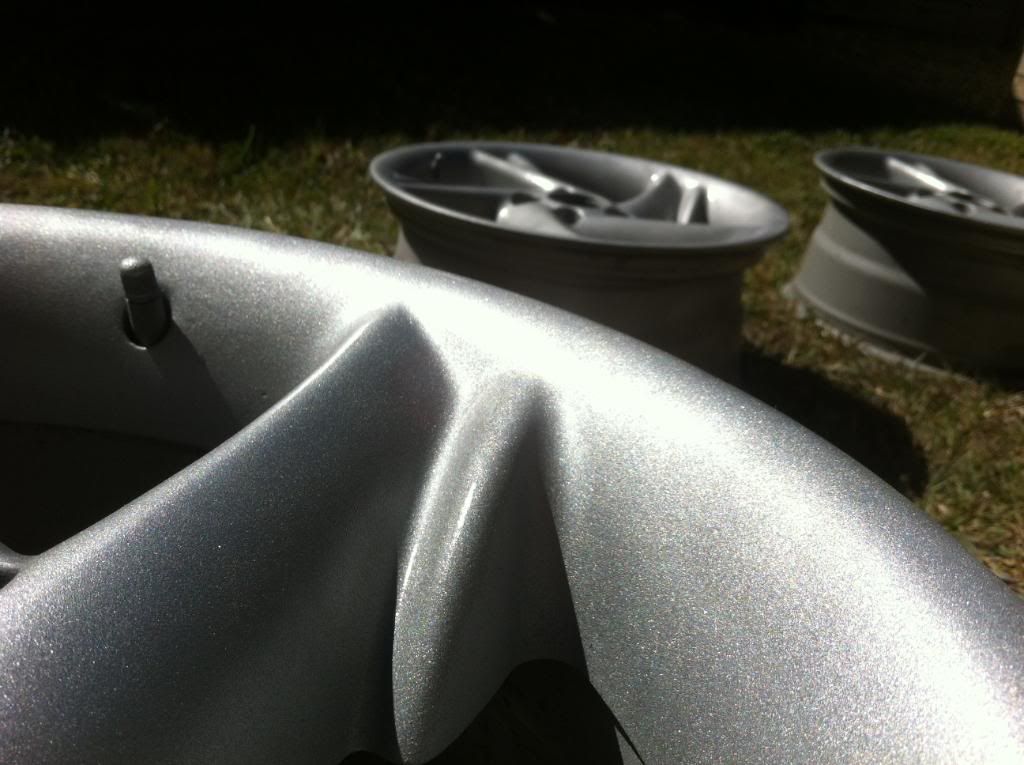 Before and After comparison-  Overall im pretty happy with the results considering I have never tried anything like this before and there are still some dents and chips however from what they looked like to how they look now its a huge difference!! The 2 wheels are still buckled and will need to be re-rolled however i have a quote for $80.00ea and thats allot cheaper than first quoted
_________________ 1997 TICKFORD EL XR6 |
||
| Top | |
||
| Six |
|
|||
|
Nice ride mate. The rims came up a treat, solid job
_________________ MGW Short Throw Shifter, CVE Cam, CVE Head, SS Big Mouth Air Intake, Pacemaker Headers, 3" Exhaust, 3" Varex, 3" Cat, 19" Silver Agents, EMS Stinger 4424, 42lb Injectors and Walbro 255lb Fuel Pump |
|||
| Top | |
|||
| johnzy92 |
|
||
Age: 32 Posts: 43 Joined: 4th Aug 2009 Ride: 1997 EL XR6 manual Location: Gold Coast Queensland |
Another mod done today and one thats been on the top of my to do list since I bought the EL and that was to lower it on Pedders Suspension.
After abit of back and forth with quotes and the most suitable parts to use finally have it sitting how I wanted it. Its on Sports Ryder springs front and rear while still using my Tickford Shocks and it sits about 45mm lower now. The ride is still very comfortable and its a great height to clear speed humps without scraping. Very Happy 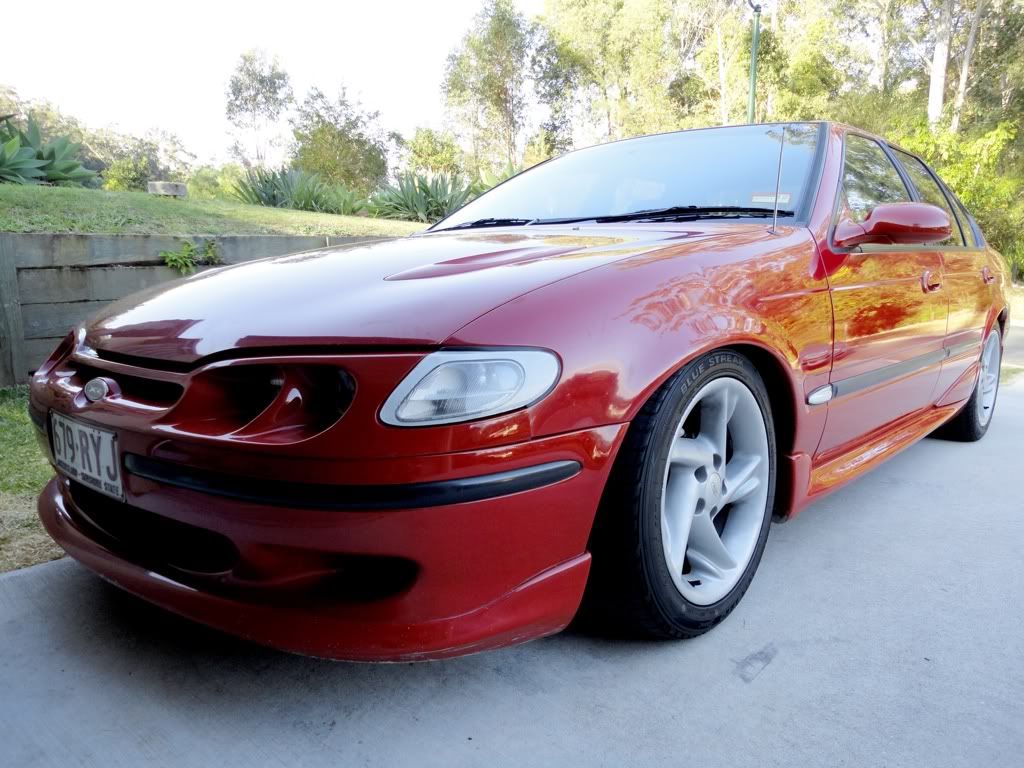 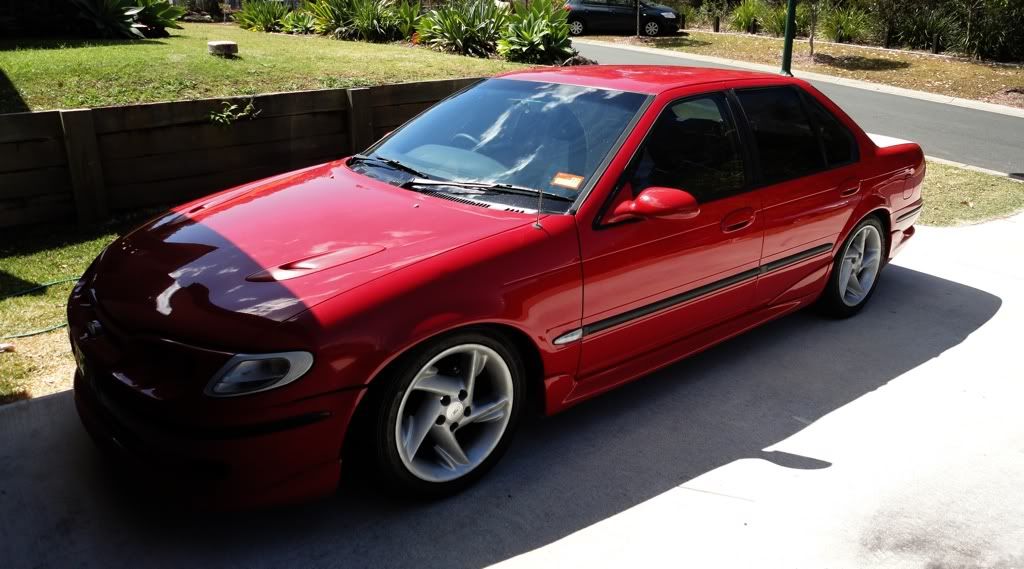 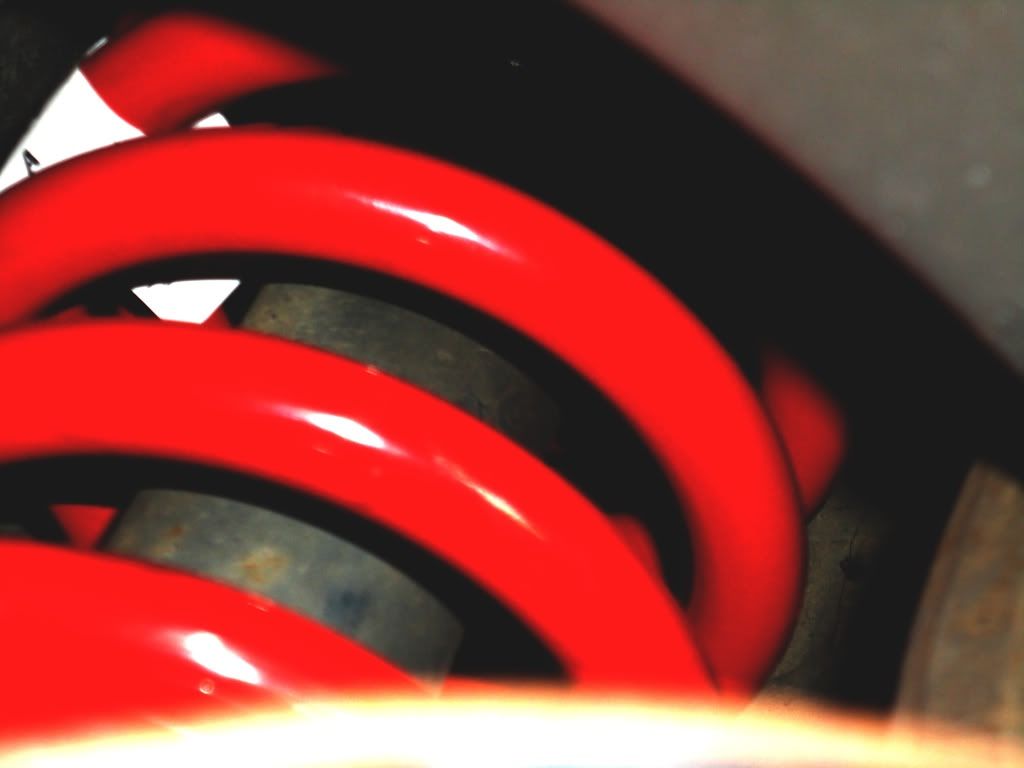 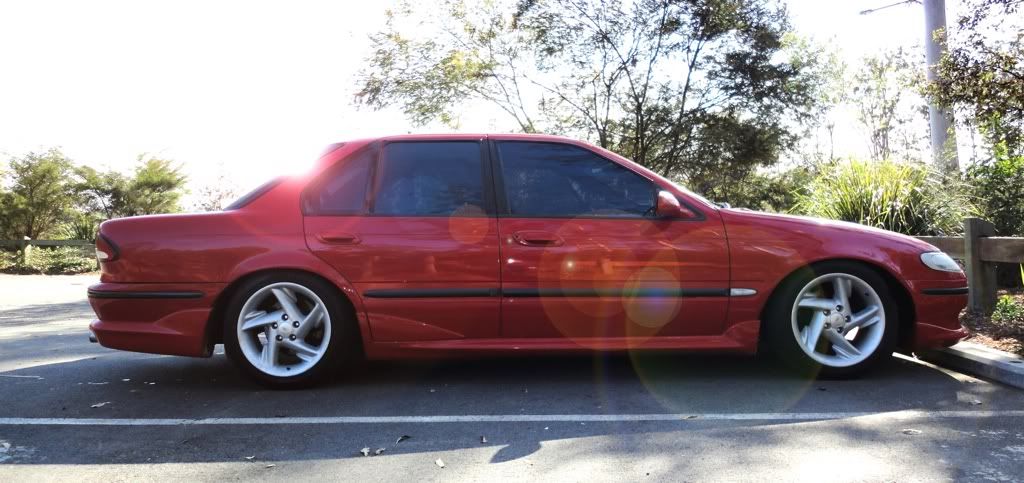 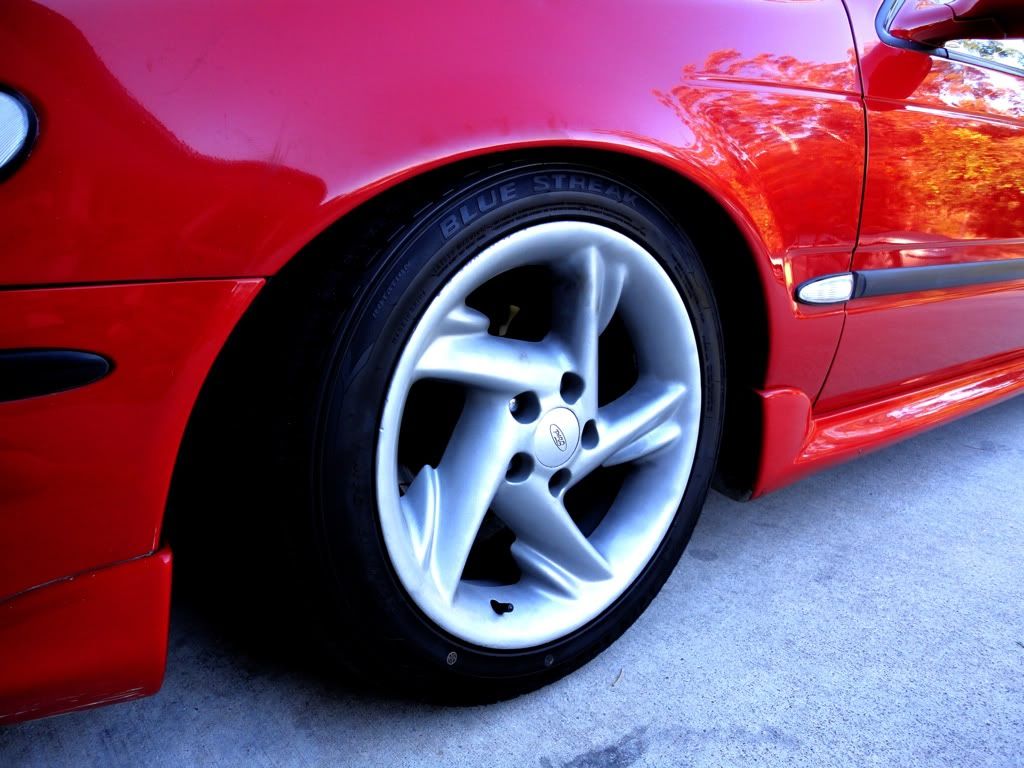 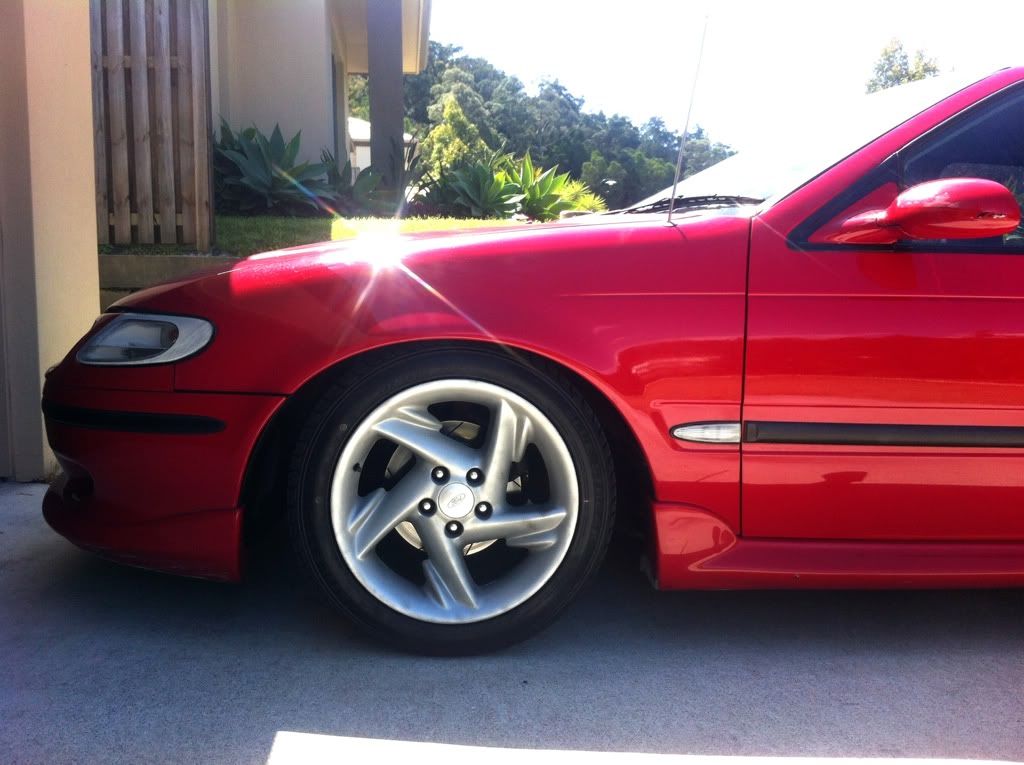 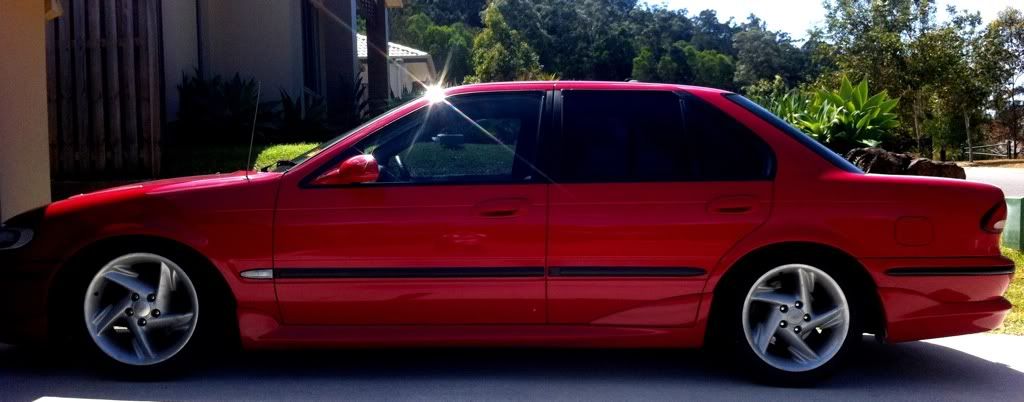
_________________ 1997 TICKFORD EL XR6 |
||
| Top | |
||
| johnzy92 |
|
||
Age: 32 Posts: 43 Joined: 4th Aug 2009 Ride: 1997 EL XR6 manual Location: Gold Coast Queensland |
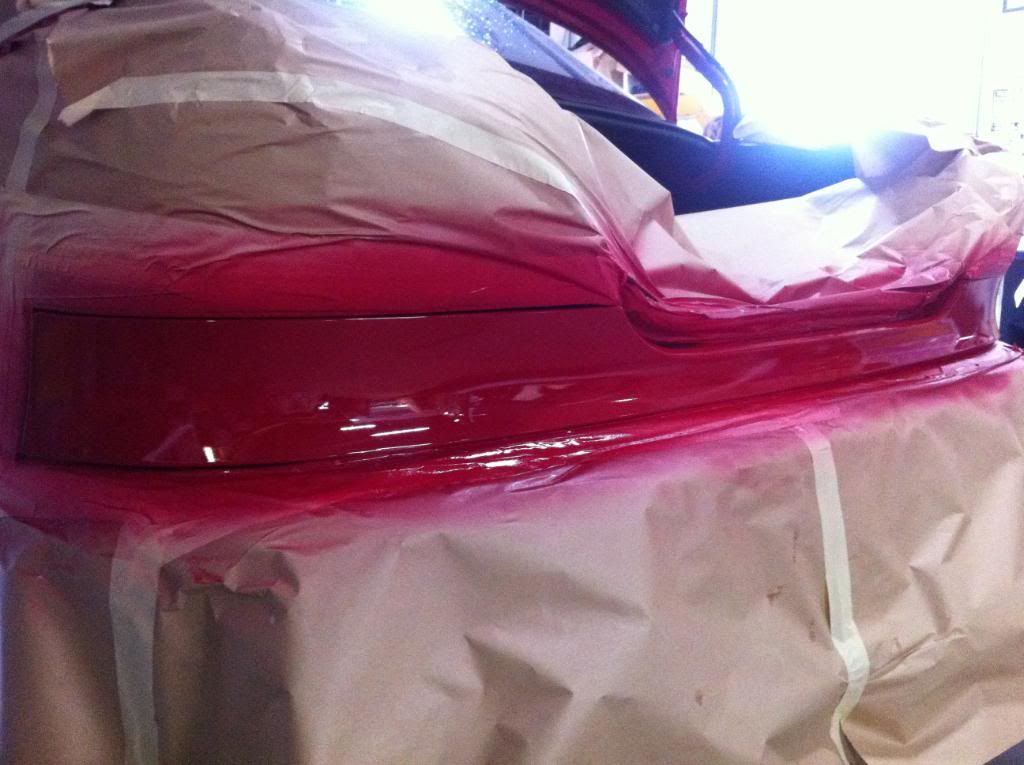
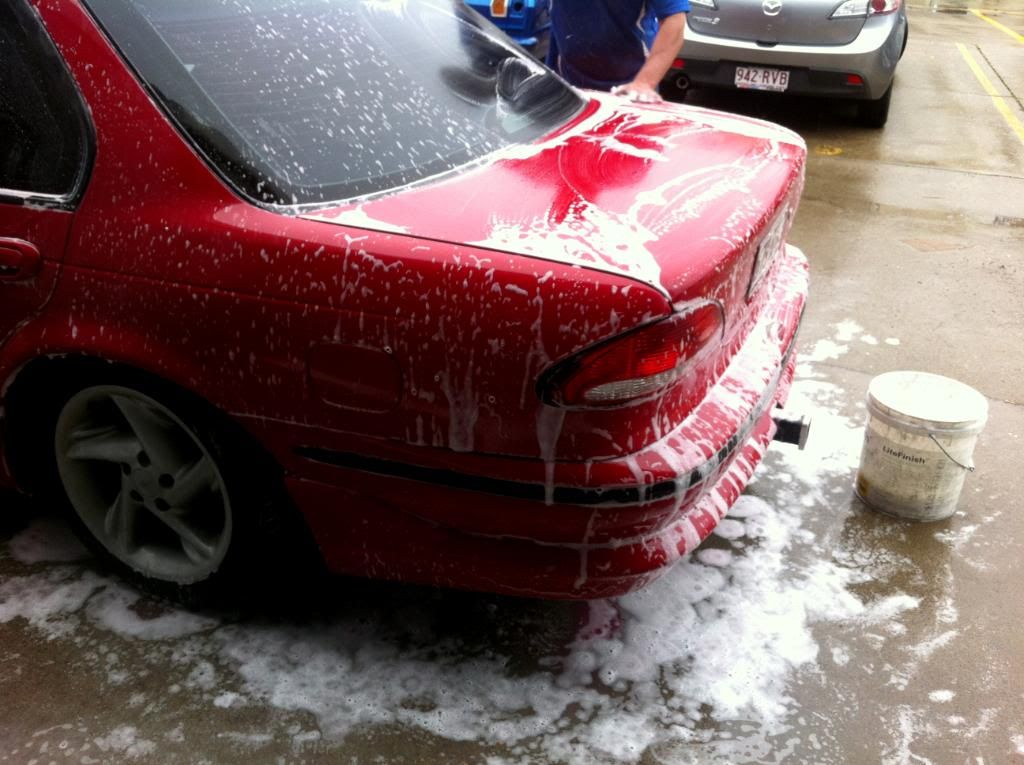
Finally got around to getting the boot re-sprayed along with the lower boot panel where the holes from the badges were. Golden hammer on the GC is a wizard at paint matching couldn't tell its not the original boot.
    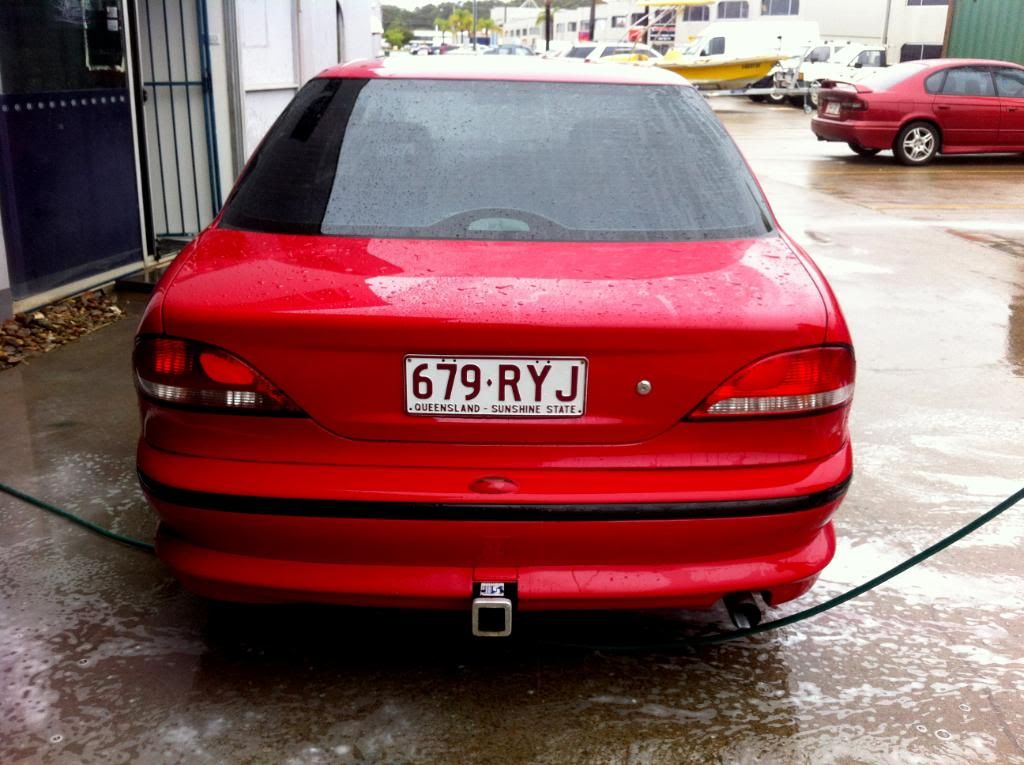 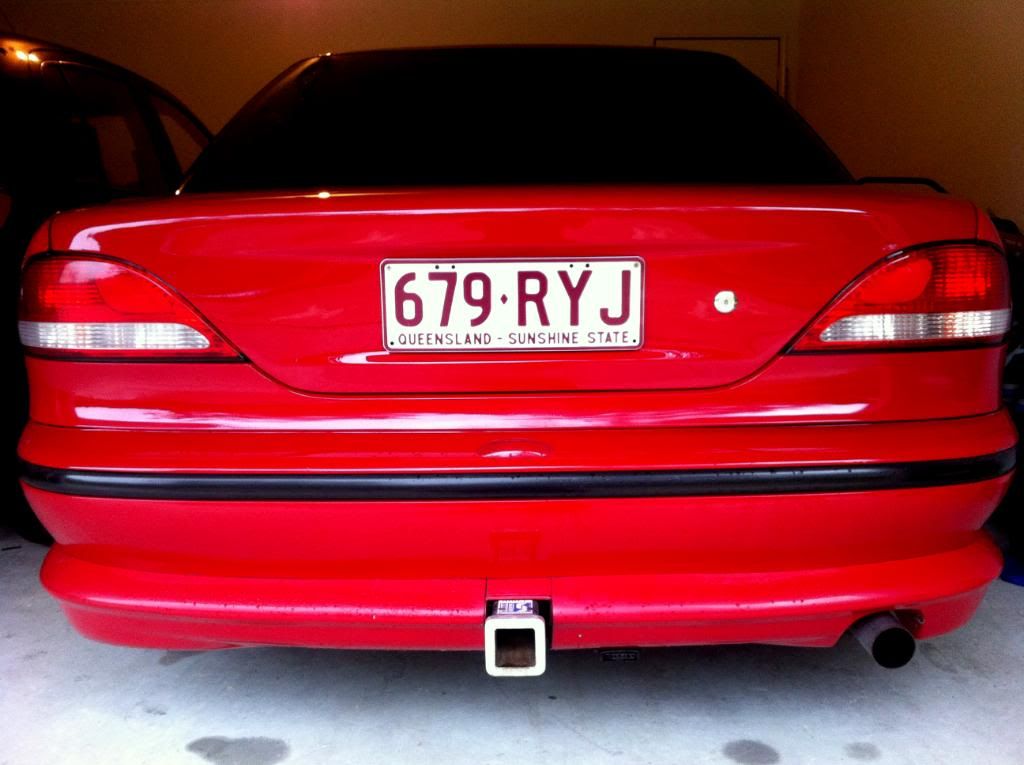 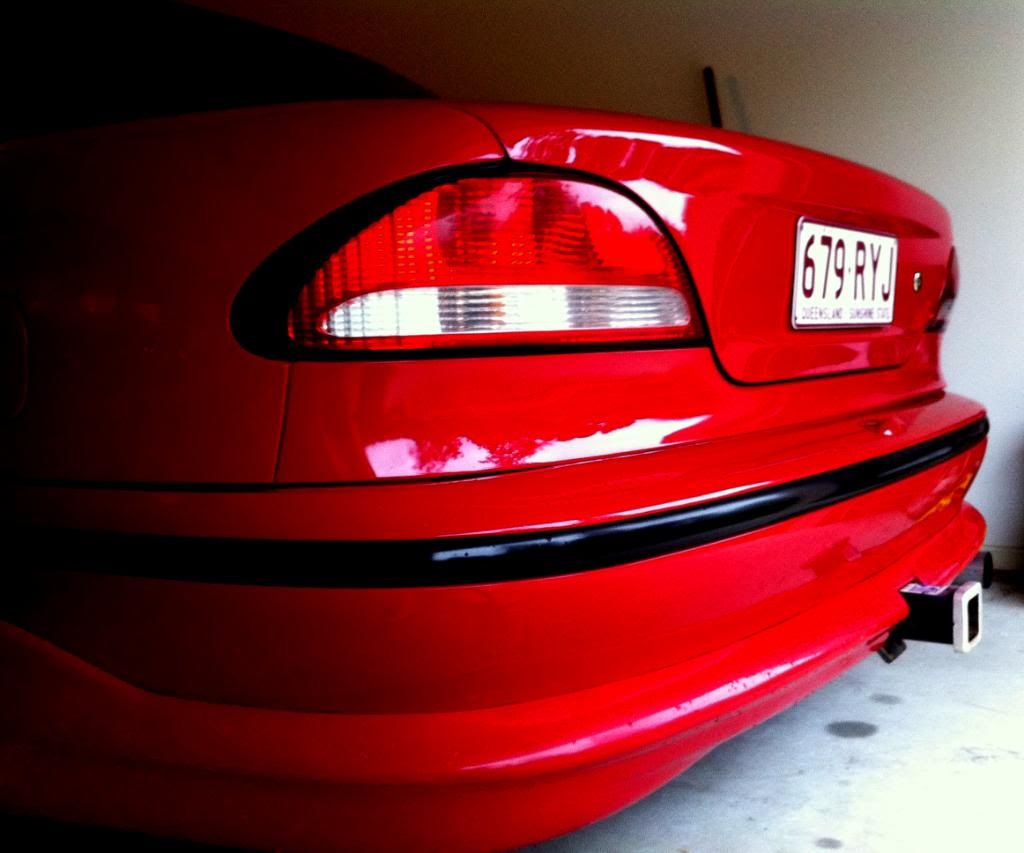 Some pics from the volt: 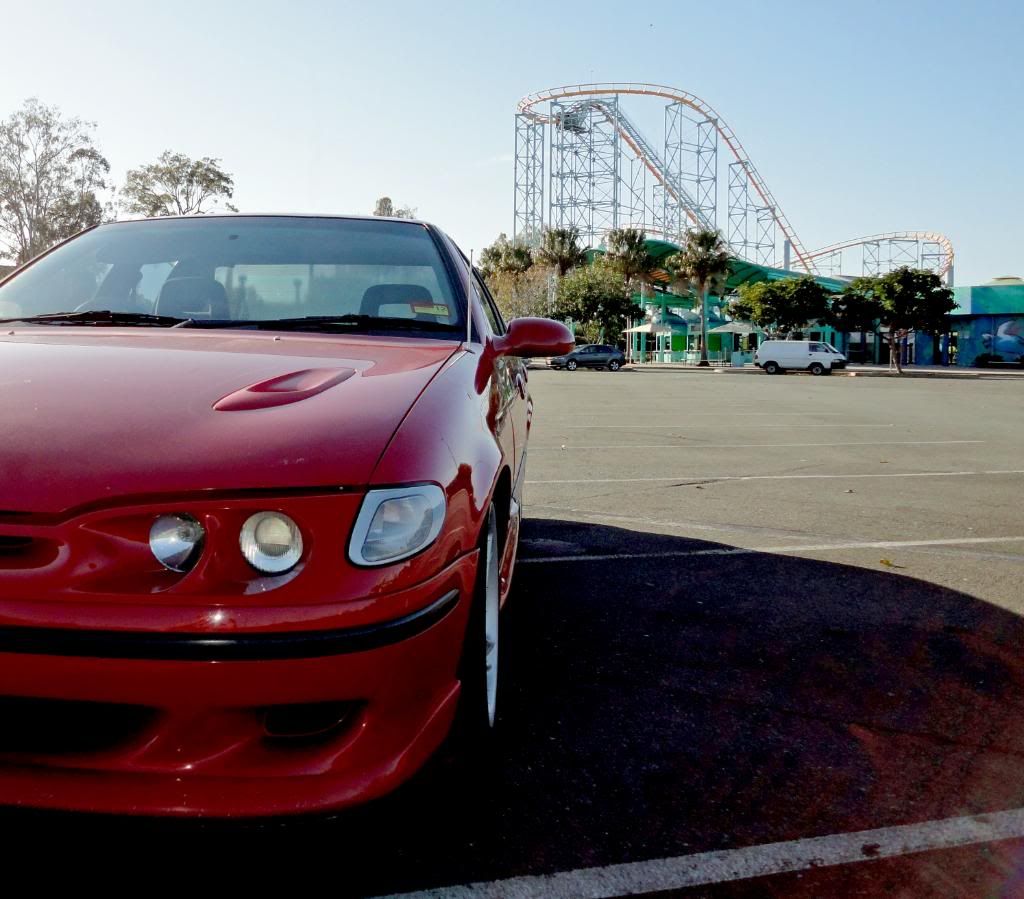 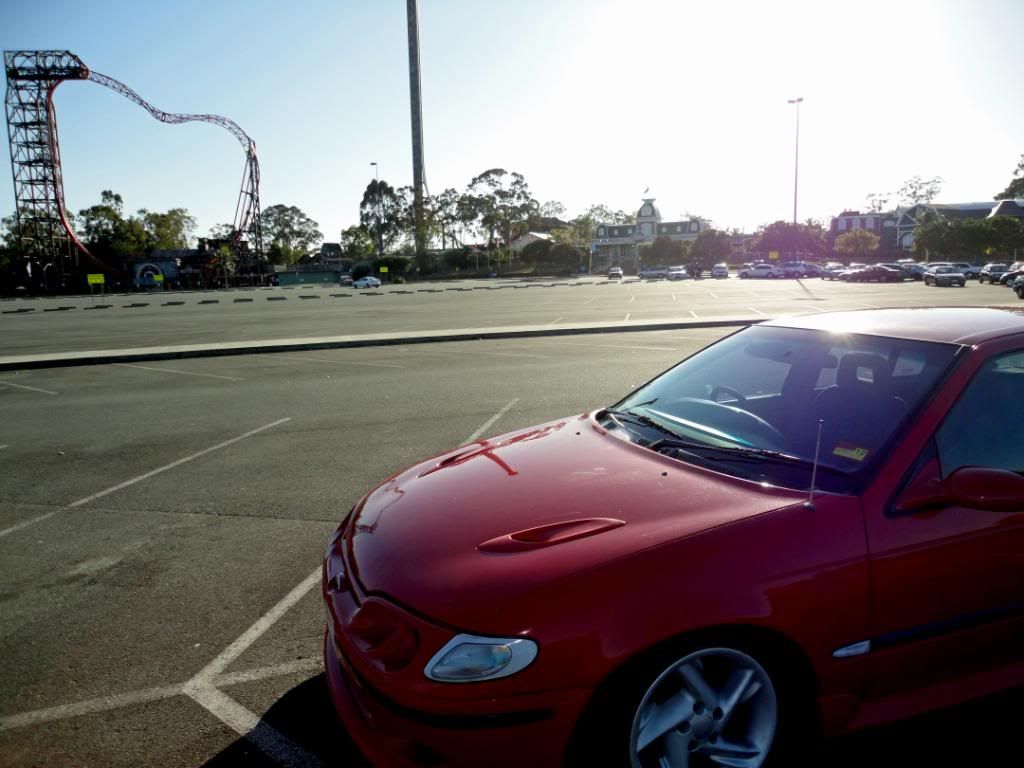 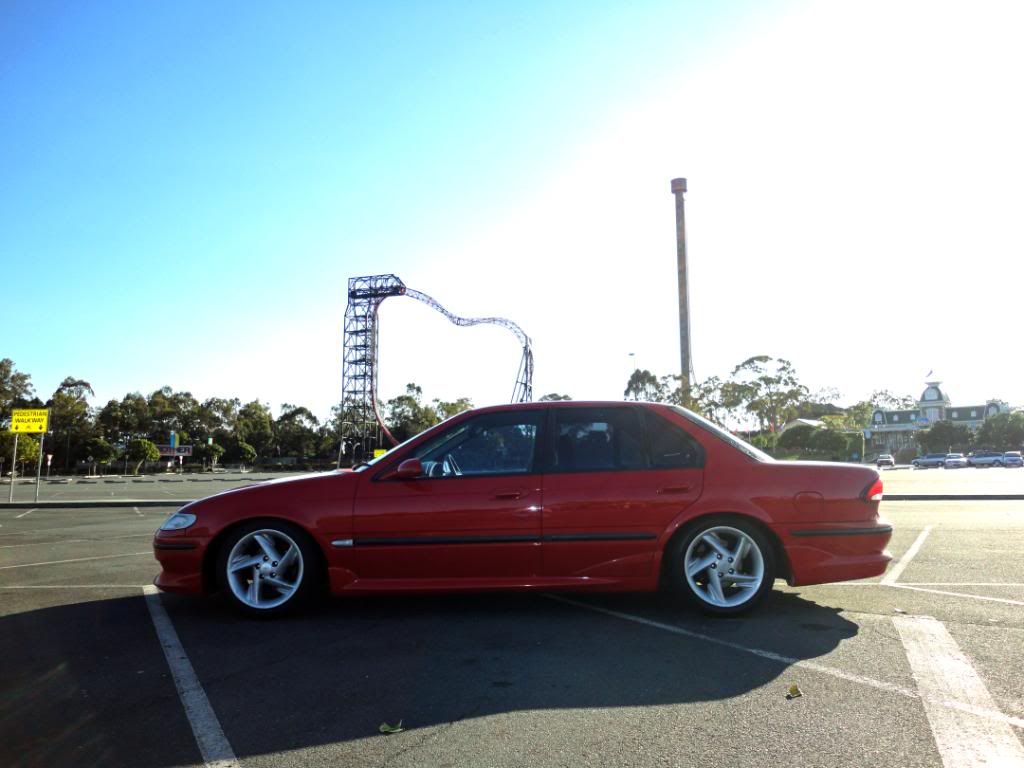
_________________ 1997 TICKFORD EL XR6 |
||
| Top | |
||
| Stealth6 |
|
|||
|
That's looking really nice. I think a lot of Ford enthusiasts would be glad to own that car, me included!
_________________ Yep, I don't know what to write here... |
|||
| Top | |
|||
| johnzy92 |
|
||
Age: 32 Posts: 43 Joined: 4th Aug 2009 Ride: 1997 EL XR6 manual Location: Gold Coast Queensland |
DIY: BLACK INTERIOR
decided to go with the black interior for the XR6 and after a lot of stuffing around with removing door trims, console dash surrounds ect i used VHT Vinyl Dye and this stuff is amazing! it went on and stayed on, doesnt scratch or bubble it stains the vinyl making it look factory! i need to grab some black carpet off e-bay to finish it up and then maybe some leather BA or AU seats. {DESCRIPTION} {DESCRIPTION} {DESCRIPTION} sorry for the s**t camera phone pics but you get the idea
_________________ 1997 TICKFORD EL XR6 |
||
| Top | |
||
| mate |
|
||
|
Looking good mate, love what you've done so far! What's next? Get some more pics up!
|
||
| Top | |
||
| Who is online |
|---|
Users browsing this forum: No registered users and 14 guests |