

|
| bbqburner |
|
|||
|
 Here she is in all her glory, I then killed the motor so i decided that my dream of mod my EL was going to start AuII front suspension with territory brakes AU IRS 3.45 locker/lsd (undecided/suggestions) :scratch: Ba turbo motor with all the basic mods to run with custom exhaust, nonstandard intercooler, 10psi. I may go vapour injected lpg. :yahoo: Ba ABS with traction control Ba cluster 6-speed manual upgraded swaybars front and rear Koni yellows all round with lowered springs, my last set of king springs sagged so what other brands have people used? Fairmont front end with twin light headlights Fairmont Side molds Electric windows in the back Climate control Respray Under body scrub (blown motors leave a big oily mess everywhere) :banghead: Alarm 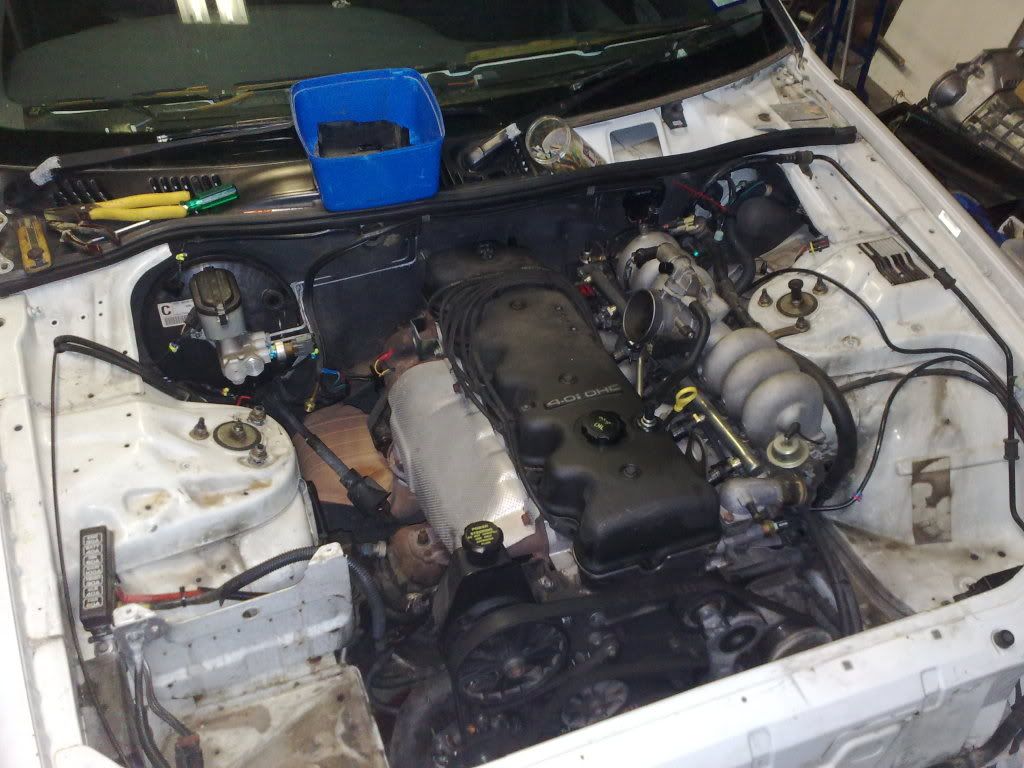 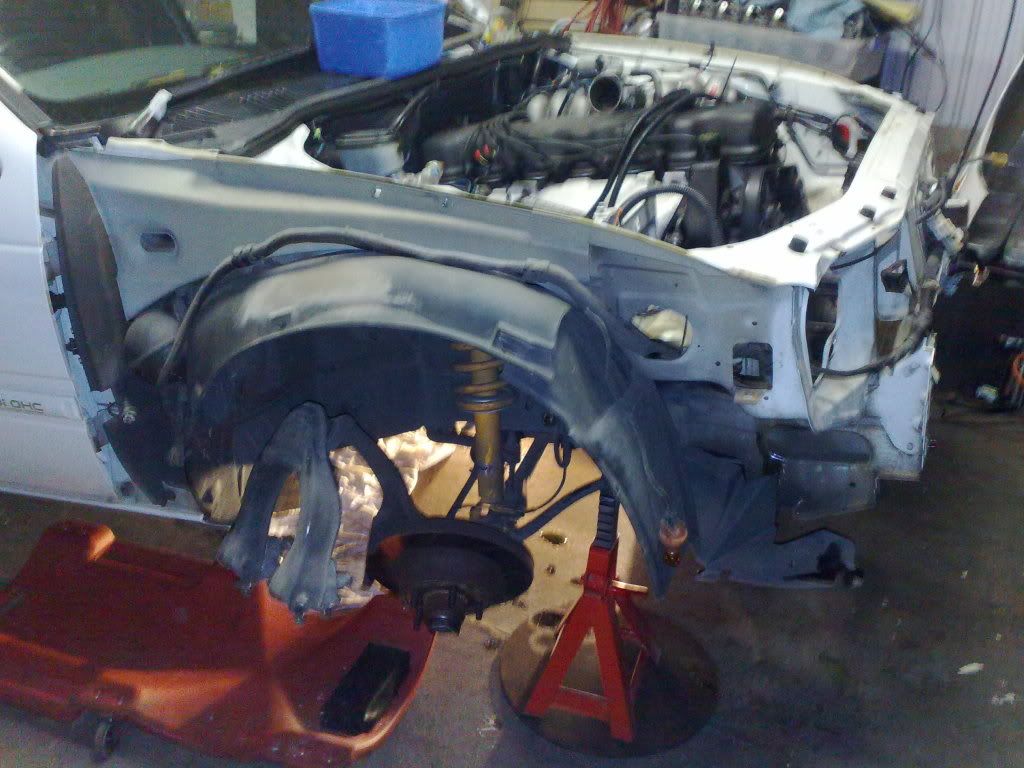 I'll be copying this off my boosted thread http://www.boostedfalcon.net/viewtopic.php?f=3&t=10623 if you can't wait for me to copy it all across
_________________ I enjoy the symphony of mechanical harmony, Last edited by bbqburner on Mon Jul 05, 2010 8:37 pm, edited 1 time in total. |
|||
| Top | |
|||
| BenJ |
|
||
|
Welcome to Fordmods.
I think we are lucky to have such a modder, working on advanced technical mods, such as yourself. Bring on the goodness. Cheers BenJ
_________________ {DESCRIPTION} - Current Ride |
||
| Top | |
||
| bbqburner |
|
|||
|
Cheers BenJ, I'm impressed with what you have done to your wagon
First thing you will need to do is remove everything not necessary for the AU subframe. I used a spot weld drill bit to drill out each spot weld close to the rail material and then a chisel and hammer to break the last bit off. 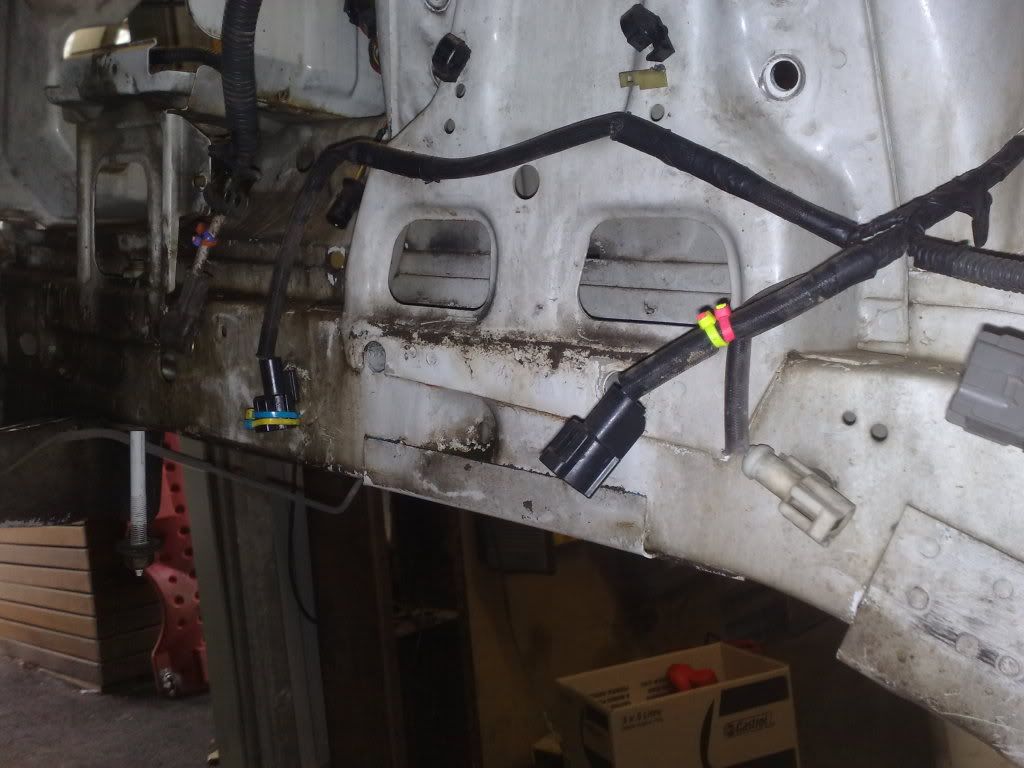 You will have removed the sway bar mount and the shims for the k-frame 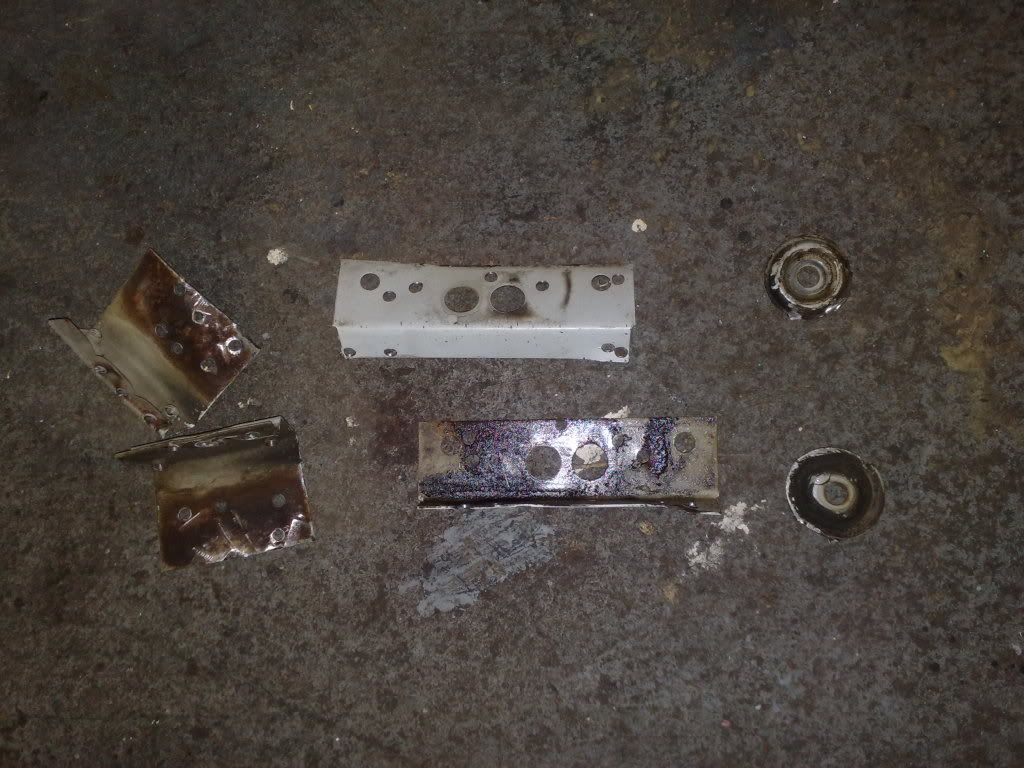 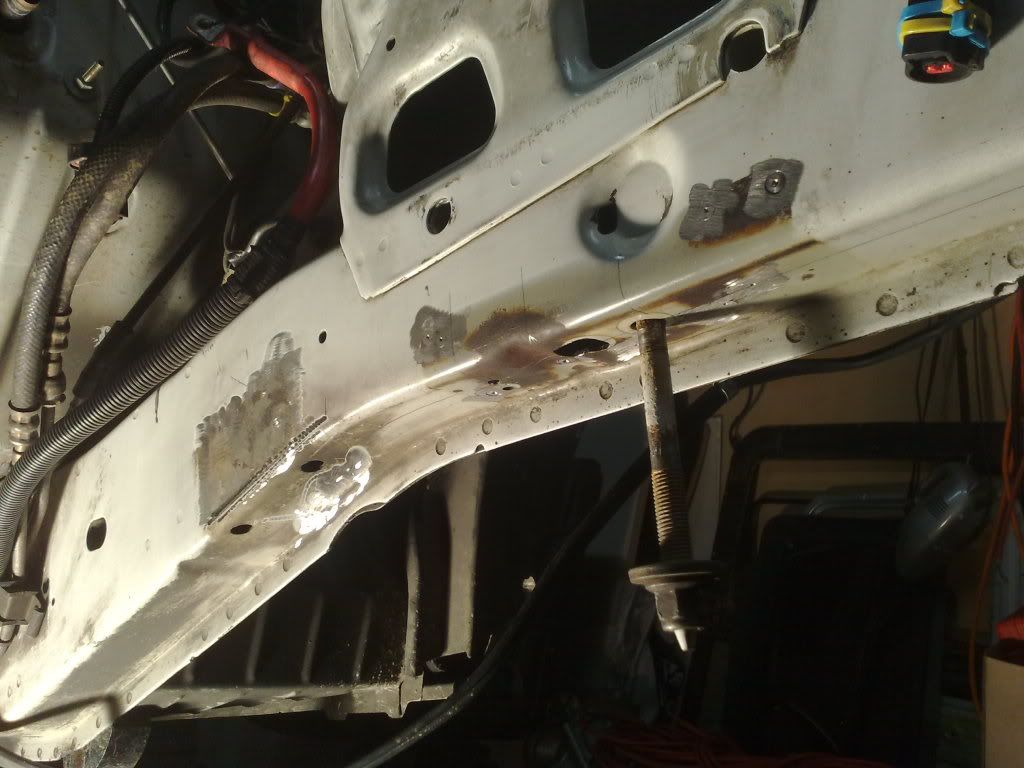 There is only one bolt hole that the EL and AU share in common and that is this one. The line to the right is where the second bolt for the alloy cross member needs to go and you can see that it has to pass right through one of the crush tubes for the old k-frame. (one side took 3 hours to drill) 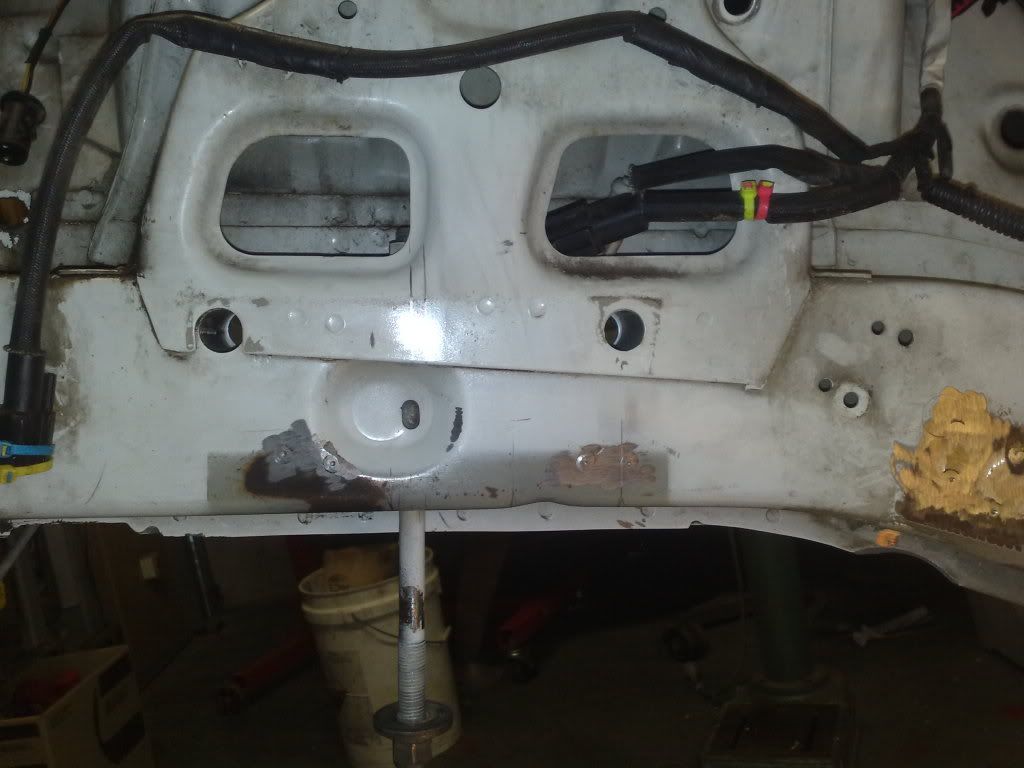 the offending item 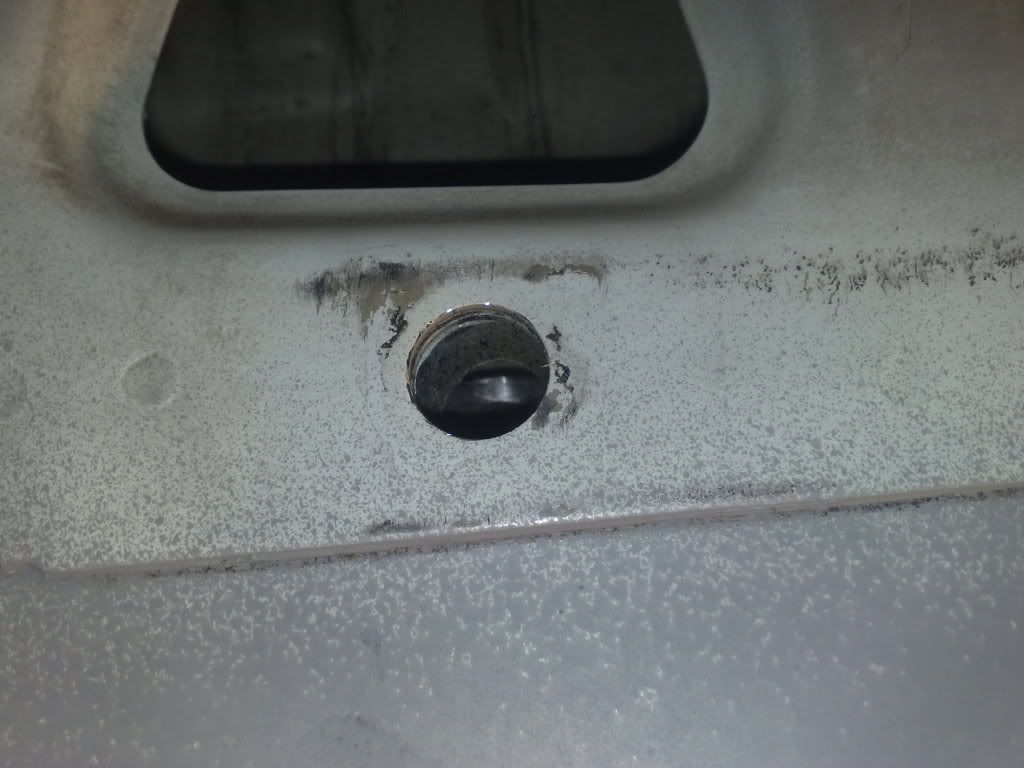 This is the crush tube that needs to go into the rail 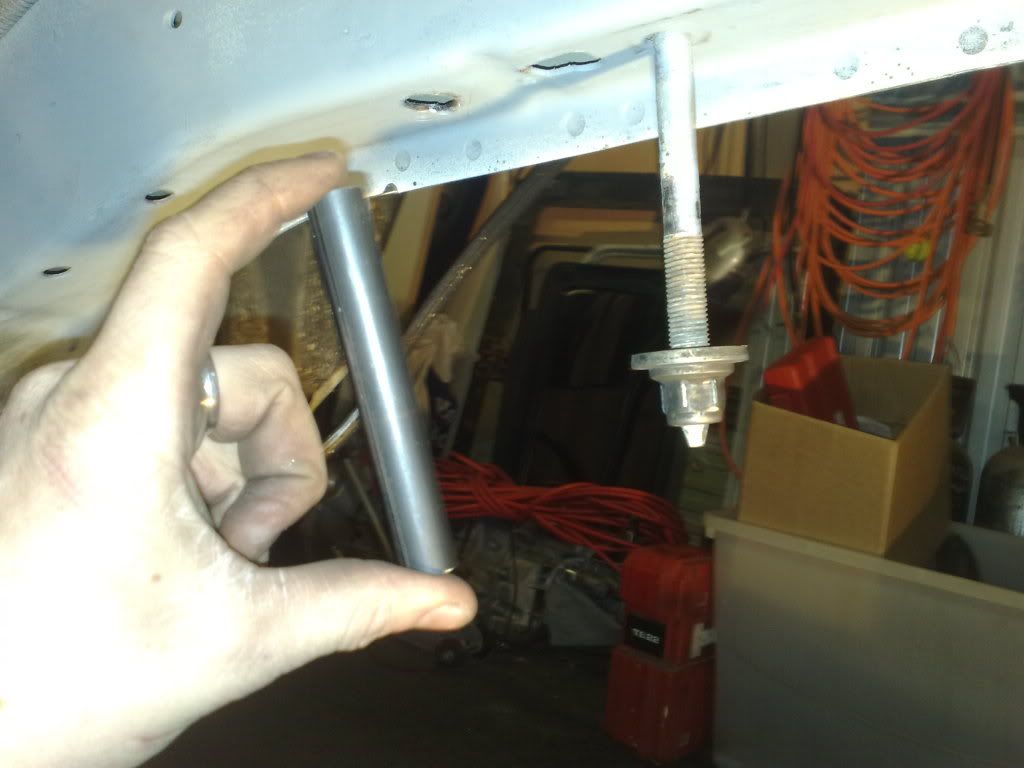 like so 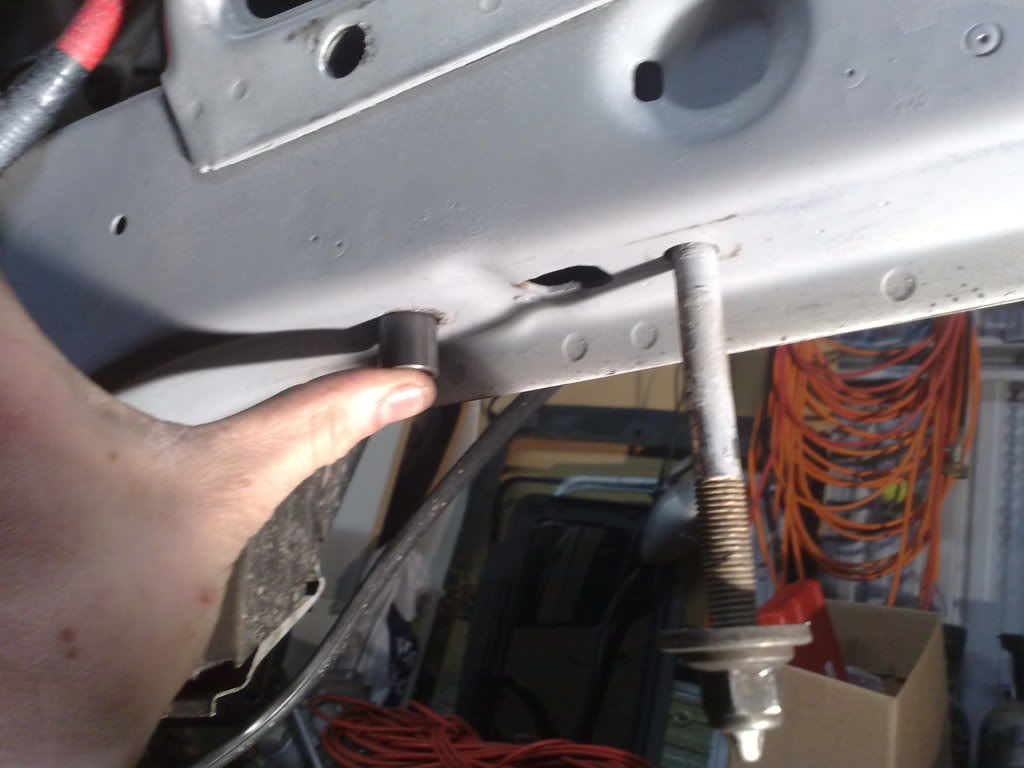 and then the bolt 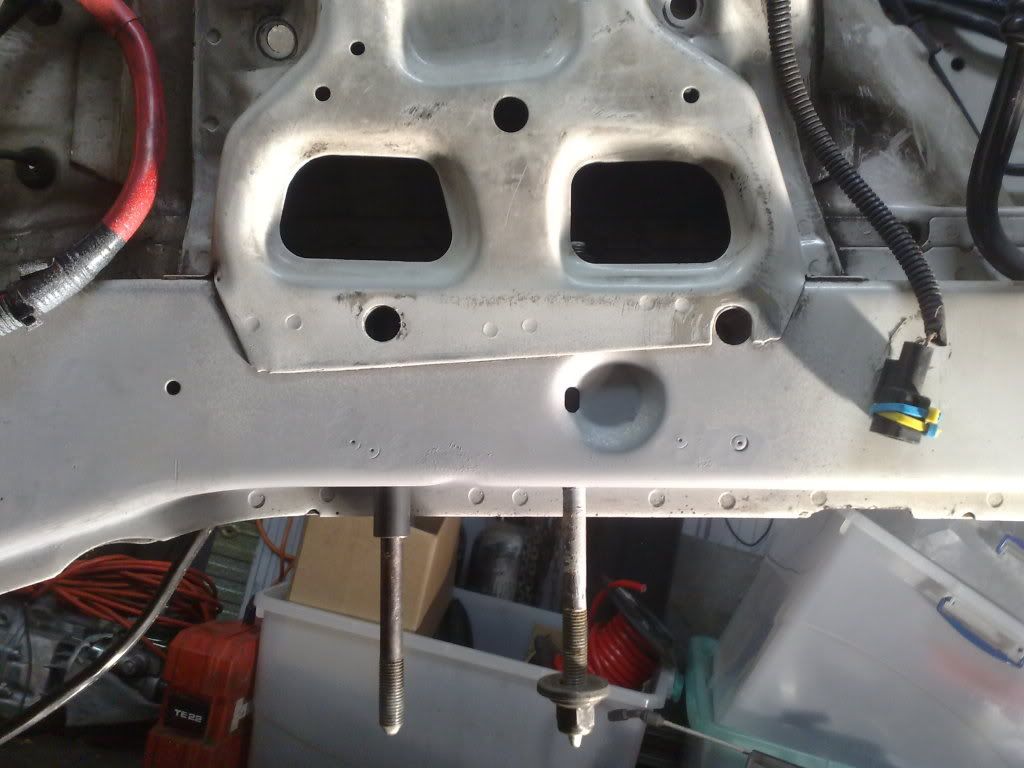
_________________ I enjoy the symphony of mechanical harmony, Last edited by bbqburner on Sat Jul 03, 2010 8:44 pm, edited 1 time in total. |
|||
| Top | |
|||
| bbqburner |
|
|||
|
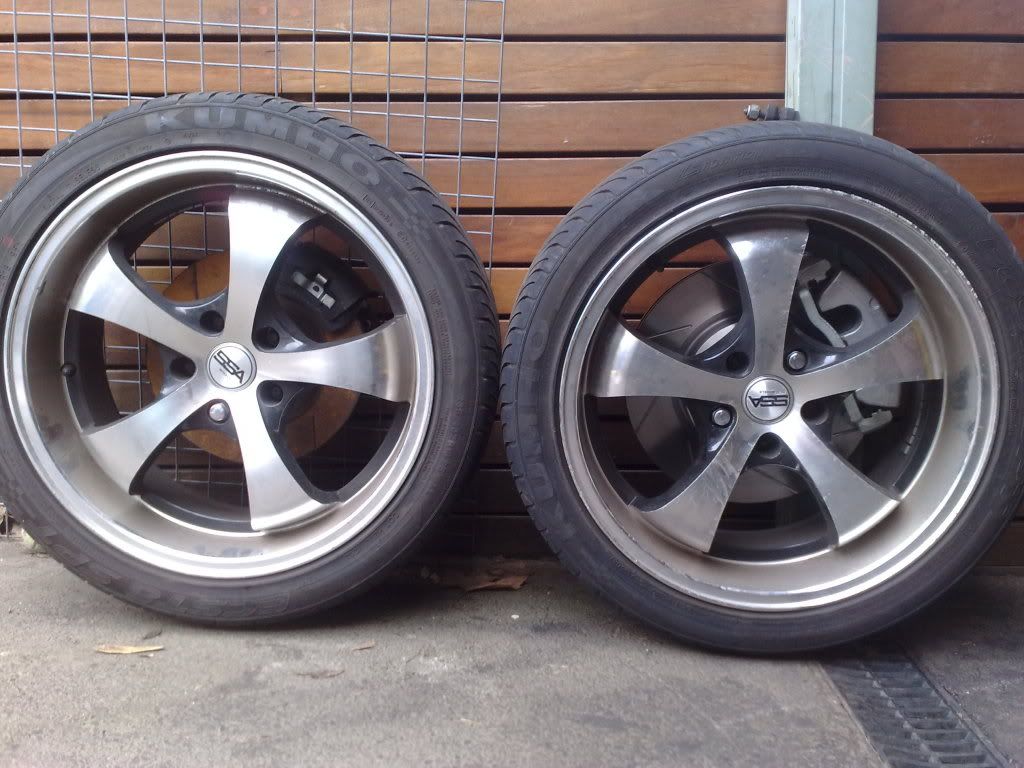
Brake size difference
 these are my spacers for the engine cross member 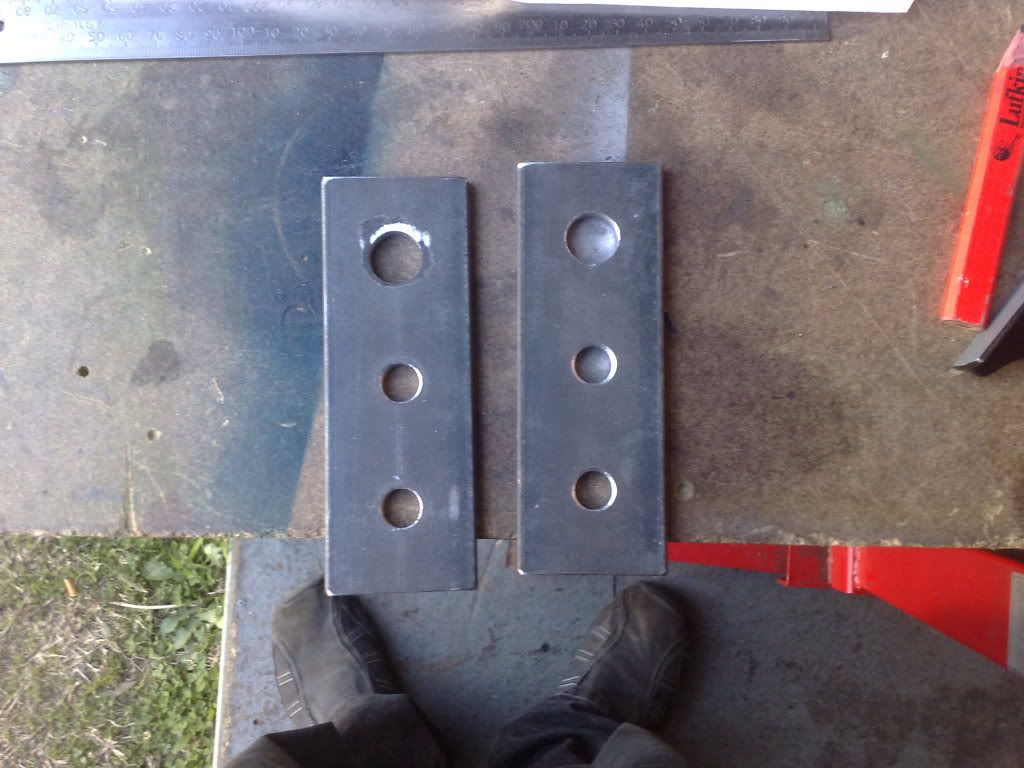 With the crush tubes which are going to be welded to the spacers 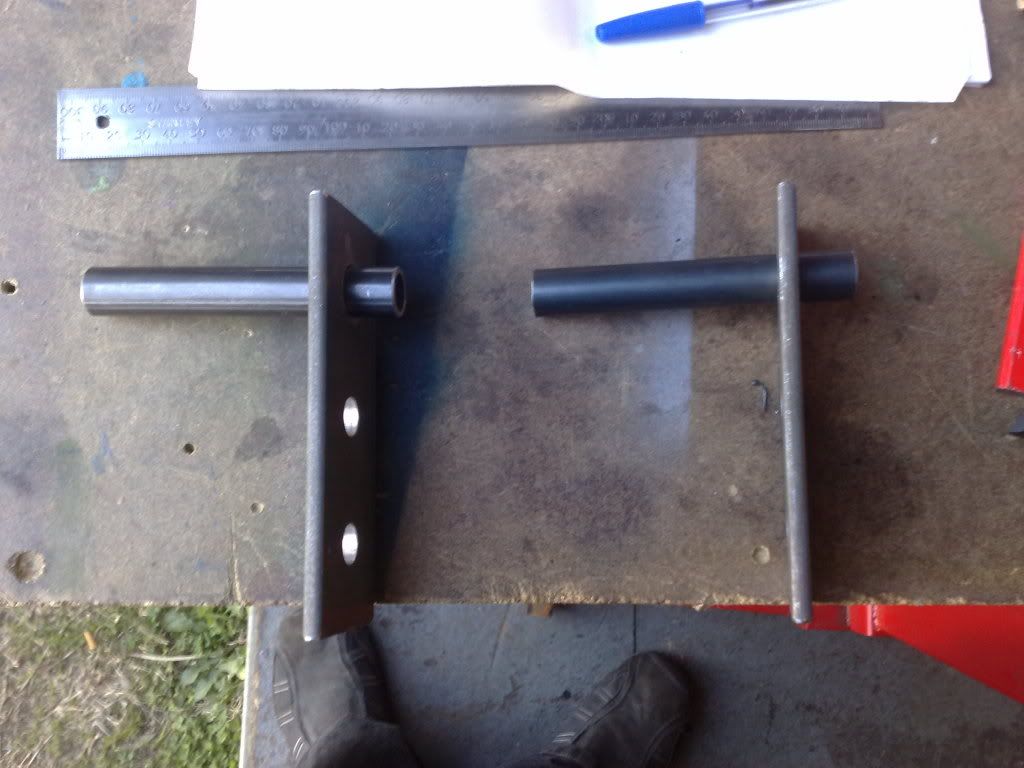
_________________ I enjoy the symphony of mechanical harmony, Last edited by bbqburner on Sat Jul 03, 2010 8:40 pm, edited 2 times in total. |
|||
| Top | |
|||
| bbqburner |
|
|||
|
Well today i have realised that i have stuffed up,
So basicly the bolt that i told everyone was common between the EL and AU isn't. The locating hole used by the EL K-frame next to the rear bolt is the common point of reference between the two models. (in orange) 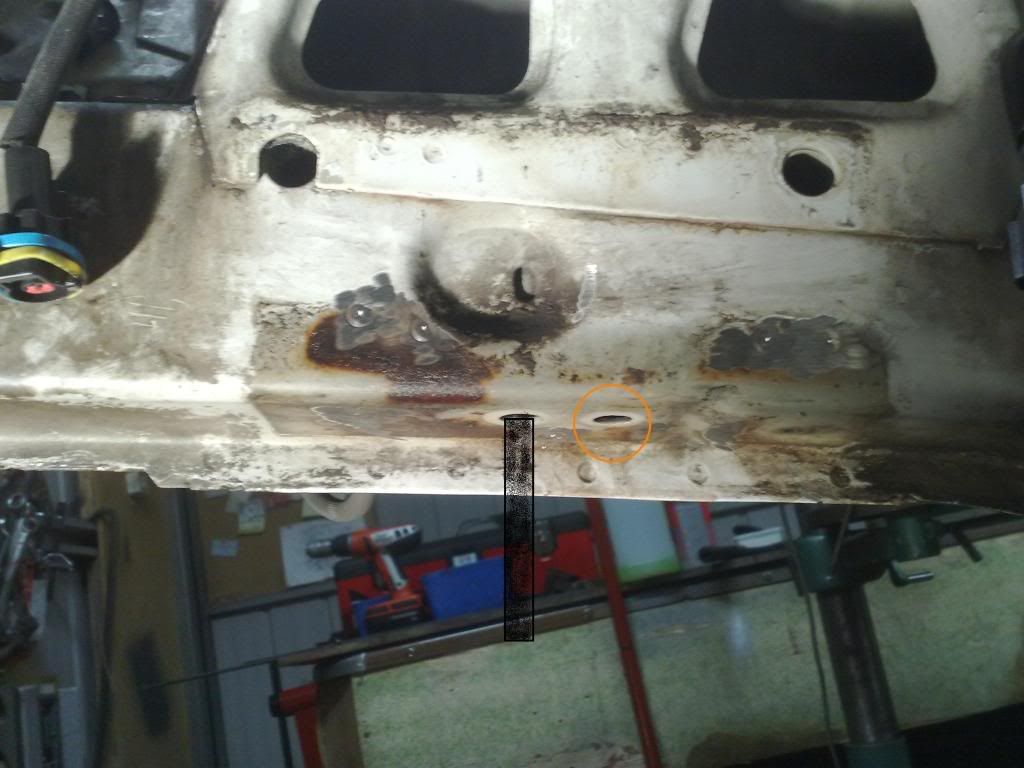 But this is where i have been talking myself into the "smart" decision i have unconsciously made Trying to move the crushs tubes already in the rail, would have been a bloody nightmare. Also the same reason why i will be moving the bolt holes in the front cross member to match the existing bolt. (in red) 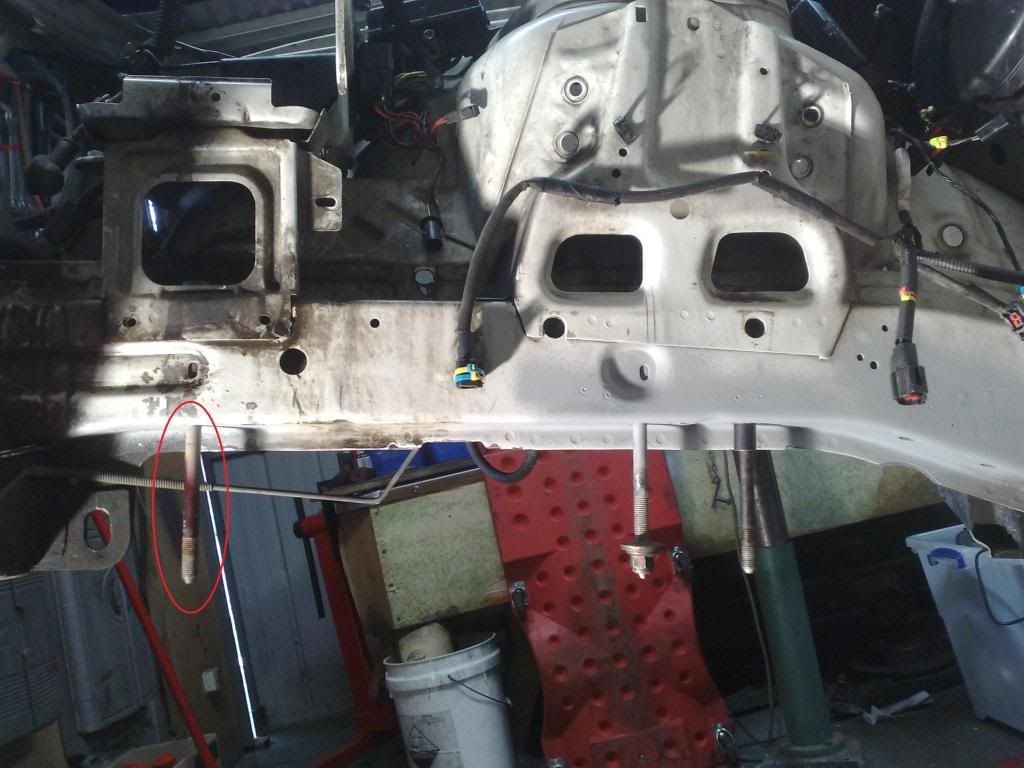 Anyway.......................... tonight i was able to counter sink my spacer plates and weld the crush tubes to them. 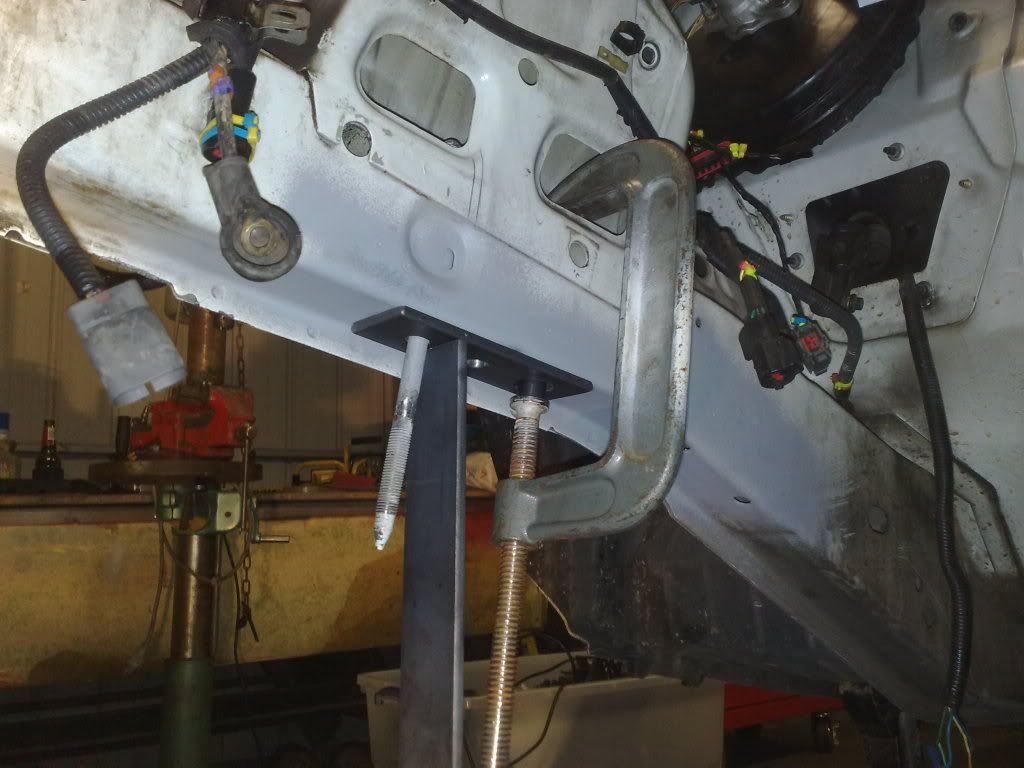 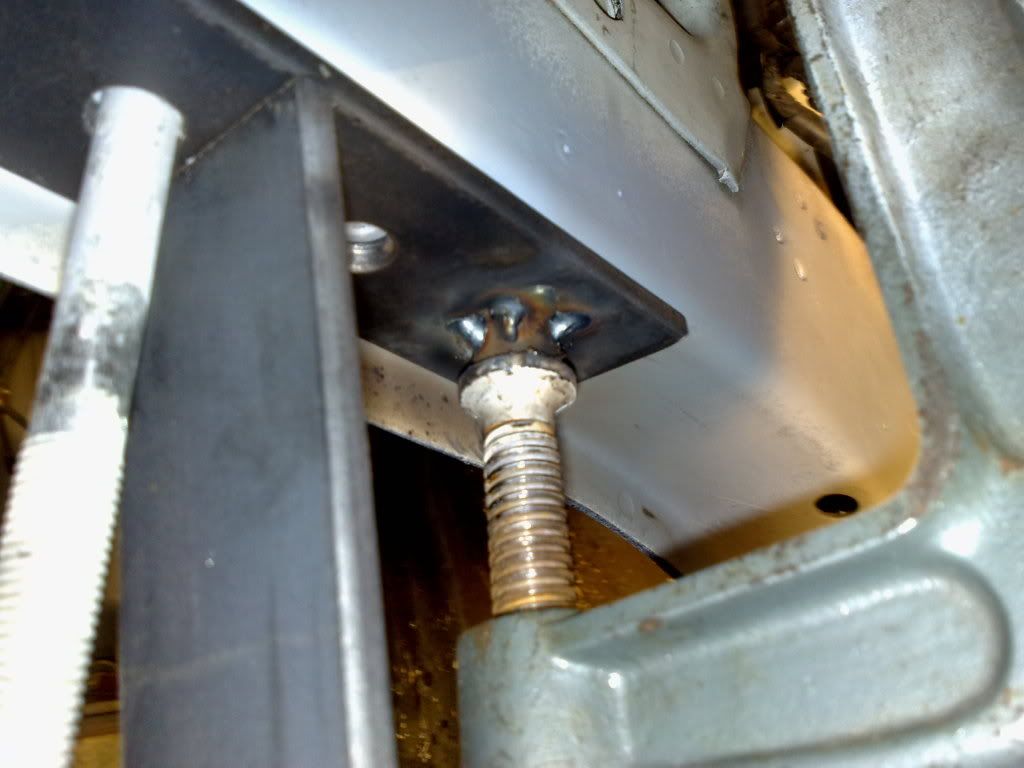 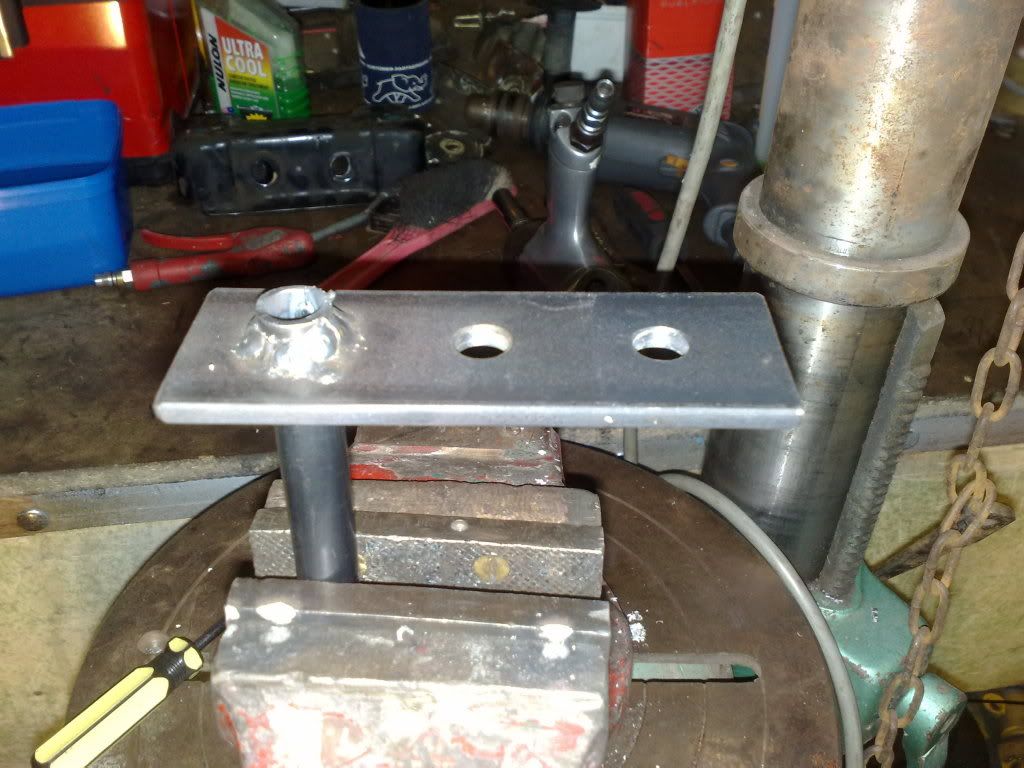 now to grind them flat and see how far out i am with a dummy fit of the lower suspension components. Remember when welding on any car to disconnect the battery and unplug ECU, BEM, anything with electronics, etc.
_________________ I enjoy the symphony of mechanical harmony, |
|||
| Top | |
|||
| bbqburner |
|
|||
|
I pulled my battery tray out
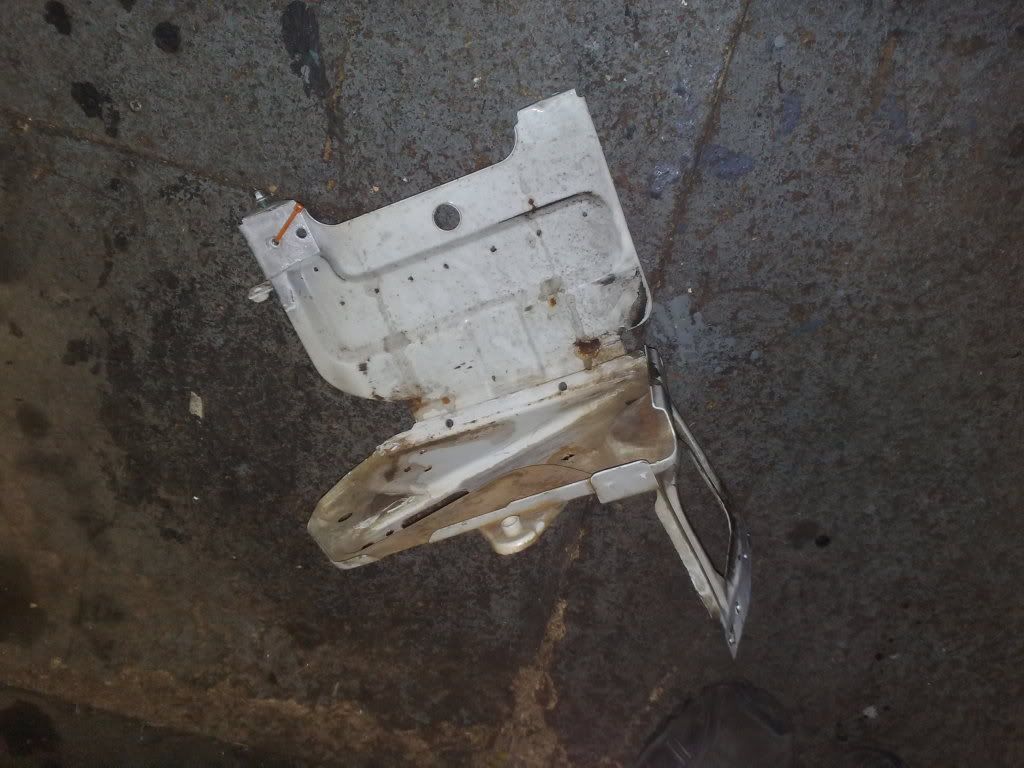 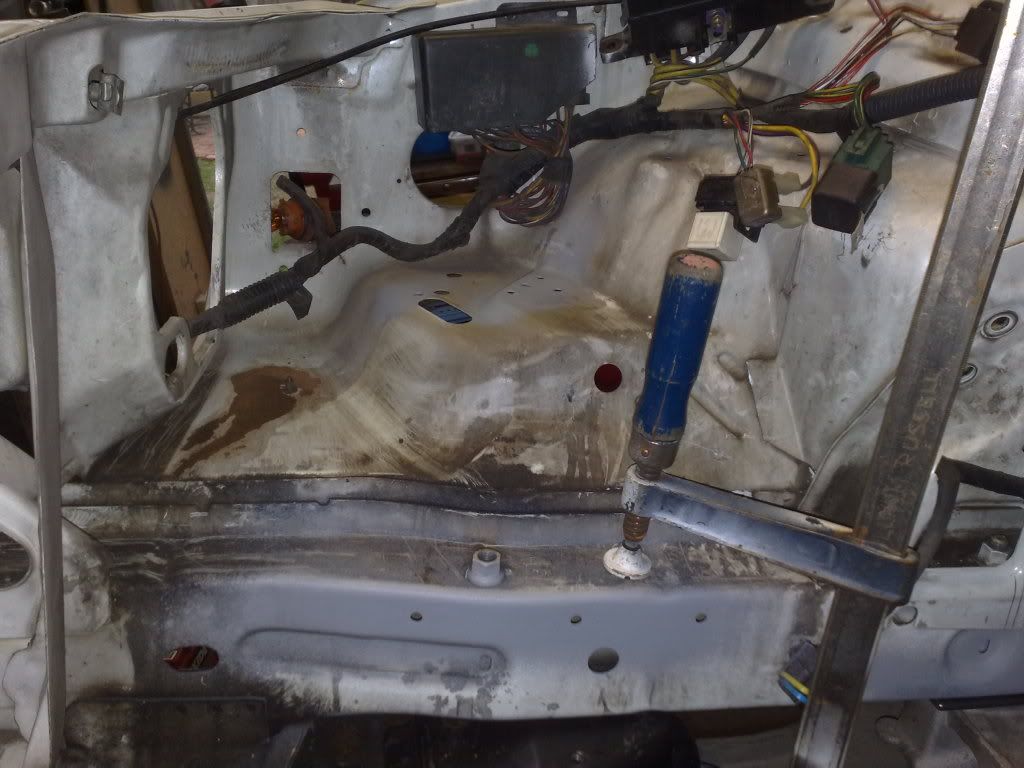 Here are the engine crossmember spacer and crush tube with the side that faces the crossmember ground flat 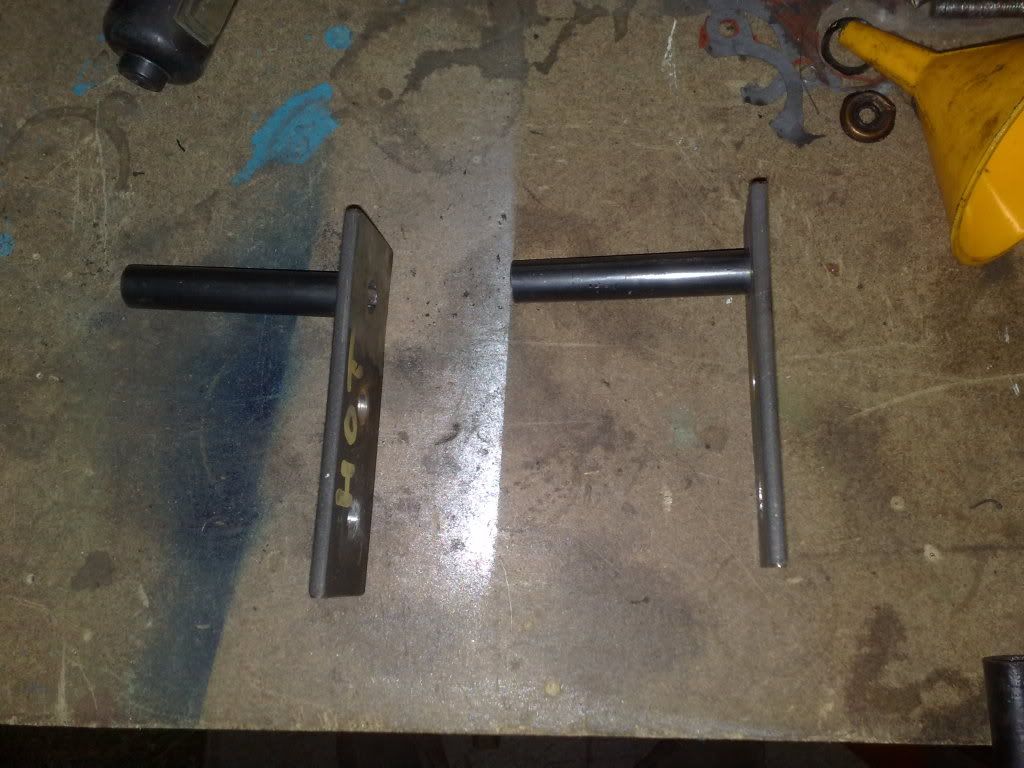 And how they sit 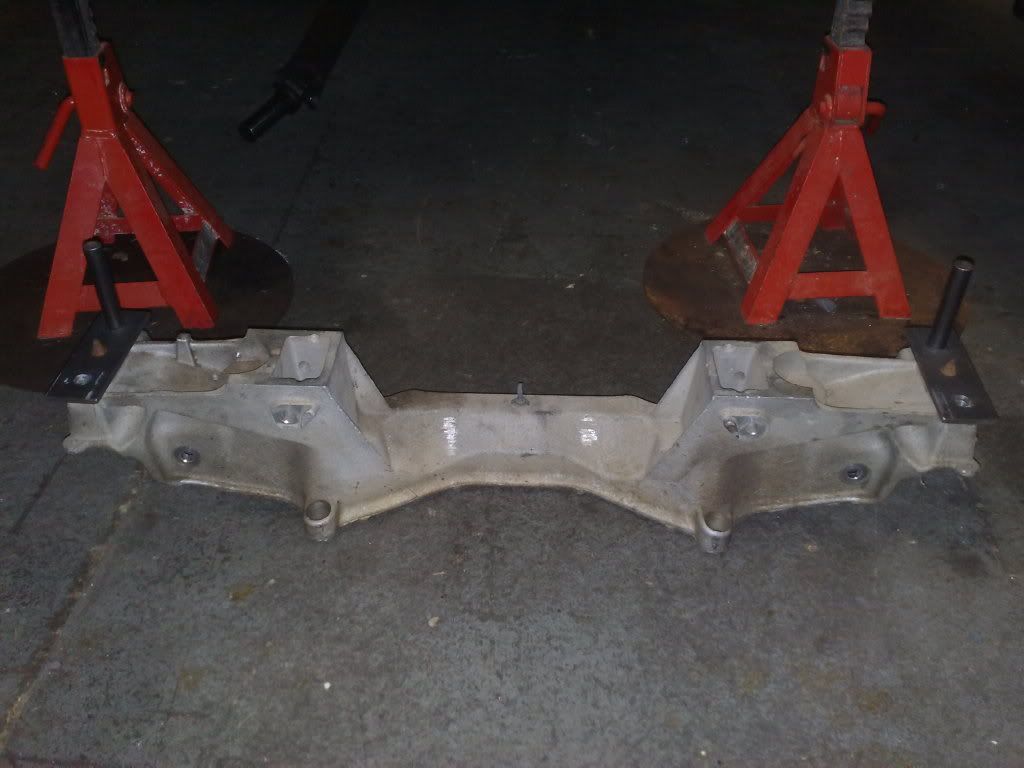 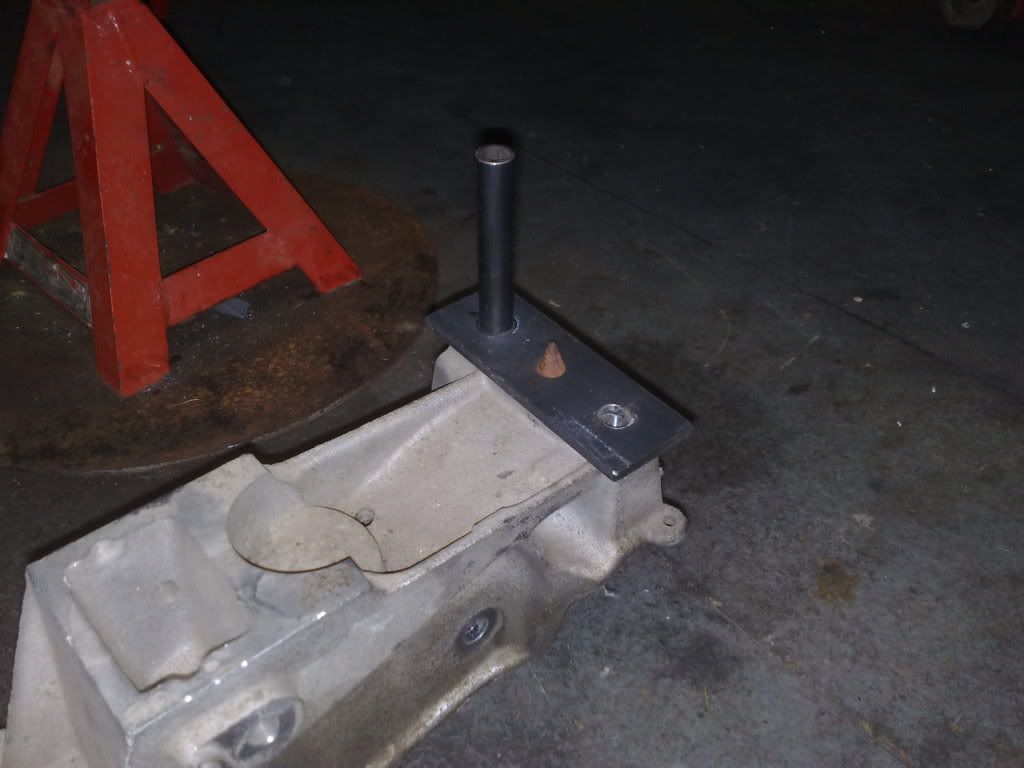 I've started working on the front crossmember, i have to remove the brace in either end so i can weld up the holes and drill the ones i need 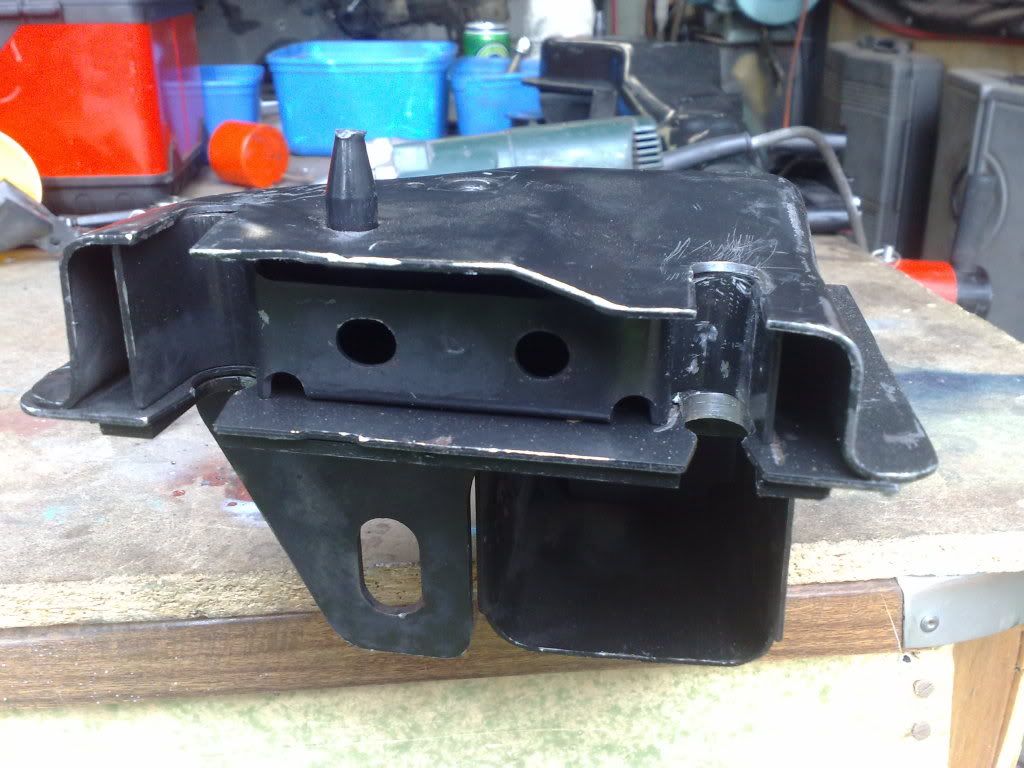 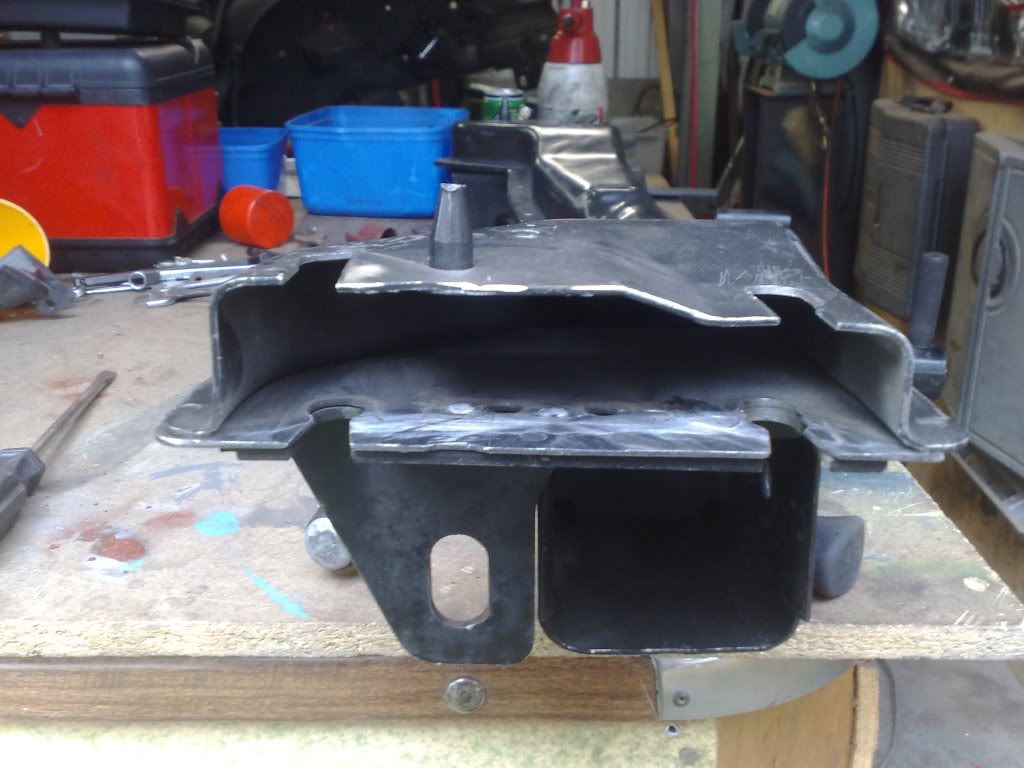 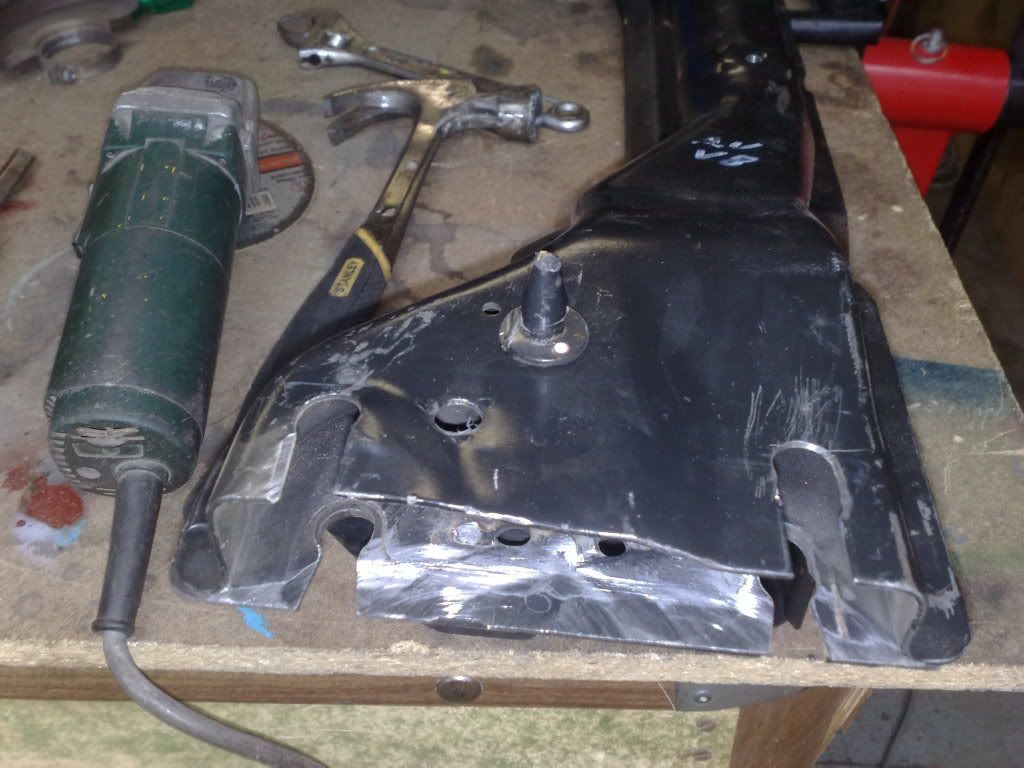 then rinse and repeat on the other side 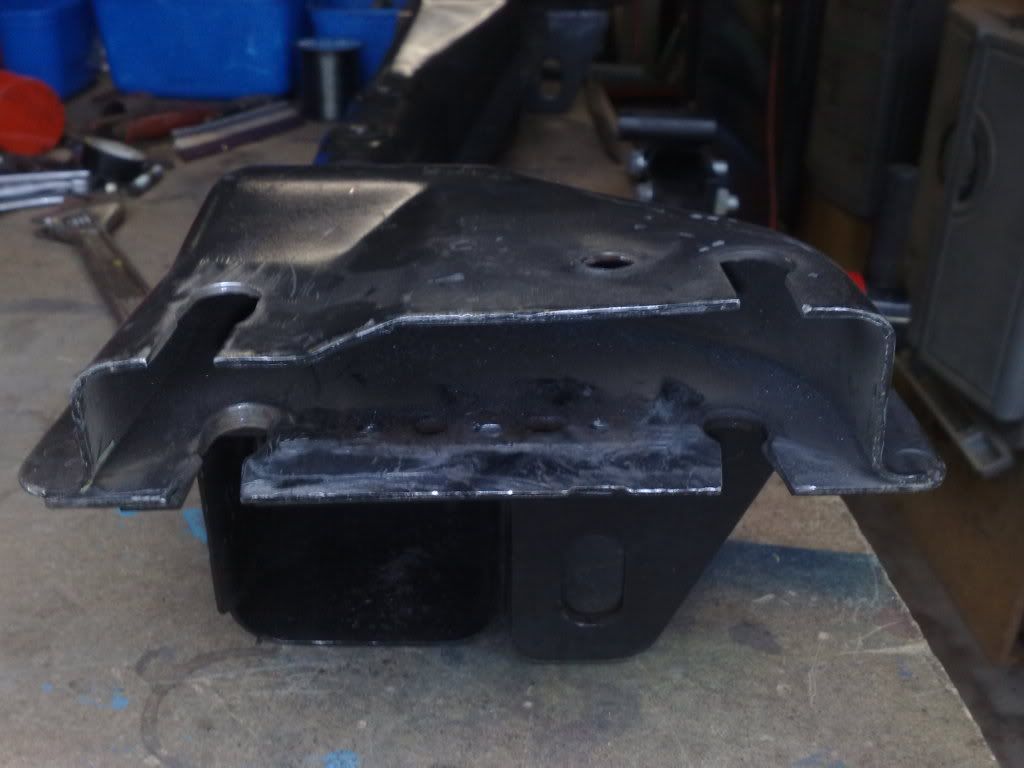 And your left with this 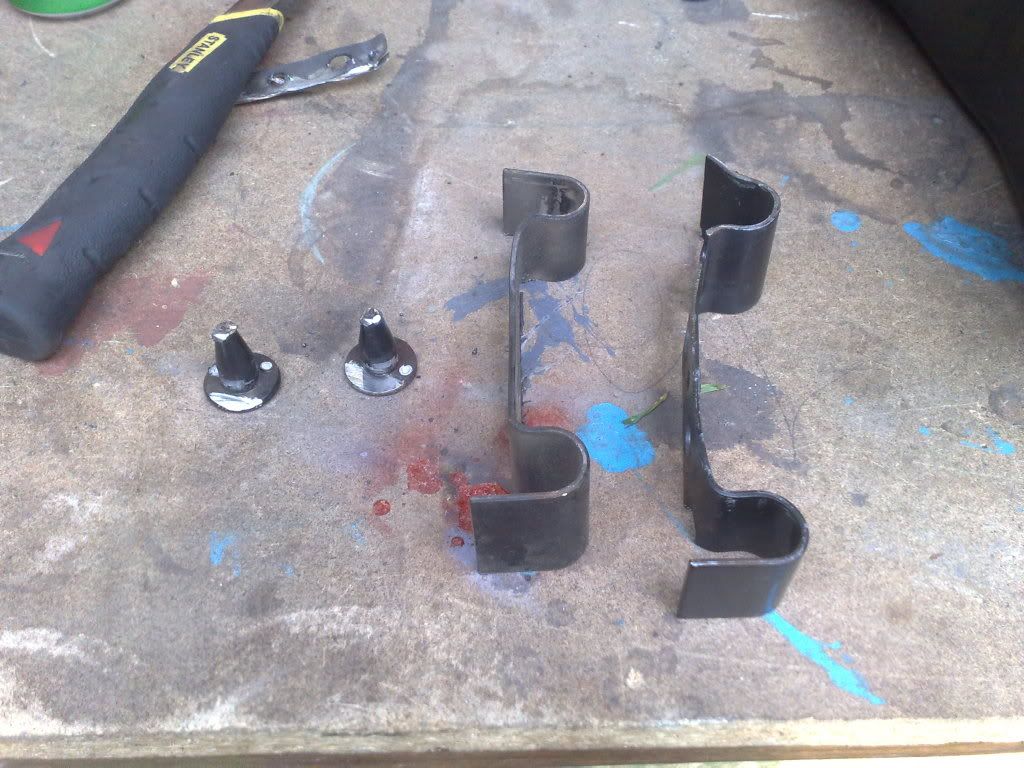 I then did a dummy fit of the front crossmember 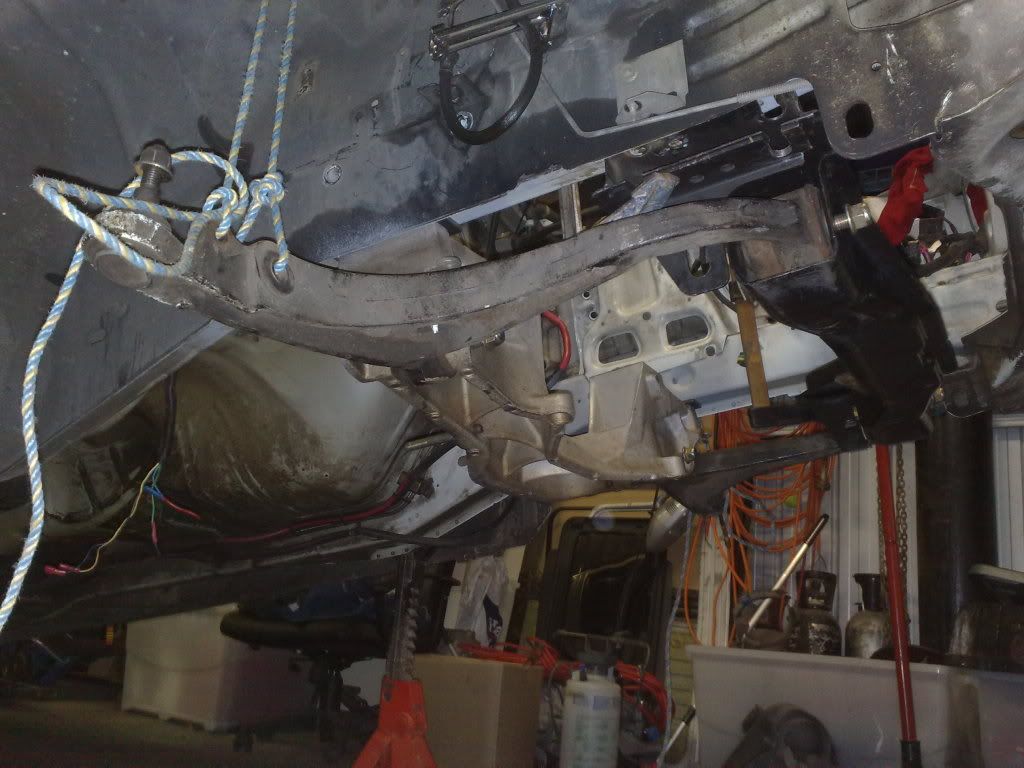 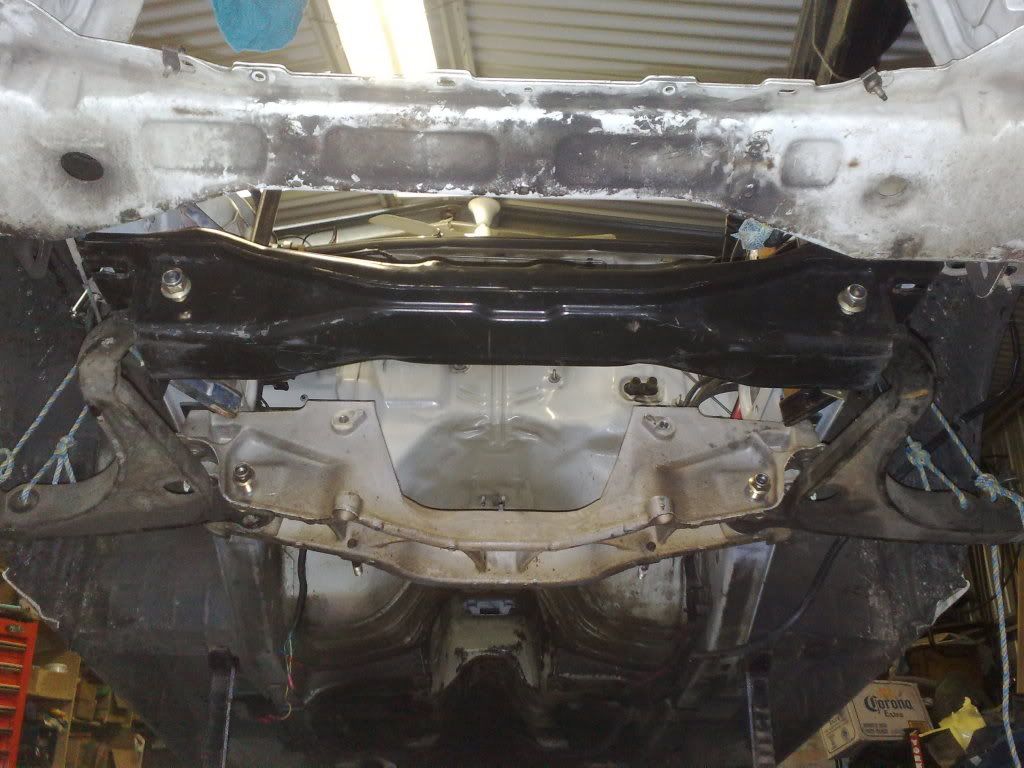 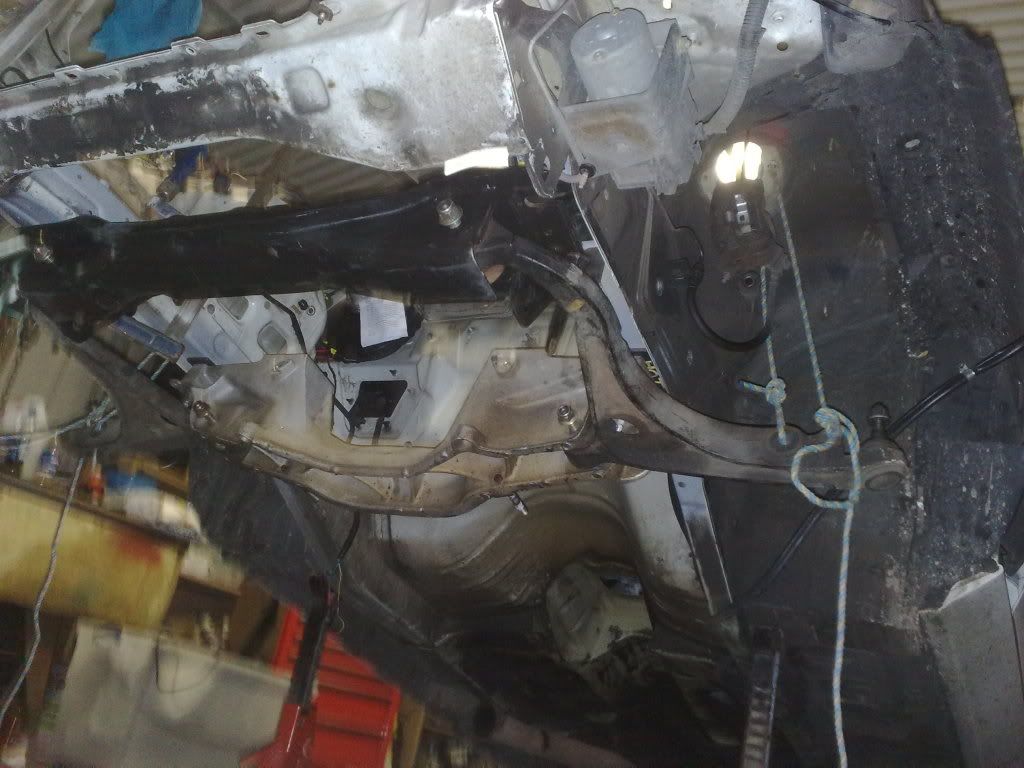 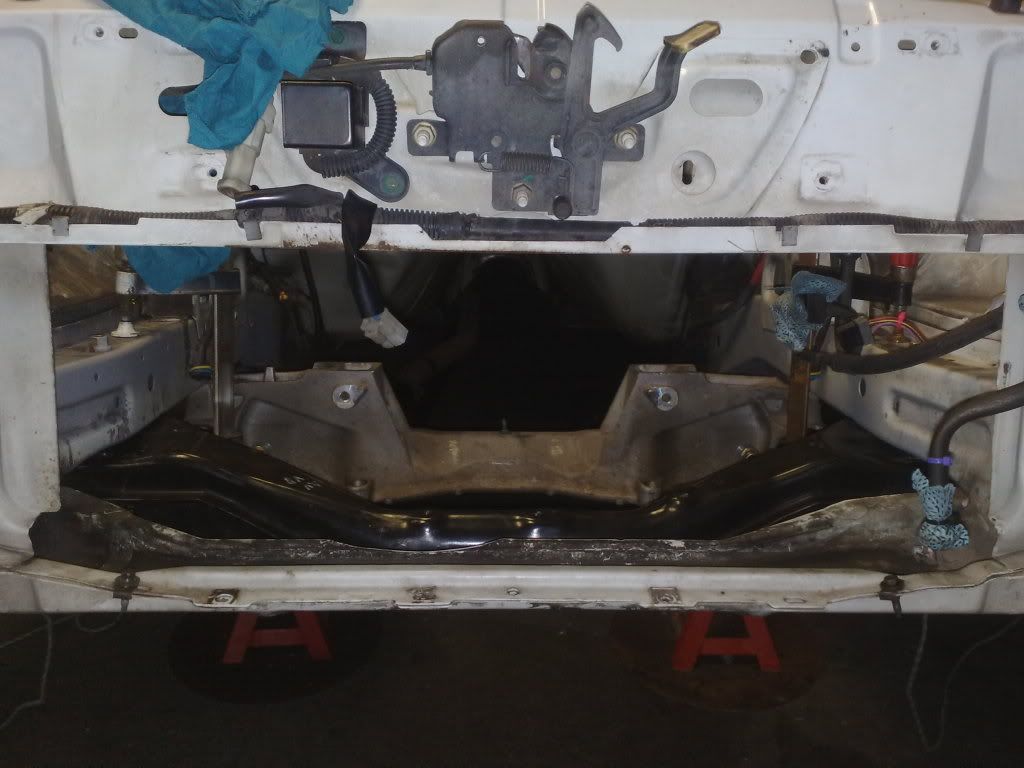
_________________ I enjoy the symphony of mechanical harmony, |
|||
| Top | |
|||
| bbqburner |
|
|||
|
Did a little more today
you start by making the slots square 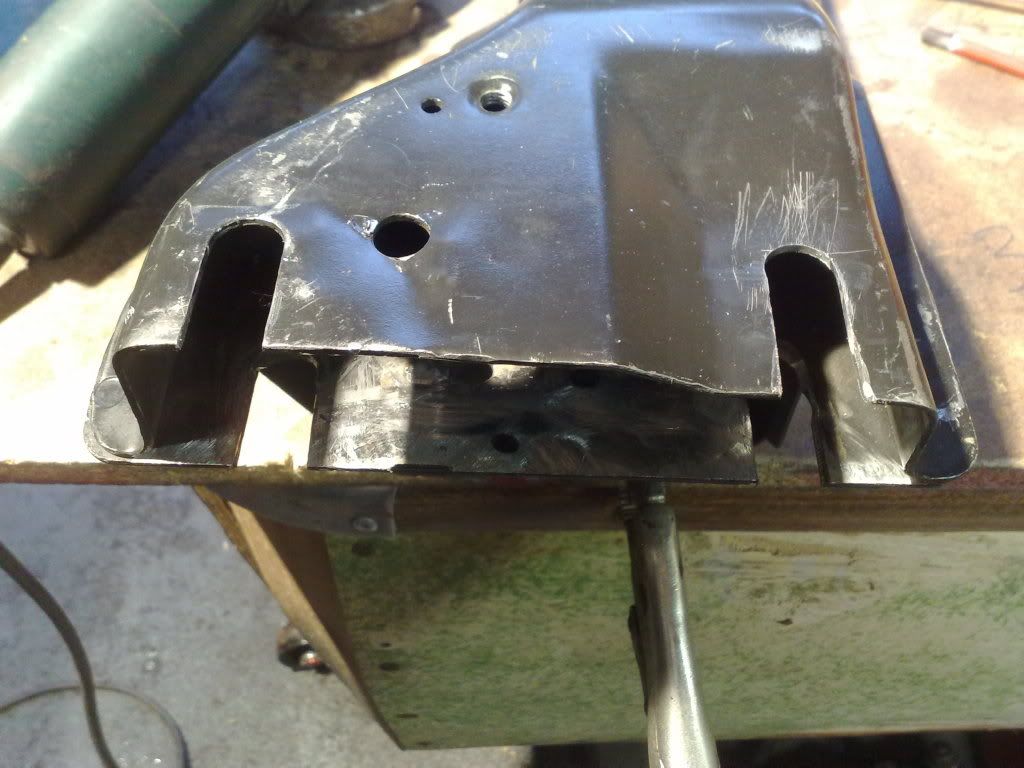 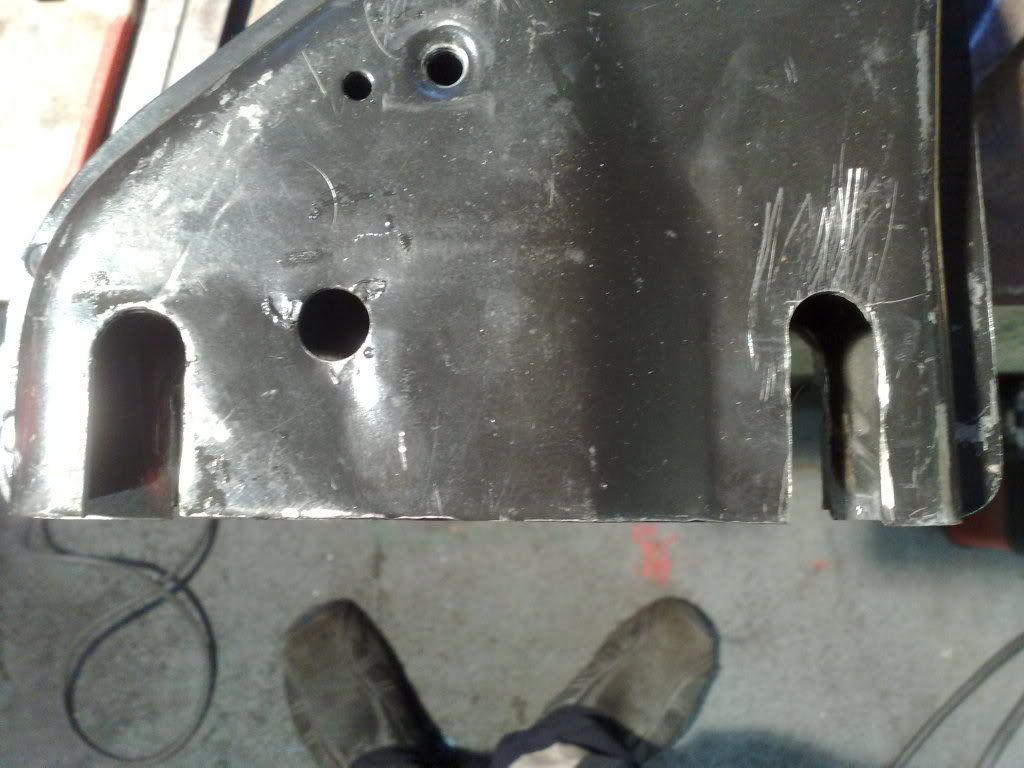 then making some fill in pieces 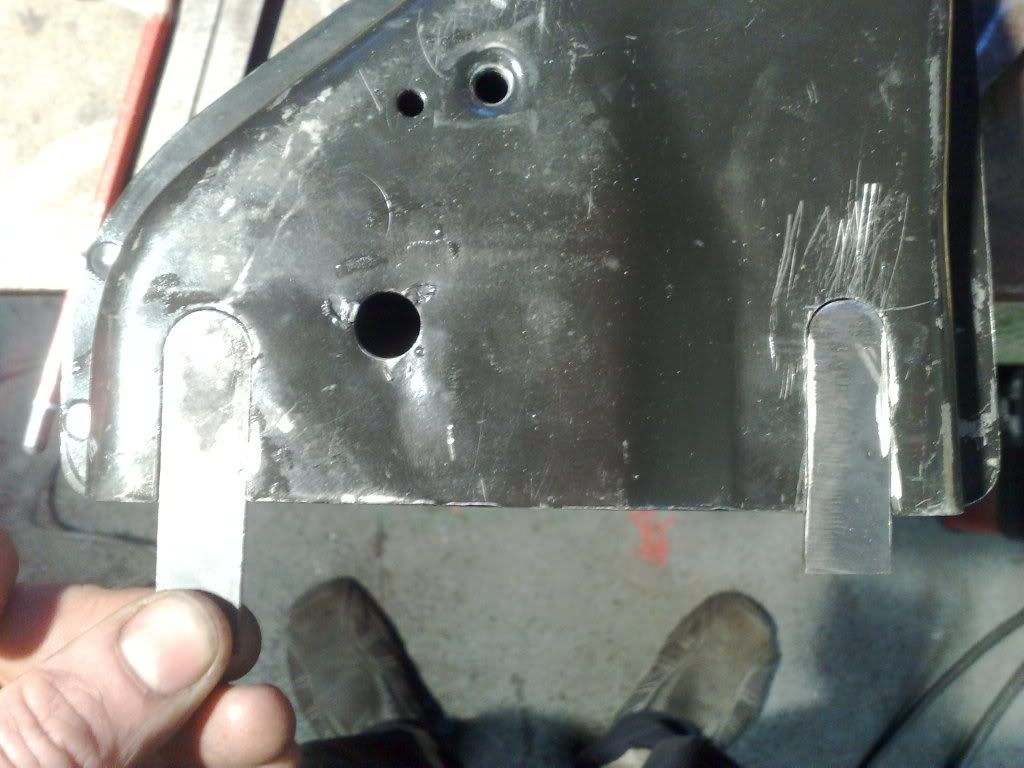 grinding the edges back 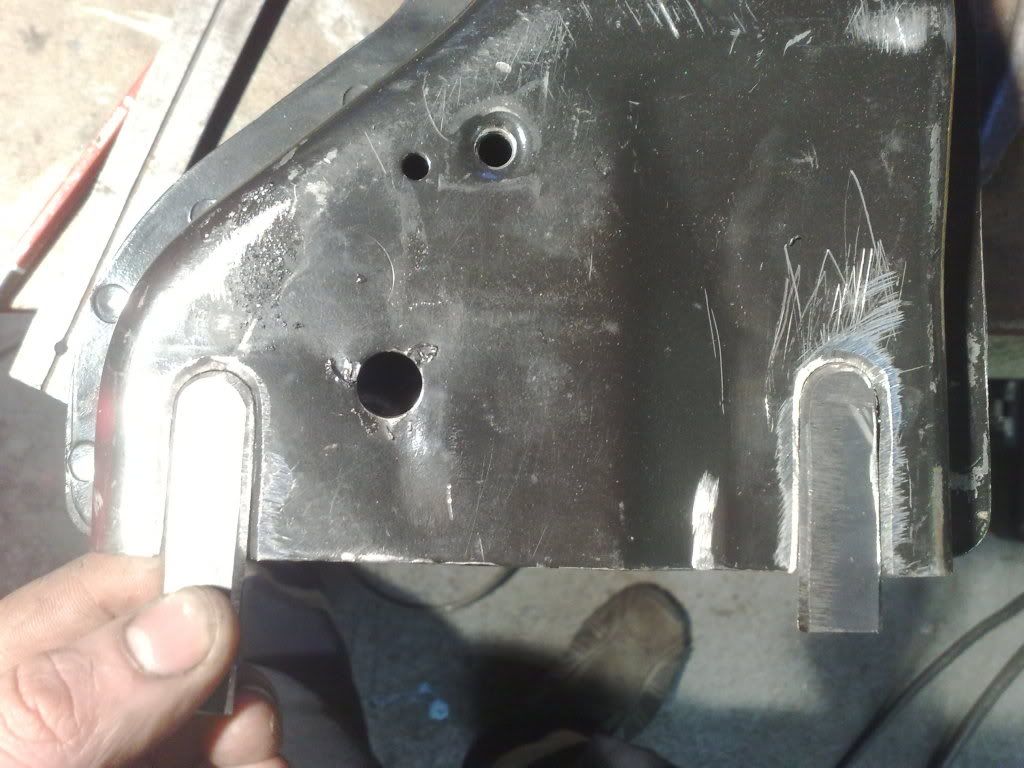 make sure it's nice and flat. Cut's down on dressup work after 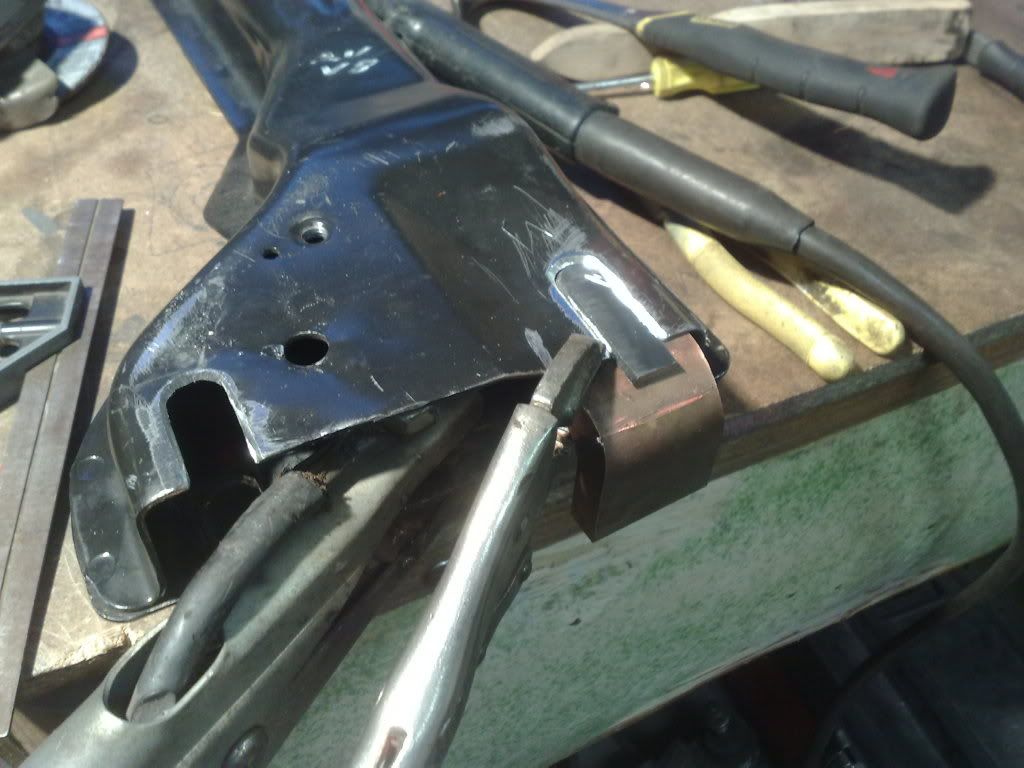 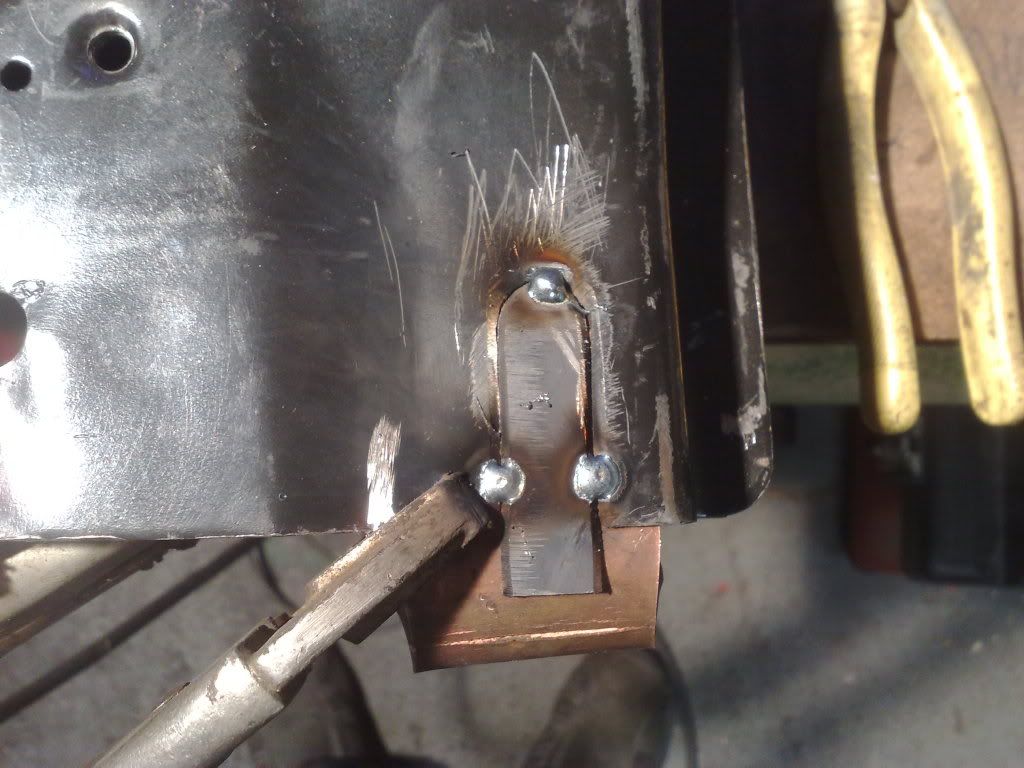 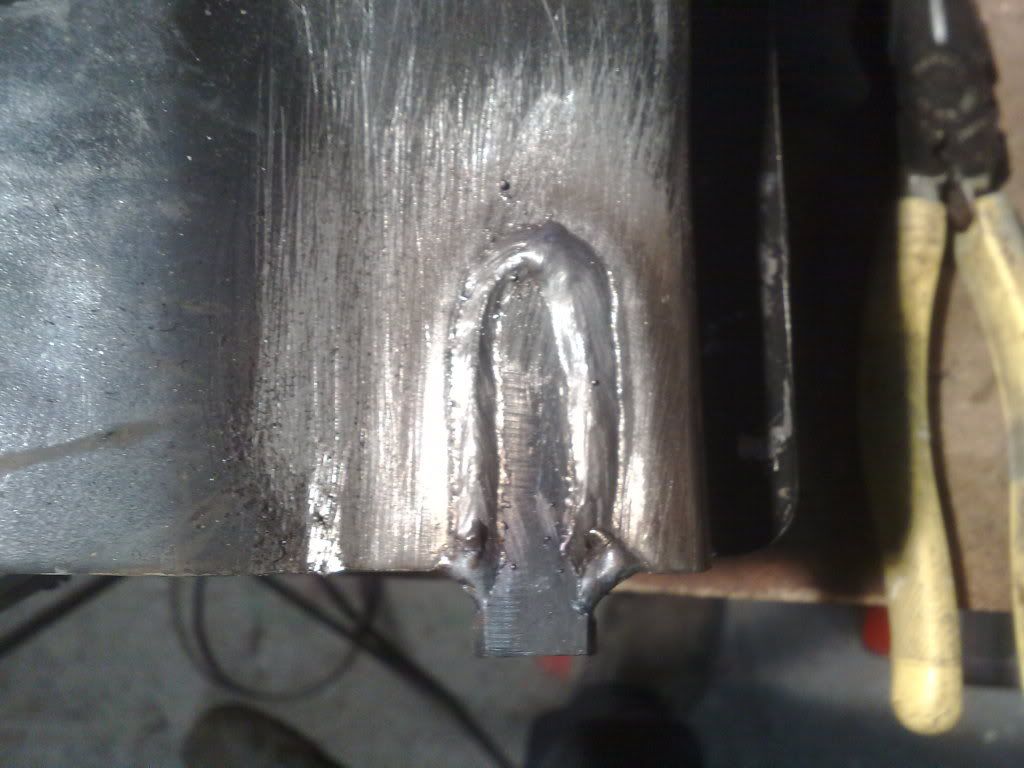 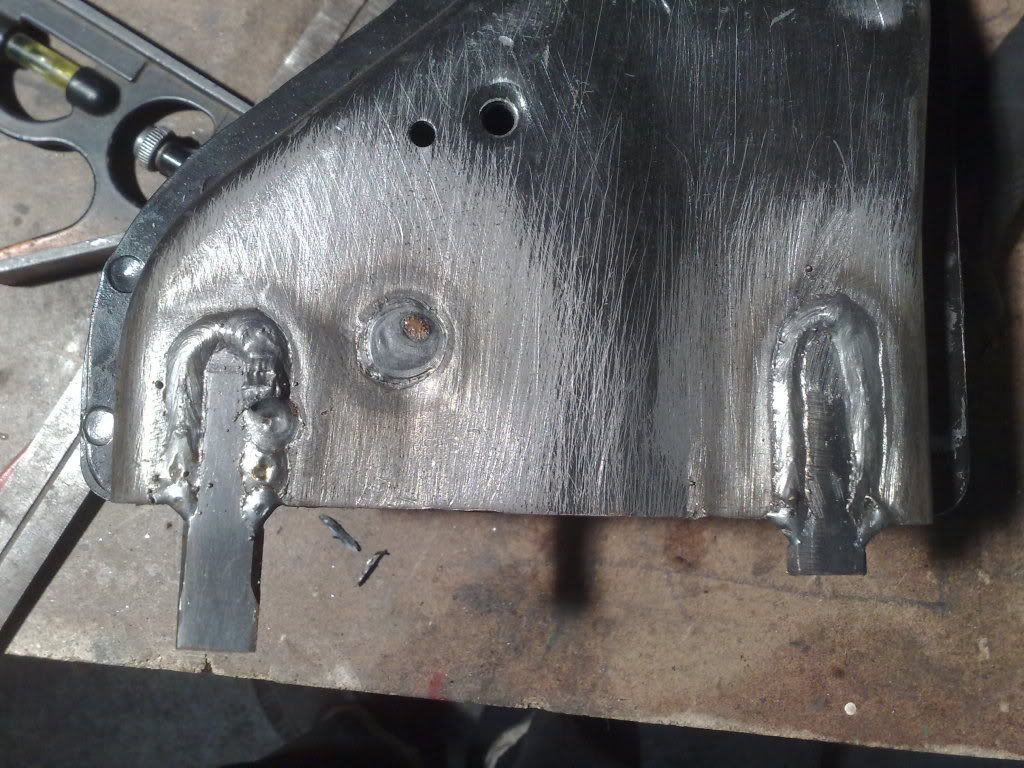 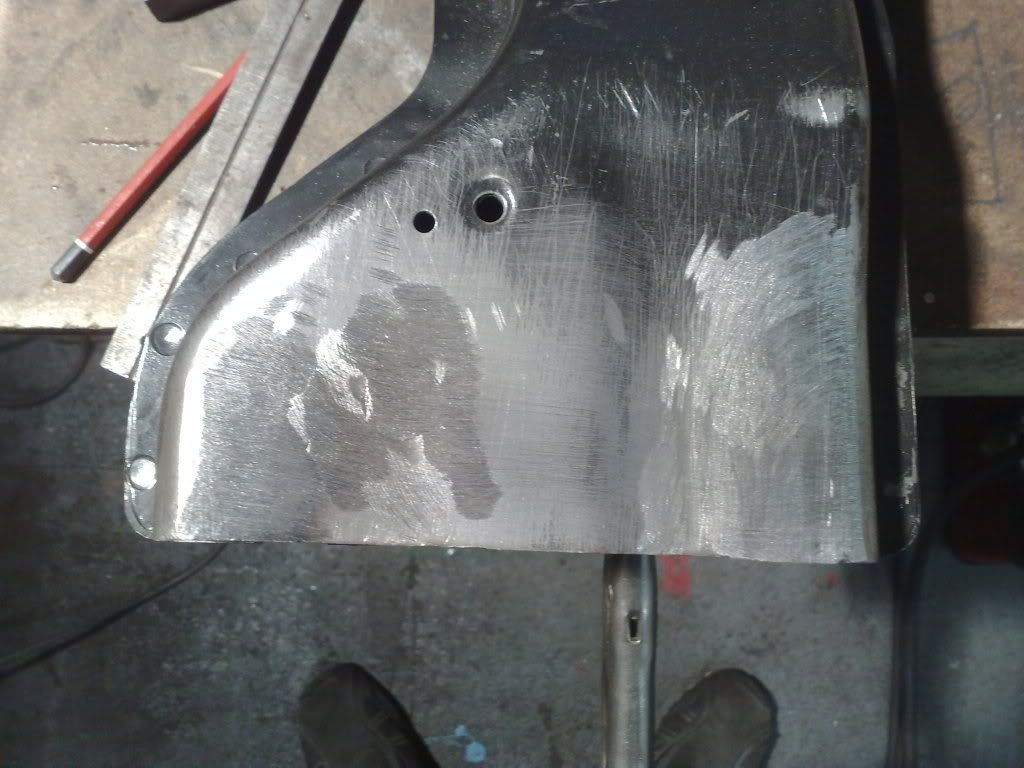 rinse and repeat
_________________ I enjoy the symphony of mechanical harmony, |
|||
| Top | |
|||
| bbqburner |
|
|||
|
his is the gap that needs to made up under the spacer
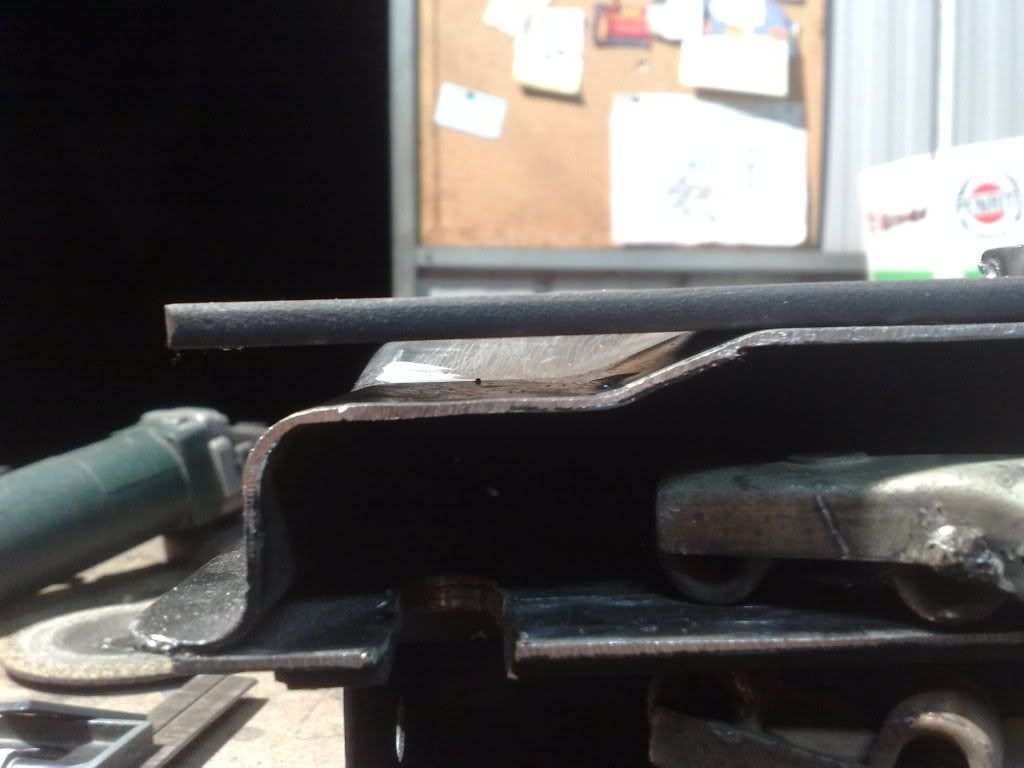 it's 9mm so a piece of 6mm and 3mm steel fit perfectly 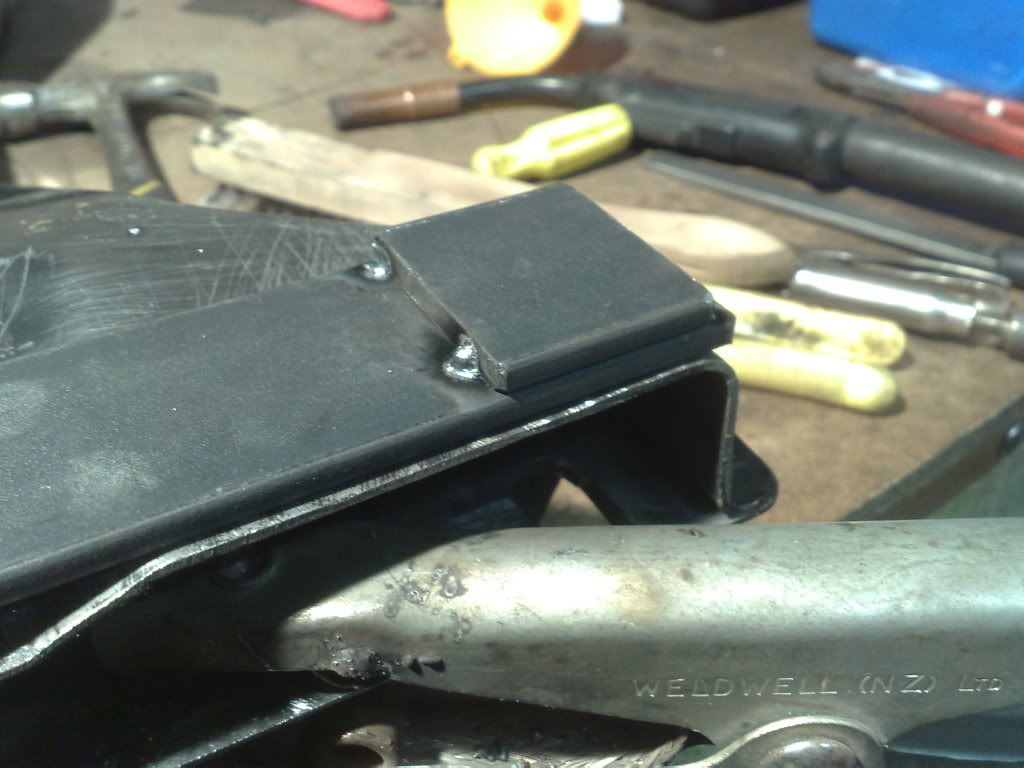 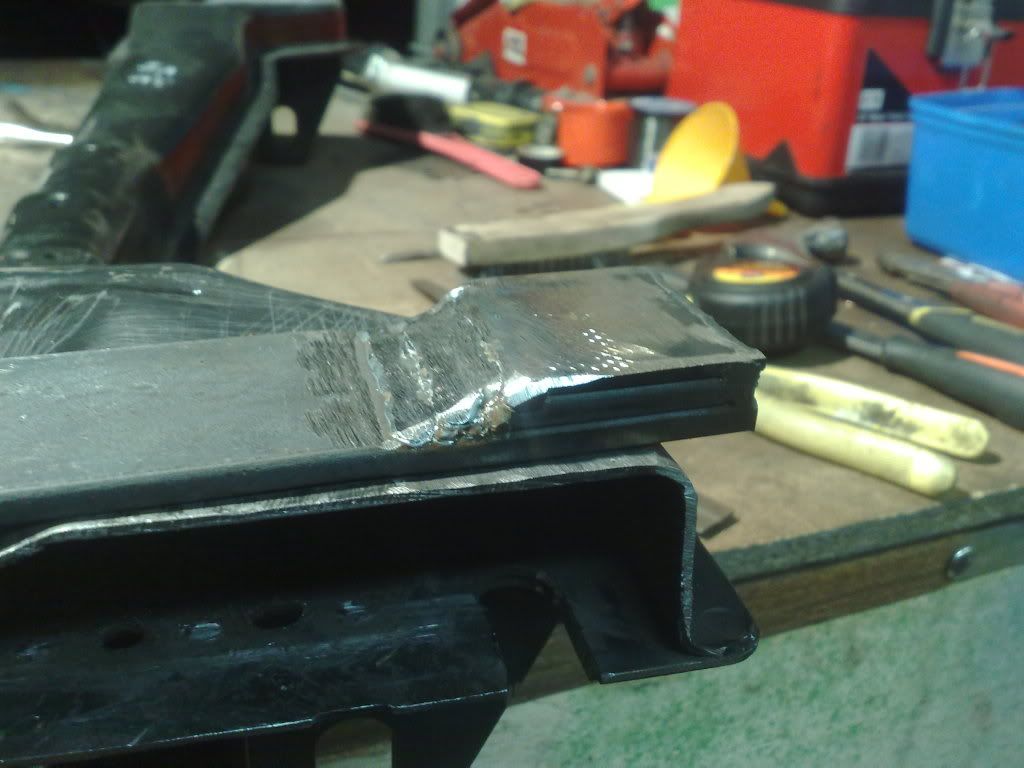 and the finished product 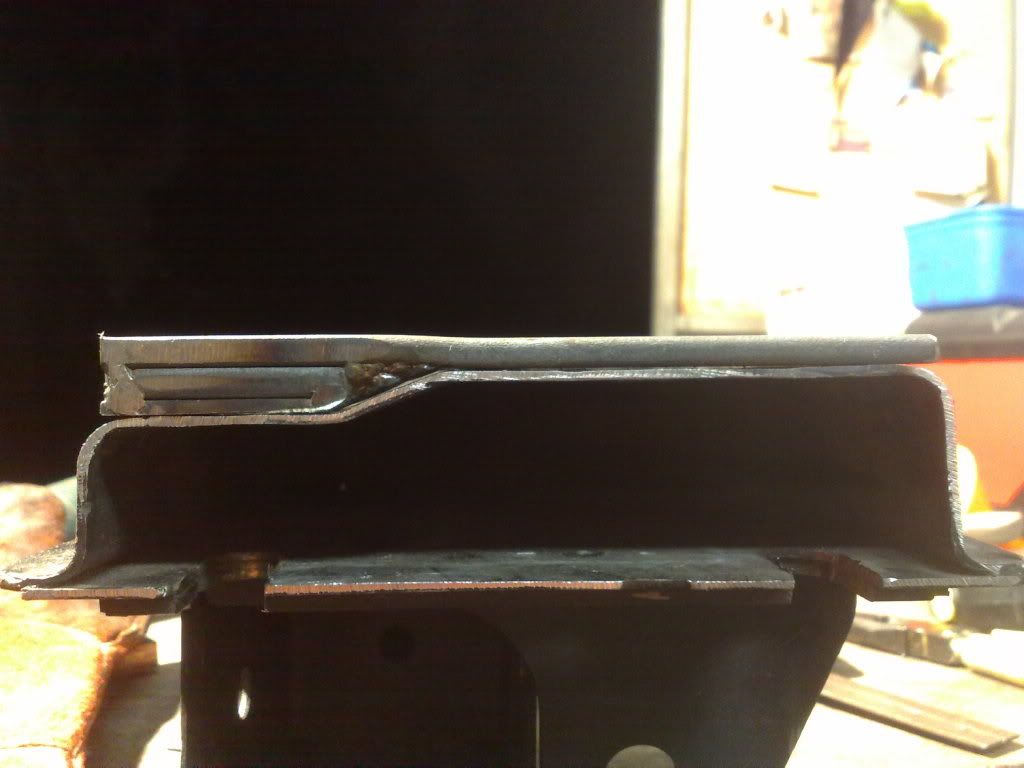
_________________ I enjoy the symphony of mechanical harmony, |
|||
| Top | |
|||
| bbqburner |
|
|||
|
Yesterday i finished, welding, drilling marking etc the front cross member and the spacers. and today i did a dummy fit of everything so i can wash the engine bay tomorrow and turn the car around.
the crossmember after i finished welding up the original holes/slots 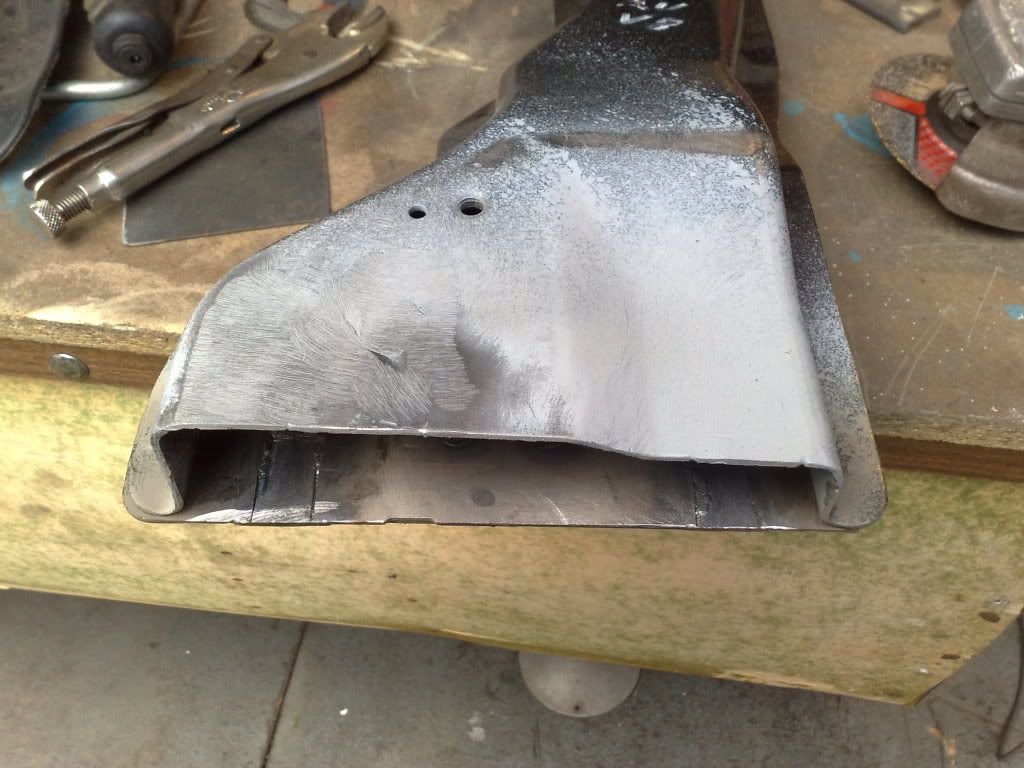 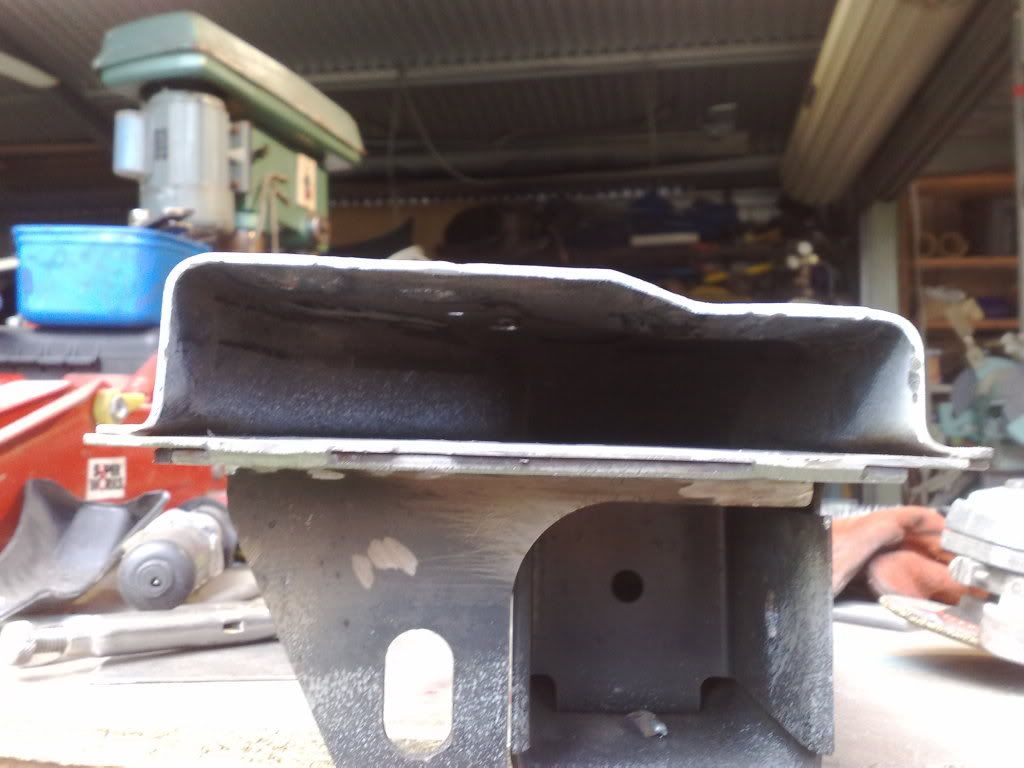 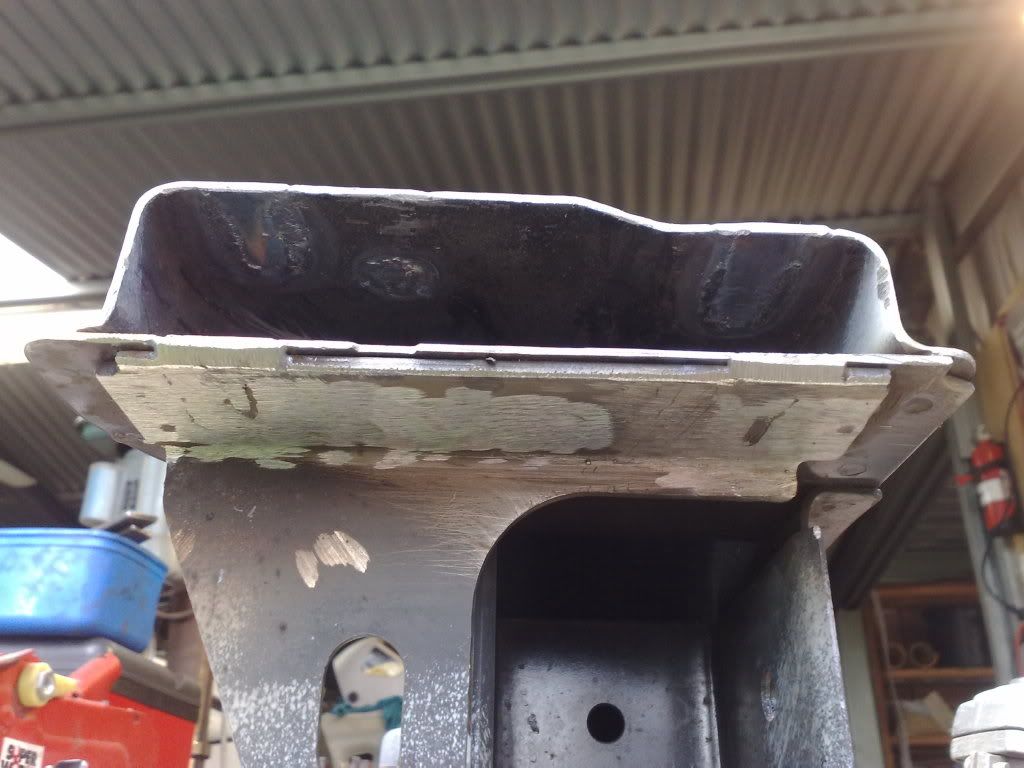 The finished crossmember 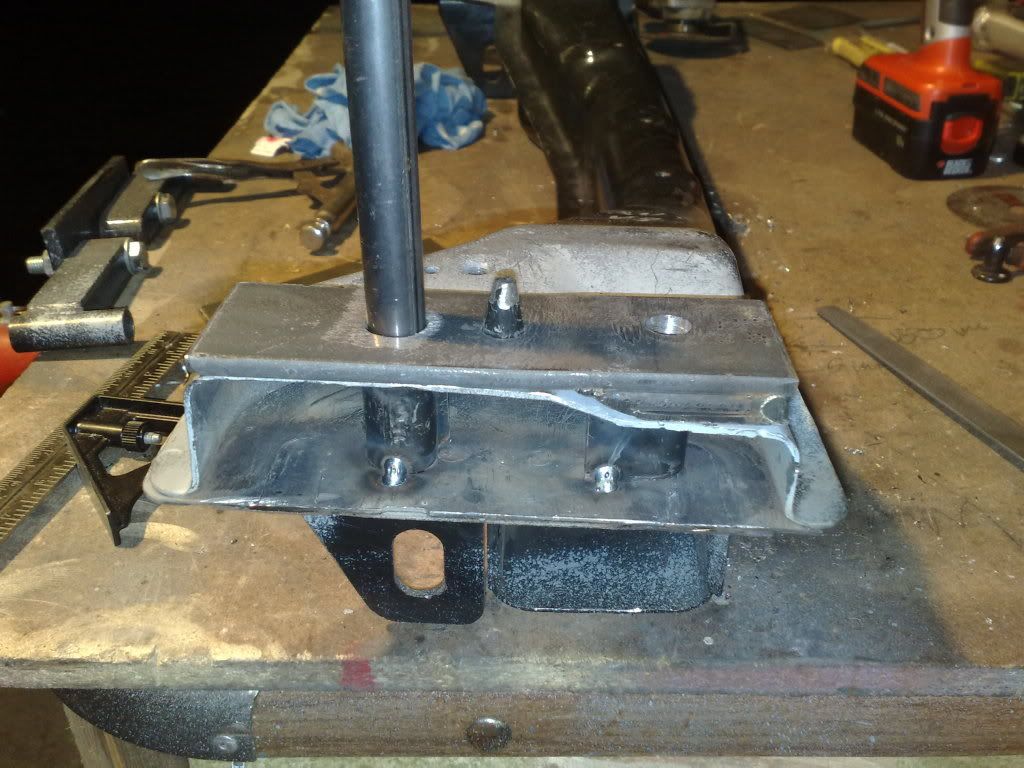 And my dummy fit of everything. 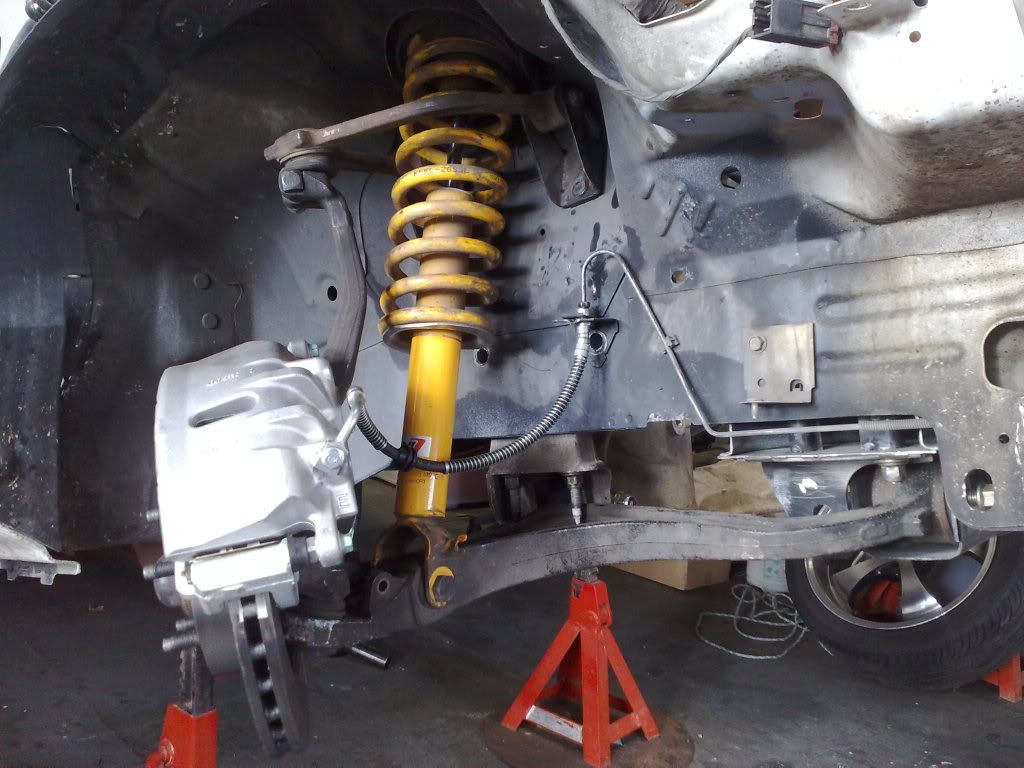 The brake line in the above pic sits in a s**t position, so i'll either be making custom front brake lines or extending the hard line to the other side of the shocker where the BA's have them. depends what the engineer says. 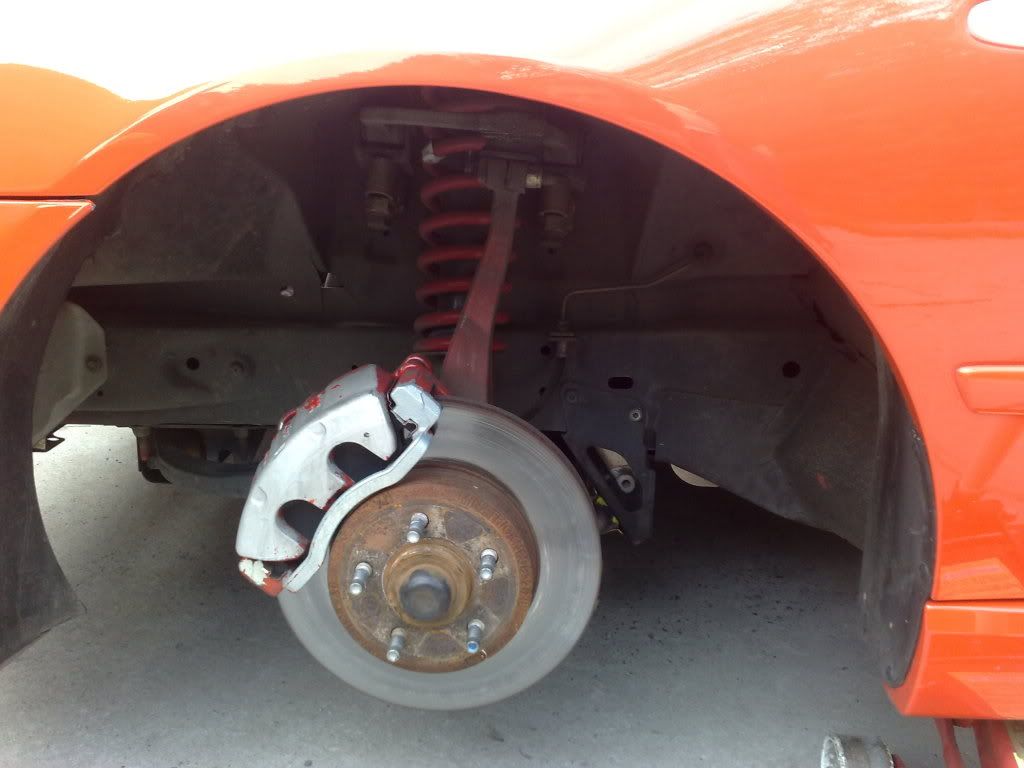 old Caliper in the background 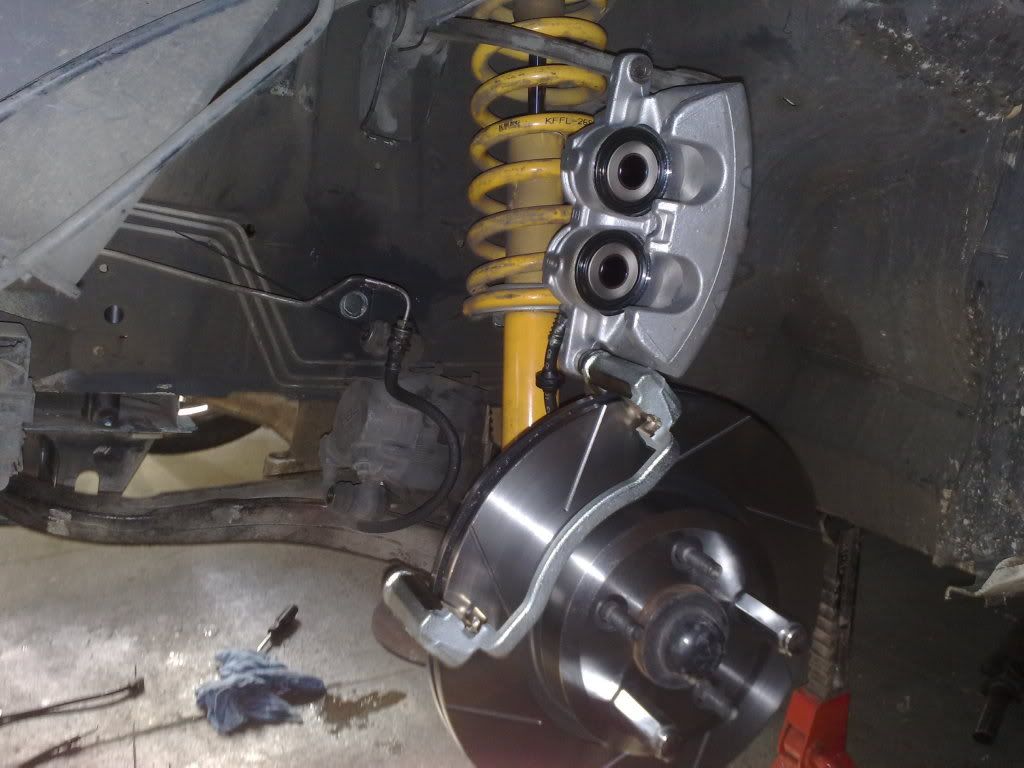 and back on it's wheels 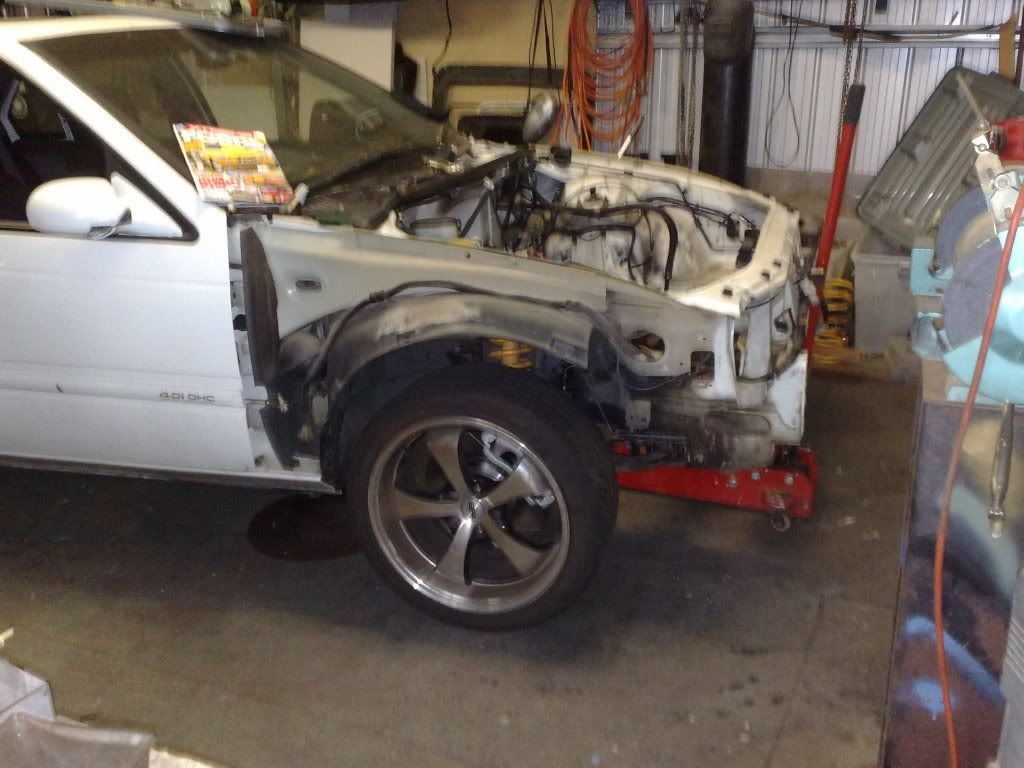 if you want any pictures from different angles just ask. I still have the swaybar brackets to mount but e-series rails are thiner than AU's, thats another question for the engineer.
_________________ I enjoy the symphony of mechanical harmony, |
|||
| Top | |
|||
| bbqburner |
|
|||
|
everybody remembers this
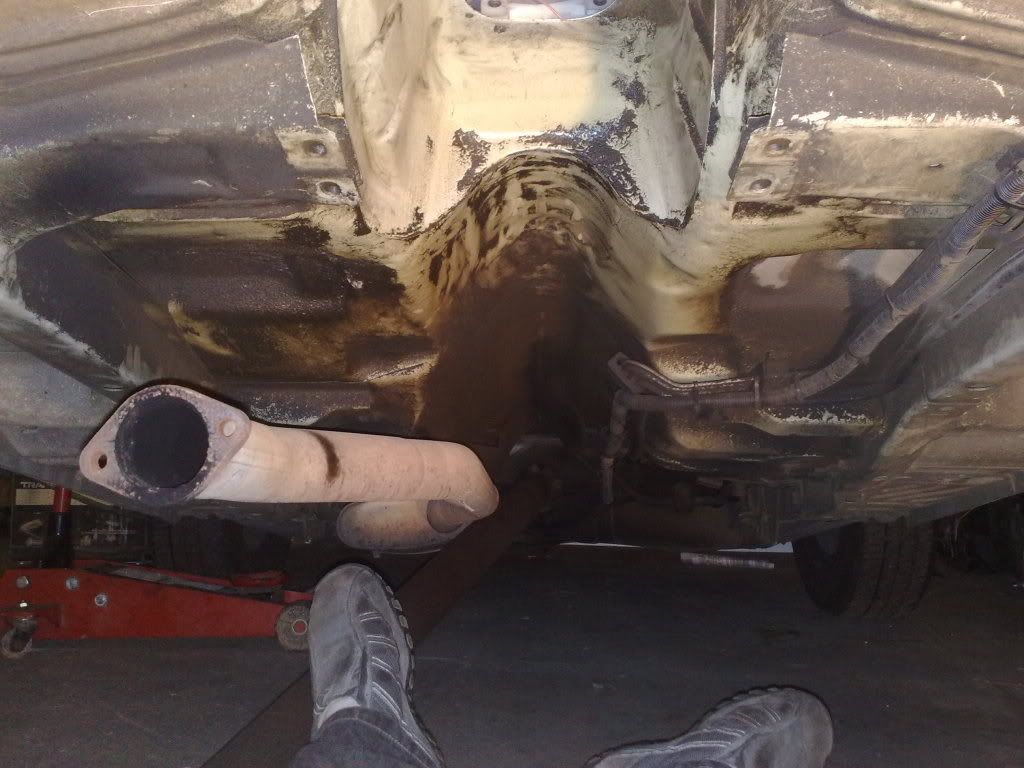 well after a few weeks of part time clean it now looks like this, 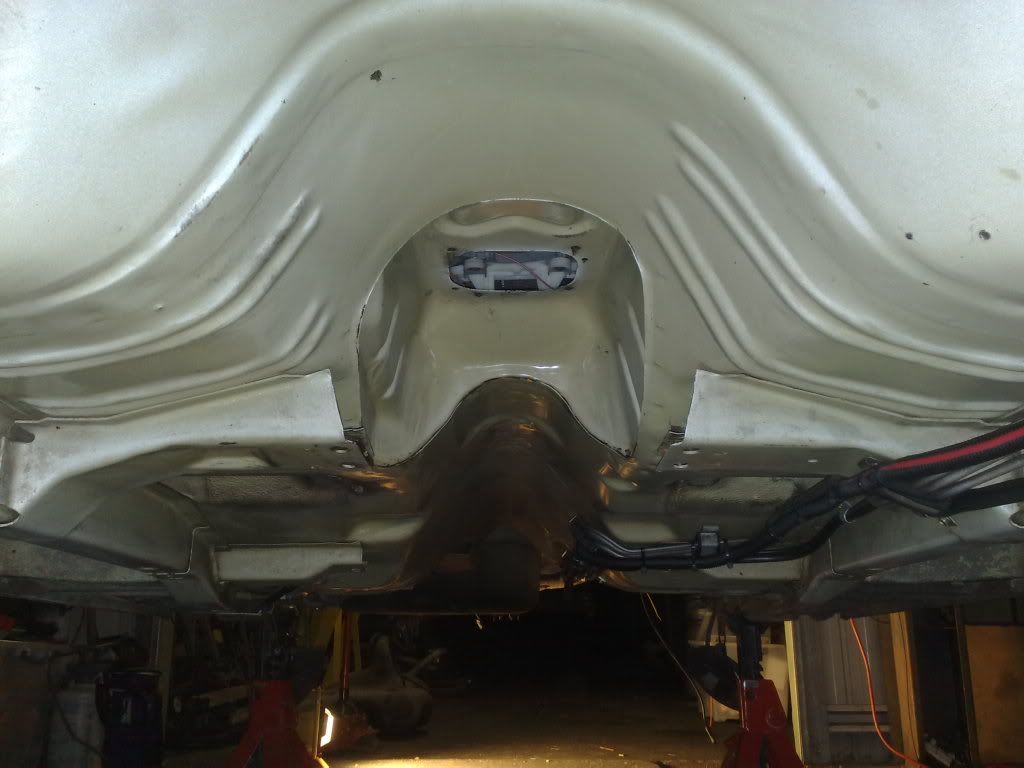 i've never had any car this clean i've got it in the air again the fit the IRS 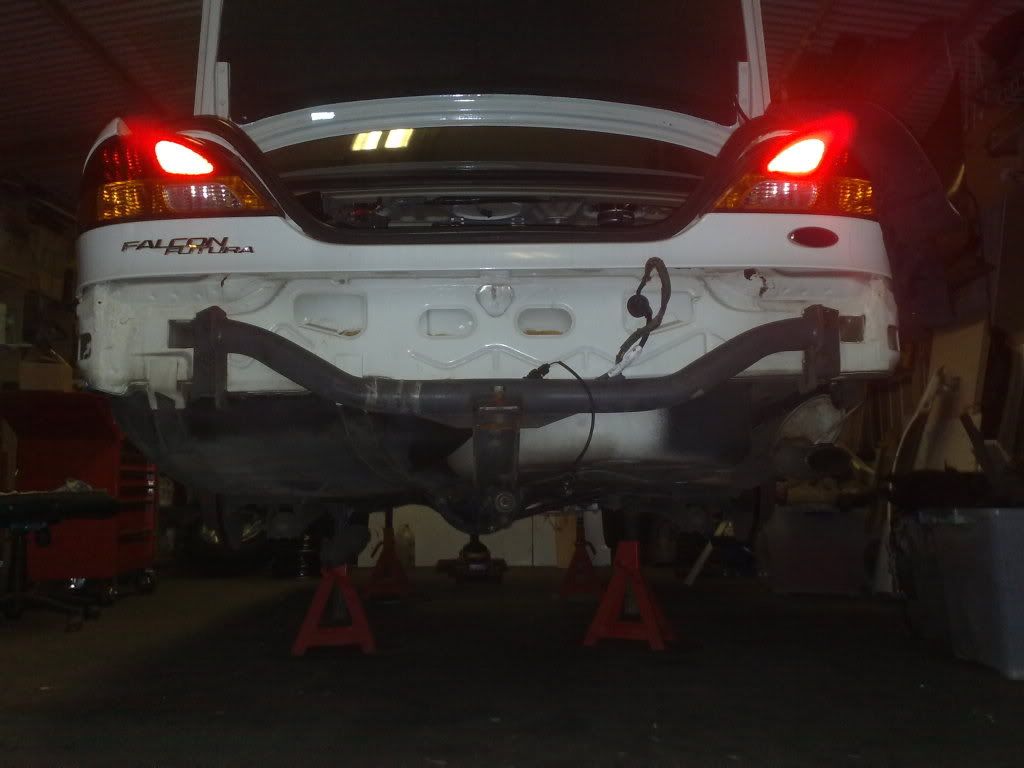 I've removed the diff and fuel tank. i still have to pull out the lpg tank. 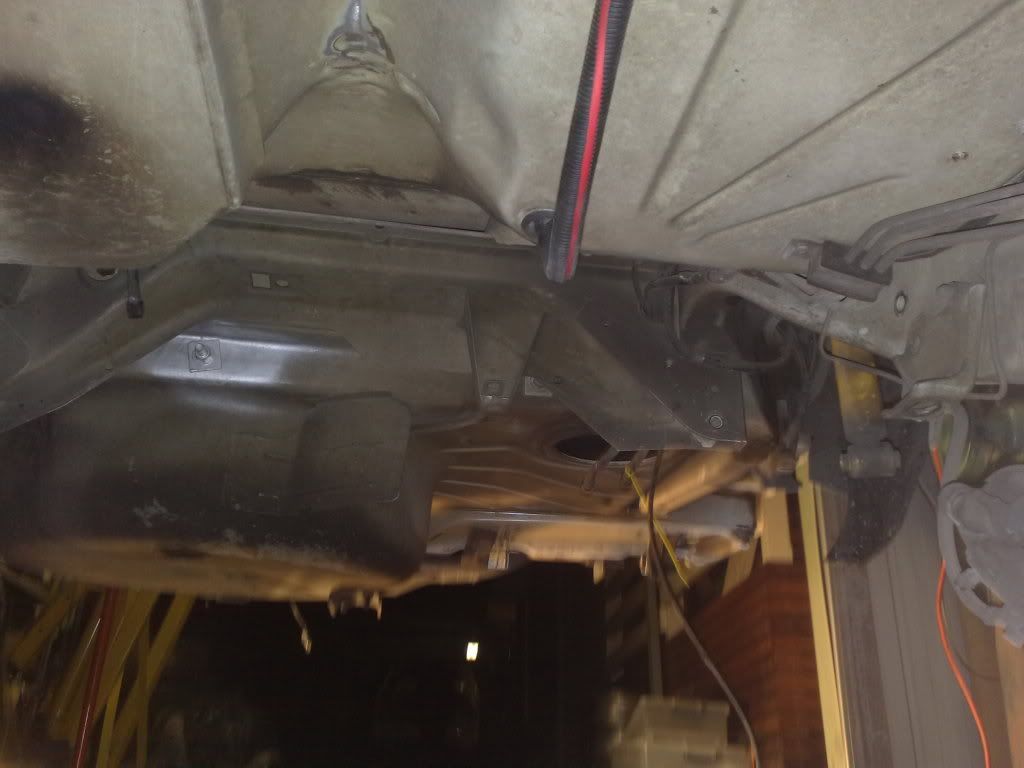 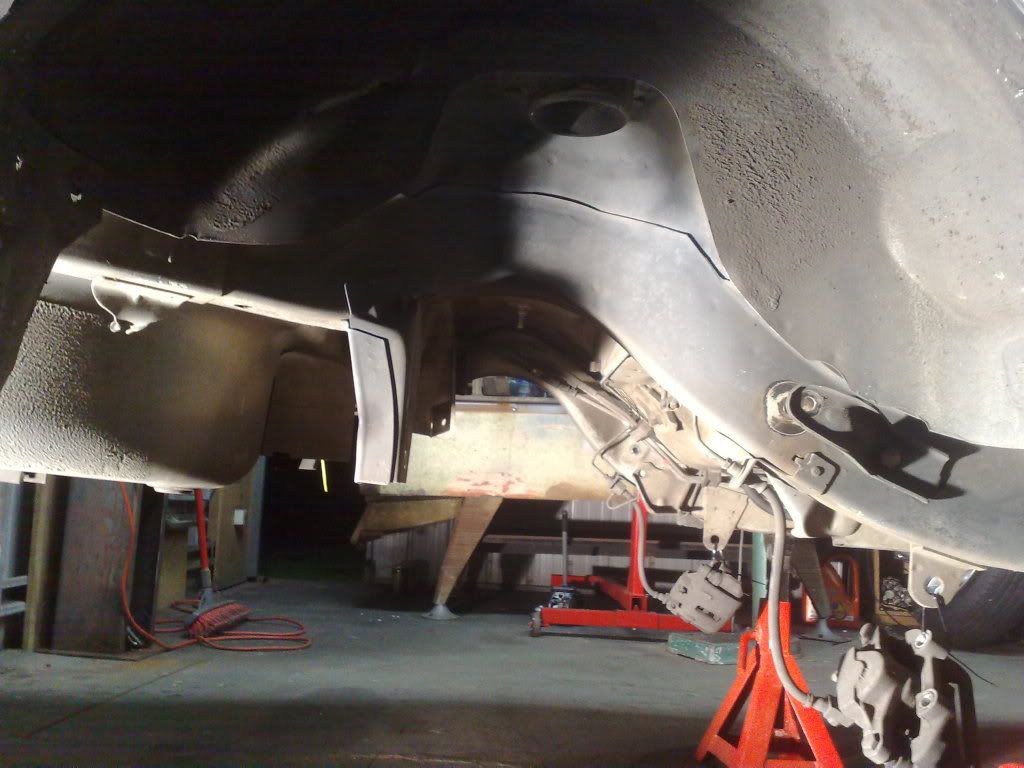
_________________ I enjoy the symphony of mechanical harmony, |
|||
| Top | |
|||
| bbqburner |
|
|||
|
i bought this last week and it's getting delivered during the week
Appart from the engine & seats, if anyone see something they like PM me. 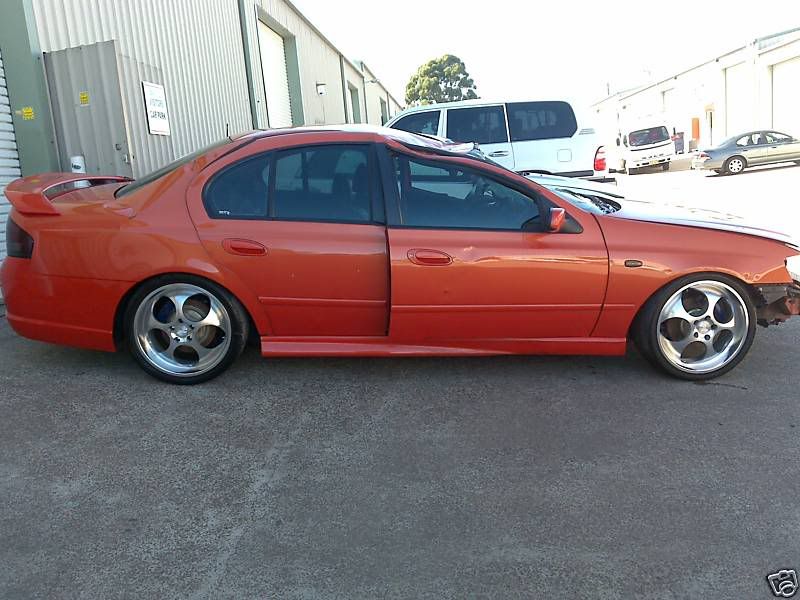 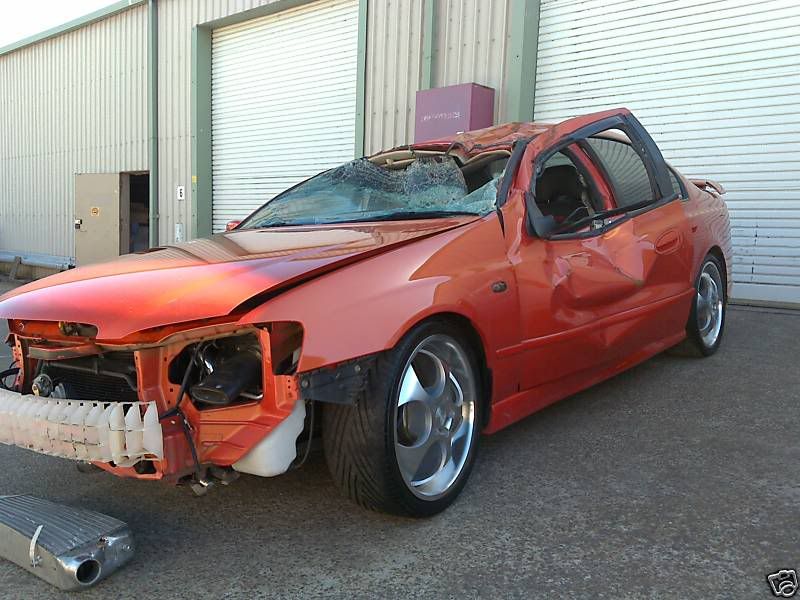 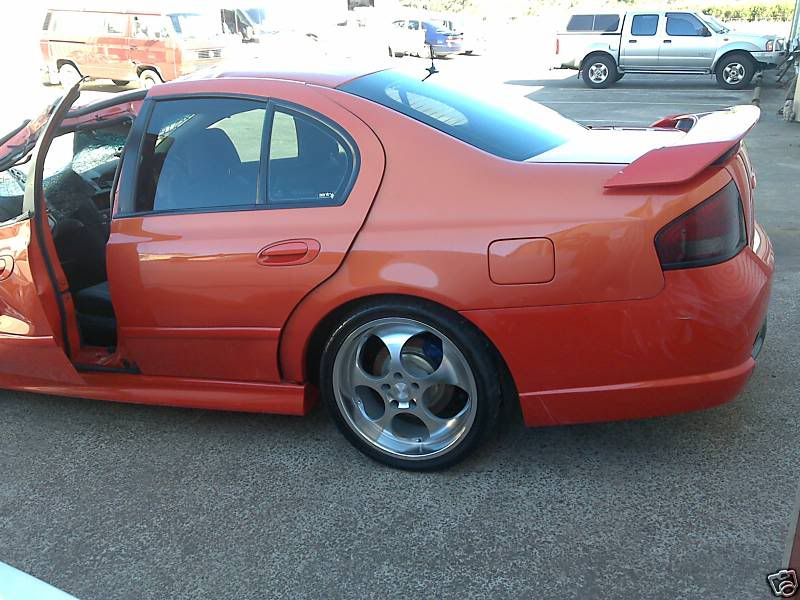  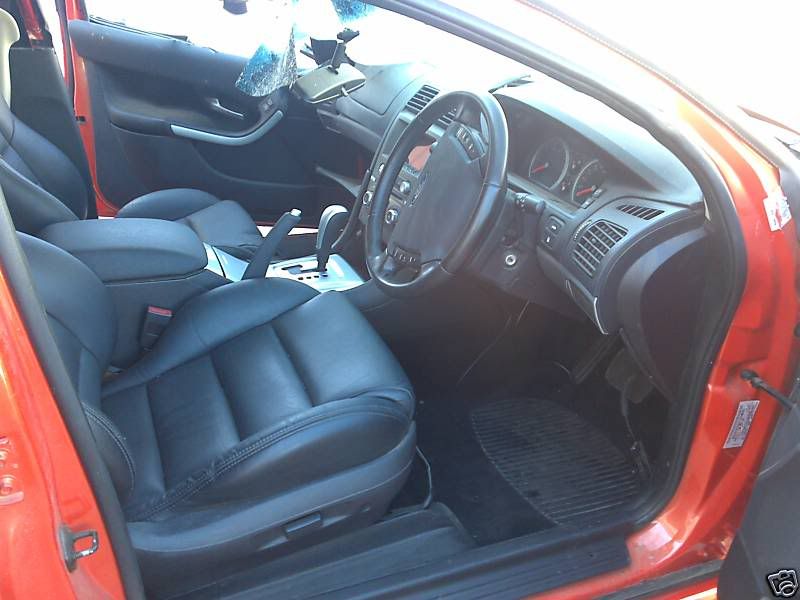 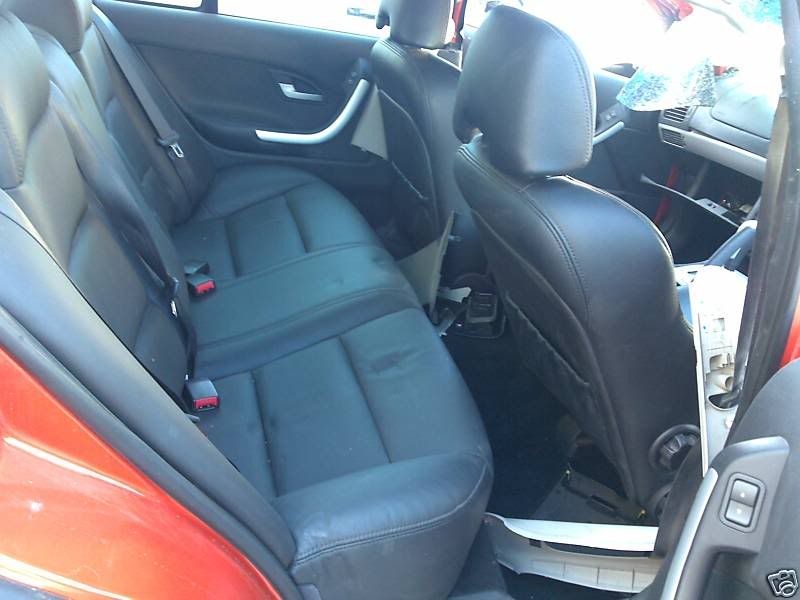 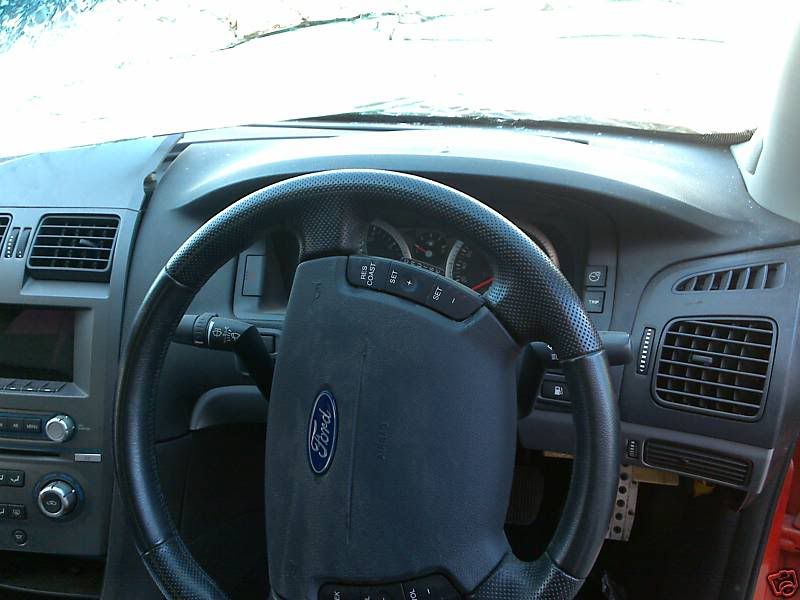 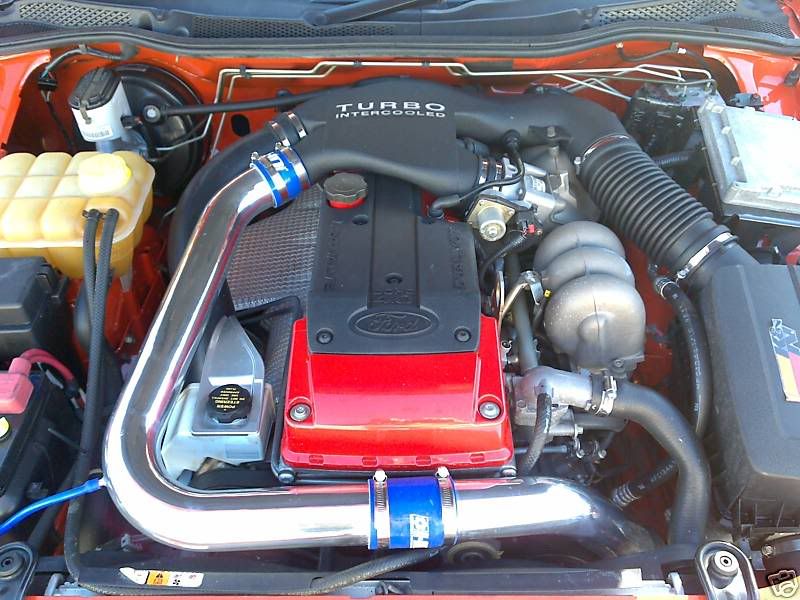 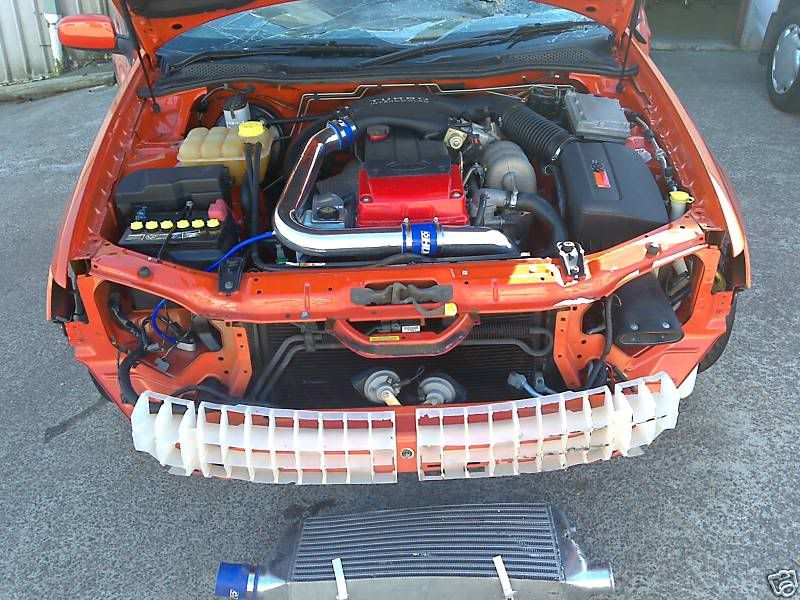 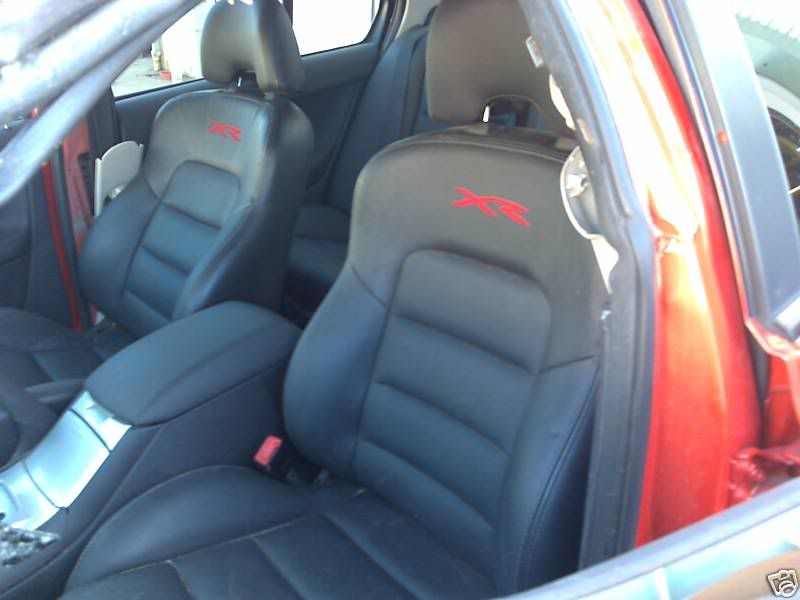 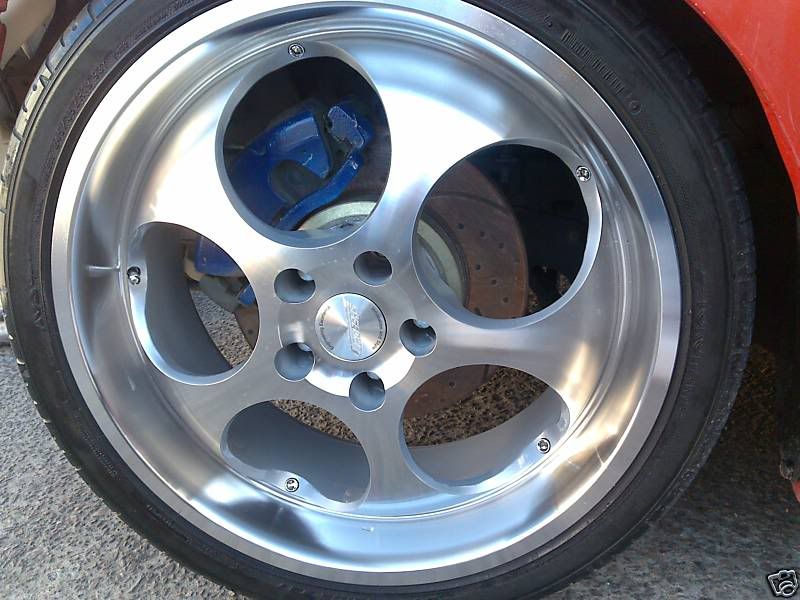 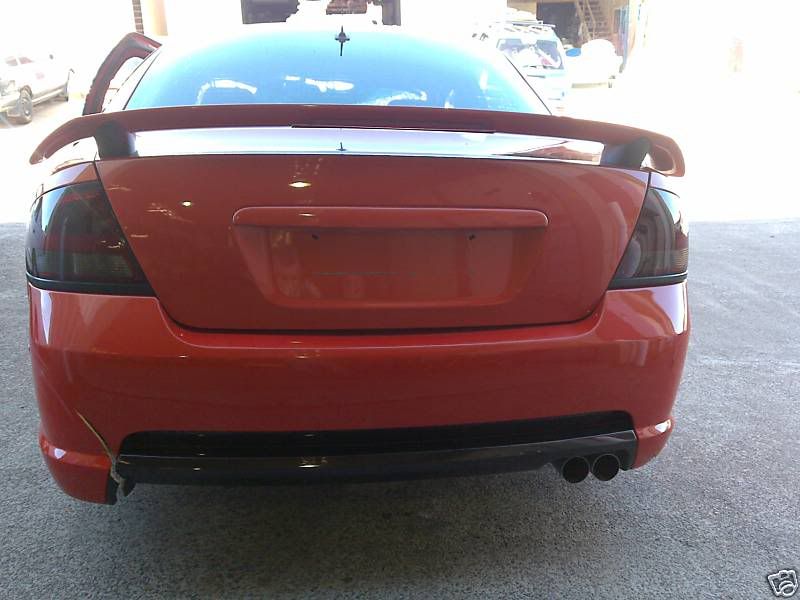
_________________ I enjoy the symphony of mechanical harmony, |
|||
| Top | |
|||
| fiftyone |
|
|||
|
what happened to it? tree fall?
_________________ ** For Sale ** {DESCRIPTION} |
|||
| Top | |
|||
| bbqburner |
|
|||
|
fiftyone Nope, fell asleep at the wheel, drove off the road, through an embankment and parked it under a low tree branch.
little update, my car got delivered  little ignition mod to get it off the truck  the bit i wanted 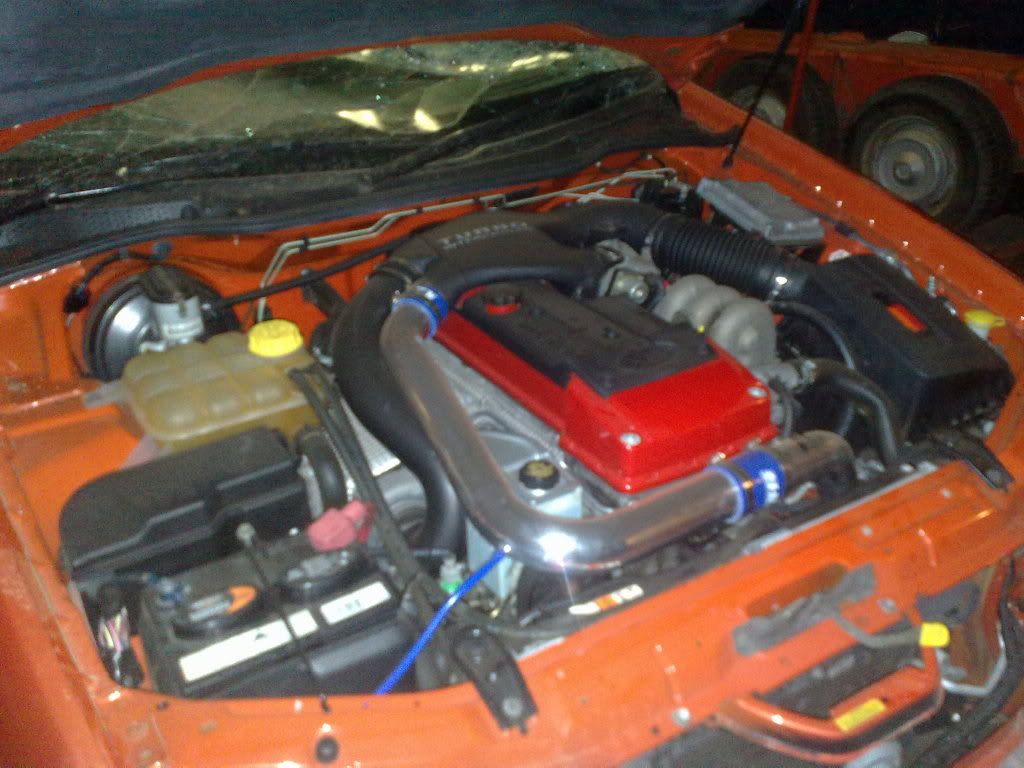 little more work tonight 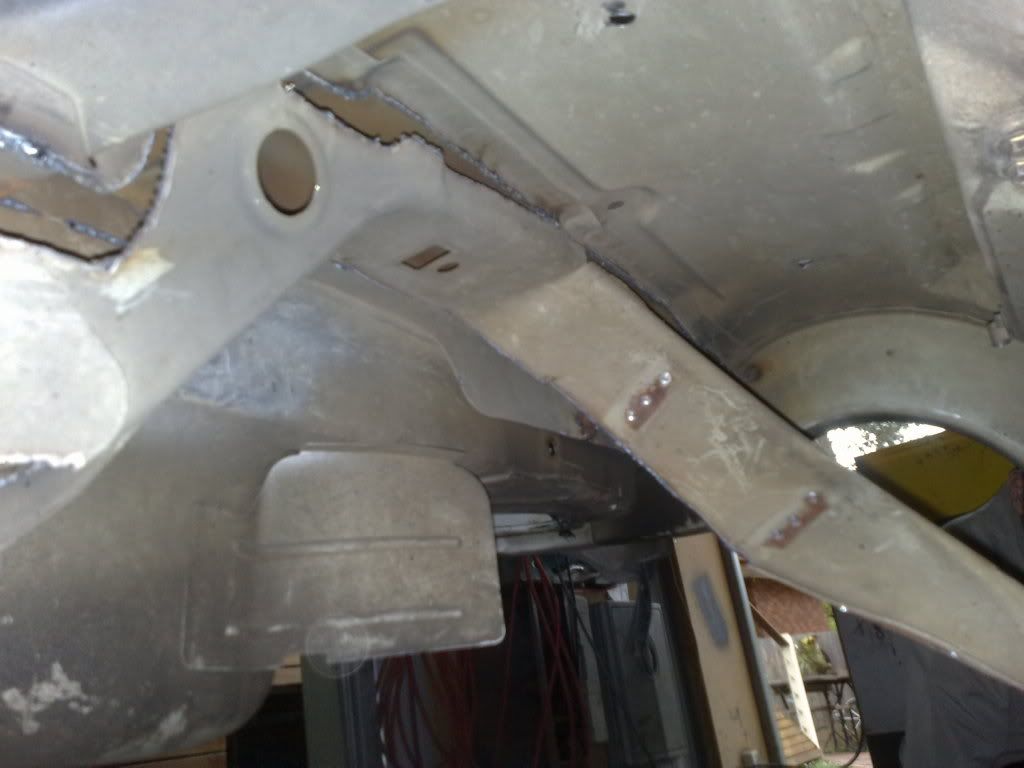 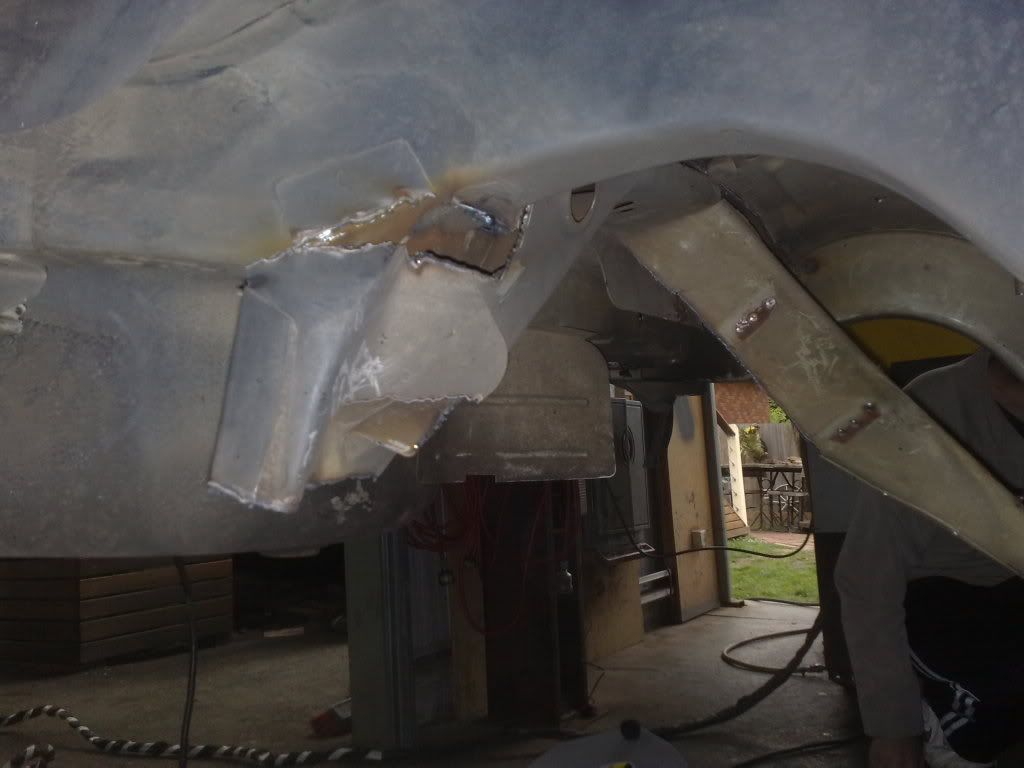 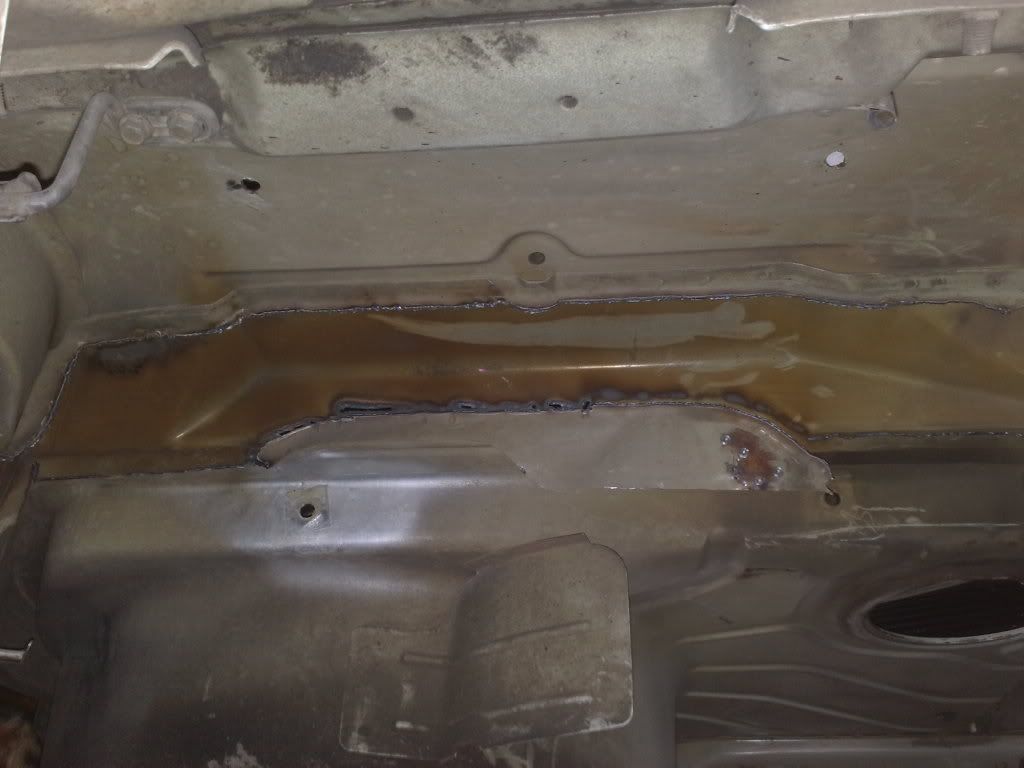 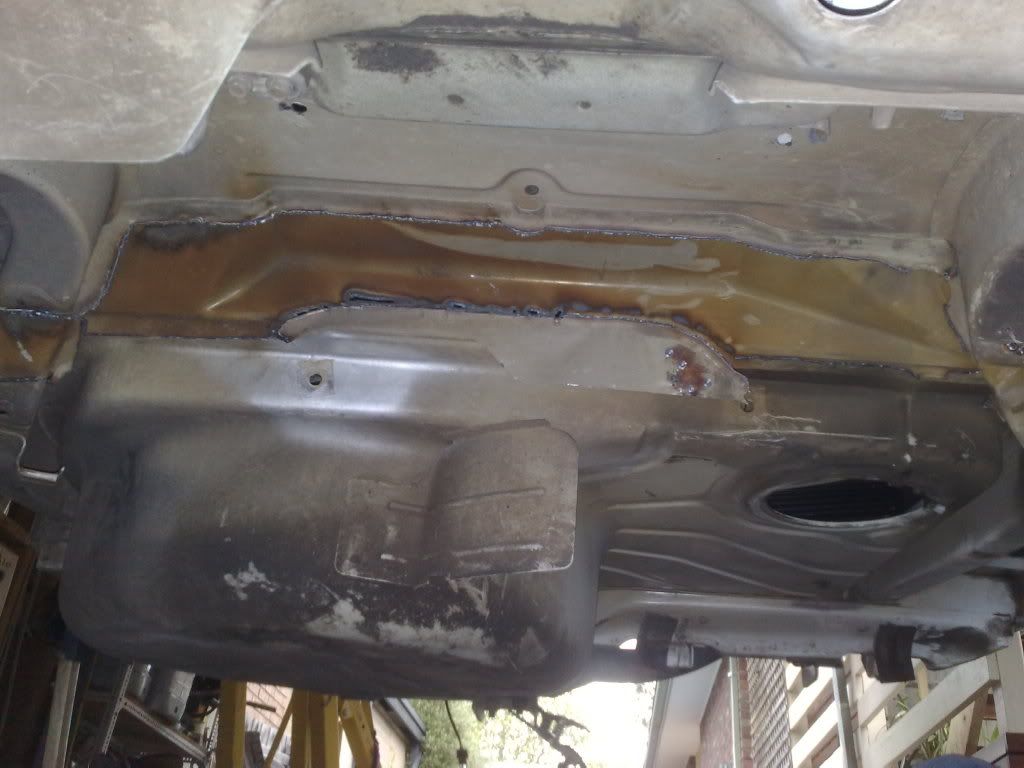 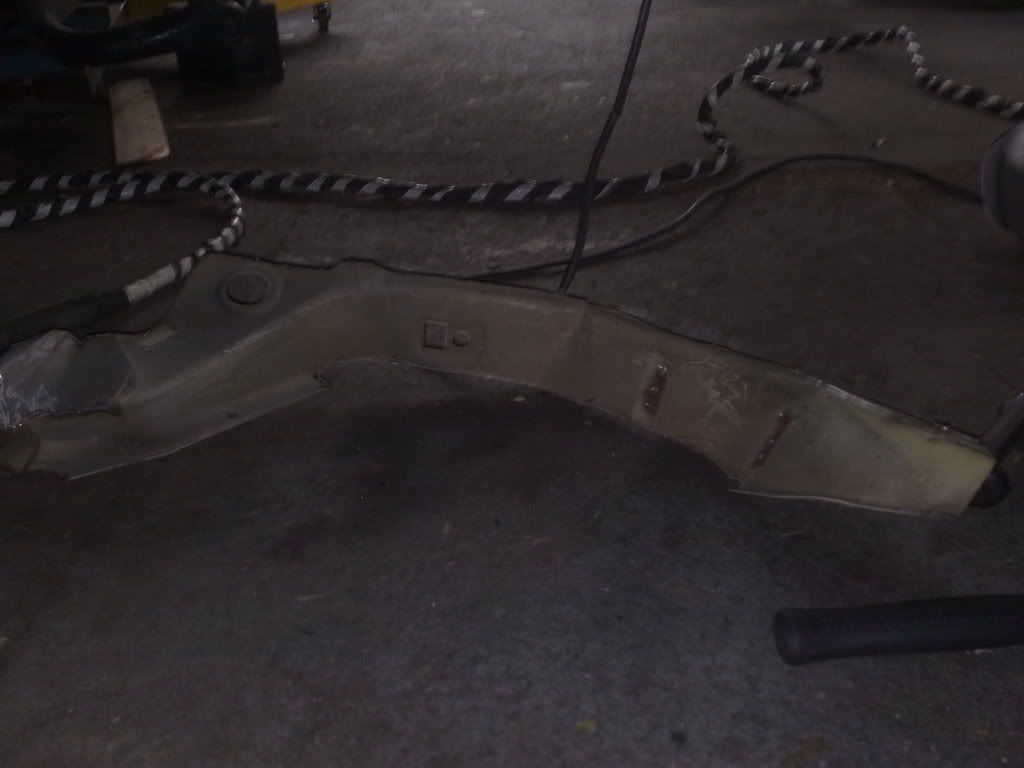 So now i have to drill the 30 or so spots welds out and i can weld up the IRS brace finished removing the last of the watts link tonight, couple of spots i'll need to repair, cut a little too close with the plasma cutter 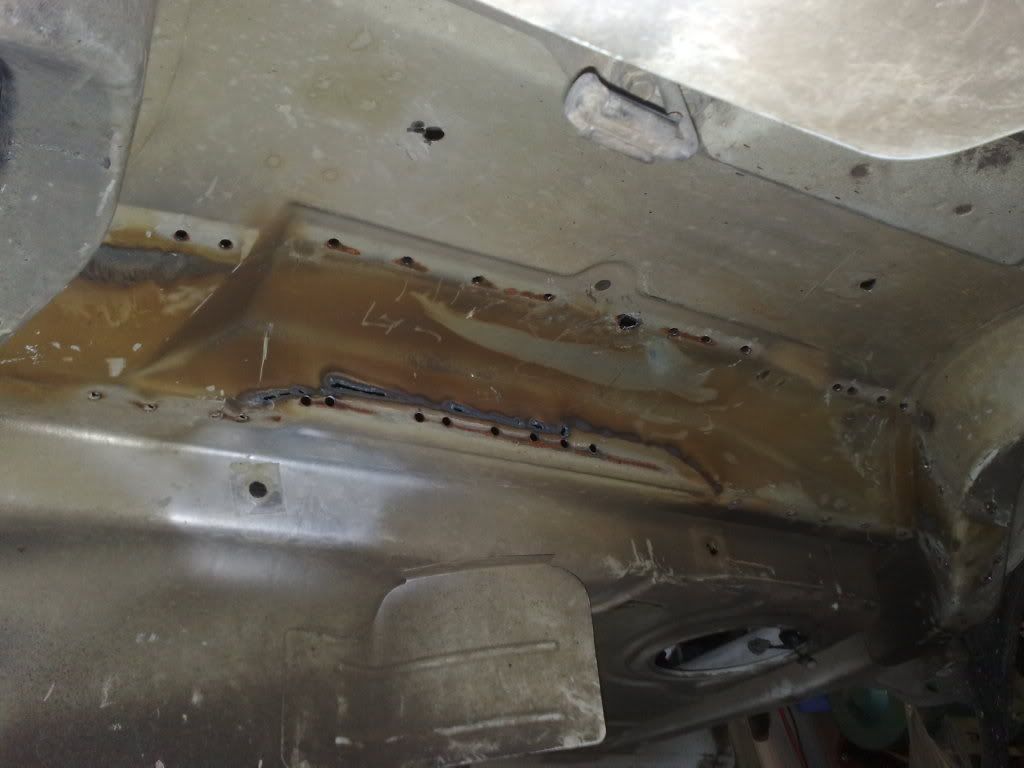 and a test fit 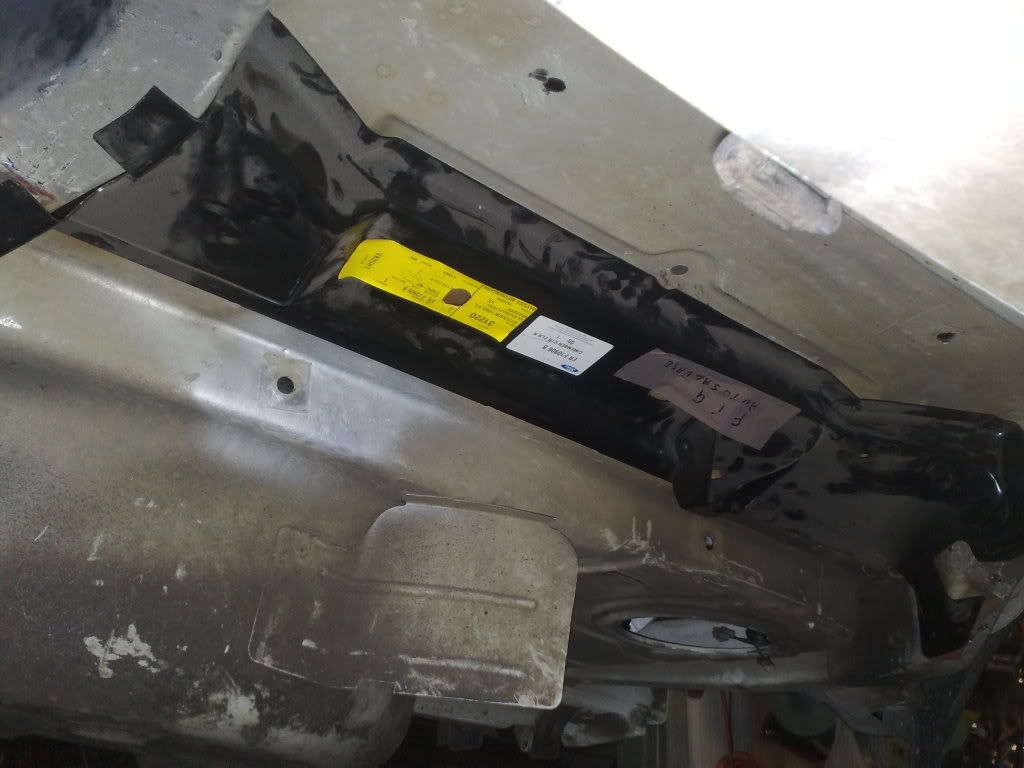 and a little something something 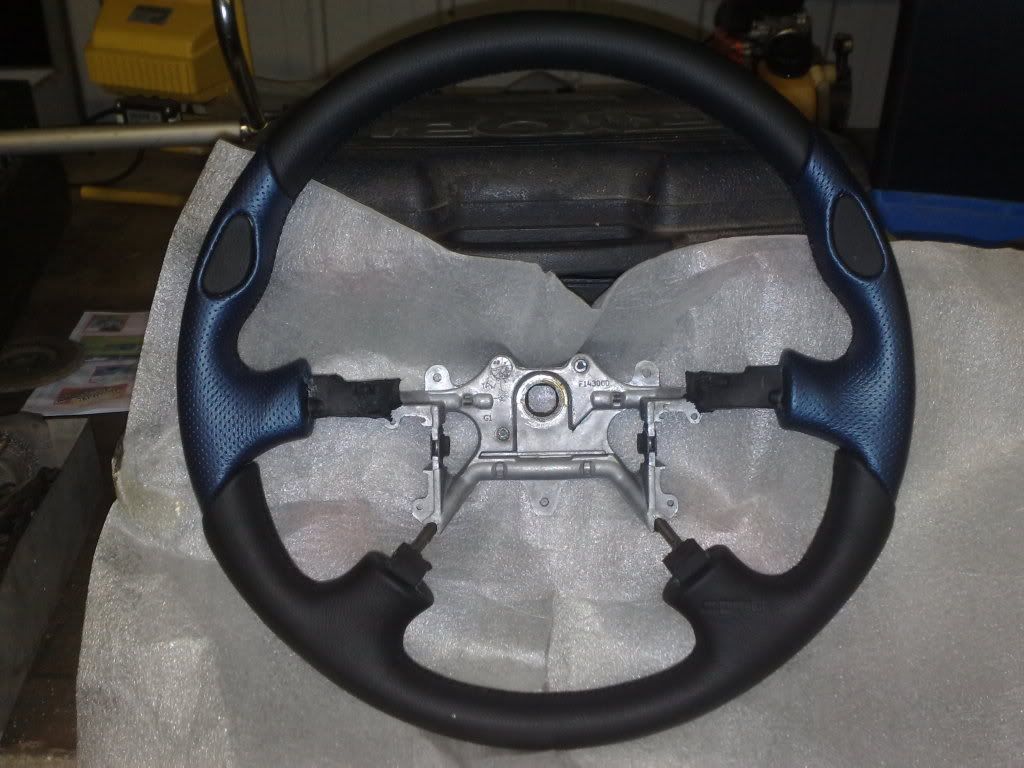 i really like the blue, might have to carry it over to the door inserts
_________________ I enjoy the symphony of mechanical harmony, |
|||
| Top | |
|||
| bbqburner |
|
|||
|
just a couple of photos on the holes i've been welding up that are no longer required.
these are the spot weld that i drilled out in the centre section of the watts link, 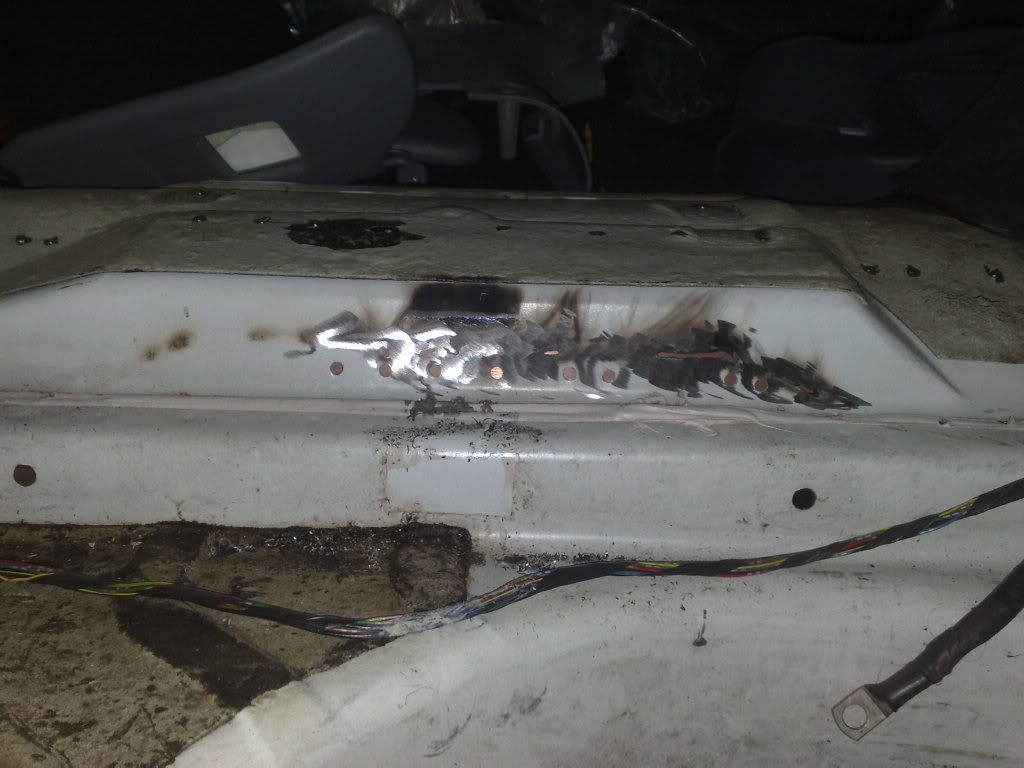 the copper plate held by some scrap stuff i had lying around 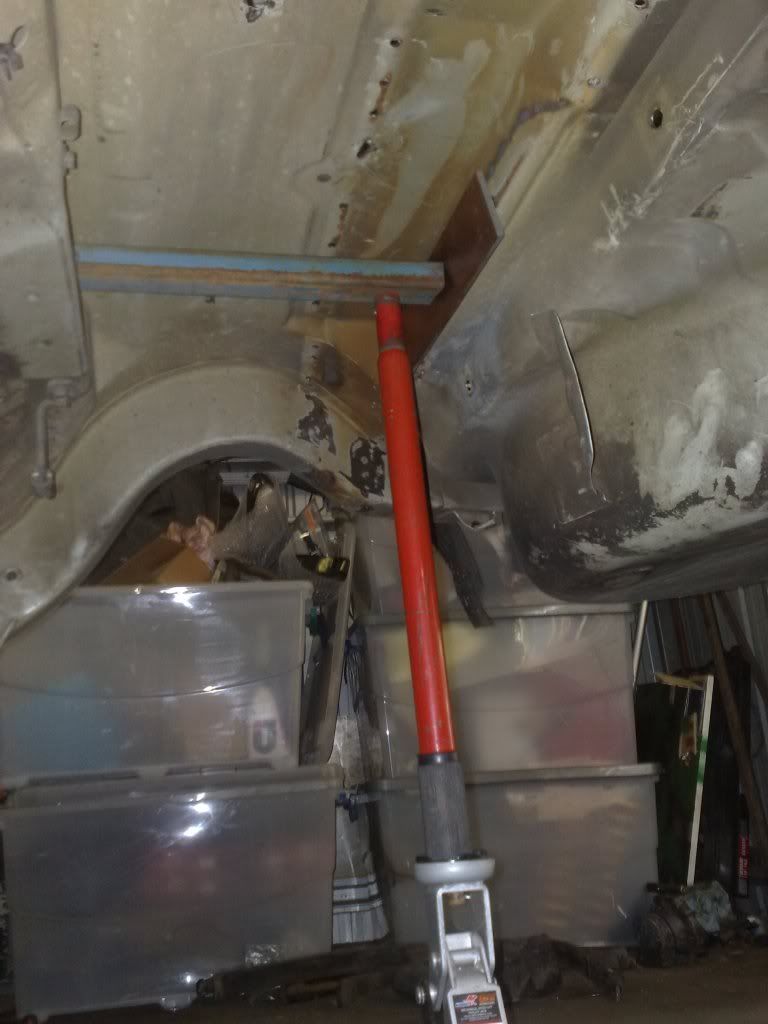 finished 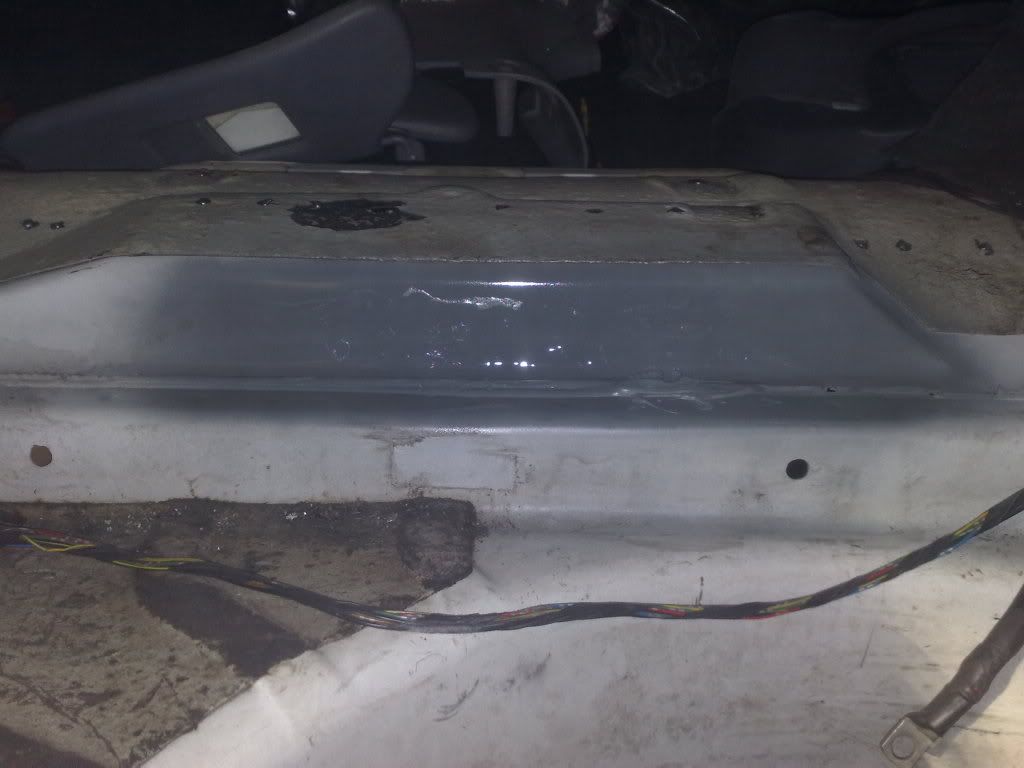 Aside from cleaning off the oil soaked factory sound deader :banghead: thanks to my brother 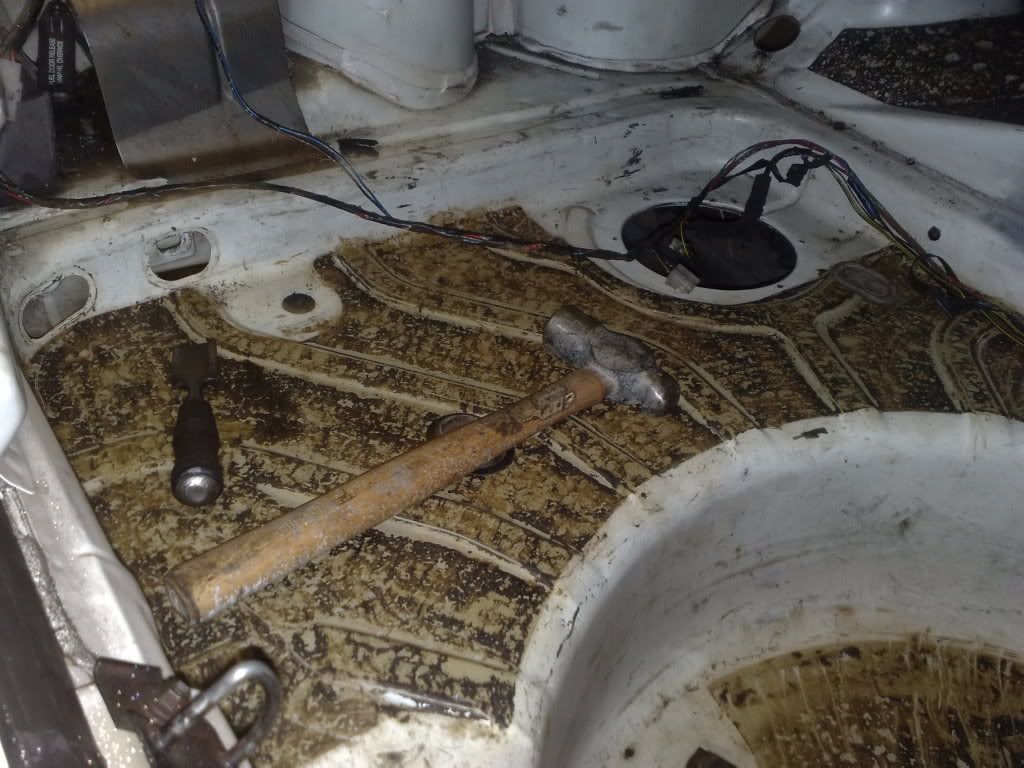 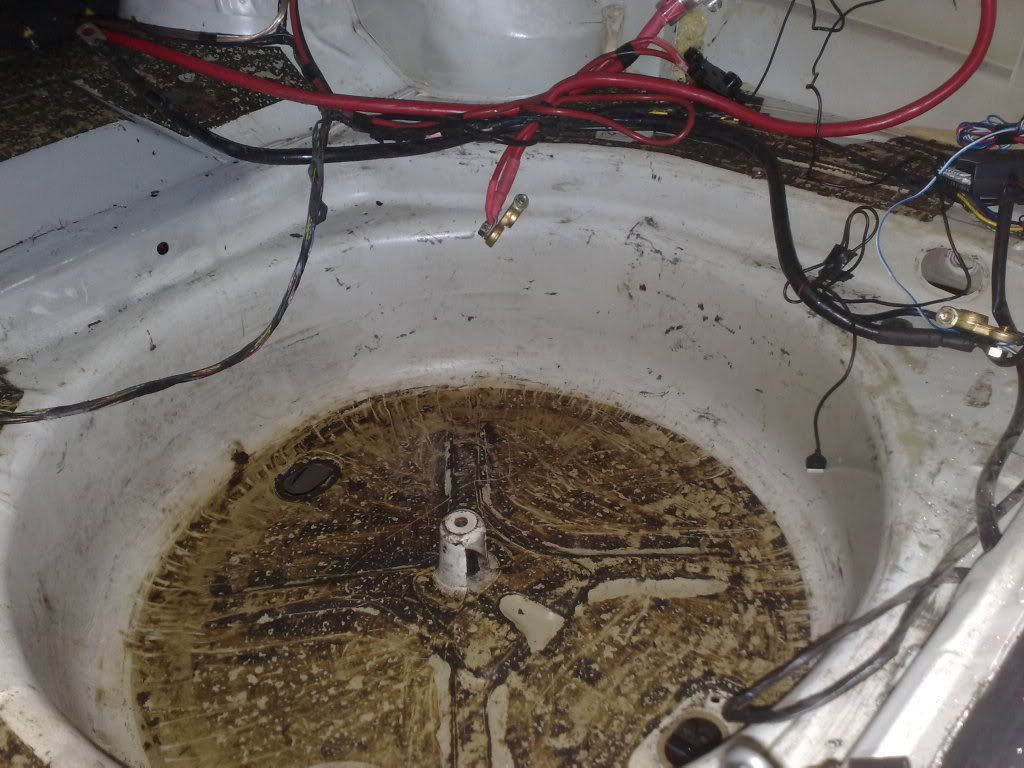 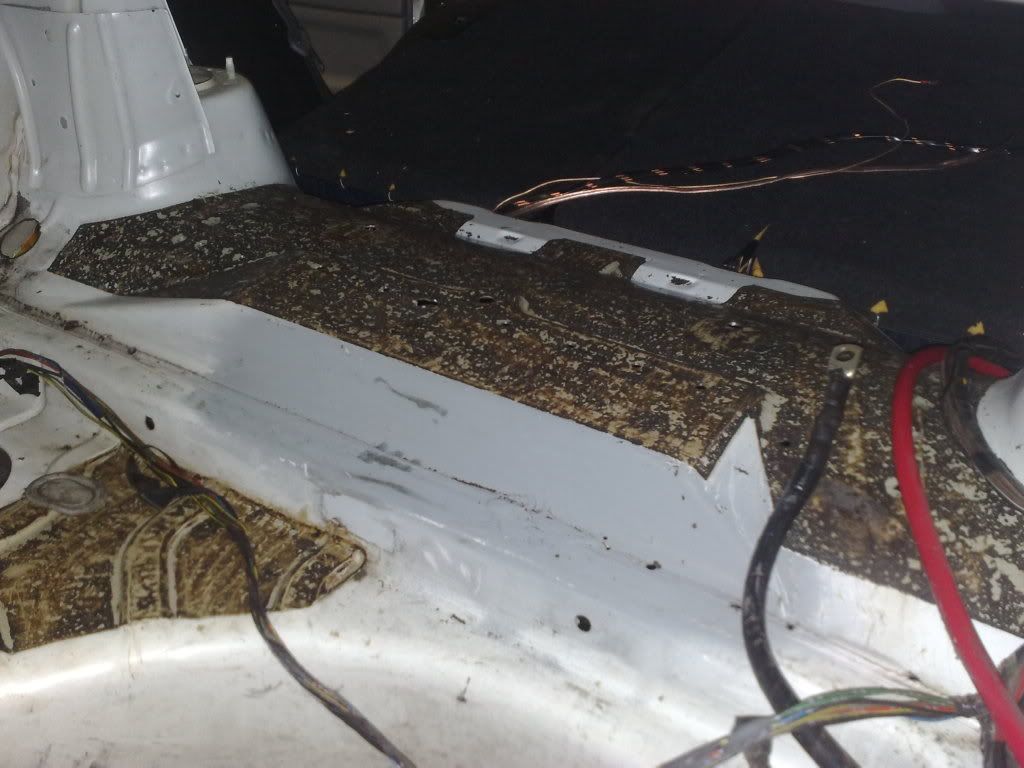 so after plug welding up the holes i didn't need and drilling extra for the different angle that the ends of the floor brace follow, i now have this. 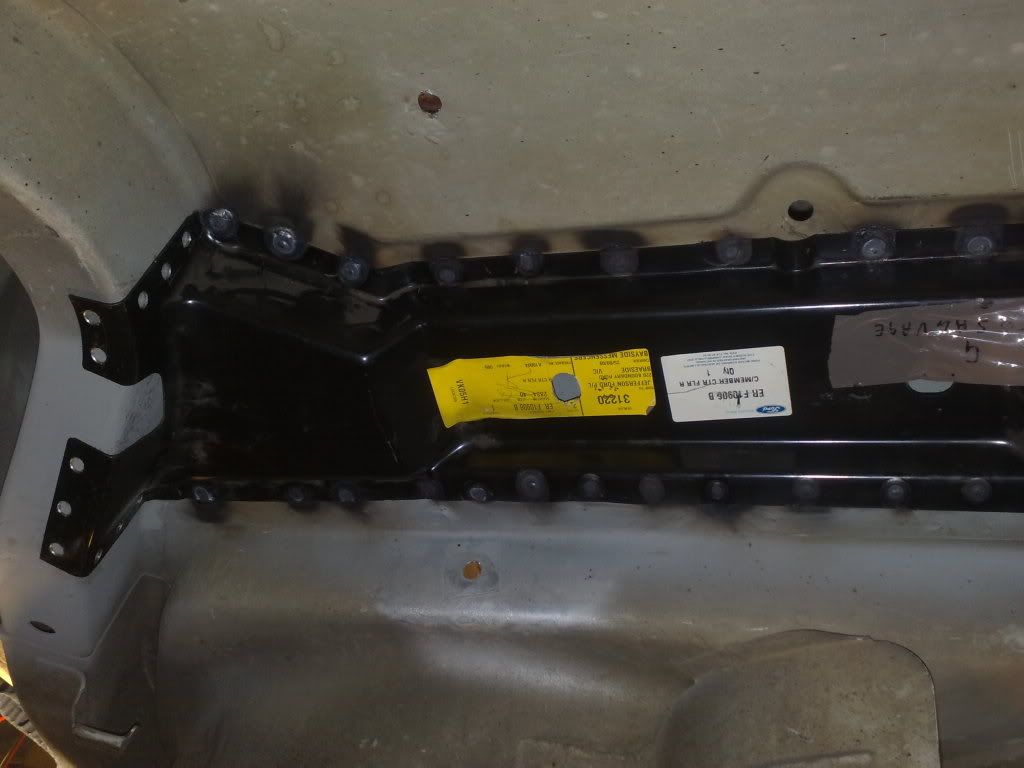 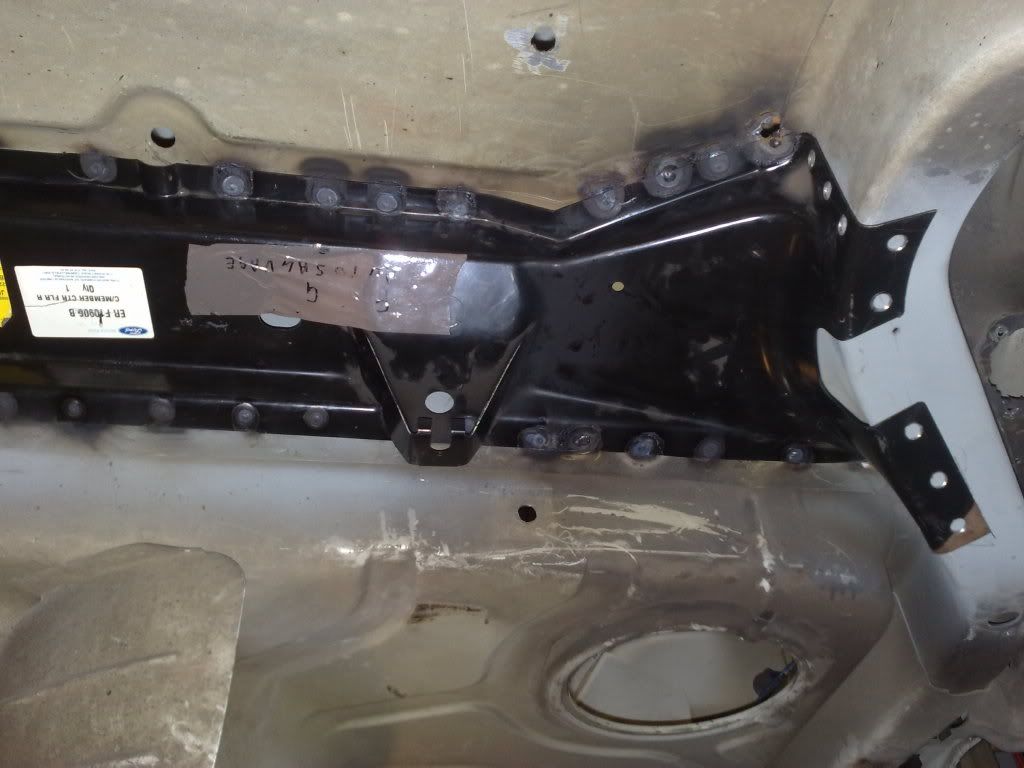 Still need to weld the ends, but i'll do that next weekend when i tack the lower section of the saddles in and dummy fit the IRS assembly. :thumbsup: And thanks again to BrockyB8 for dropping of the Box of Roadkill for me 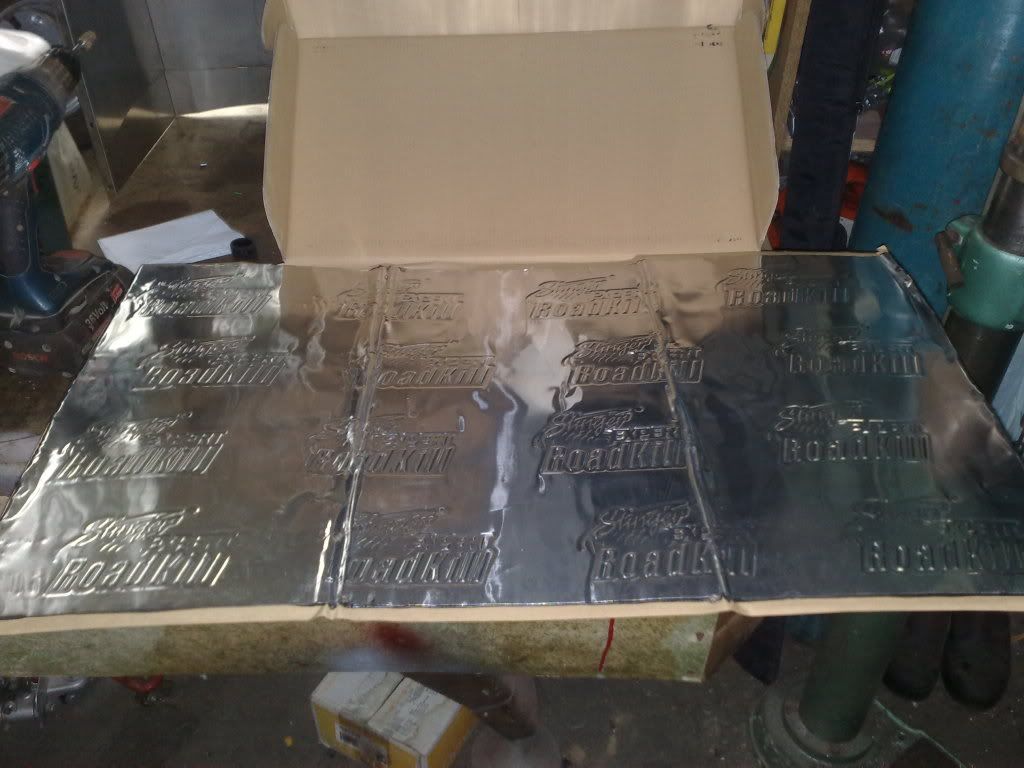 And i also started pulling the clusters apart the top is the disassembled BA cluster and the bottom is the EL cluster shell 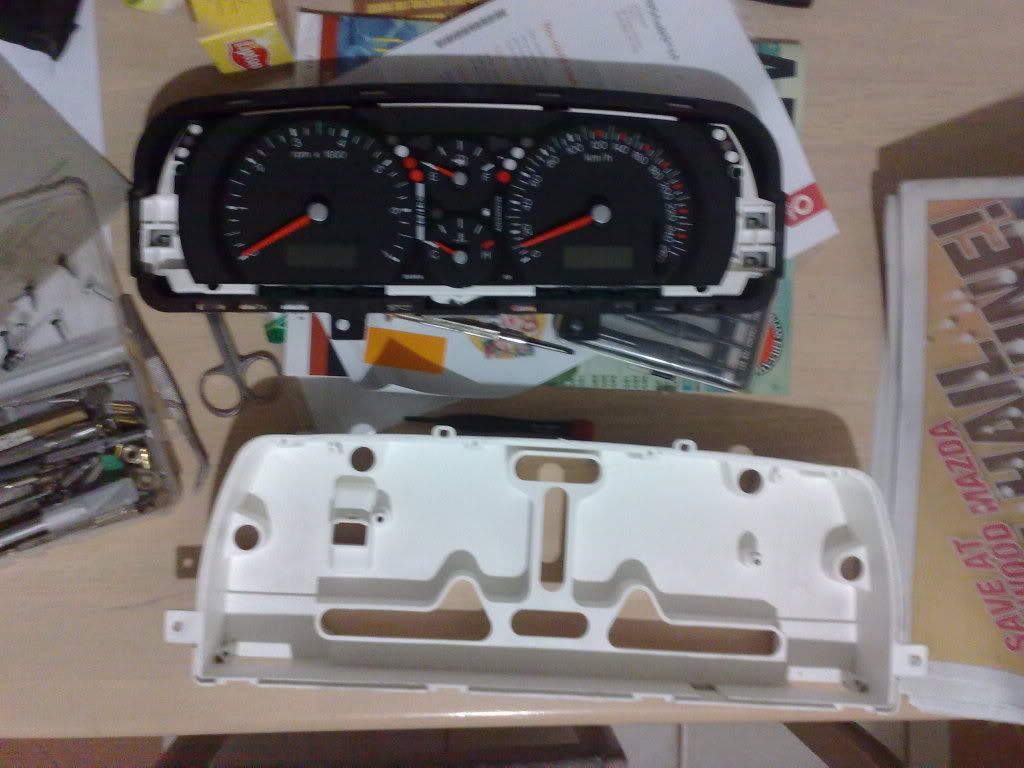 Well since work had no work this morning i clocked on at 8am and clocked off at 8:15am. lol Drove home and finished up welding the ends of the floor brace in. 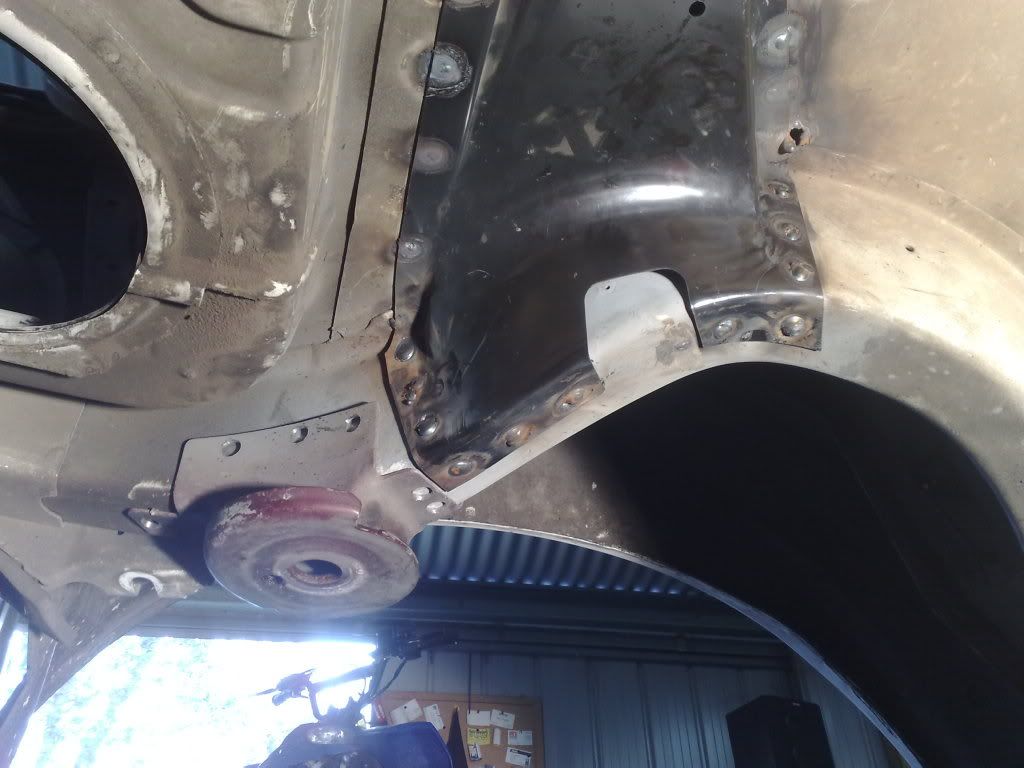 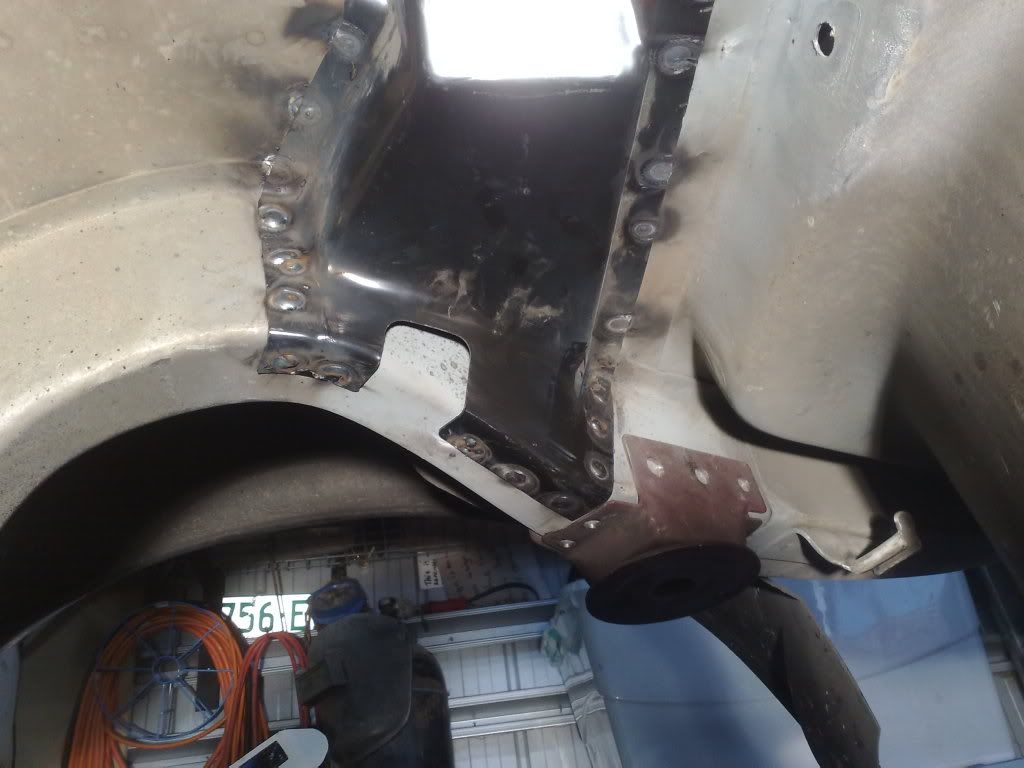 Then a fit up to see where the rear rubbers bolt up. 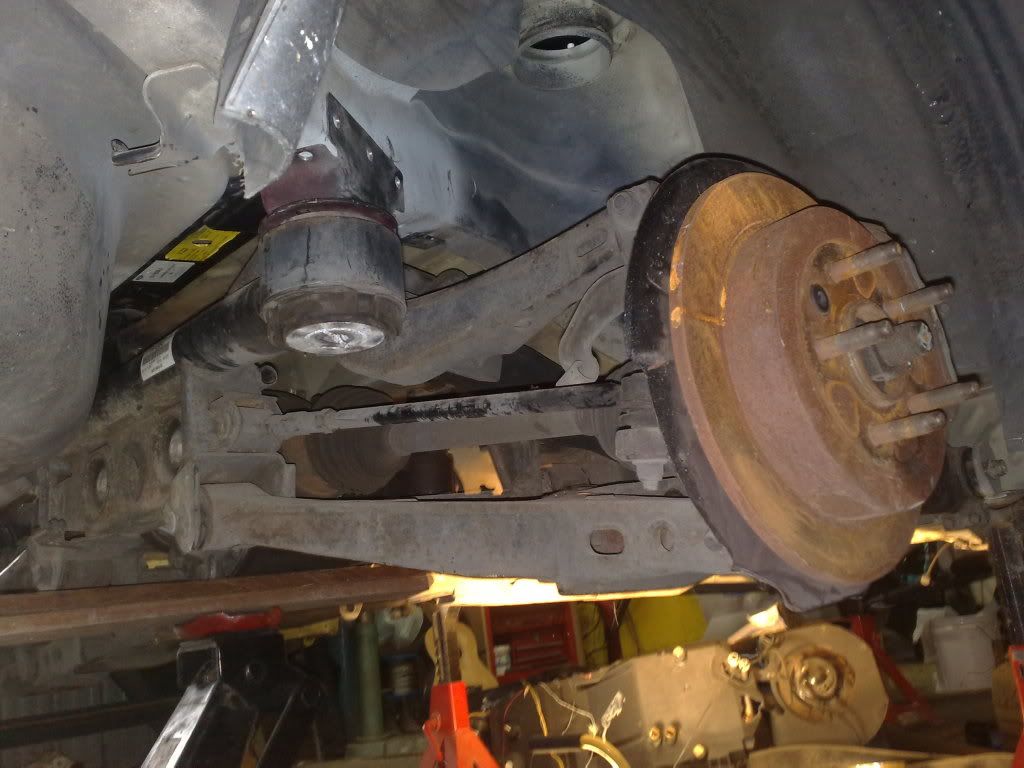 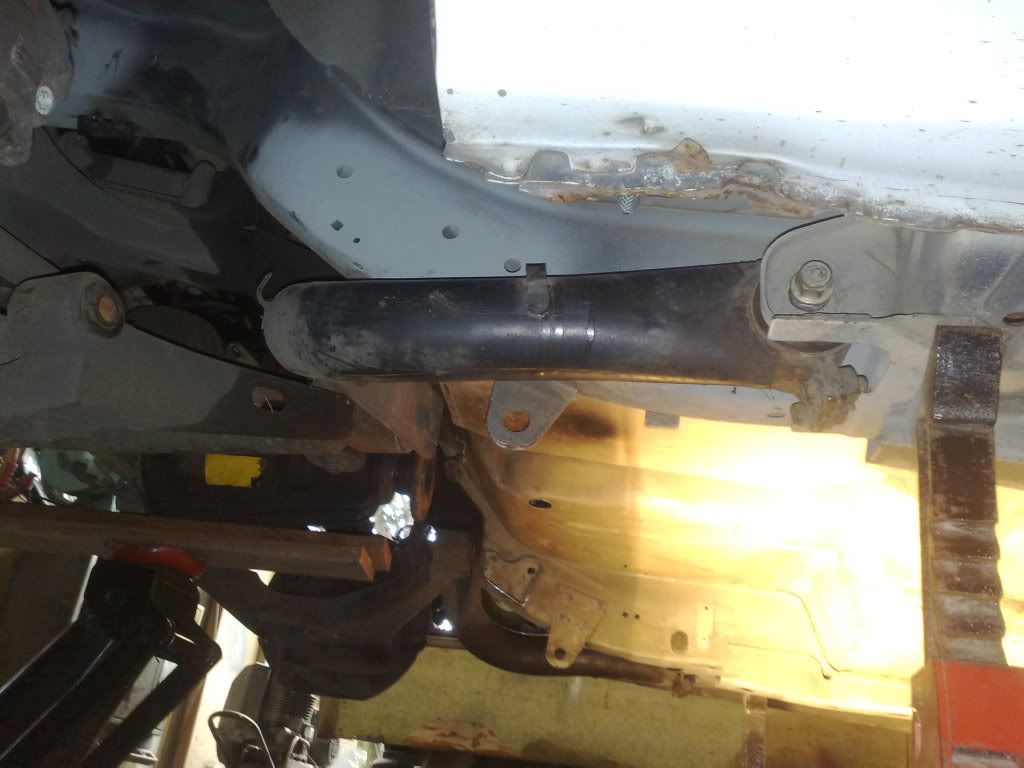 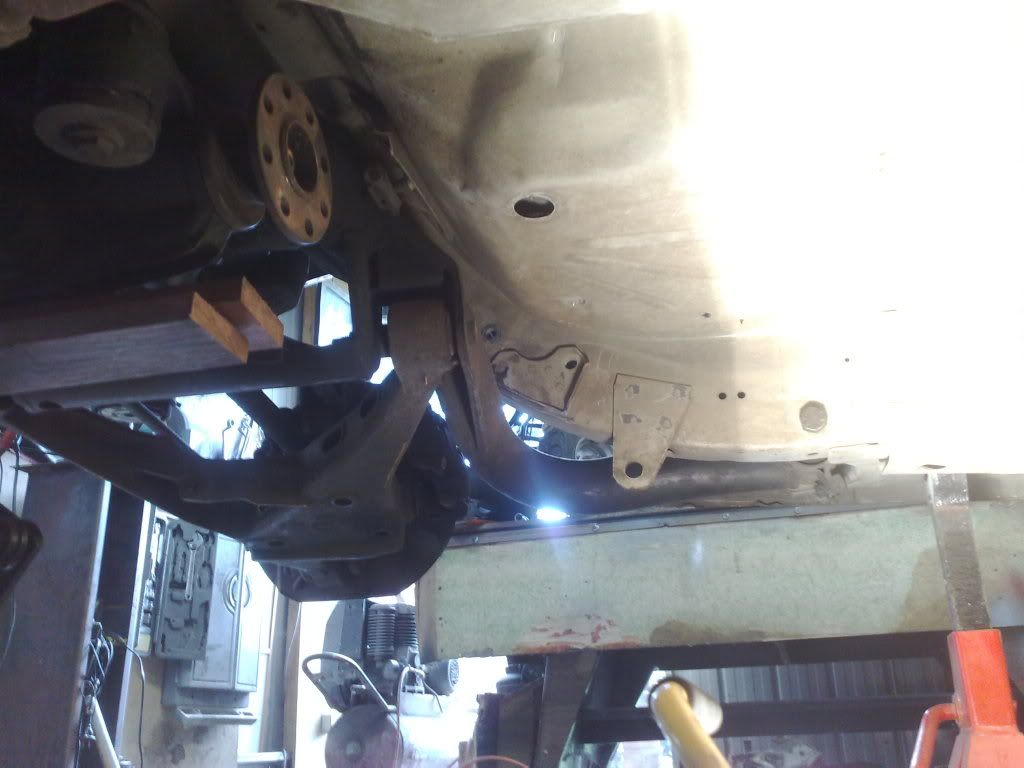 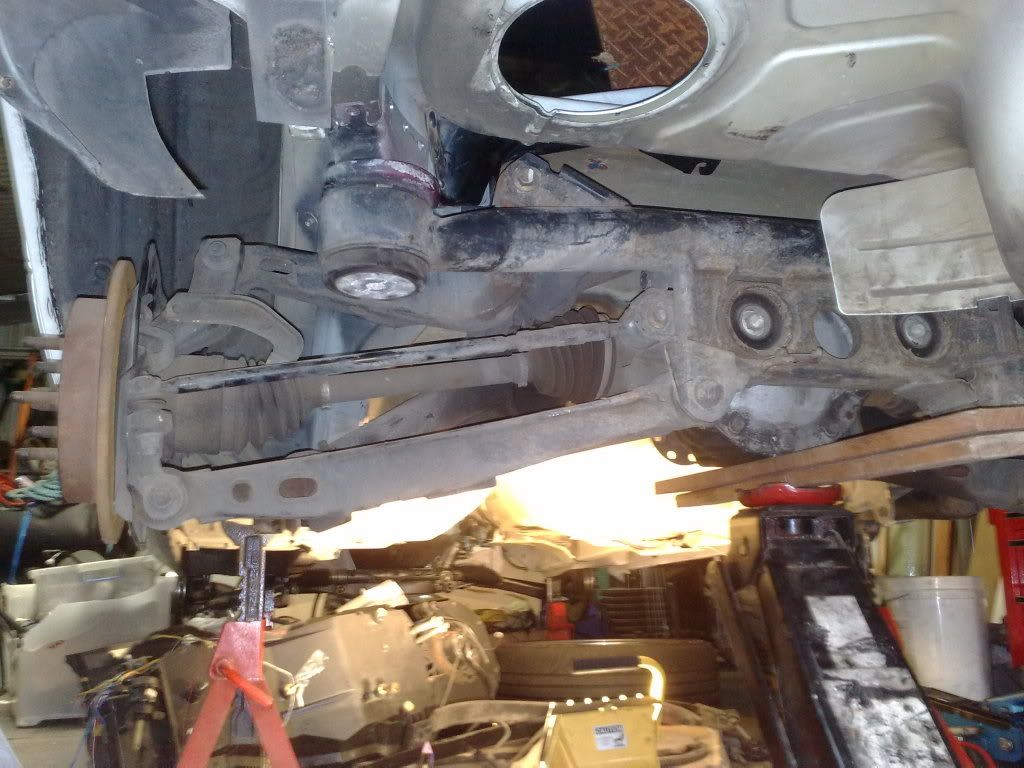 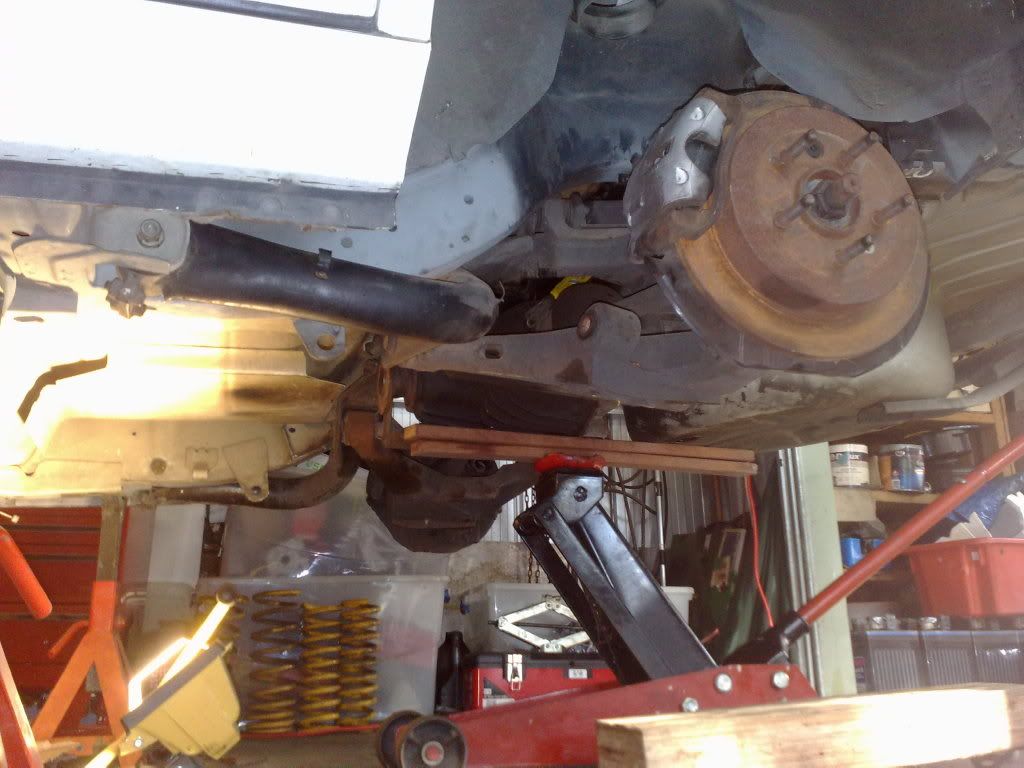 Then cut out a little extra were i needed clearance, the sway-bar brackets are basically flush with the rails and the muffler heat shield needed a trim. 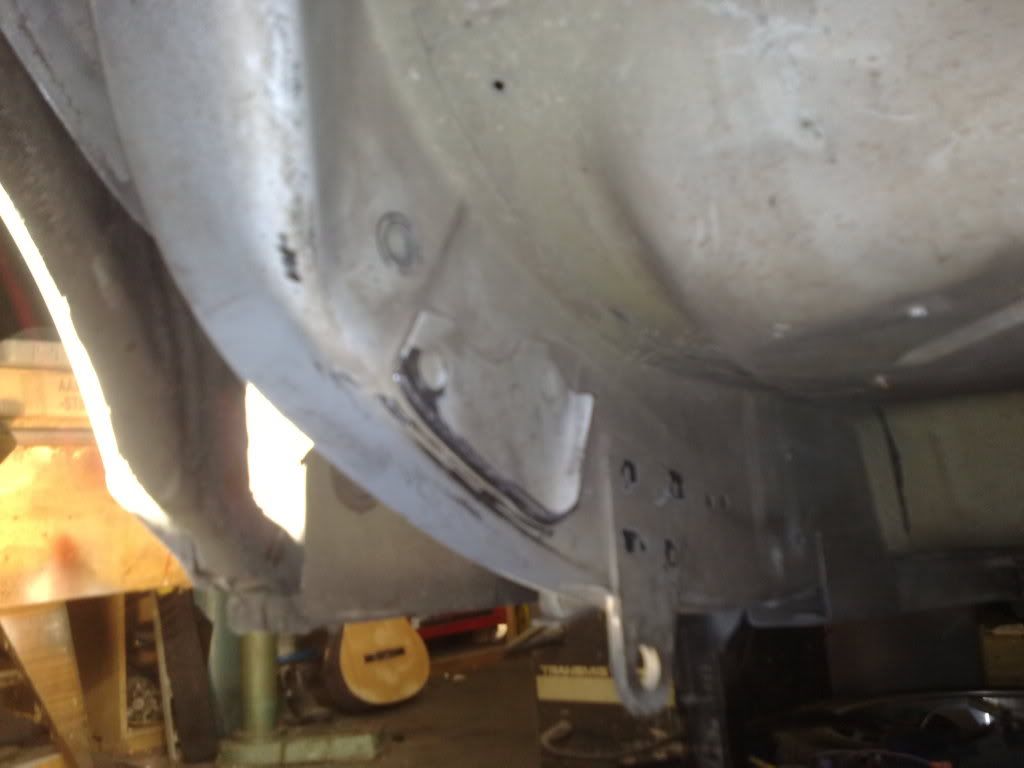 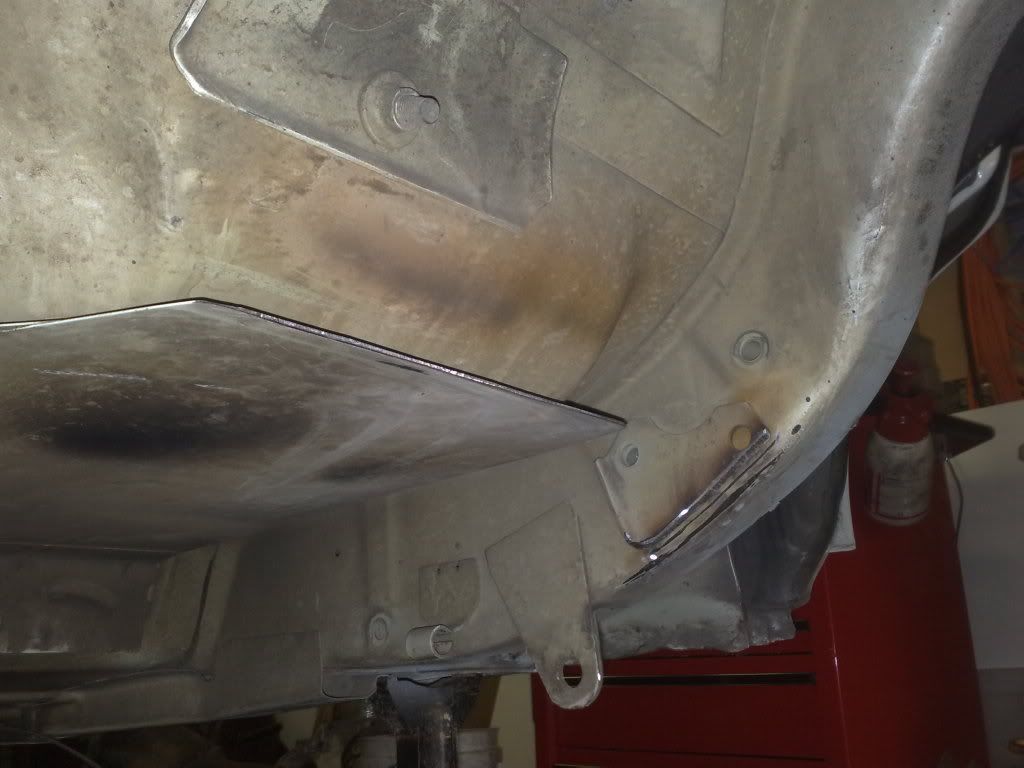 Then removed the spring retainers from the top of the shocker tower 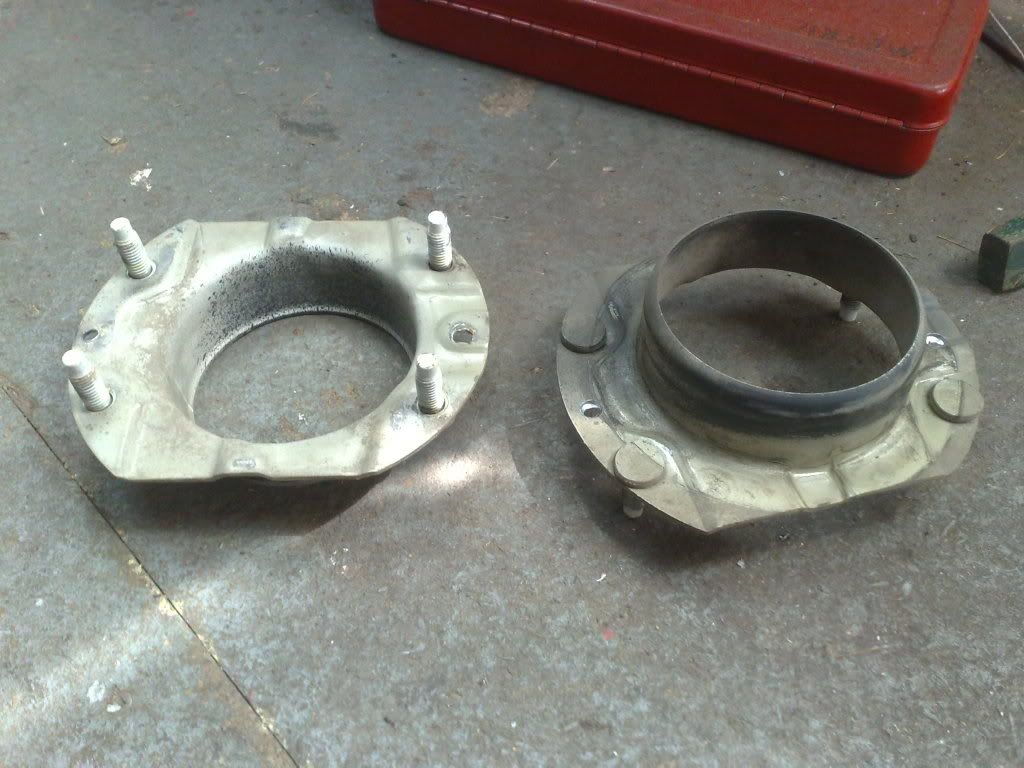 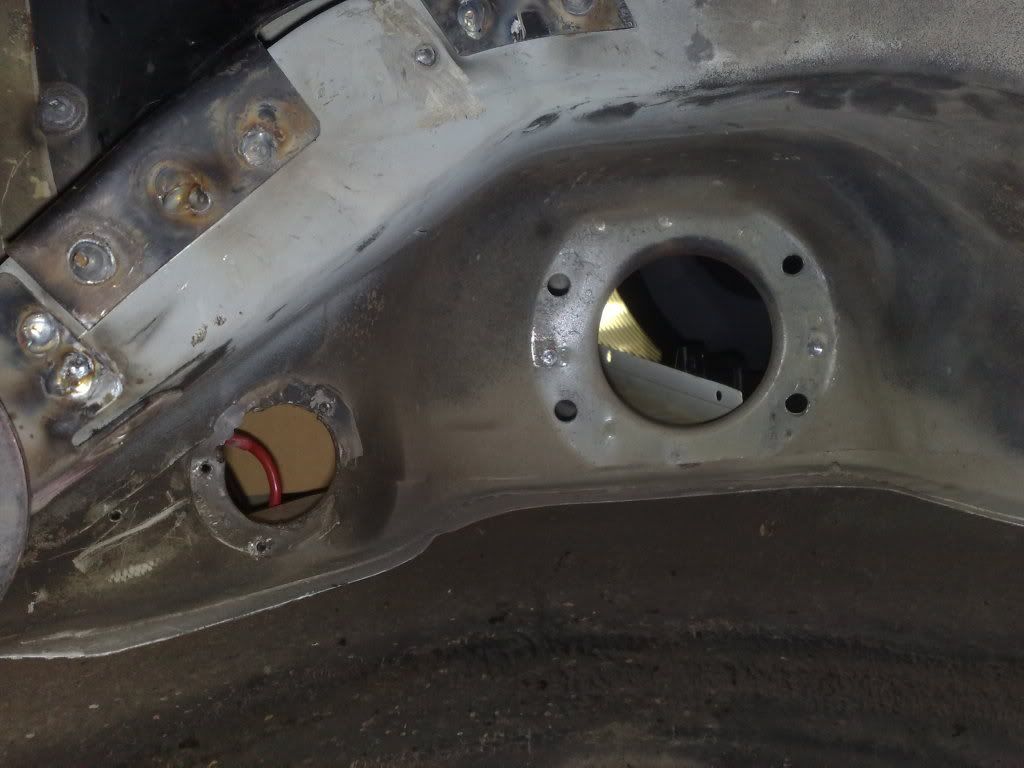 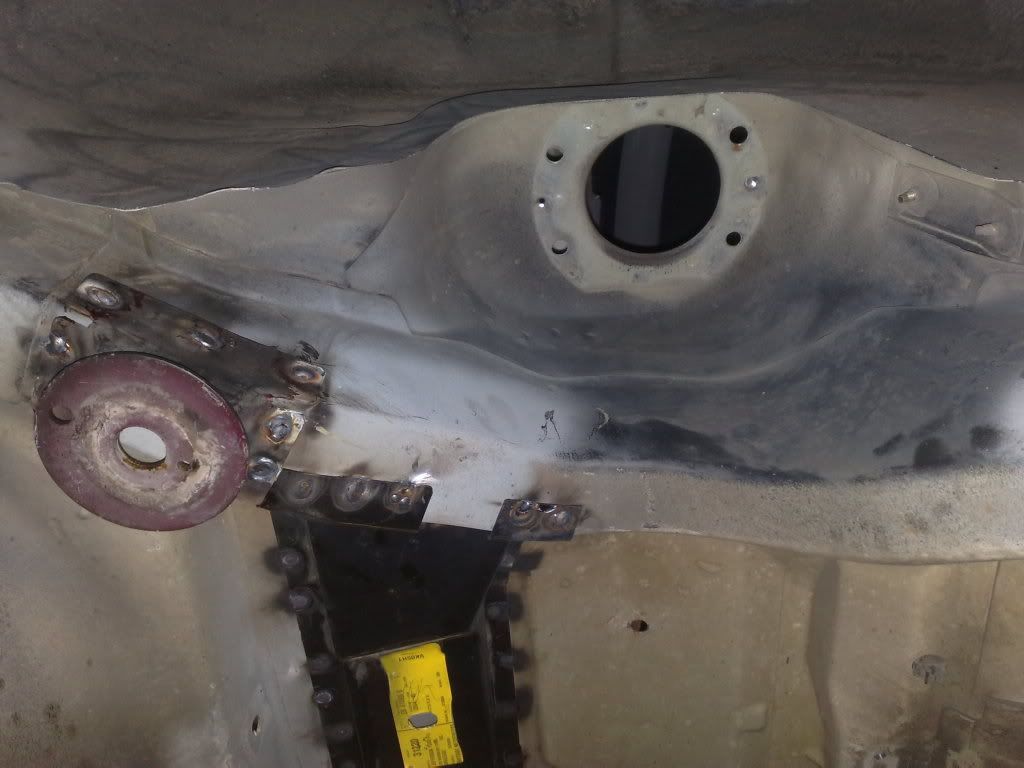 And finished welding the rear brackets. 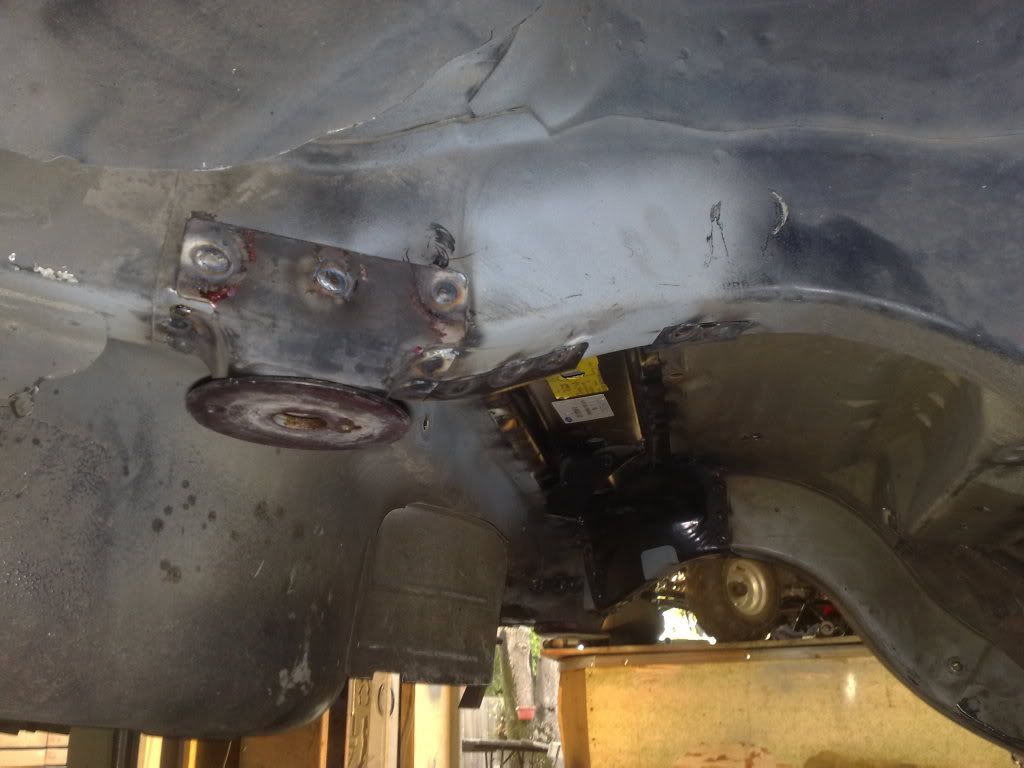 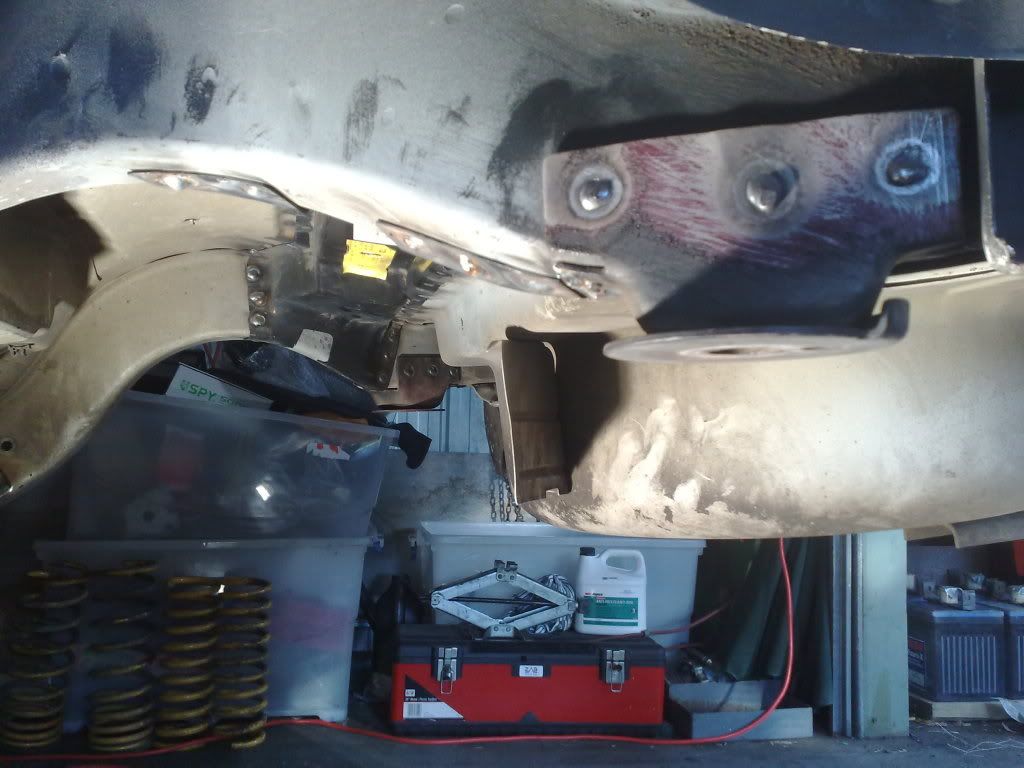 Still need to cut open the boot floor and fit the retaining pins in the chassis rails, but thats a weekend job I'm surprised really how tight a fit the IRS is, there about a centimeter between the body and the upper arm rubbers. Cut out the pins from the second hand chassis rails i got. 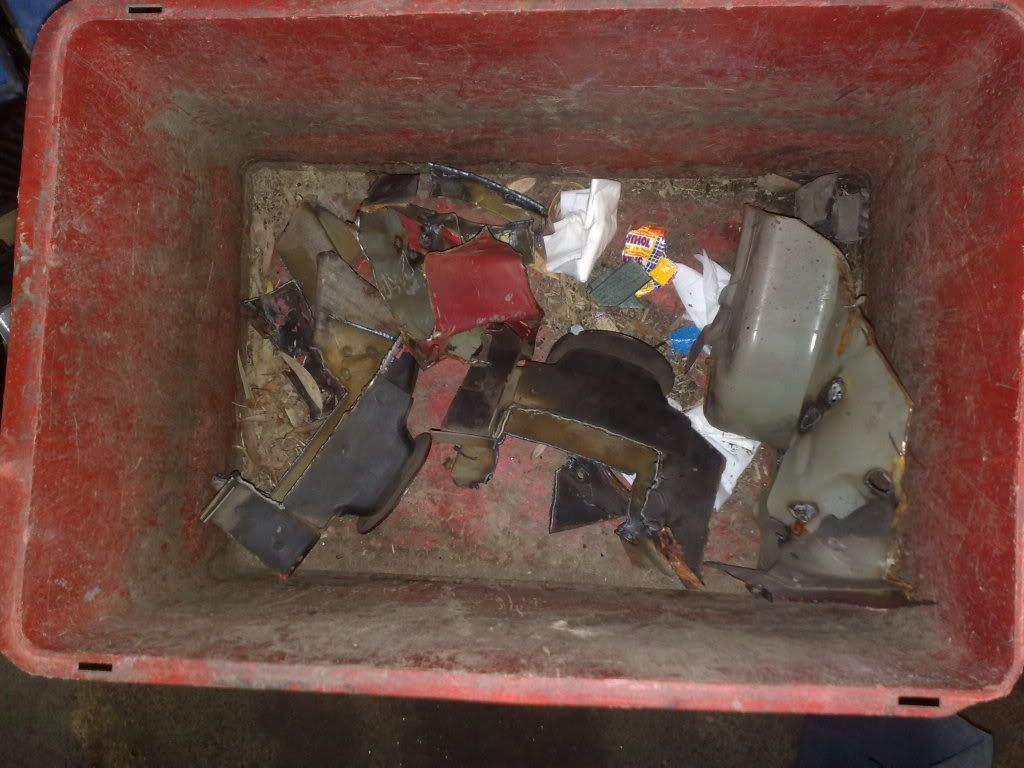 And painted them because the surface rust was looking bad. 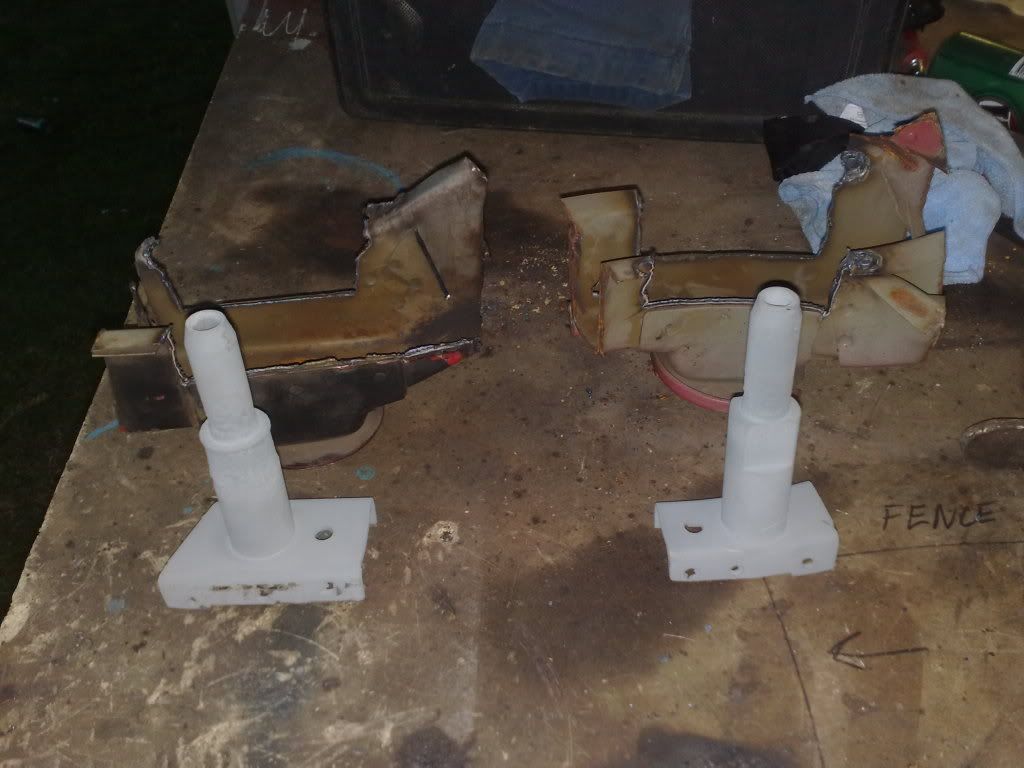 And then cut out the floor above the saddles were the pins drop down. 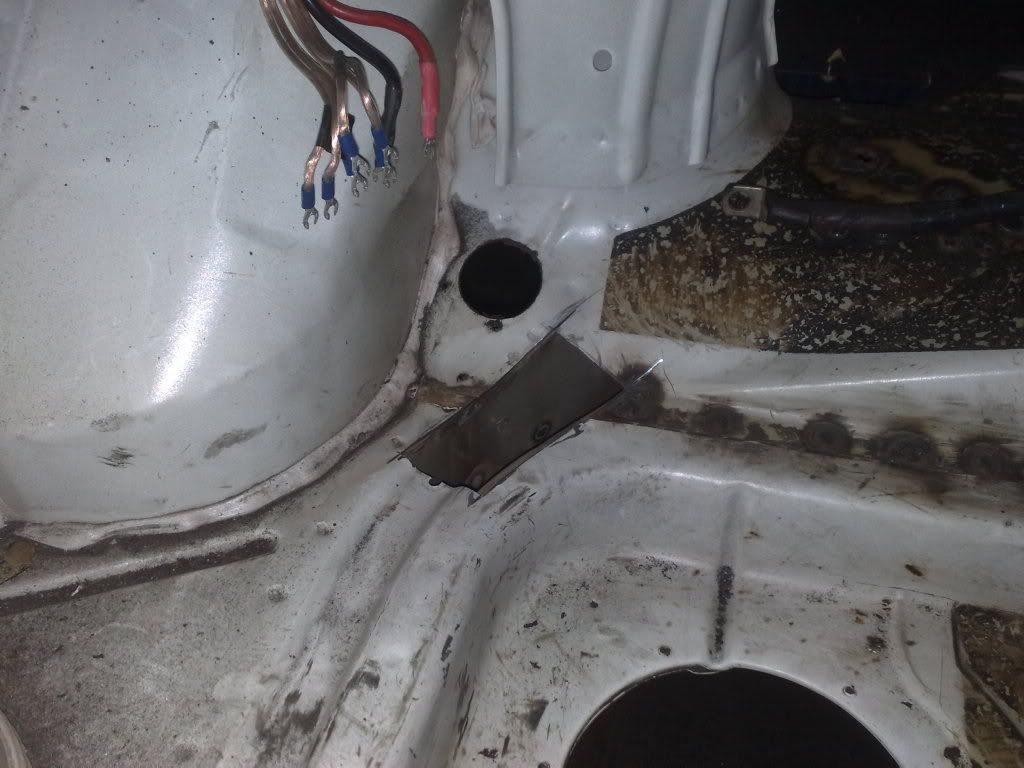 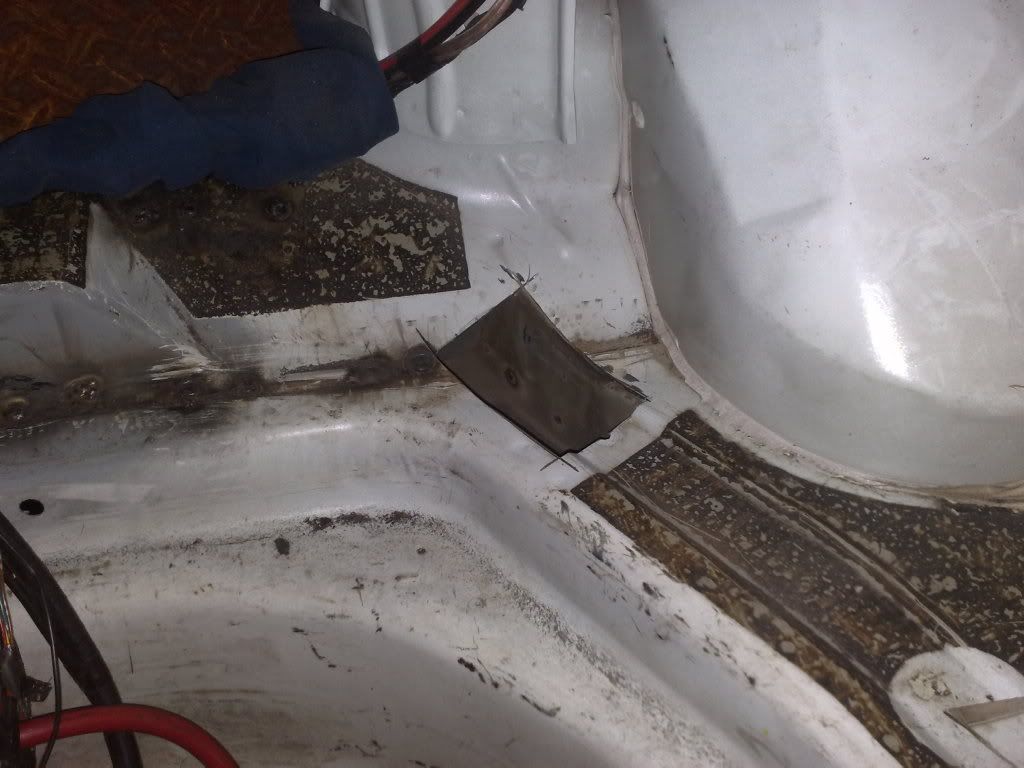 Couple of shots of the inside of the rails showing the welding penetration. 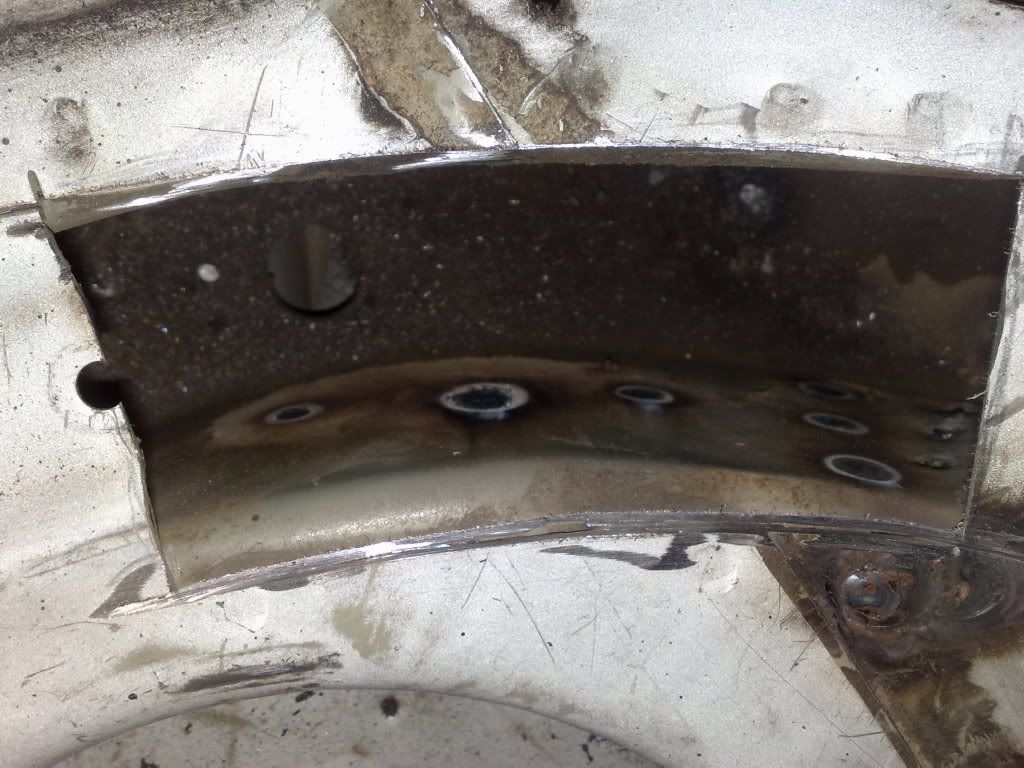 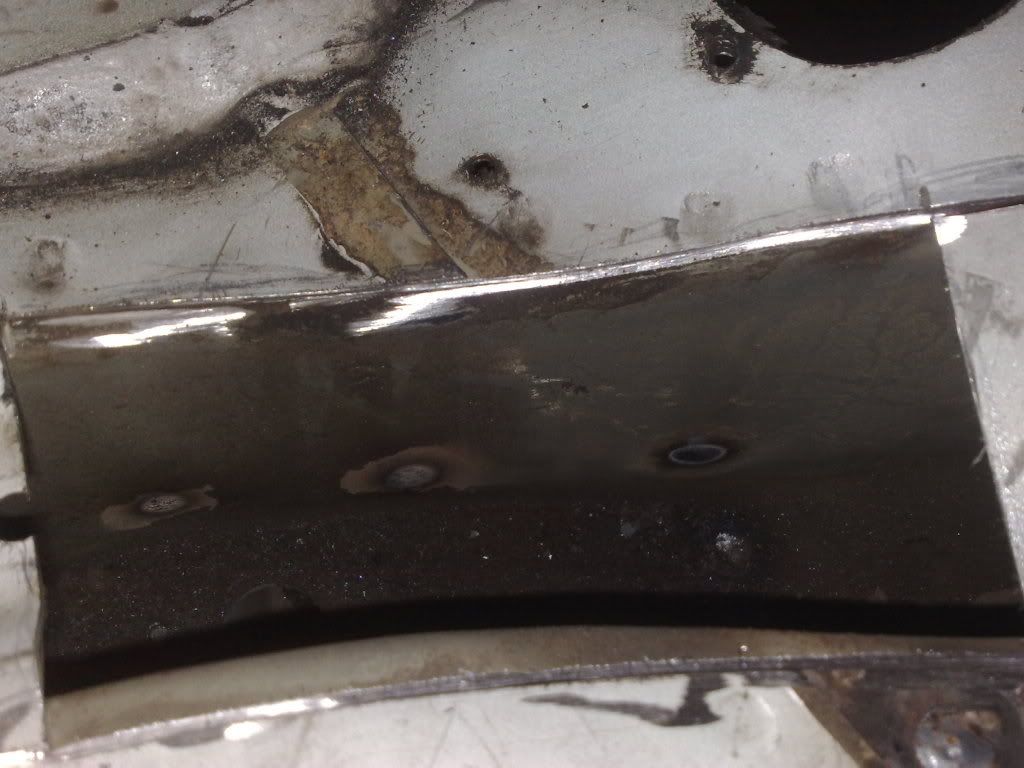 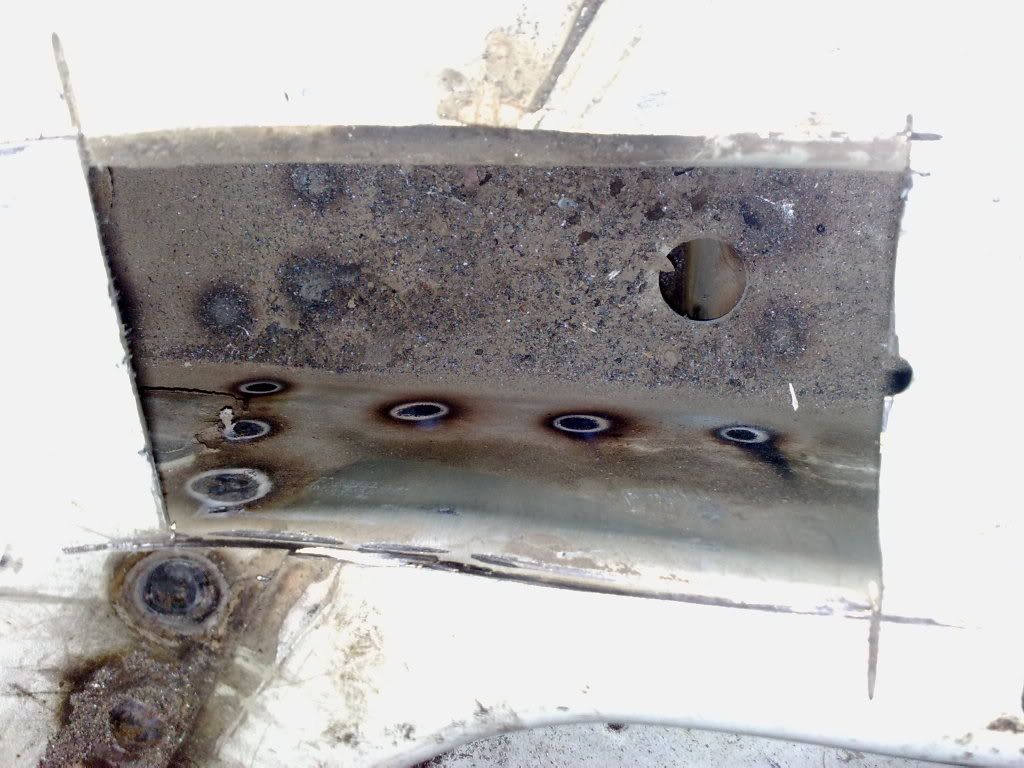 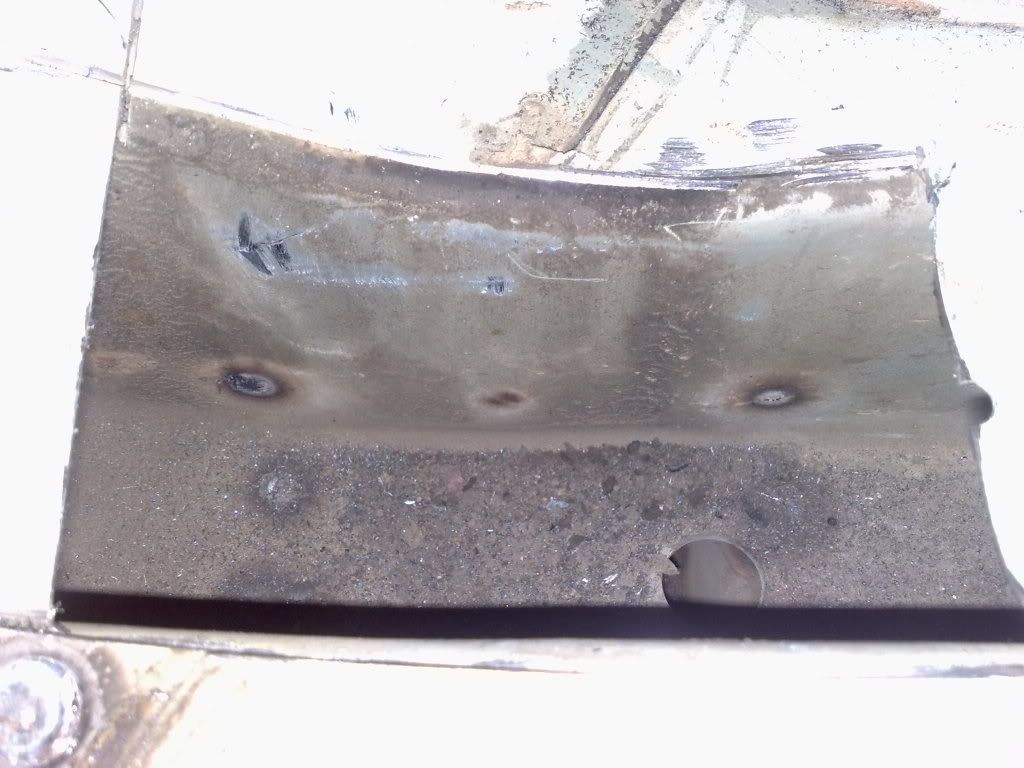
_________________ I enjoy the symphony of mechanical harmony, |
|||
| Top | |
|||
| bbqburner |
|
|||
|
Today i started working on the BA cluster that i'm fitting into a EL cluster shell because i can't be stuffed doing the BA dash conversion thing
I cut everything out of the EL cluster shell and i'm using foam blocks atm to space out the BA cluster which fits very snugly. Mind the feet. 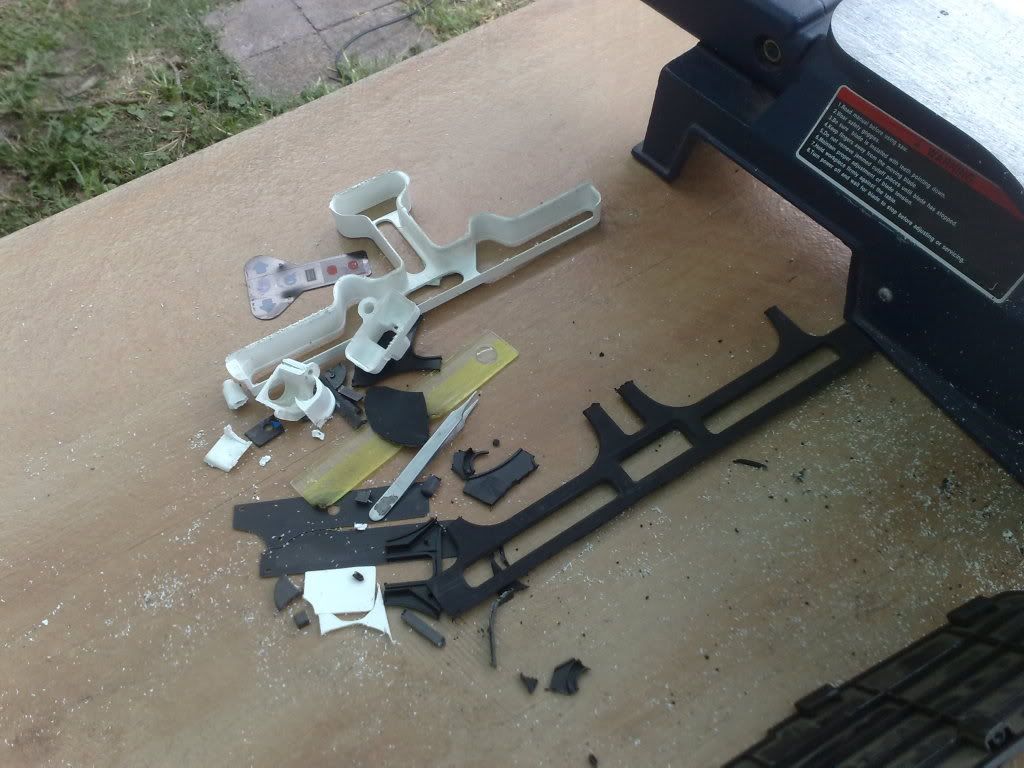 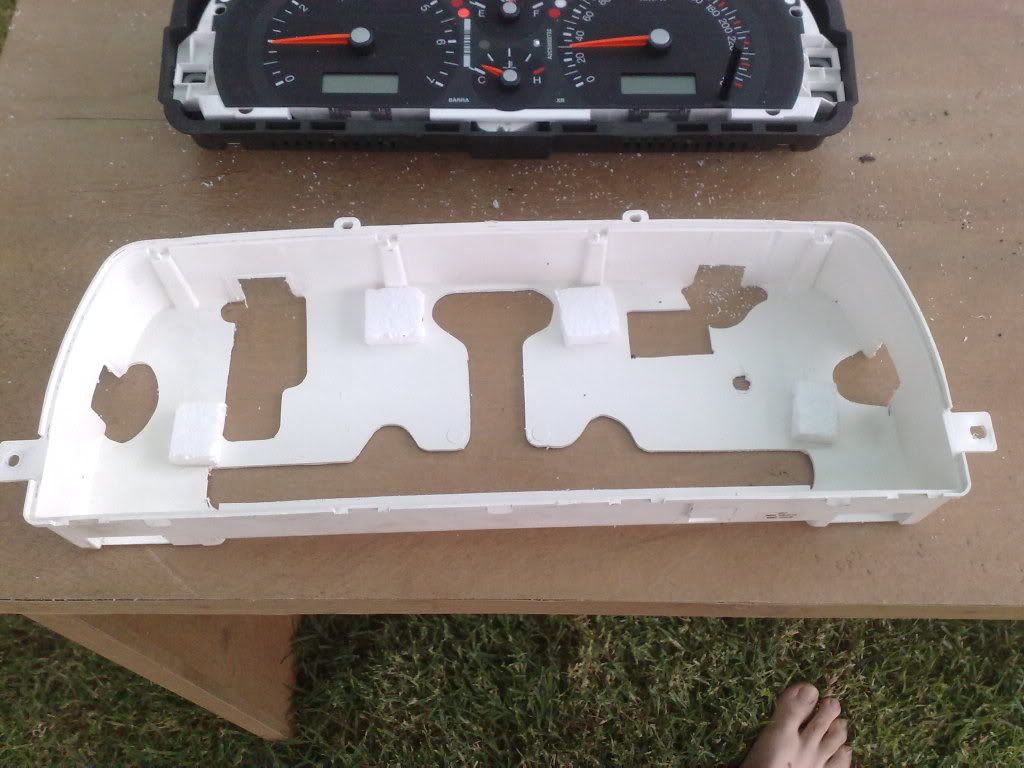 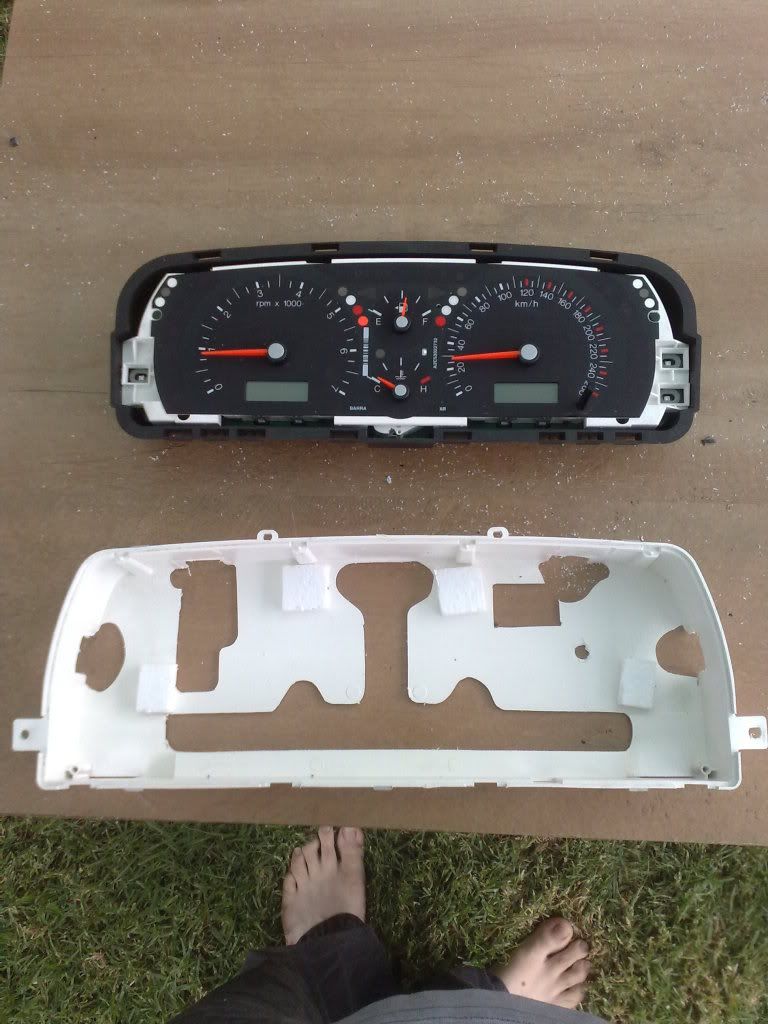 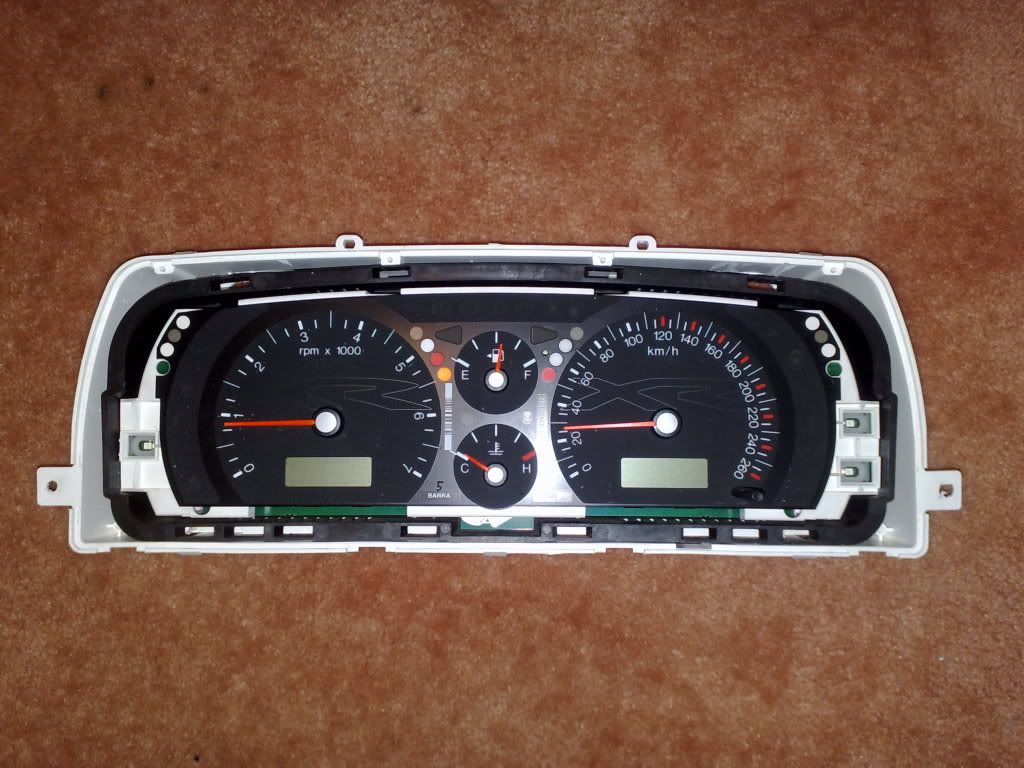 Trimmed up the EL face to match the BA face 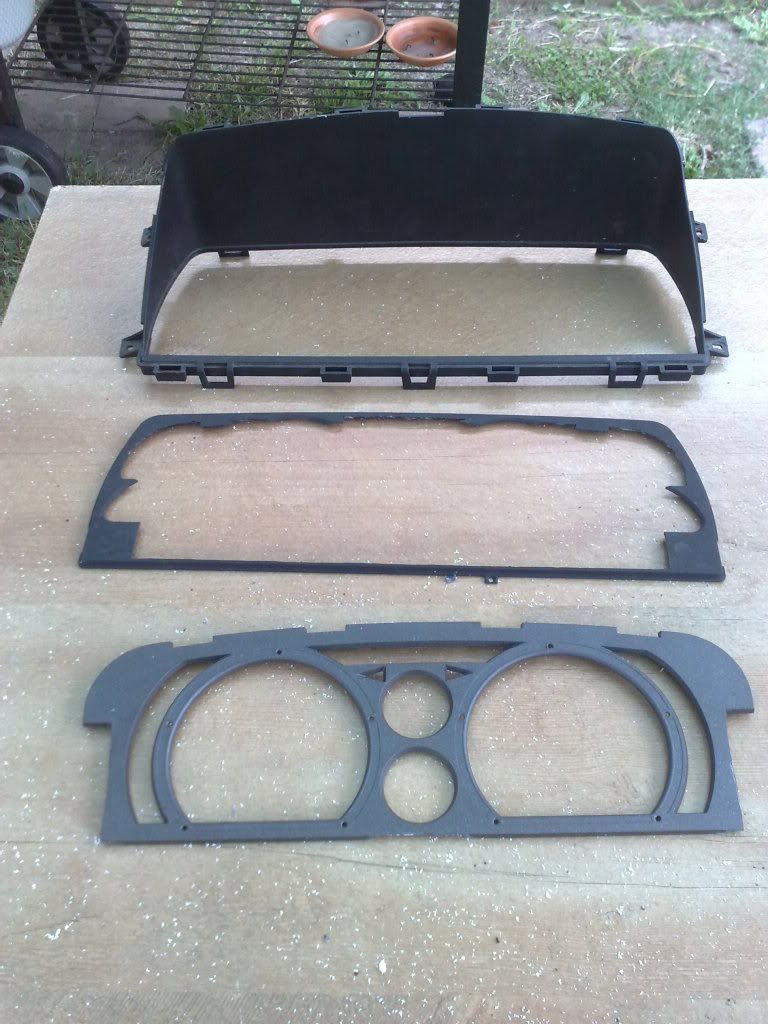 Mockup 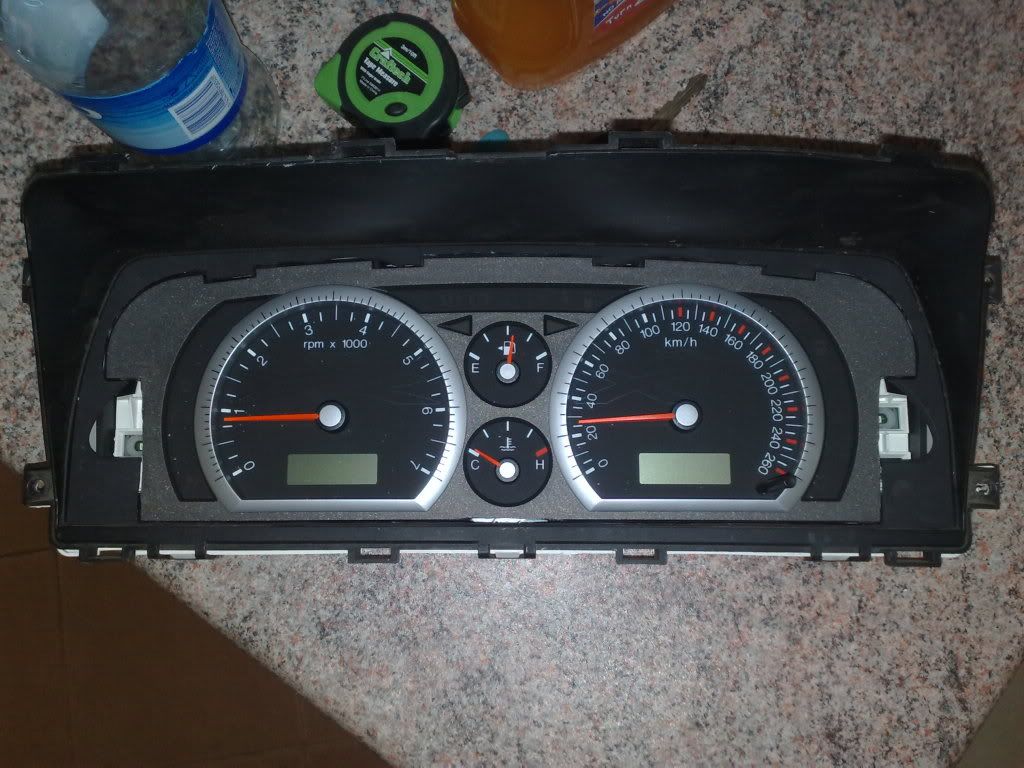 So still need to plastic weld the two faces together and fill the holes in, probably some plastic putty, sand and paint it black. Should look good with the red and blue XR cluster lighting. Anyway enough head scratching, Tonight's effort Drilled the two holes in the chassis rails after much measuring and checking, if i had done this before i welded the bottom saddles on i could have made templates out of the old rail sections making this bit a hole lot easier. Left side is a slot which i made by drilling two holes side by side and grinding out the middle. 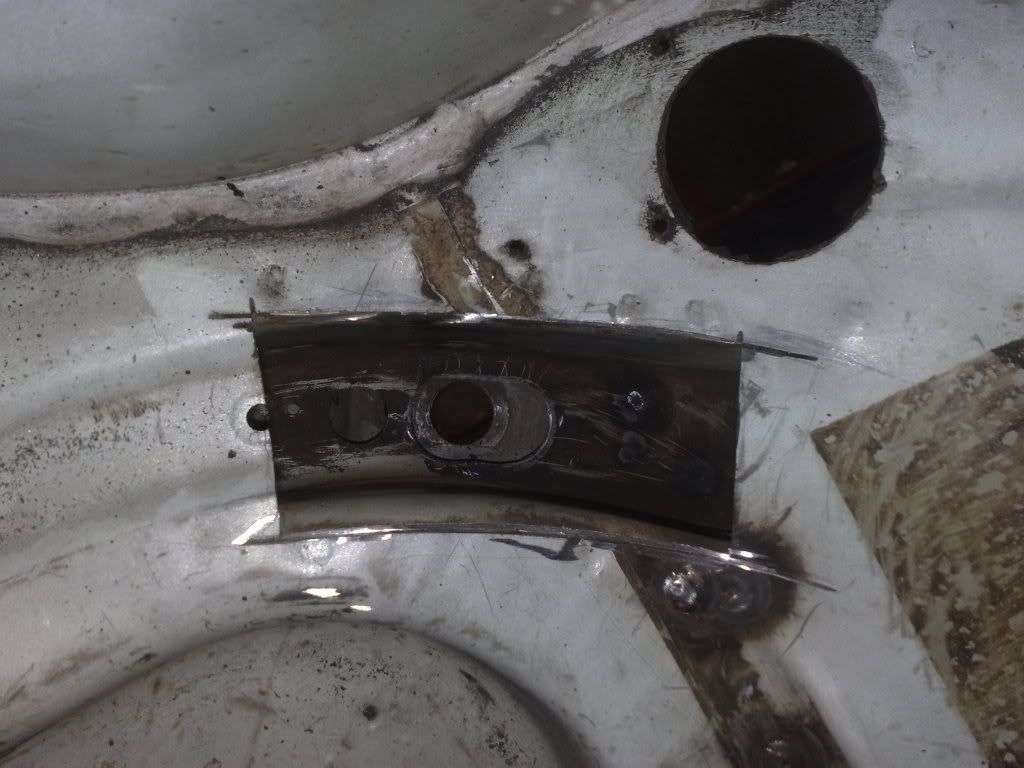 40mm hole using a hole saw for the right side. 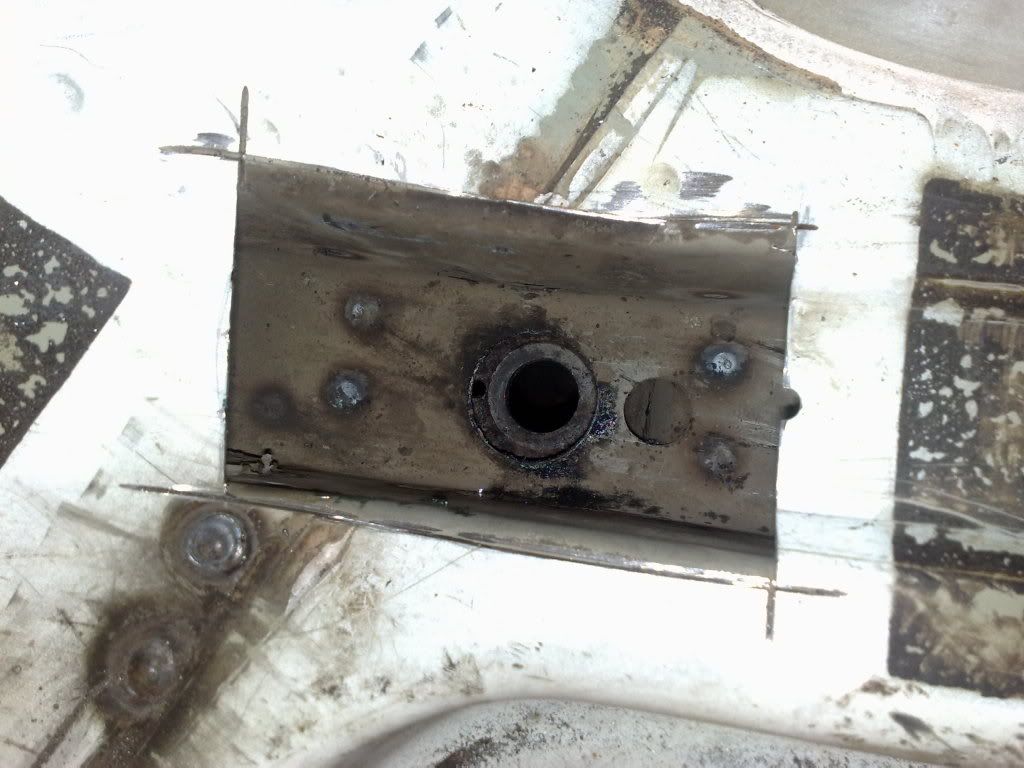 Lifting the IRS assembly up using the jack, i fitted the pins in and bolted it together. 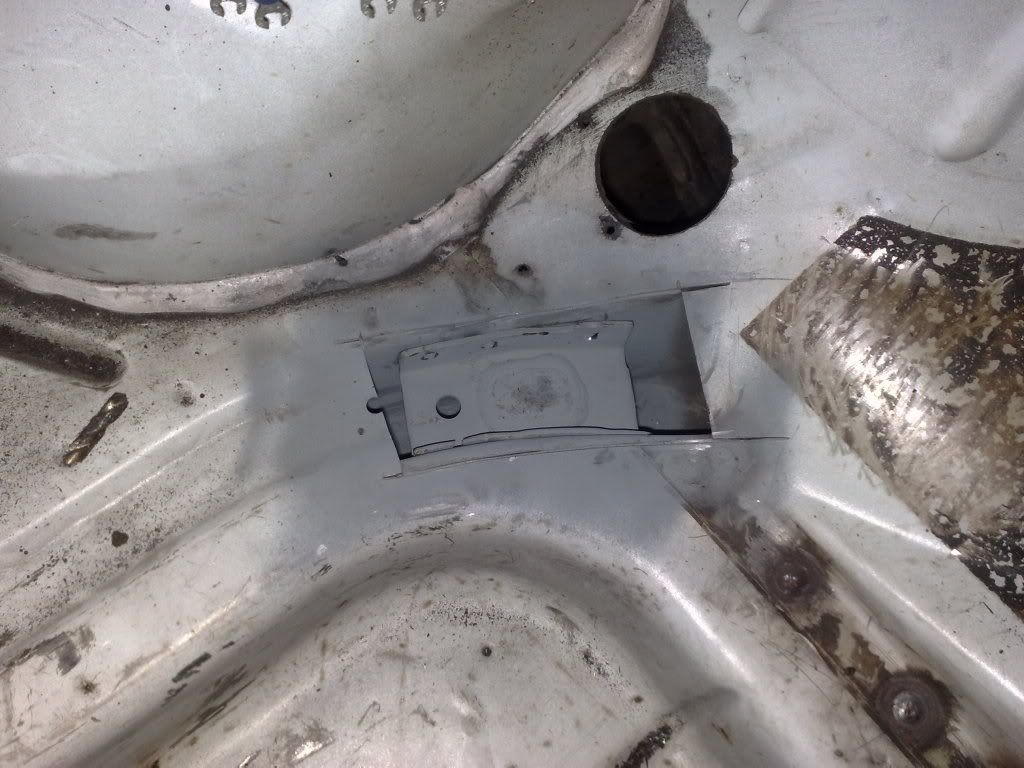 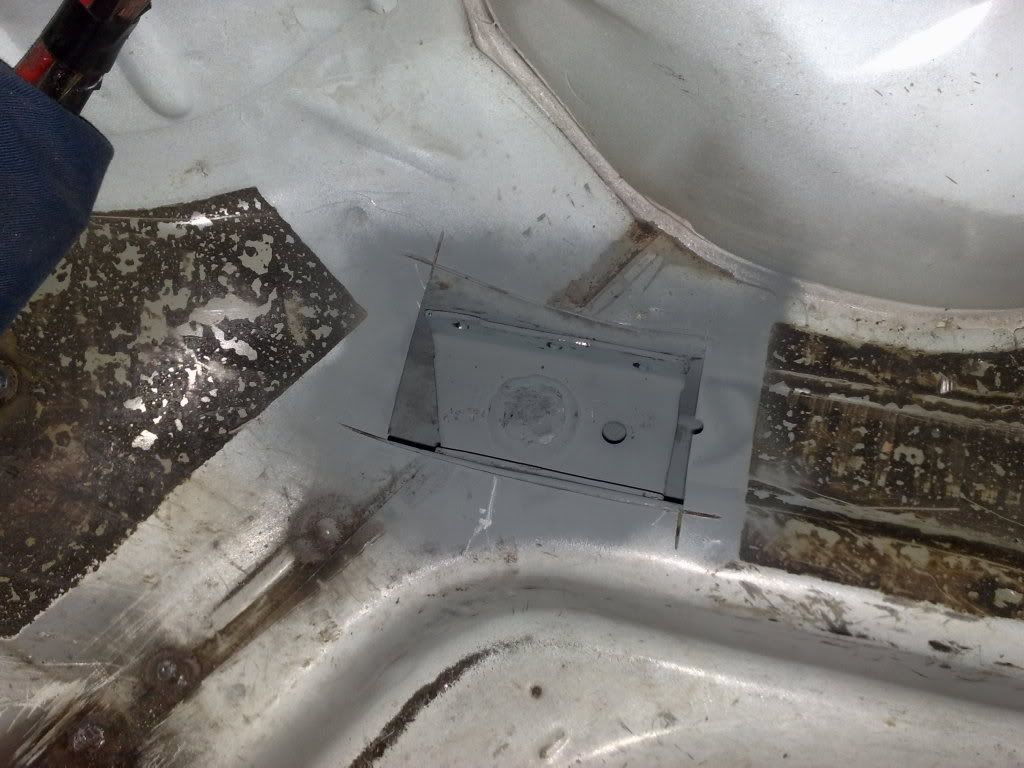 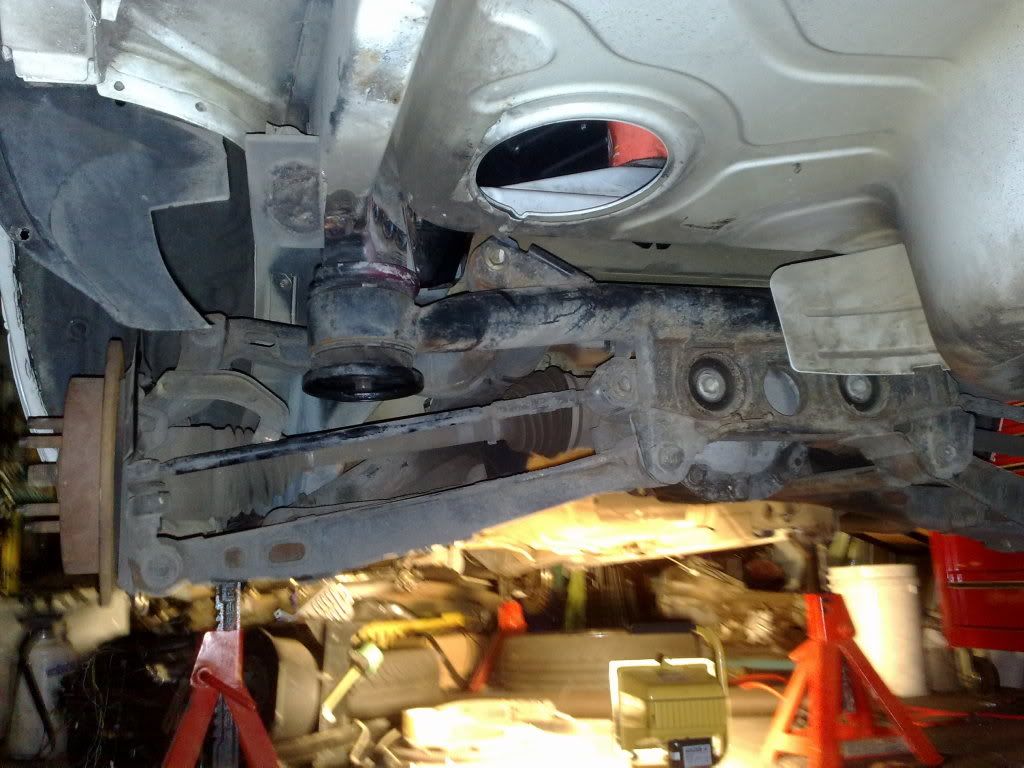 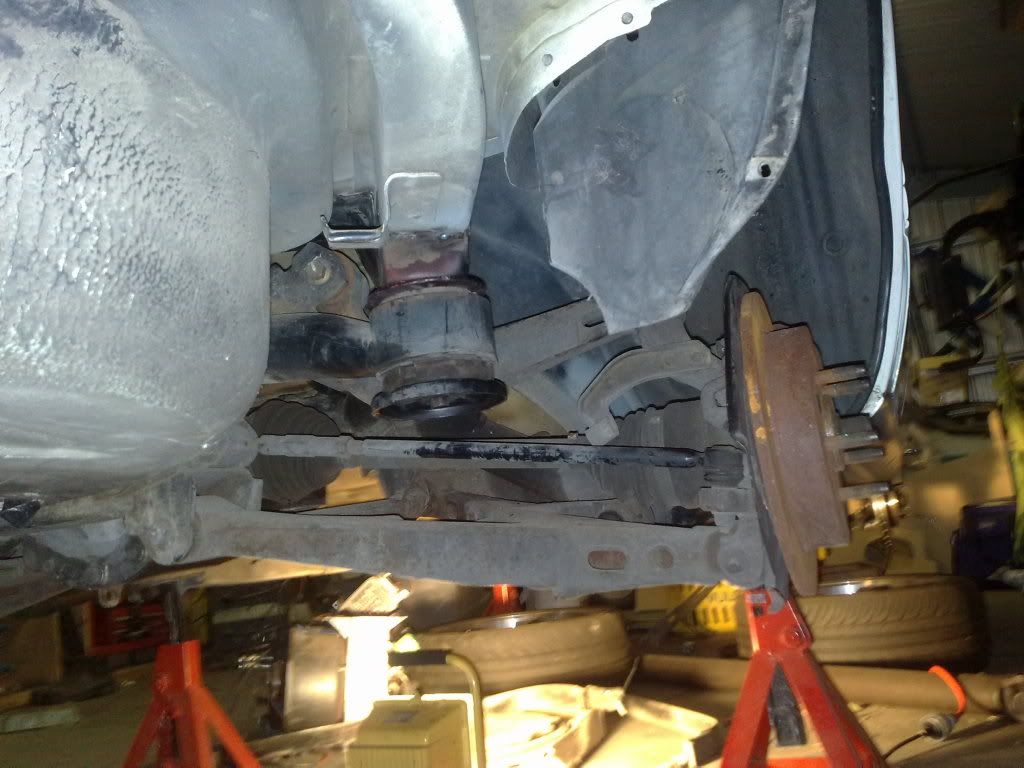 Test fitted a shocker 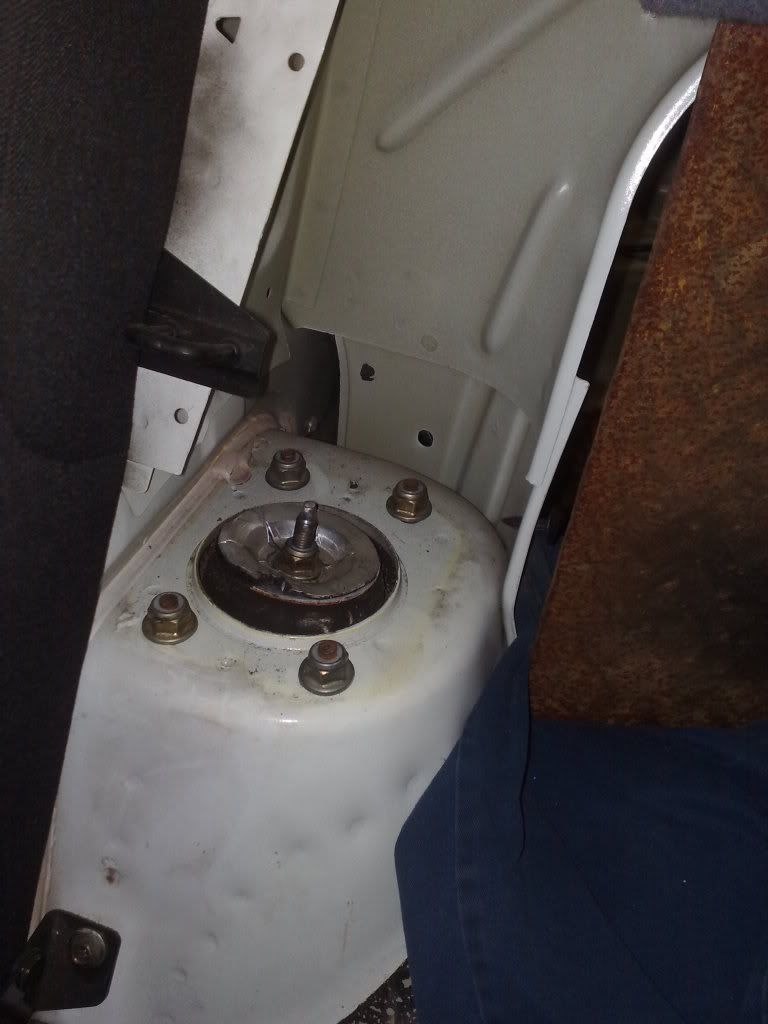 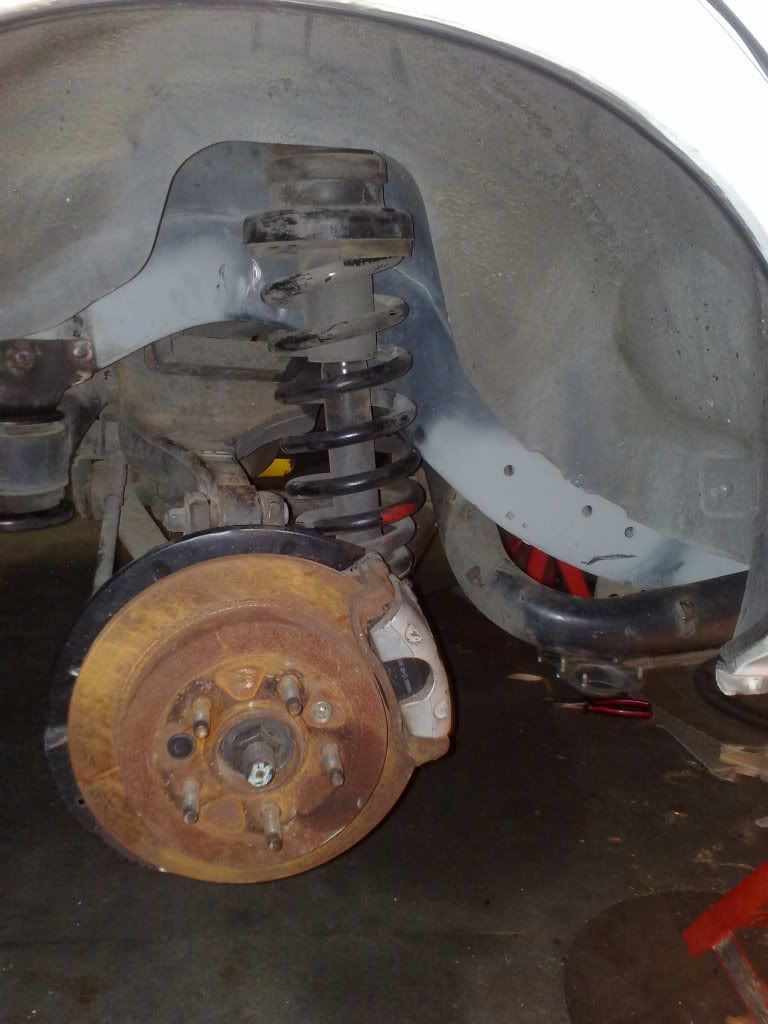 And a couple with wheels on (first time in roughly a year) 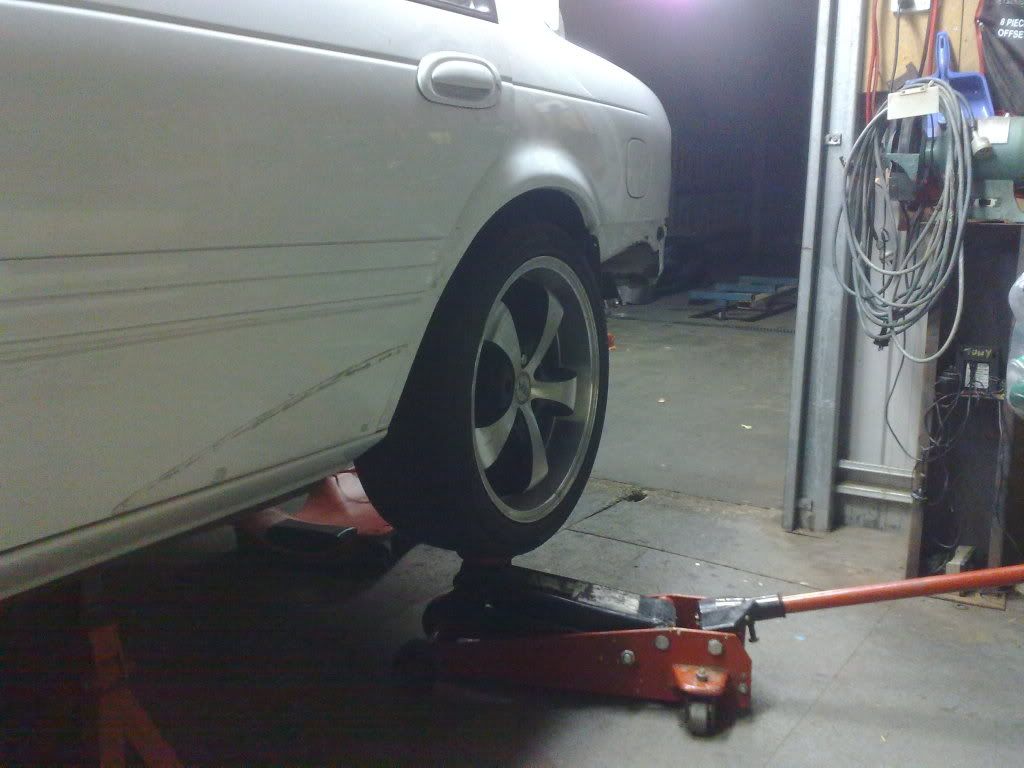 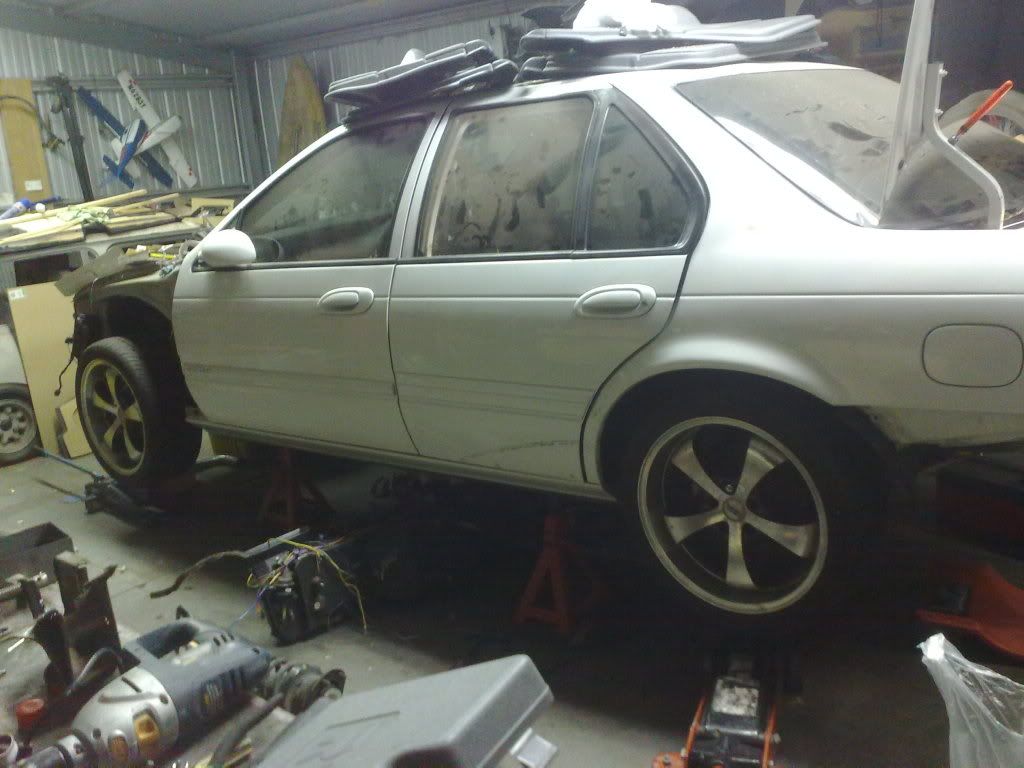 I'm thinking i'll fit the BA ABS unit in the factory BA position in the EL. I can then use all the front brake lines out of the BA in the EL simplifying the brake swap greatly because i won't have to make all new hard lines for the brake system. The ideas you get when you start drinking hey 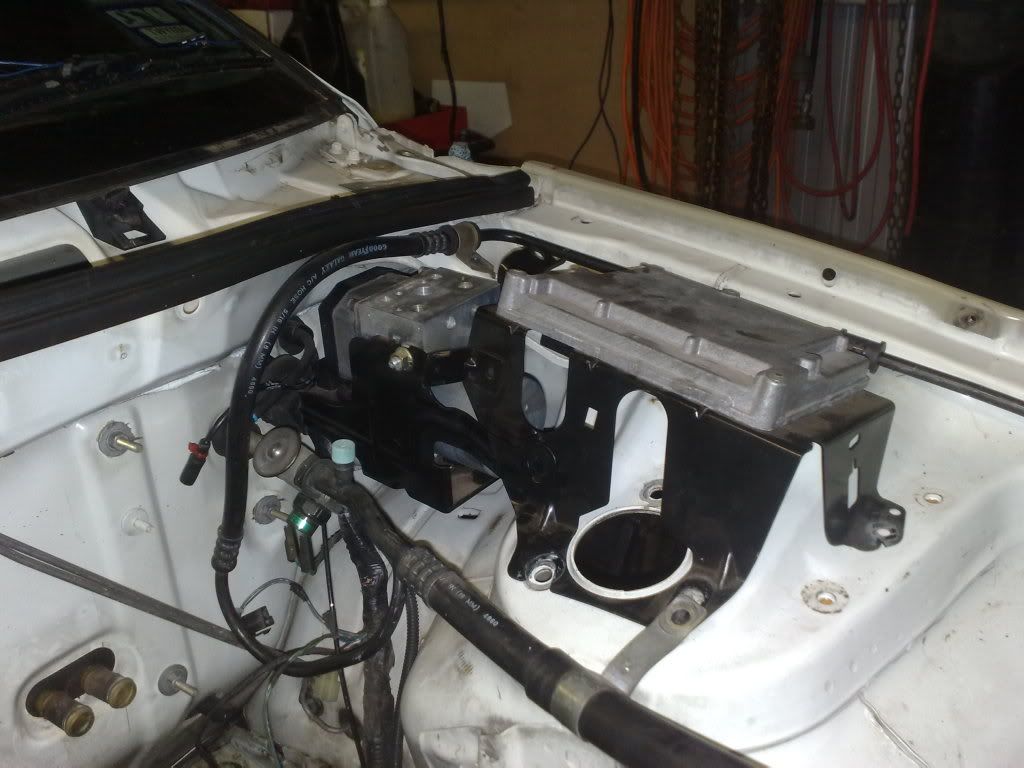 Well today i set about seeing how silly my drunk idea was. Turns out, not so silly :yahoo: I pulled the masters and boosters out of both car and discovered that nothing is interchangeable. The BA booster has a 20mm longer shaft then the EL unit and the master cylinder have different push rod lengths, but this worked to my advantage because the BA booster needed to be spaced 20mm away from the firewall in the EL for clearance. First win of the day. 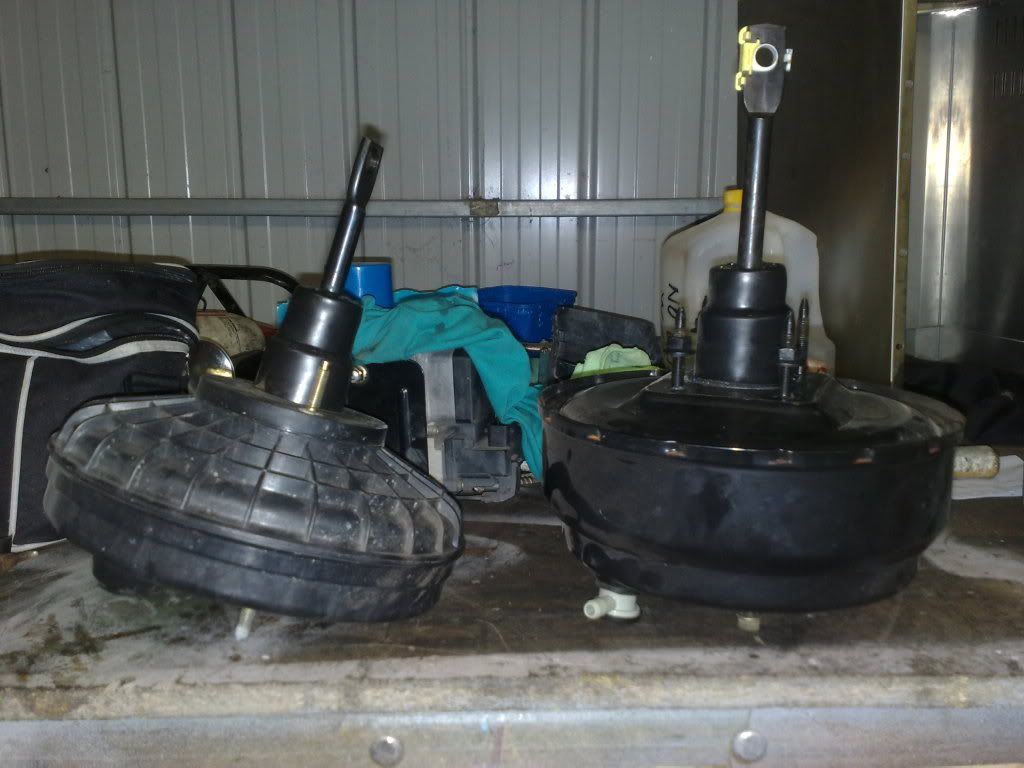 I then copied the bolt pattern off the BA and transferred it to the EL, i used a torch in the car to line up the drawing. 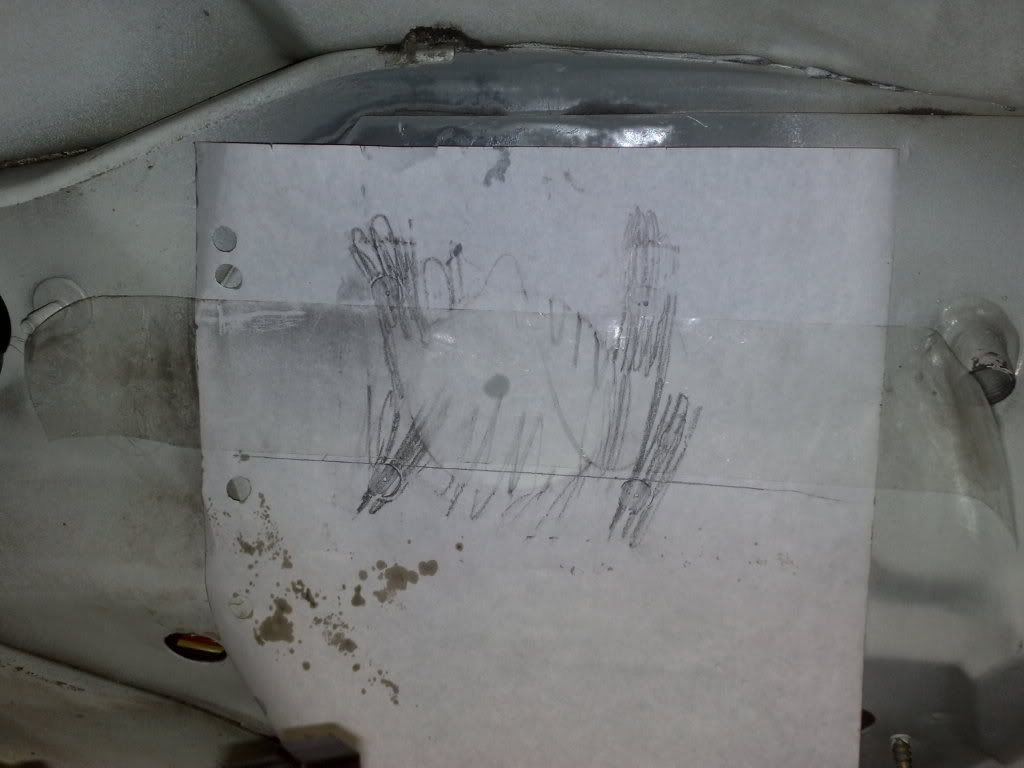 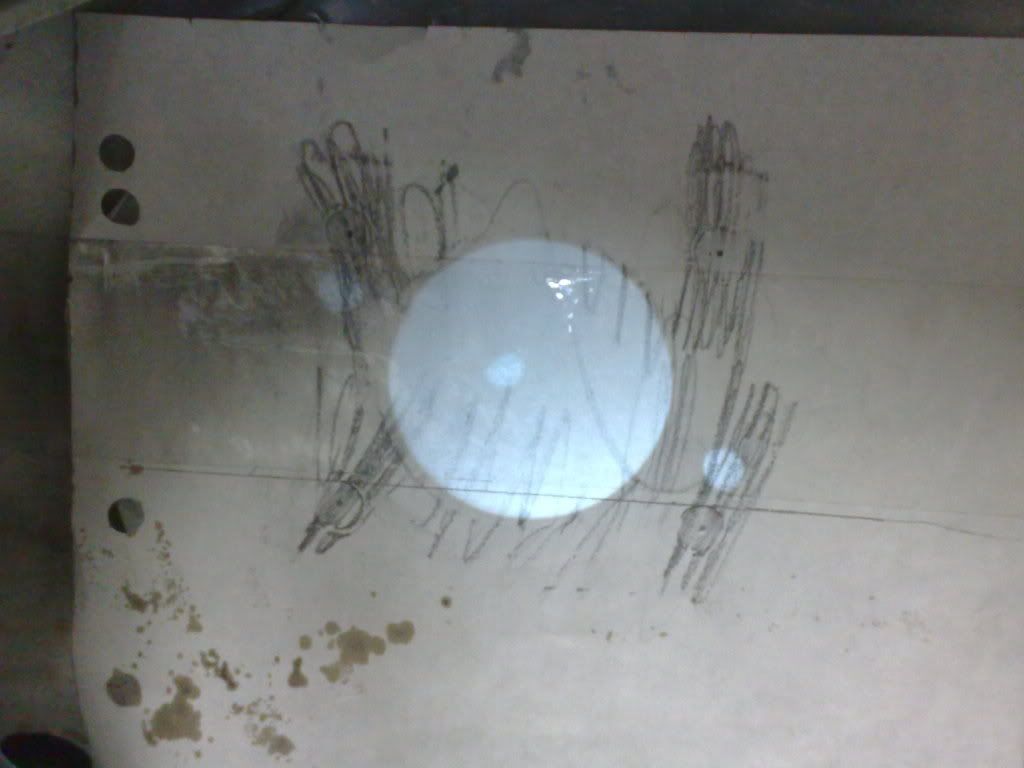 Then i took all the front brake lines off the BA and to my surprise they all fitted like a charm. Second win of the day. 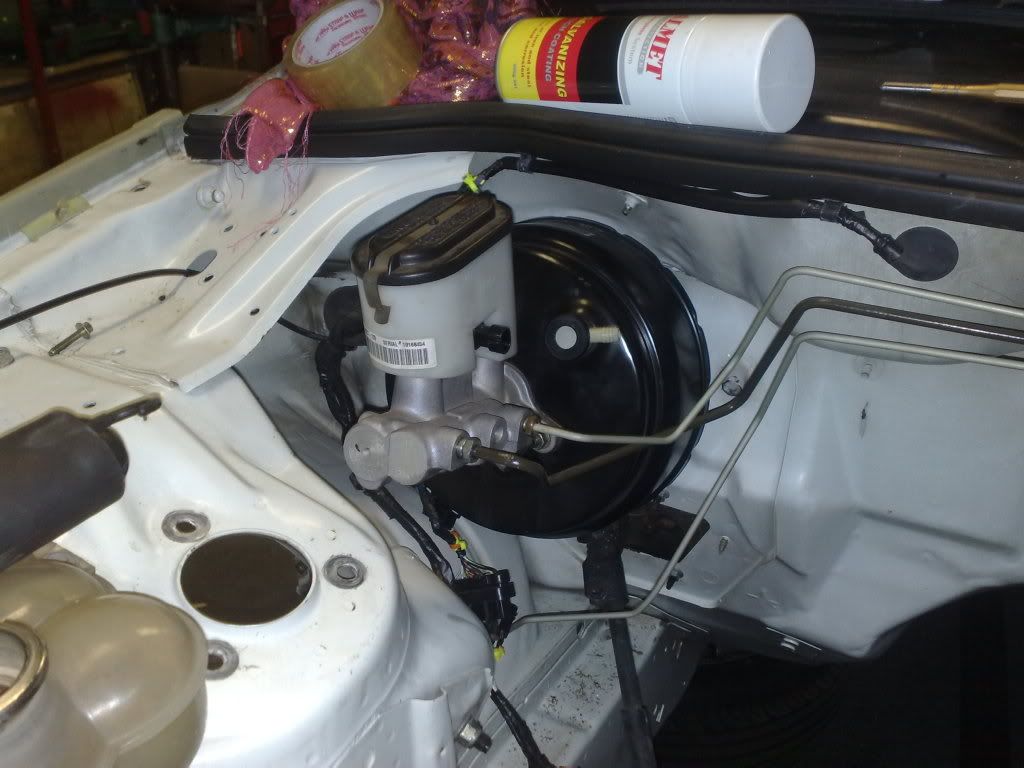 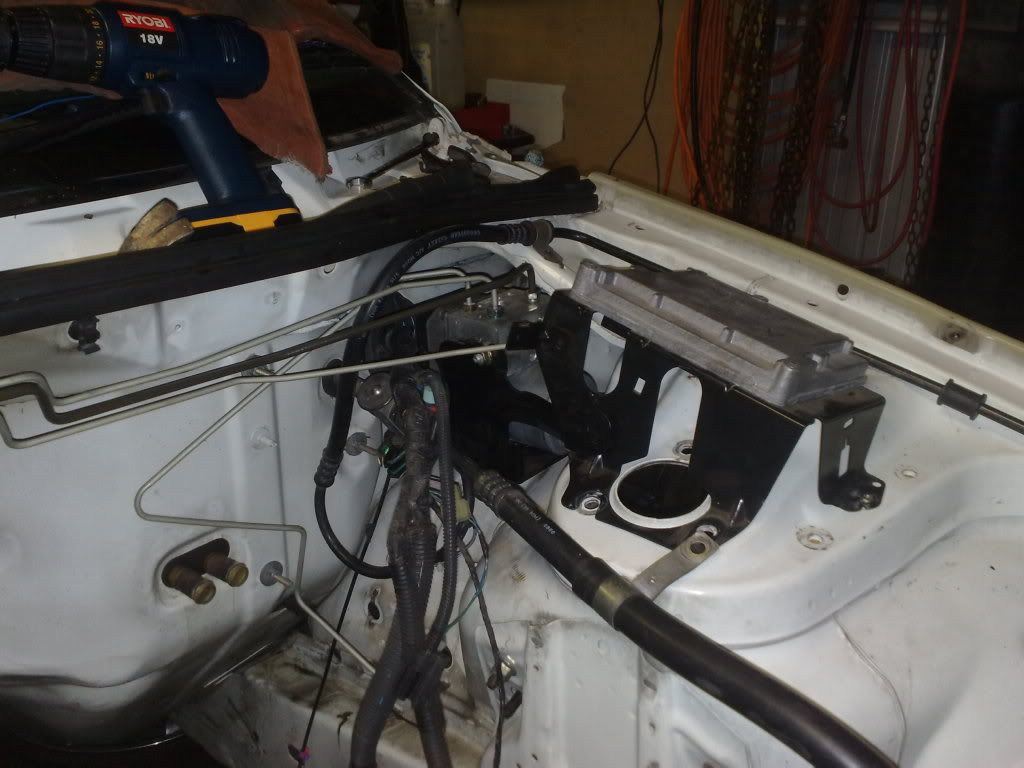 Some shots in the wheel arches of where the lines come out, I'll have to fit the brackes off the BA onto the EL body to finish the front lines off but all in all its a win. :yahoo: Left side.......................................................................................Right side. 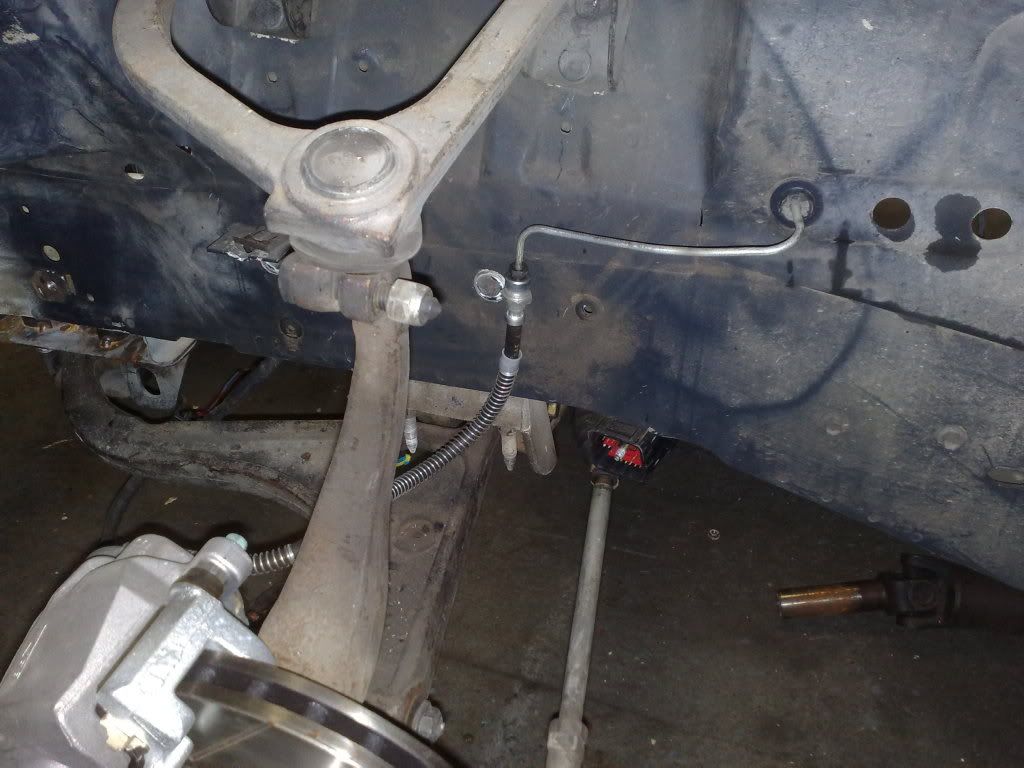 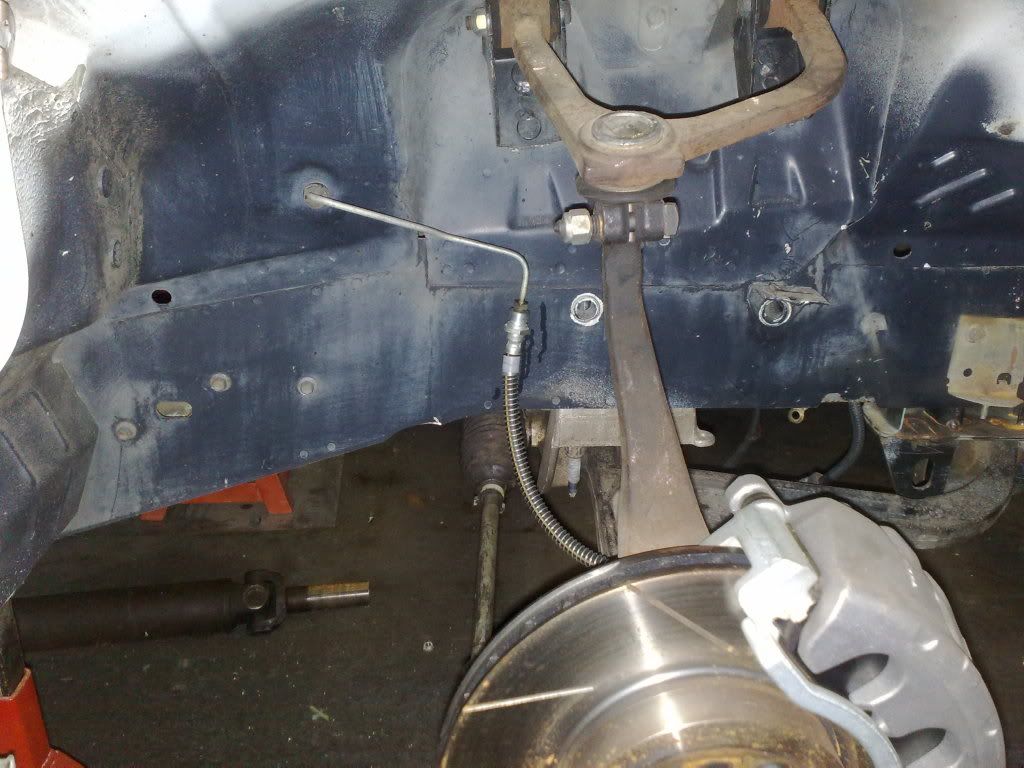 Just a couple of shots showing the dash face that i plastic welded together tonight. 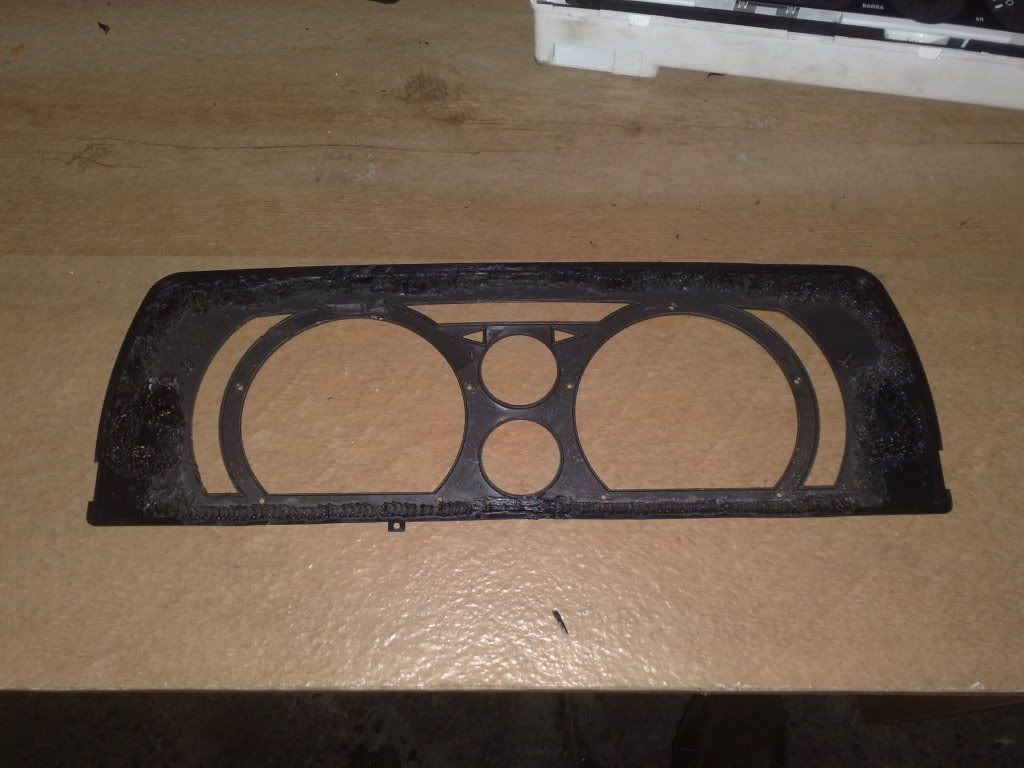 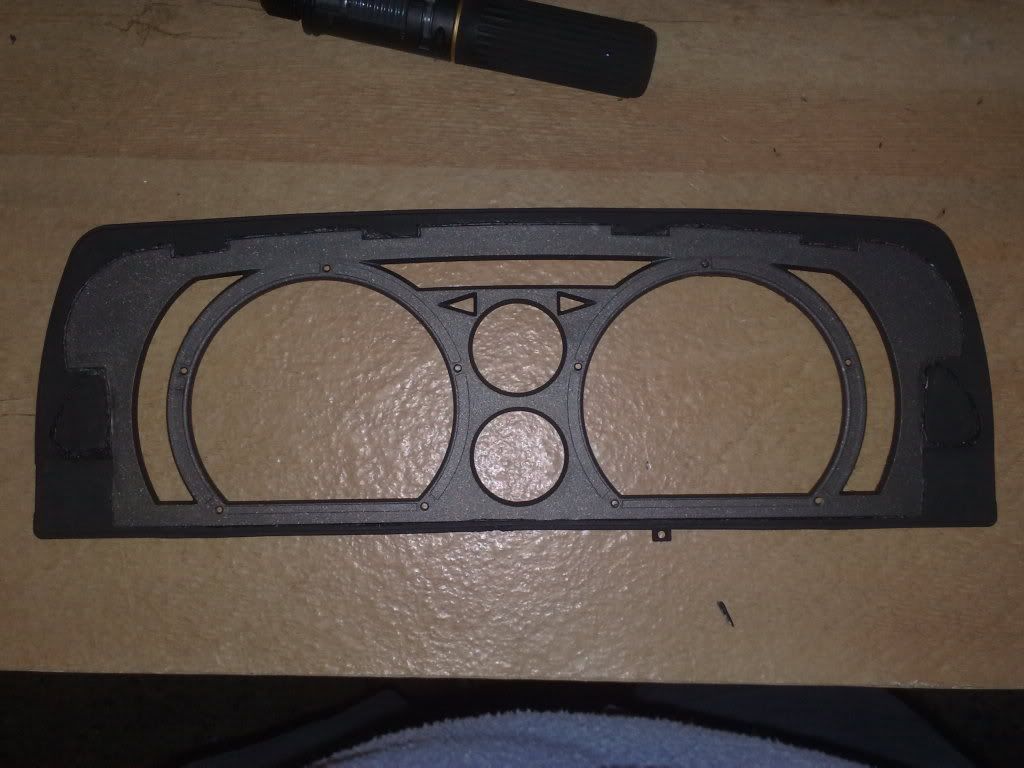 Just a picture of the BA ABS bracket that now only bolts into a EL It bolts up in three spots. Why three spots? Well both EL and BA ABS brackets have three bolt locations, i figure it's there for stability and with the minimal clearance i have around the ABS unit itself the less it moves the better 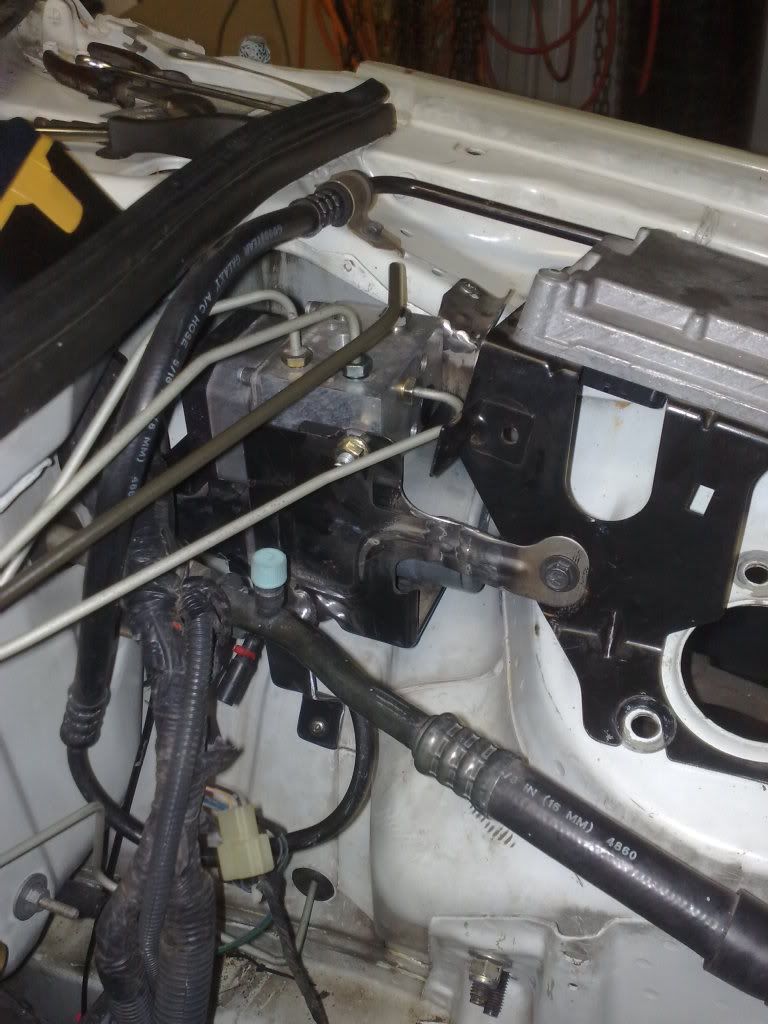
_________________ I enjoy the symphony of mechanical harmony, |
|||
| Top | |
|||
| Who is online |
|---|
Users browsing this forum: No registered users and 185 guests |