

|
| BenJ |
|
||
|
I got some more done on the seats after work yesterday.
I stripped the cover off the drivers seat back. I found it interesting to see how it was put together, and more importantly, how it comes apart. The seats use small metal rings that are crimped together around metal rods sown into the leather/material and holes in the metal frame. 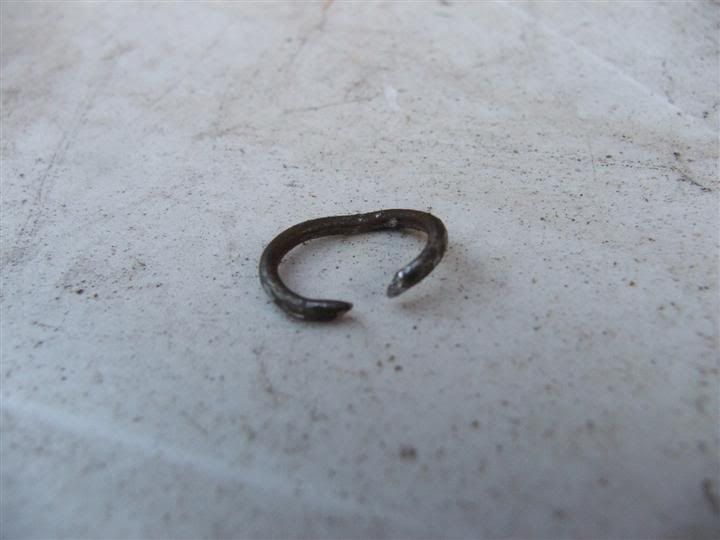 The following pics show the seat back being stripped off. At each stage I had to undo the metal rings. 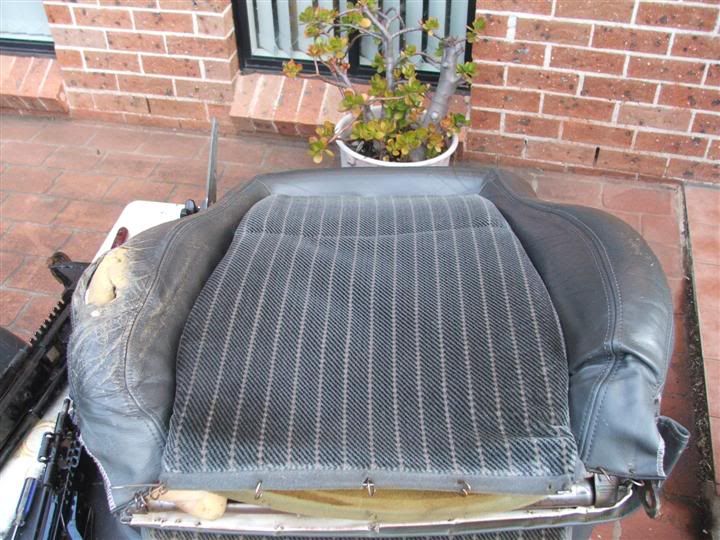 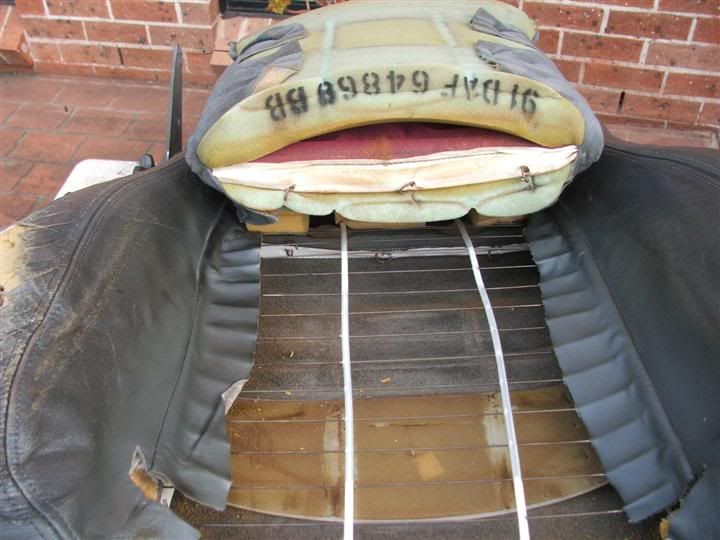 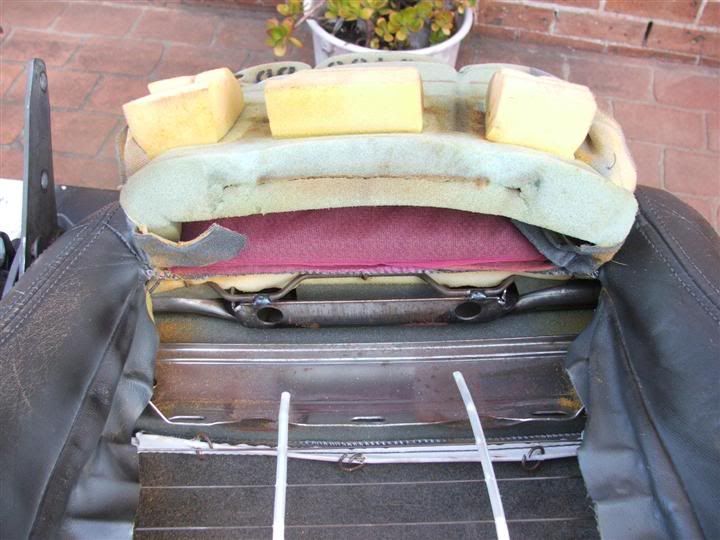 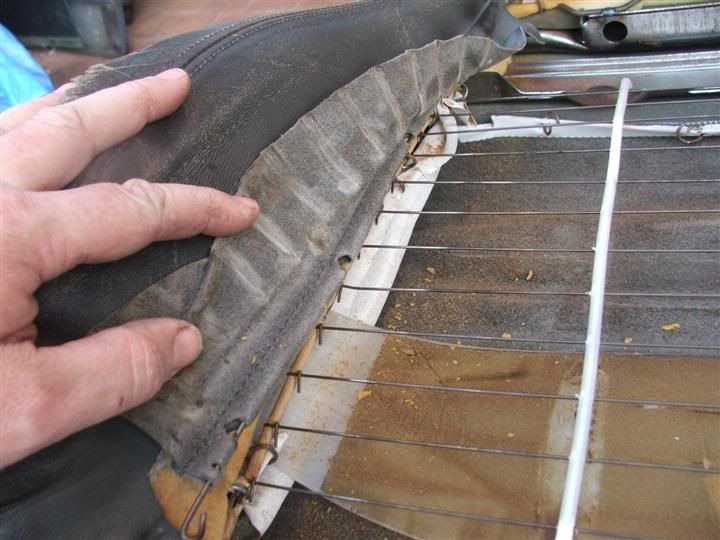 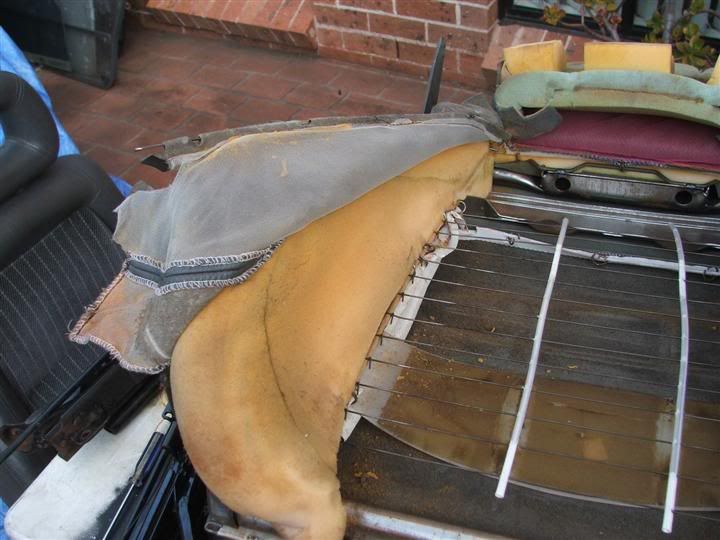 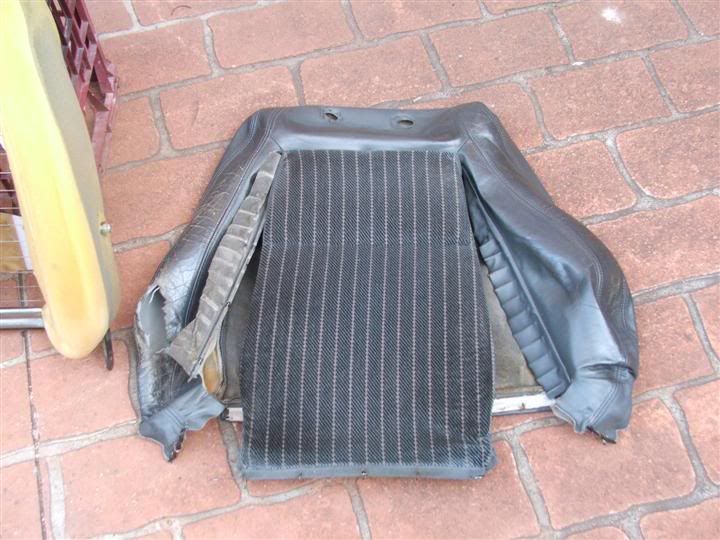 Then I pulled the foam bolster off the metal frame. I will use the foam off the passenger seat as this foam has a nice hole in it where the leather had worn through. 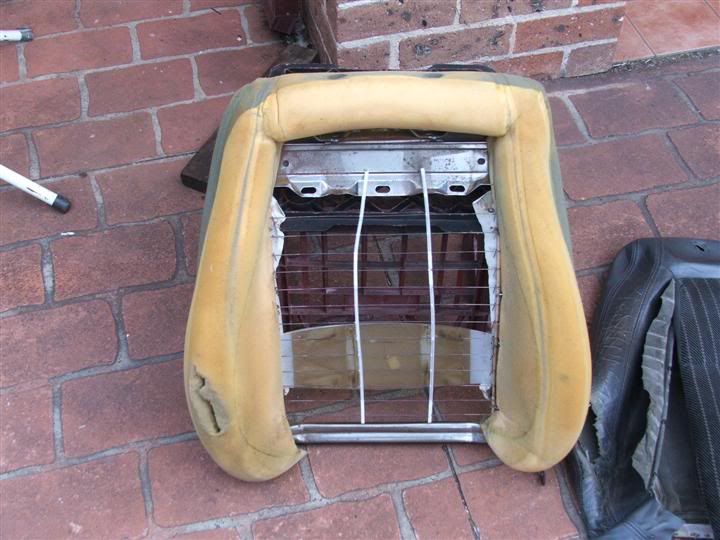 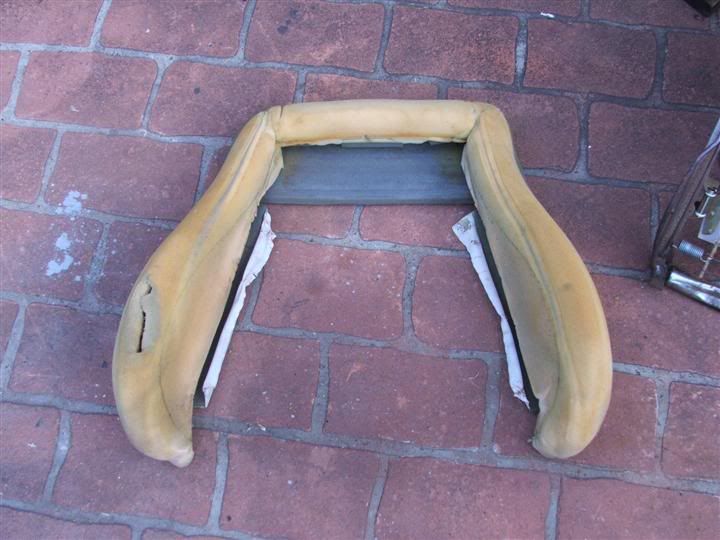 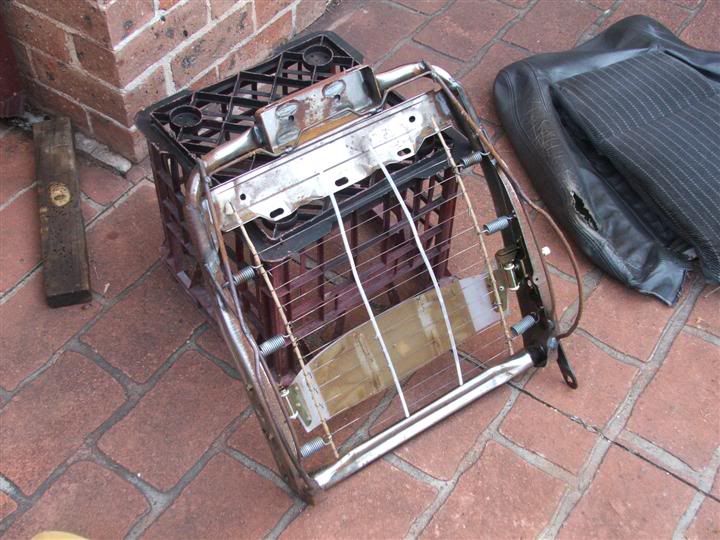 I also cleaned up the seat rails as they were a bit dirty and rusty in places. 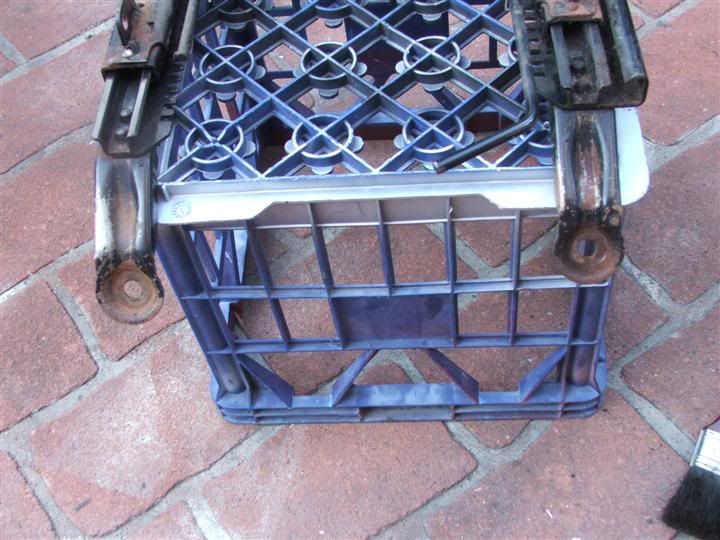 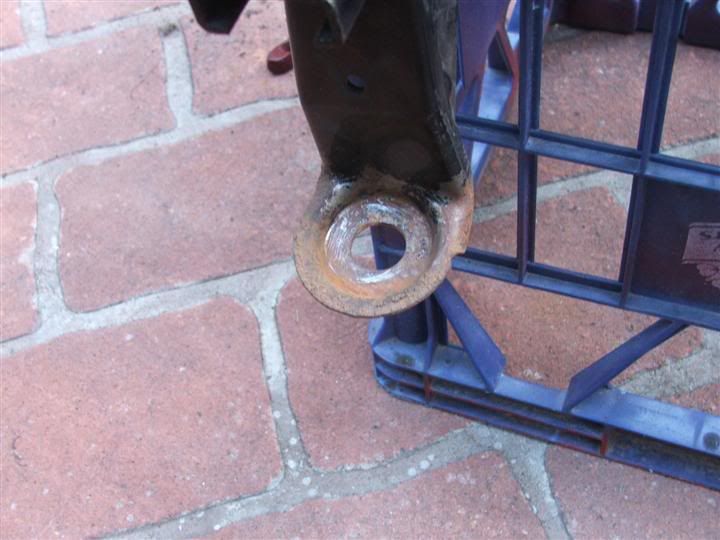 I hit them with some black paint to tidy them up a bit. This is a photo of the replacement seat base stripped down. 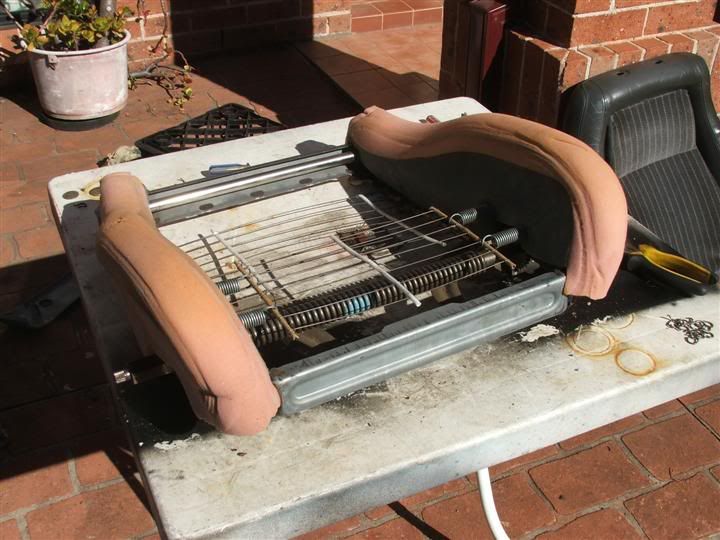 And the same seat base after I recovered it with the leather and material off my original drivers seat. 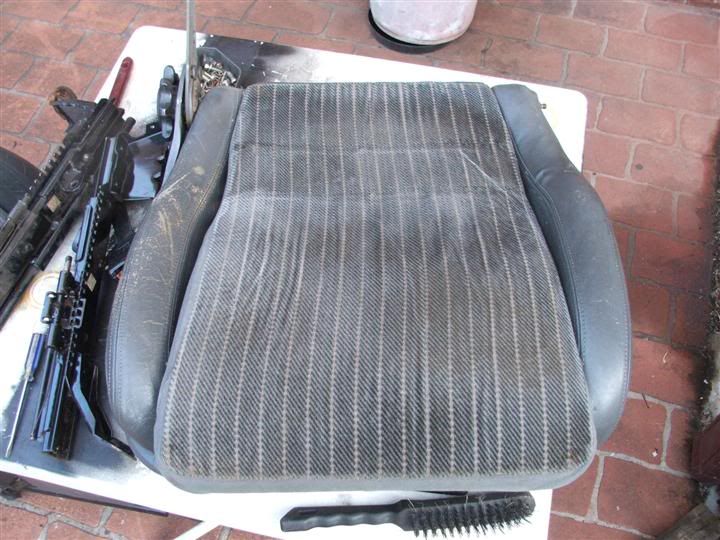 While the right hand bolster is showing a little bit of wear, it does not have a hole in it. I am inclined to leave it like this for now, and put the spare passenger base away until it is needed. This afternoon I intend to strip the good cover off the passenger seat and start reassembling the drivers seat back. Cheers BenJ
_________________ {DESCRIPTION} - Current Ride |
||
| Top | |
||
| snap0964 |
|
|||
|
You can replace the metal rings (hog rings) with cable ties.
_________________ 96 XH Longreach 'S': LPG, Alarm, 3.23:1 LSD, Cruise, Trip Comp, ABS, Power Windows, Mid Series Dome Lt, Climate Ctrl |
|||
| Top | |
|||
| BenJ |
|
||
|
{USERNAME} wrote: You can replace the metal rings (hog rings) with cable ties. Hmmm, now that is a top idea buddy. Those 'hog rings' are a real pain in the a** to put back on. Now, where are those cable ties I have here. Somewhere on my desk . . . . . . . . somewhere BenJ
_________________ {DESCRIPTION} - Current Ride |
||
| Top | |
||
| snap0964 |
|
|||
|
{USERNAME} wrote: Those 'hog rings' are a real pain in the a** to put back on.Now, where are those cable ties I have here. Somewhere on my desk . . . . . . . . somewhere Yes done enough of them - unless you have the proper tool to install them, ditch 'em. Cable ties are also quicker.You can use the multicolour cheapies from Supercrap - for fitting the fabric covers to the seat frame, but use stronger ones for fastening down the rods for the fabric, cushions, etc. You can repair damaged foam areas by cutting the section out with a sharp blade, and fitting a replacement piece (can be from an EF/EL cushion if need be) - the cover will hold it in place, and you can use the Bostik spray on contact (Bunnings) if you want to glue it. You won't feel the join.
_________________ 96 XH Longreach 'S': LPG, Alarm, 3.23:1 LSD, Cruise, Trip Comp, ABS, Power Windows, Mid Series Dome Lt, Climate Ctrl |
|||
| Top | |
|||
| quik_ED |
|
|||
|
where did you get those lights done? or how did you make them, they look awesome
|
|||
| Top | |
|||
| BenJ |
|
||
|
Snap, I already reassembled the base using the hog rings and a pair of long nose pliers to re crimp the rings closed.
quik_ED, I made the lights myself. The reflector is from a BA and the EB mountings are modified to suit. BenJ
_________________ {DESCRIPTION} - Current Ride |
||
| Top | |
||
| quik_ED |
|
|||
|
ok cheers, was it hard to do?
|
|||
| Top | |
|||
| BenJ |
|
||
|
There is a few fiddly bits involved.
Getting the reflector out of the BA headlight is fun. BenJ
_________________ {DESCRIPTION} - Current Ride |
||
| Top | |
||
| BenJ |
|
||
|
Seat is Finished!!
I began by assembling the seat back. I used the foam and the cover from the passenger seat, on the drivers seat back frame. Using cable ties instead of the 'hog rings', had a number of benefits. The main one, is that I was able to tension the cover in stages, using the cable ties to pull the gaps closed. I used two cable ties in some places due to the tension. 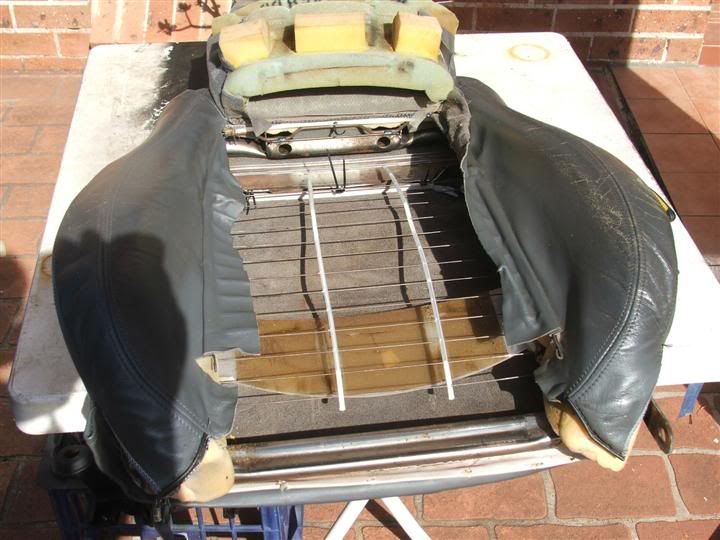 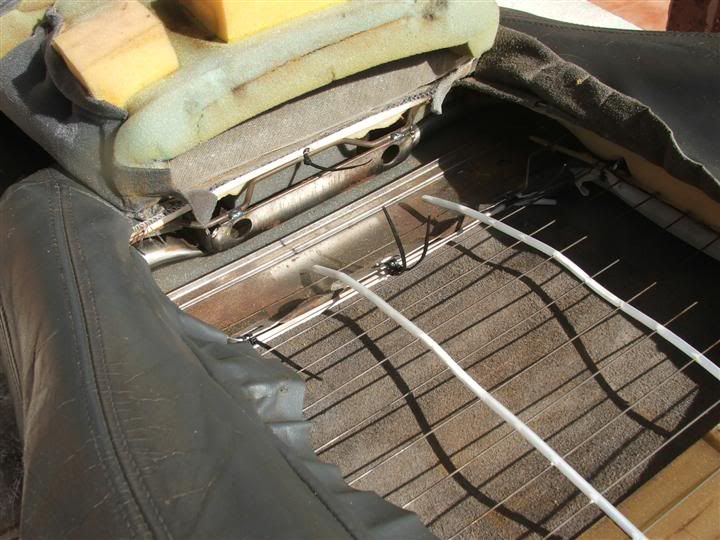 Seat Back Completed. 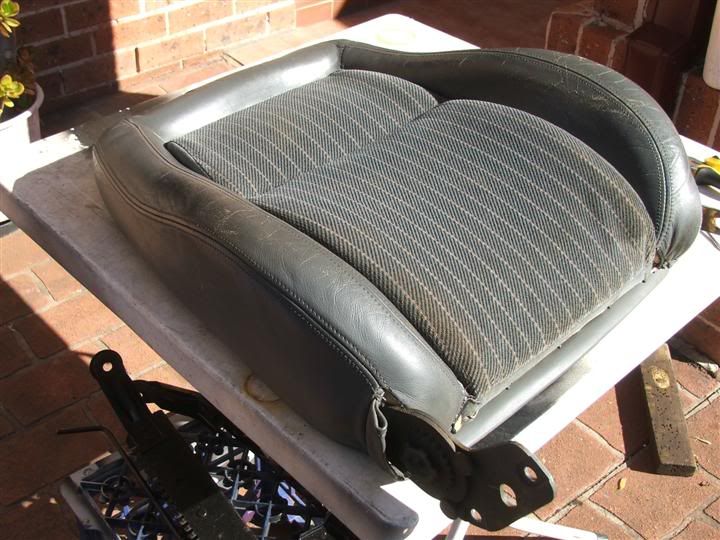 I then assembled the whole seat. I bolted on the painted rails, cut a hole in the left seat back side for the lumber support handle to be attached, and dropped in the head rest. I believe it would be possible to install lumber support to the passenger seat without to much drama. 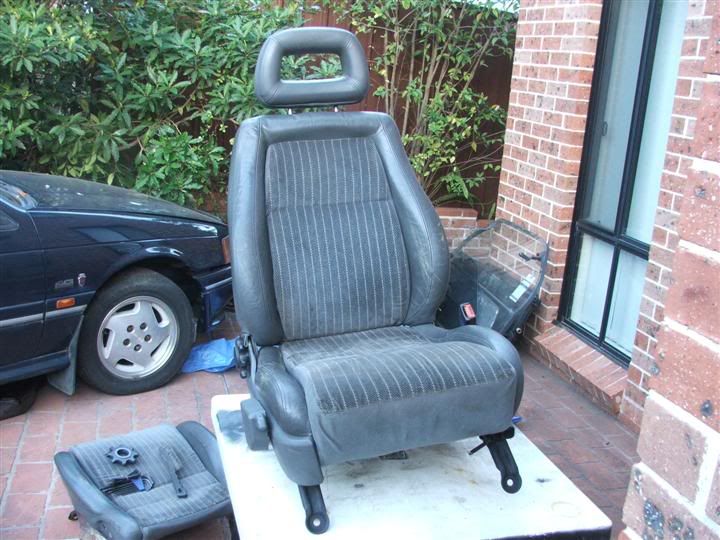 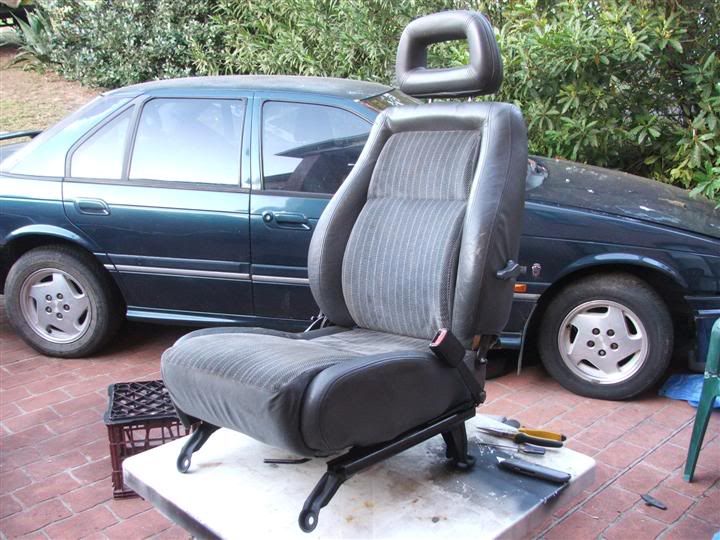 I installed the seat in the wagon, and it feels great. No more sagging, plenty of support and the big holes are now gone. Very happy. The only left to do is to tighten up the map pocket on the back of the seat, as the elastic is a bit sad. A draw string should be simple enough to put in. Cheers BenJ
_________________ {DESCRIPTION} - Current Ride |
||
| Top | |
||
| racedirector |
|
|||
Age: 63 Posts: 1584 Joined: 20th Mar 2005 Ride: EDL Fairmont Wagon/AU XR8 Ghia Location: Riverstone |
Well done matey, and string in your bow! Seat looks great and I bet, better then your butt being on the floor
_________________ =1994 ED Wagon GLi body/EL Fairmont spec with *ALL* EL running gear.= |
|||
| Top | |
|||
| BenJ |
|
||
|
Hello.
The Wagon developed a coolant leak last night, and after a bit of investigation today, found it to be the heater tap. A quick call to RD (cheers mate) and he popped around with a spare one off an ED which was in good nick. Installed it and all is fixed again. I also started prepping the XR6 Wagon Wing, and layed down some primer. 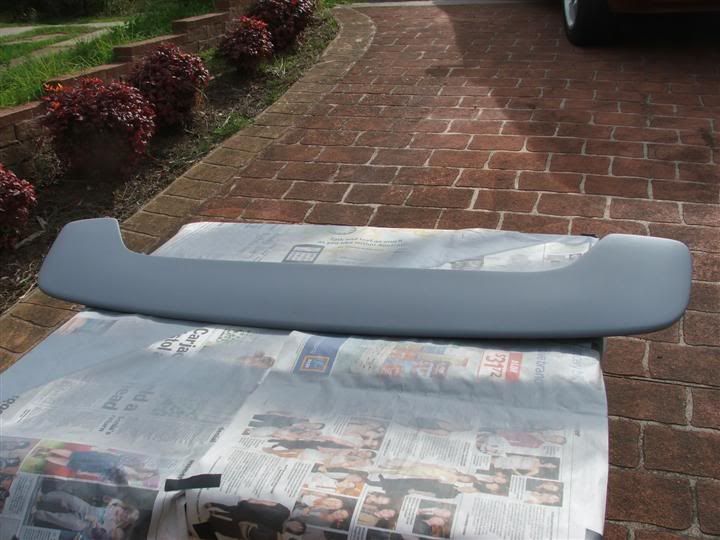 Close inspection found that the cast in studs were mangled by the seller in their effort to remove the wing from the tailgate. The threads were beyond saving, so a quick cut with the grinder removed them. I will have to stick it on with sikaflex. Should do the job. Cheers BenJ
_________________ {DESCRIPTION} - Current Ride |
||
| Top | |
||
| SWC |
|
||
|
Not a good idea. These things are a fair weight and I wouldn't trust sikaflex to hold them. Bring it along tonight and I will see about digging out the old mount bolts and fitting new ones.
|
||
| Top | |
||
| BenJ |
|
||
|
{USERNAME} wrote: Not a good idea. These things are a fair weight and I wouldn't trust sikaflex to hold them. Bring it along tonight and I will see about digging out the old mount bolts and fitting new ones. Cheers Mate I have placed it in the car. BenJ
_________________ {DESCRIPTION} - Current Ride |
||
| Top | |
||
| SWC |
|
||
|
cool
|
||
| Top | |
||
| Ben_Daui |
|
|||
|
{USERNAME} wrote: Seat is Finished!!   Seat Back Completed.    Cheers BenJ I love the effort you have gone to for those seats, I ripped out the drivers seat out of my FAIRLANE as the sinking feeling was in the drivers seat, I'll put it back into the EB unless if I can pick up another full leather shield seat.
_________________ MEMBER 1390 |
|||
| Top | |
|||
| Who is online |
|---|
Users browsing this forum: No registered users and 24 guests |