

|
| BenJ |
|
||
|
{USERNAME} wrote: You hoon! Hahahahaha! Love it, the beasty is getting quicker by the day. Well done on the self changeover, another feather in your cap.... I suppose you will be wanting another stint behind the wheel now? LOL Oh, and almost a self changeover, I did have a very strict supervisor LOL. And thanks to ToranaGuy, KWIKXR and fiend for the kind words. Cheers BenJ
_________________ {DESCRIPTION} - Current Ride |
||
| Top | |
||
| racedirector |
|
|||
Age: 63 Posts: 1584 Joined: 20th Mar 2005 Ride: EDL Fairmont Wagon/AU XR8 Ghia Location: Riverstone |
{USERNAME} wrote: {USERNAME} wrote: You hoon! Hahahahaha! Love it, the beasty is getting quicker by the day. Well done on the self changeover, another feather in your cap.... I suppose you will be wanting another stint behind the wheel now? LOL Let me see... would I like another stint in a manual EL powered wagon with a Wade cam and 2.5" exhaust....it's tricky..... hang on a tick...... still thinking....... HELL YEA! BTW, got me TV today, but thats OT - HA!
_________________ =1994 ED Wagon GLi body/EL Fairmont spec with *ALL* EL running gear.= |
|||
| Top | |
|||
| banarcus |
|
|||
|
Good work Ben, a cammed wagon is a very rare but a very good thing mate. Well done!! I wish my roster was more kind to me on the weekend, I'd love to have been able to go to Bathurst in mine.
|
|||
| Top | |
|||
| BenJ |
|
||
|
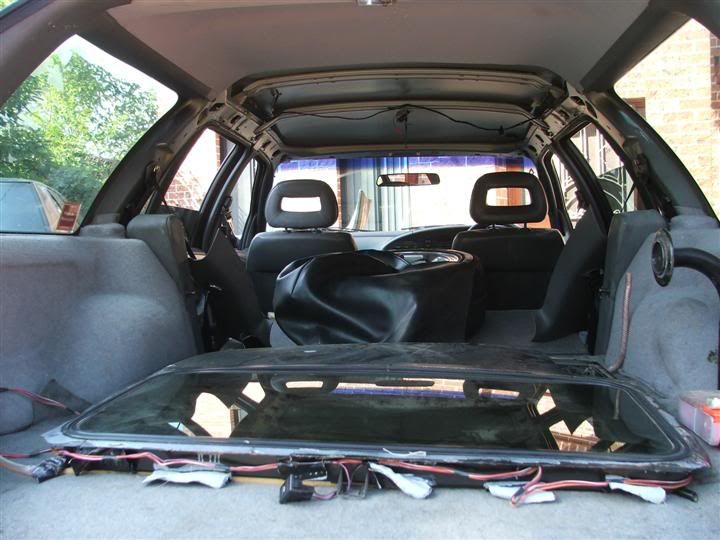
Hmmmm, I wonder what is going on here?
 BenJ
_________________ {DESCRIPTION} - Current Ride |
||
| Top | |
||
| Froudey |
|
||
|
{USERNAME} wrote: Hmmmm, I wonder what is going on here?  BenJ IT HAS BEGUN!!! I think =P
_________________ R.I.P Tobias my son. |
||
| Top | |
||
| GTFORDMAN |
|
|||
Age: 44 Posts: 1475 Joined: 5th Nov 2004 Ride: 98 EL Falcon - Last of the EL's Location: Muswellbrook |
_________________ why are women like clouds? eventually they f**k off and its a really nice day.
|
|||
| Top | |
|||
| Papa Smurf |
|
||
|
{USERNAME} wrote: :shock: your a braver man them me cutting a dirty great hole in your roof Huh? I thought the hole came with the kit? |
||
| Top | |
||
| XR-Lane |
|
|||
|
Yeah!!!
Get that sunroof in Ben Ill check back later on to see how you went. Cheers |
|||
| Top | |
|||
| TROYMAN |
|
||
|
so ben hows the sunroof coming along?
|
||
| Top | |
||
| XR-Lane |
|
|||
|
{USERNAME} wrote: I bet he's still out in the driveway by torch or candlelight tinkering away with it LOL, I bet your right mate. |
|||
| Top | |
|||
| mitchell g |
|
||
|
{USERNAME} wrote: {USERNAME} wrote: I bet he's still out in the driveway by torch or candlelight tinkering away with it LOL, I bet your right mate. i bet he's still at swc place Last edited by mitchell g on Sat Oct 24, 2009 9:03 pm, edited 1 time in total. |
||
| Top | |
||
| XR-Lane |
|
|||
|
Ben text this to me earlier on today, hope you dont mind Ben

|
|||
| Top | |
|||
| SWC |
|
||
|
{USERNAME} wrote: I bet he's still out in the driveway by torch or candlelight tinkering away with it I'll take that bet |
||
| Top | |
||
| BenJ |
|
||
|
You are a bunch of funny buggers LOL.
Pics and story soon. BenJ
_________________ {DESCRIPTION} - Current Ride |
||
| Top | |
||
| BenJ |
|
||
|
As you hopefully will have figured out, today was sunroof day.
Before I continue, once again I must give a big THANK YOU to SWC for his assistance in cutting a big bloody hole in my roof, and for fabricating the brackets etc, and also thanks to Snap, MRE-50L and LP for their assistance, input and advice. So, just how do you install an electric sunroof into an E series? Step 1 - Remove all unwanted interior parts. Basically this means to pull out the hood lining, interior lights, sun visors, interior plastics and wiring that may get in the way. I also removed the middle roof brace. Step 2 - Work out the position for the sunroof to be in. This is a two step process, which involves looking at the aesthetics externally, and analysing the practical limitations of physically fitting the sunroof cassette. To achieve this I borrowed MRE-50Ls cut out from his sunroof install to visualise where I thought the best position would be from the outside. Then we used some strapping to hold the cassette up close to the roof and work out how much leeway we had. We found that the next brace back limited how far to the back of the wagon we could go, and after settling on a satisfactory position for the cassette inside, we then lined up the cutout on the outside to match the front of the opening. 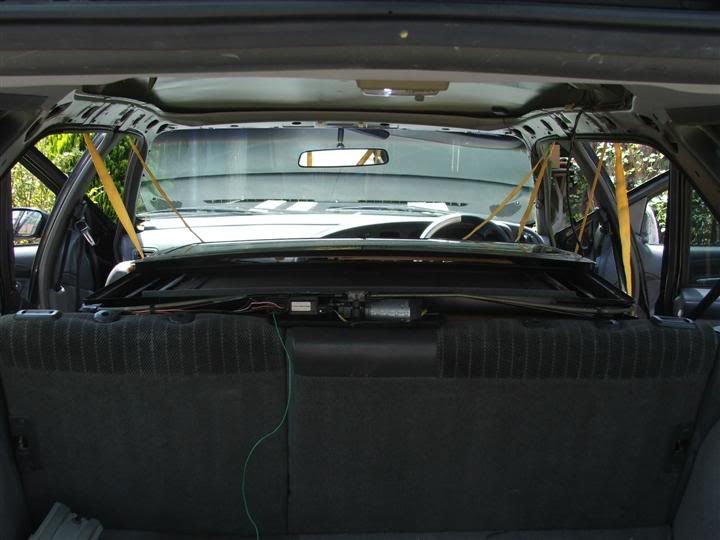 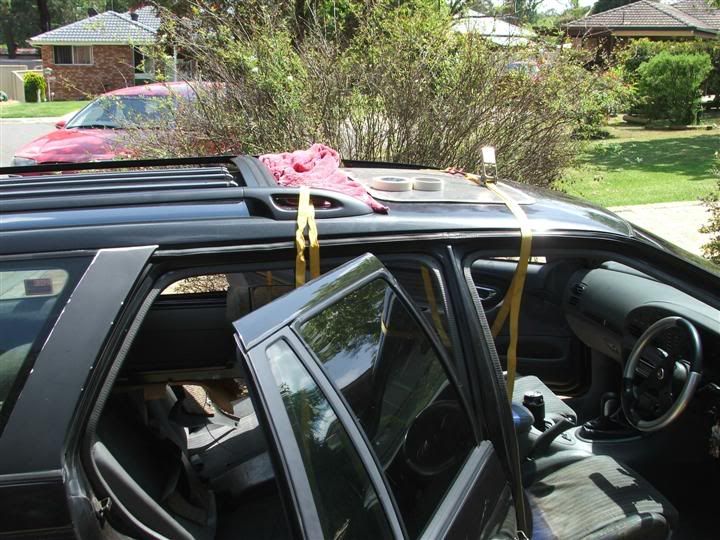 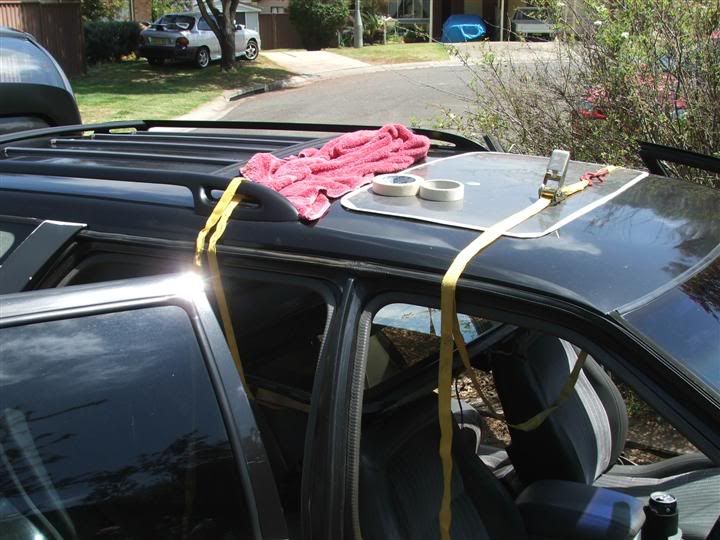 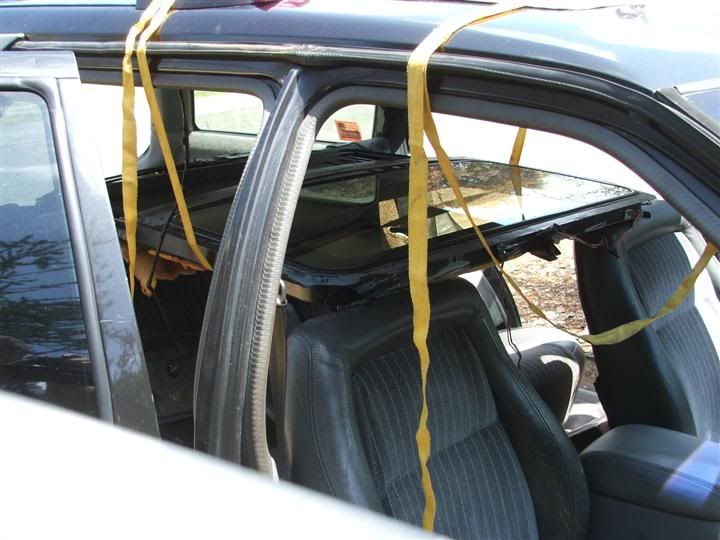 Step 3 - Mark the roof area to be cut. Once I was satisfied with the position of the cutout, we needed to make a template. This could be done using some cardboard and trace out the size of the opening or remove the glass and trace around it. In our situation, I grabbed the cutout from MRE-50L and sat it on the glass area, and found out it was almost perfect. TADA, a template. We then used the template to mark the roof. After measuring left and right, front and back to centre the template we then laid masking tape down before clearly marking the CUT line. 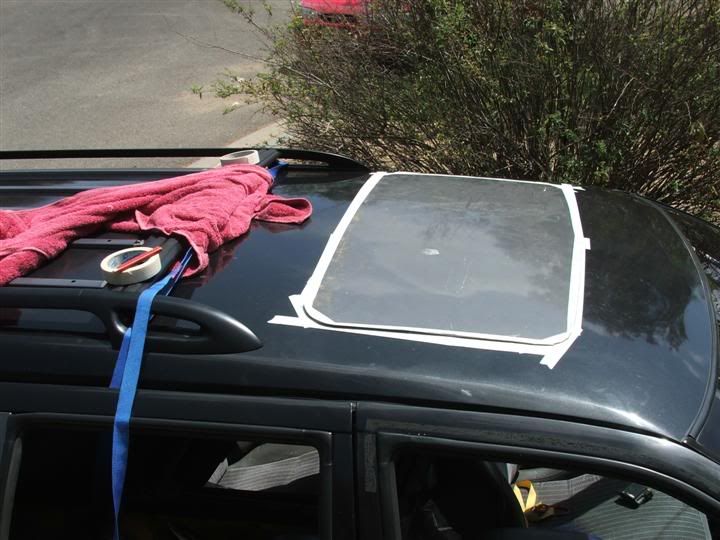 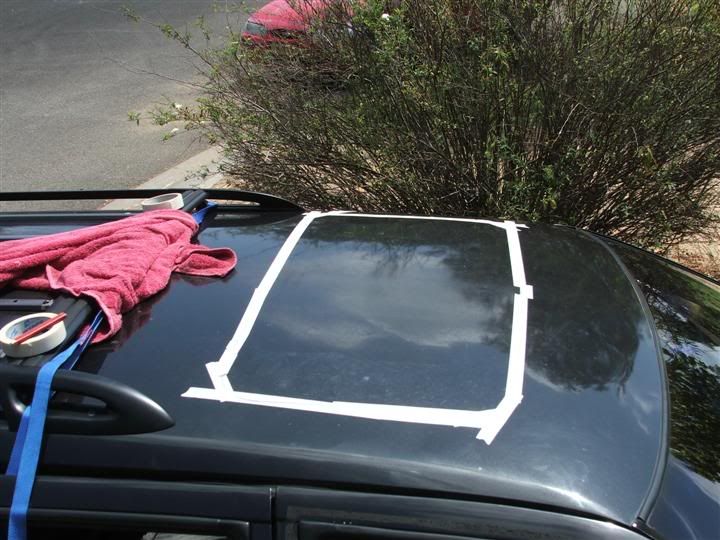 Step 4 - Cut a bloody big hole in the roof There are a variety of tools that can be used for this task. We had several discussions regarding this and settled on using a 4" Grinder with a 1mm cutting blade, and a jigsaw for the corners. SWC wanted to start with a corner, so a pilot hole was drilled, and the hacking commenced. SWC found the jigsaw was making easy work of it, and decided to do the complete cut with it. No turning back now!!! 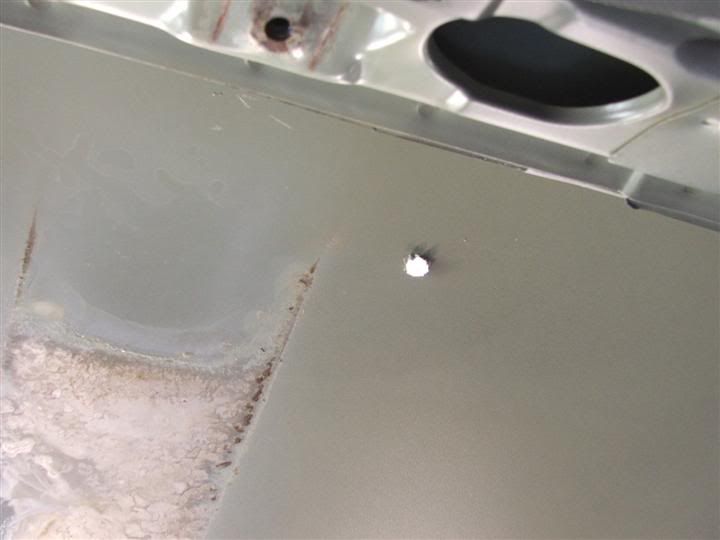 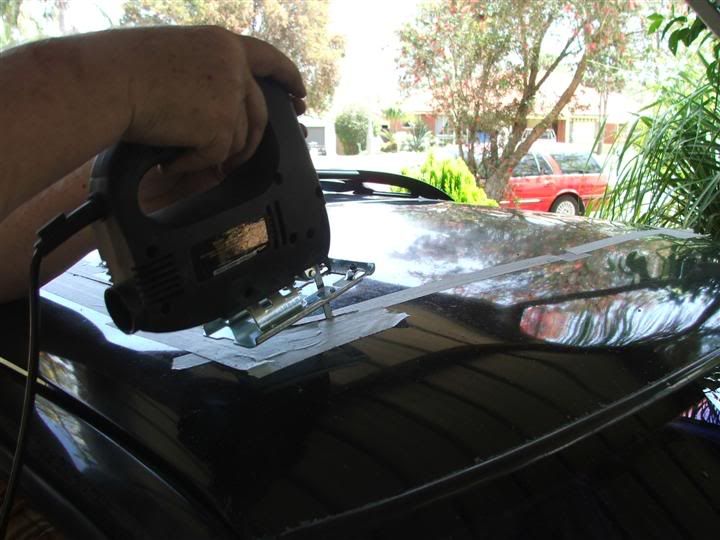 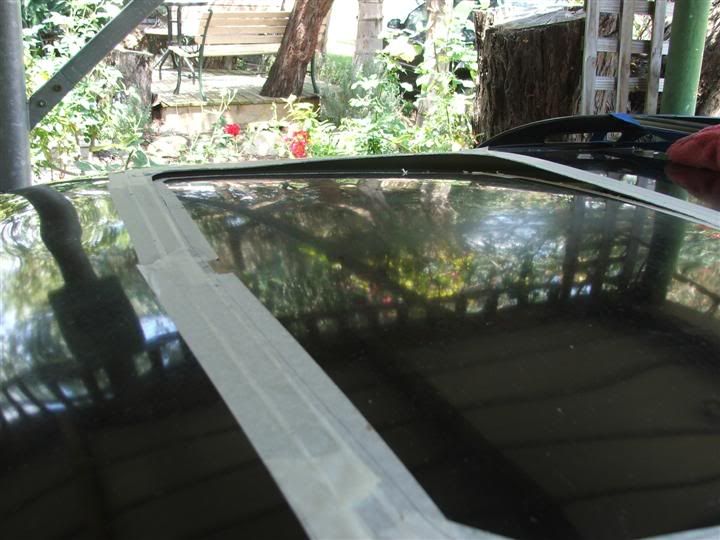 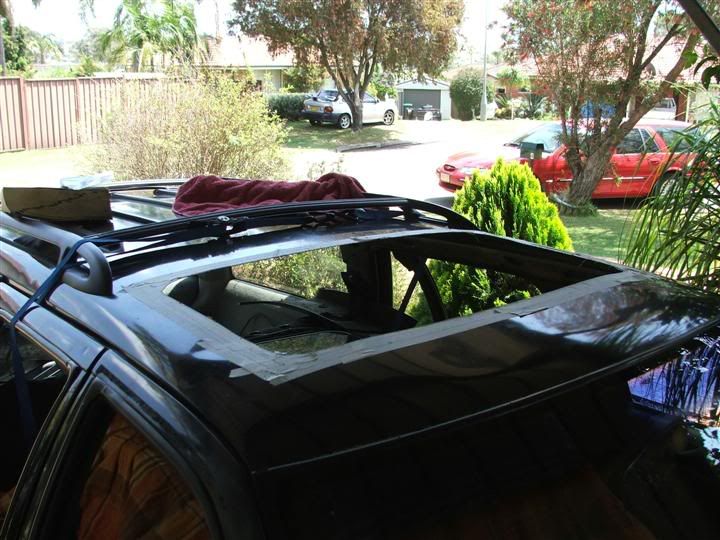 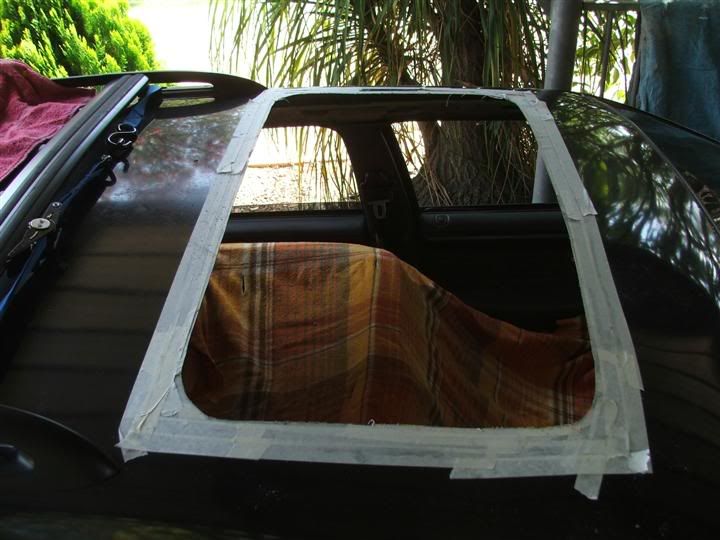 Step 5 - Make brackets to secure the cassette in place. As you may have noticed, Wagons have a higher roof line than the sedans or Fairlanes etc. This meant that any sunroof brackets I could have obtained from sedans would be the incorrect size and shape. The plan always had been to make brackets. To do this, we hoisted the cassette back up into place and then used a number of G-clamps to secure it in place. This allowed us to exactly position the cassette in position using the new hole. The rear of the cassette was supported with a length of PVC pipe Now that we have it locked in place, SWC made up the brackets for the rear of the cassette. This required the rear roof bracing to be notched in the corners to allow the cassette to sit flush with the roof. Then the new brackets were made and tek screws were used to fasten it together. Then the front brackets were fabricated, followed by a pair of middle brackets. We then powered up the sunroof and conducted a couple of tests to ensure that the hole was big enough. This identified a clearance issue, and a further 5-7mm was then cut out of the right hand edge of the hole as it was fouling on the glass as it tilted up. 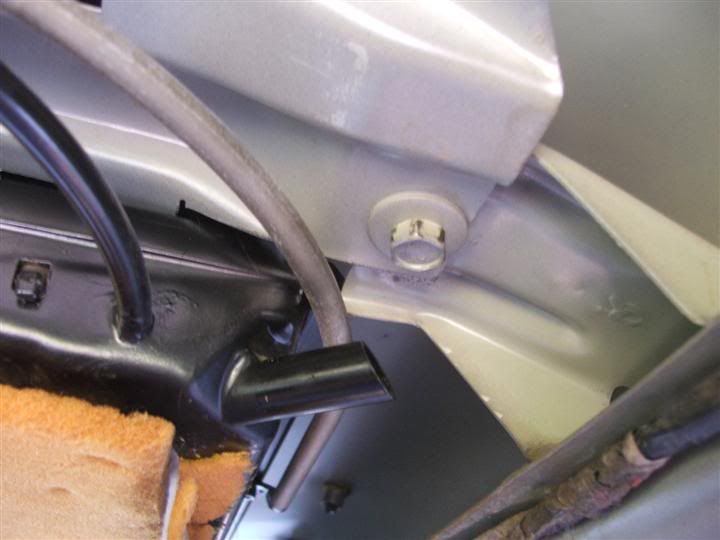 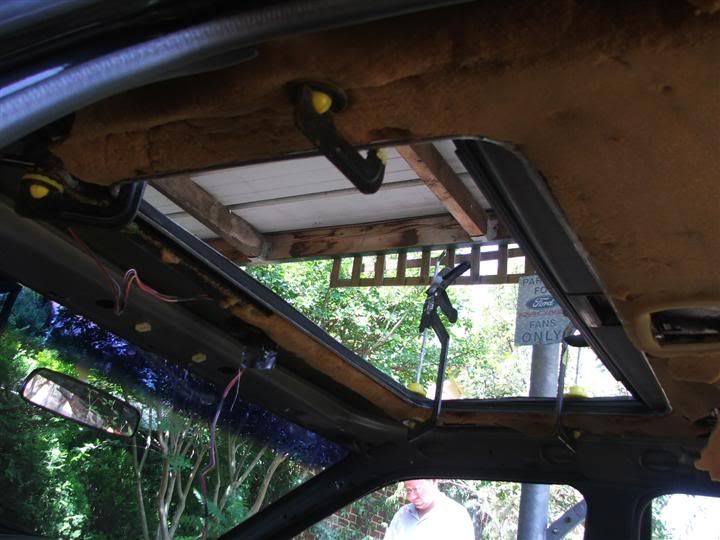 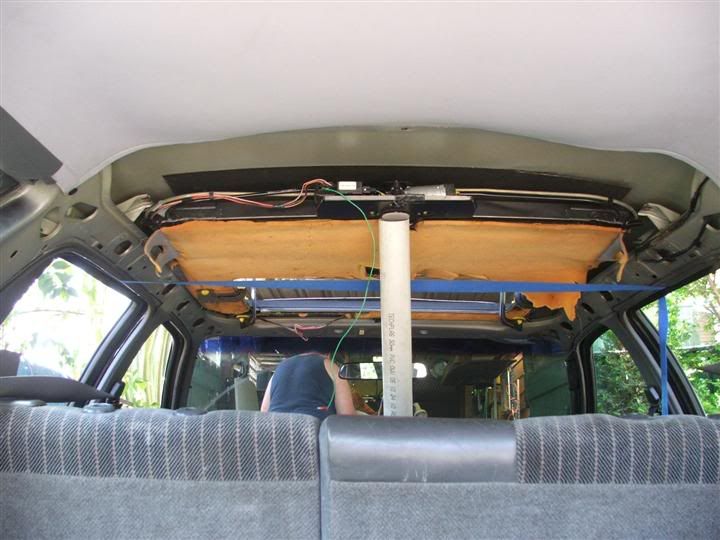  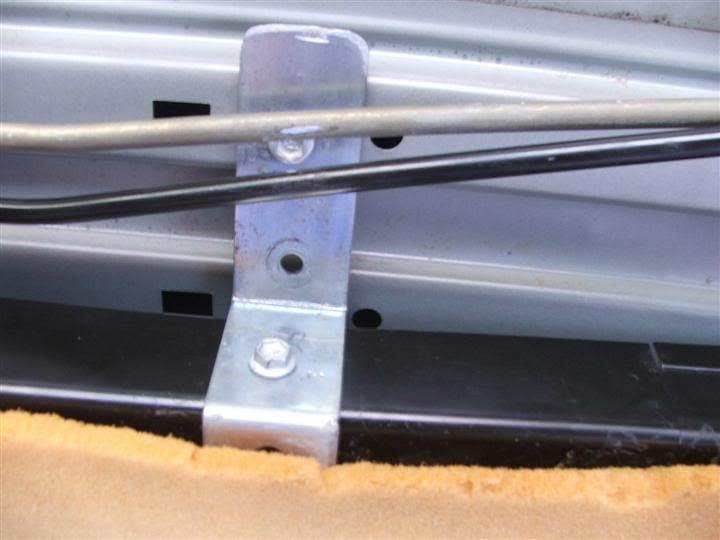 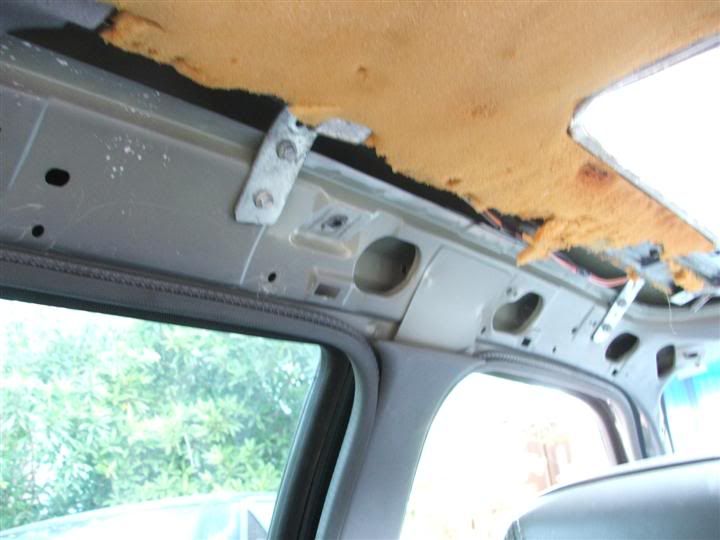 Step 6 - Glue the cassette in place Now that the cassette is can be firmly attached to the roof frame, the roof skin needs to be glued to the cassette skin. SWC recommended a Selleys product, Adhesive + Sealant, Polyurethane. This was liberally applied before the cassette was lifted up for the final time into place, and all the brackets tightened down. Clamps were again used around the hole opening to clamp the skin against the cassette while the adhesive cured. As this would take a while, SWC improvised and used some door flashing as a temporary clamp around the edge. This was left in place for the drive home. ************************************************************ There are a couple more steps which I will cover tomorrow, after I get pics of the the relevant areas. At this stage, I have partially wired up the sunroof so the Wagon can be secured, and Snap and LP ran the four drain tubes so if it rains the water will not fill up the car. Here is a couple of quick photos of the partially finished job. 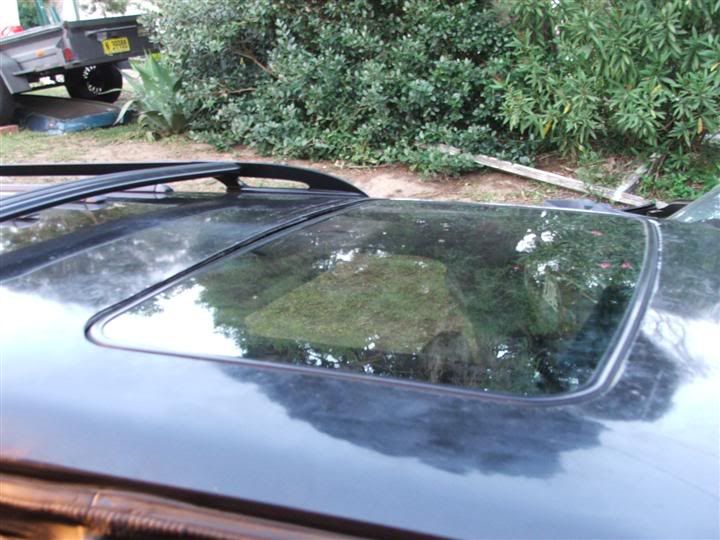 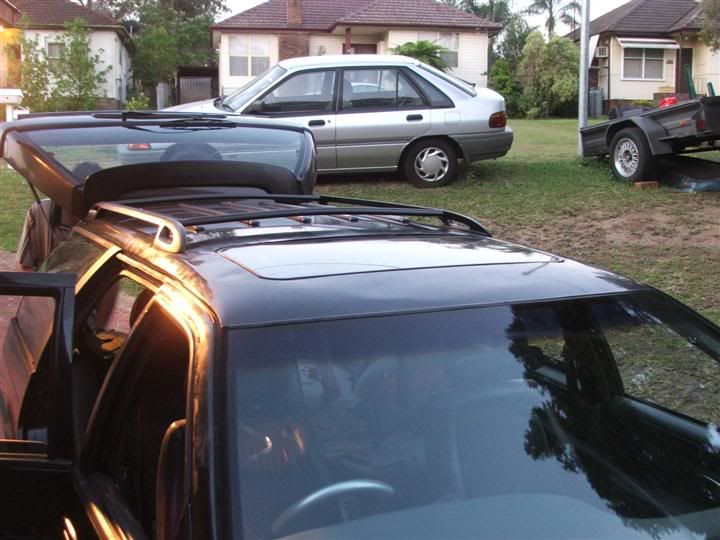 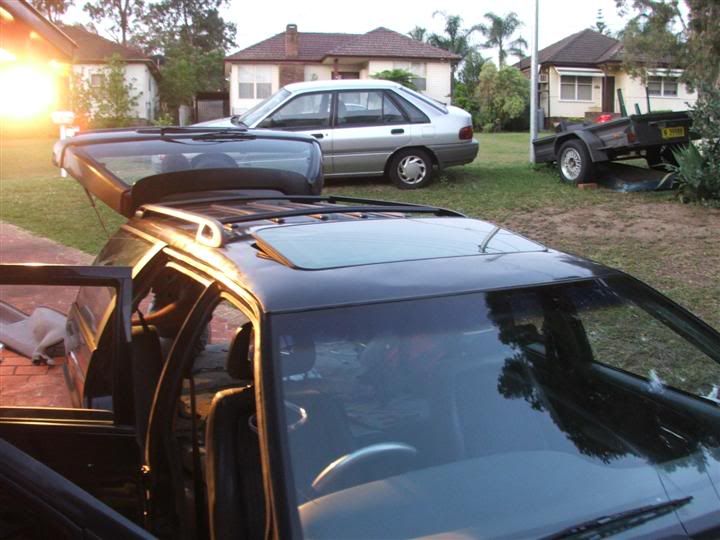 Cheers BenJ
_________________ {DESCRIPTION} - Current Ride |
||
| Top | |
||
| Who is online |
|---|
Users browsing this forum: No registered users and 6 guests |