

|
| B Bear |
|
|||
|
How do you find the EBC Green stuff pads? I put some in the other day on the front with some slotted rotors and they are champions to brake on ! Only problem is I hate wearing them in have to pay attention to my braking
|
|||
| Top | |
|||
| jvangent |
|
||
|
{USERNAME} wrote: How do you find the EBC Green stuff pads? I put some in the other day on the front with some slotted rotors and they are champions to brake on ! Only problem is I hate wearing them in have to pay attention to my braking havent really tried them yet mate, just took it for a run around the block to bed them alittle. im heading up to adelaide tomorrow so ill see how they go then around the hills =) |
||
| Top | |
||
| chris sieclay |
|
||
|
{USERNAME} wrote: {USERNAME} wrote: {USERNAME} wrote: {USERNAME} wrote: really the squirter holes should be welded by someone that knows what theyre doing so the bonnet isnt warped, but if you're going to use filler those repairs havnt been knocked down enough.. i can tell that by the size of the repair.. its going to fall out quite soon. Grind the washer hole area with 36 grade to at least the size of your hand and tap the washer hole area down a little to give the bog some depth and strength, let the bog go off and grab a hard block with 36 scratch paper and work it down flat.. keep reapplying bog till you're confident you have it flat. with the 36 scratch leave the bog a little high and finish it of with 80 grit.. make sure the bog isnt going to the edge of the paint, notice it has on your repair? If you dont the paint will bite up when you go to paint it and will be an unreliable repair.. feather it all out with 150 grade. 4 coats of high build primer, give it a week then knock it down with a hard block and 400 or 600 if you prefer. PS: get the primer on there with your coats dont be shy.. let it flash off between coats. thanks heaps mate! i think im going to tap it out and using a 105 epoxy resin and a 205 hardner with 405 filler, ive used this stuff before with boats and a mate suggested it would be a good way to fill in large gaps as it sticks to metal and can flex but still have the same strength as bog. so im wondering if i could use that instead? and will it effect my primer and paint in anyway? Ive never used that product mate but if its anything like fibre reinforced resin well then yeah but i'd grind it down a bit low with 36 grade and wipe some bog over the top and do as above.. polyester fillers have a finer finish, i dont like the edges resin compounds leave. yeah ive never used that stuff with cars or to patch up holes so ill put some more research into it. but i defiantly will grind it down alittle in ether case. thanks for the tips mate! very much welcome! no worries mate, by the way when i say tap the holes down a little i mean create a depression.. a very small dent.. very little mind you
_________________ South Australia.. Heaps good. |
||
| Top | |
||
| jvangent |
|
||
|
{USERNAME} wrote: {USERNAME} wrote: {USERNAME} wrote: {USERNAME} wrote: {USERNAME} wrote: really the squirter holes should be welded by someone that knows what theyre doing so the bonnet isnt warped, but if you're going to use filler those repairs havnt been knocked down enough.. i can tell that by the size of the repair.. its going to fall out quite soon. Grind the washer hole area with 36 grade to at least the size of your hand and tap the washer hole area down a little to give the bog some depth and strength, let the bog go off and grab a hard block with 36 scratch paper and work it down flat.. keep reapplying bog till you're confident you have it flat. with the 36 scratch leave the bog a little high and finish it of with 80 grit.. make sure the bog isnt going to the edge of the paint, notice it has on your repair? If you dont the paint will bite up when you go to paint it and will be an unreliable repair.. feather it all out with 150 grade. 4 coats of high build primer, give it a week then knock it down with a hard block and 400 or 600 if you prefer. PS: get the primer on there with your coats dont be shy.. let it flash off between coats. thanks heaps mate! i think im going to tap it out and using a 105 epoxy resin and a 205 hardner with 405 filler, ive used this stuff before with boats and a mate suggested it would be a good way to fill in large gaps as it sticks to metal and can flex but still have the same strength as bog. so im wondering if i could use that instead? and will it effect my primer and paint in anyway? Ive never used that product mate but if its anything like fibre reinforced resin well then yeah but i'd grind it down a bit low with 36 grade and wipe some bog over the top and do as above.. polyester fillers have a finer finish, i dont like the edges resin compounds leave. yeah ive never used that stuff with cars or to patch up holes so ill put some more research into it. but i defiantly will grind it down alittle in ether case. thanks for the tips mate! very much welcome! no worries mate, by the way when i say tap the holes down a little i mean create a depression.. a very small dent.. very little mind you hahaha cheers mate i thought you meant that =) |
||
| Top | |
||
| jvangent |
|
||
|
well just alittle mod while it was raining outside and i had nothing better to do i thought i would try out puttin LEDs into the interment cluster =)
i only had a hand full of Red LEDs left from mucking around with that Tail light project i started. but here are some pics of my attempt so far. 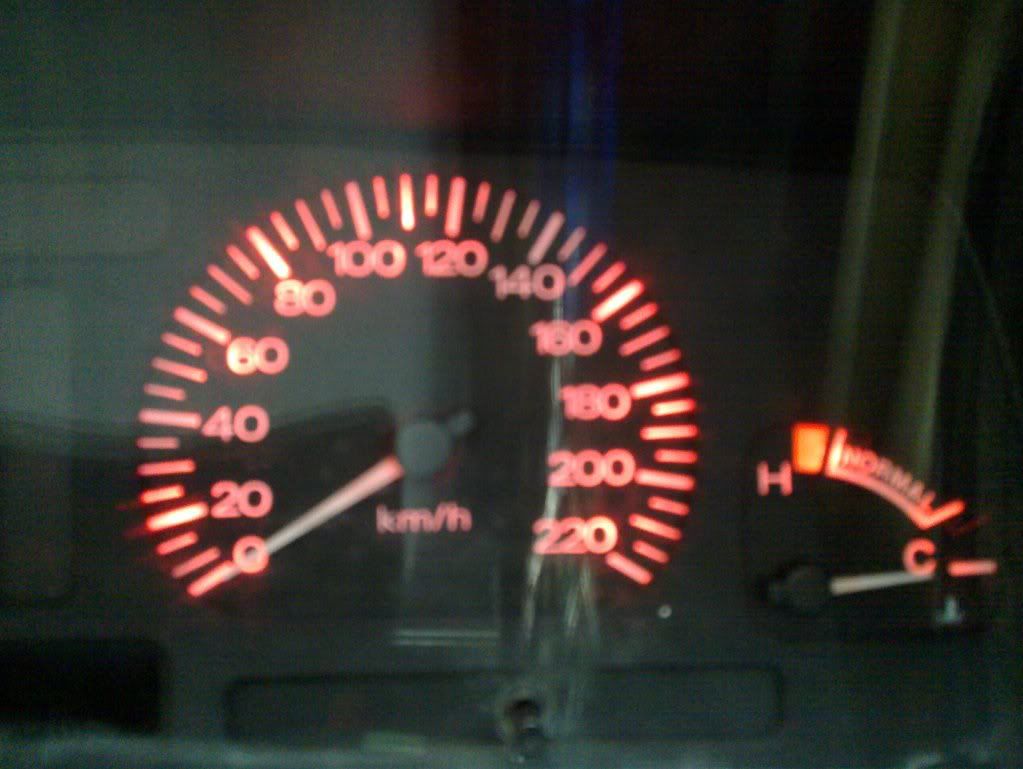 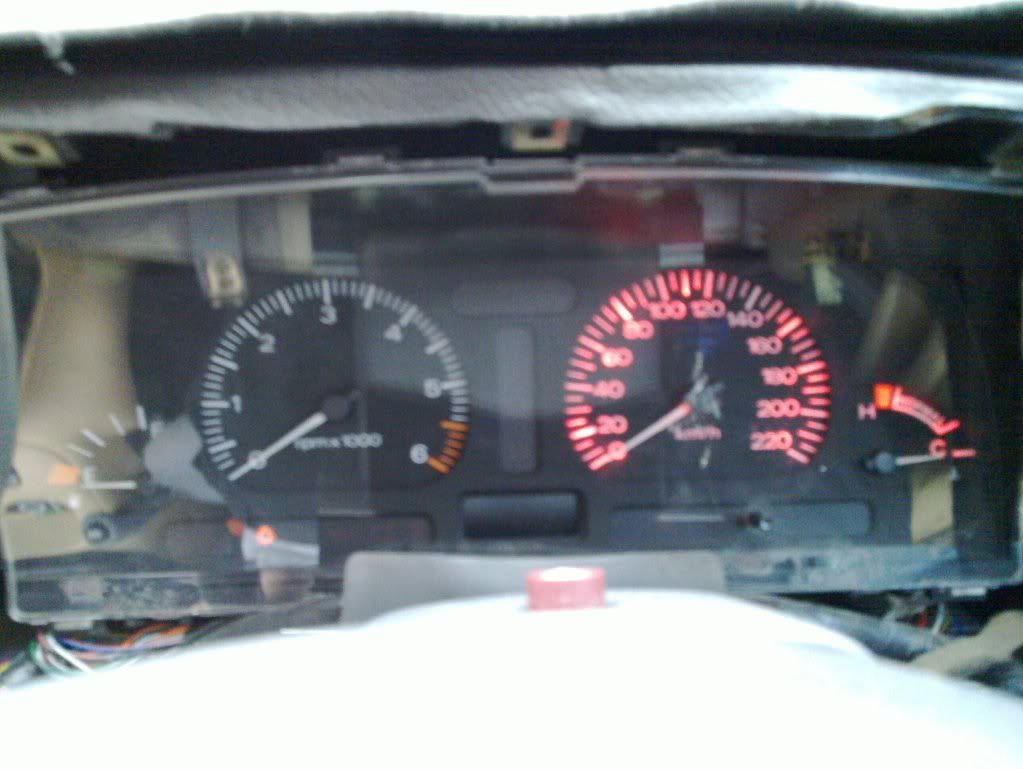 im thinking ill get some blue LEDs instead of the red ones to match my stereo lighting but we shall see what happens =) |
||
| Top | |
||
| fordnut1988 |
|
||
|
{USERNAME} wrote: well just alittle mod while it was raining outside and i had nothing better to do i thought i would try out puttin LEDs into the interment cluster =) i only had a hand full of Red LEDs left from mucking around with that Tail light project i started. but here are some pics of my attempt so far.   im thinking ill get some blue LEDs instead of the red ones to match my stereo lighting but we shall see what happens =) i like it red actually doesnt look to bad mate what did you use t5? |
||
| Top | |
||
| jvangent |
|
||
|
{USERNAME} wrote: {USERNAME} wrote: well just alittle mod while it was raining outside and i had nothing better to do i thought i would try out puttin LEDs into the interment cluster =) i only had a hand full of Red LEDs left from mucking around with that Tail light project i started. but here are some pics of my attempt so far.   im thinking ill get some blue LEDs instead of the red ones to match my stereo lighting but we shall see what happens =) i like it red actually doesnt look to bad mate what did you use t5? na i just opened it up and glued some LEDs inside it, i found when using the T5s it didnt light up as much. |
||
| Top | |
||
| jvangent |
|
||
|
Just a little update, been too lazy to get off the couch and do something to the car for the past day or two... but had a nice little present in the post for me today so this might get me off my lazy a**!
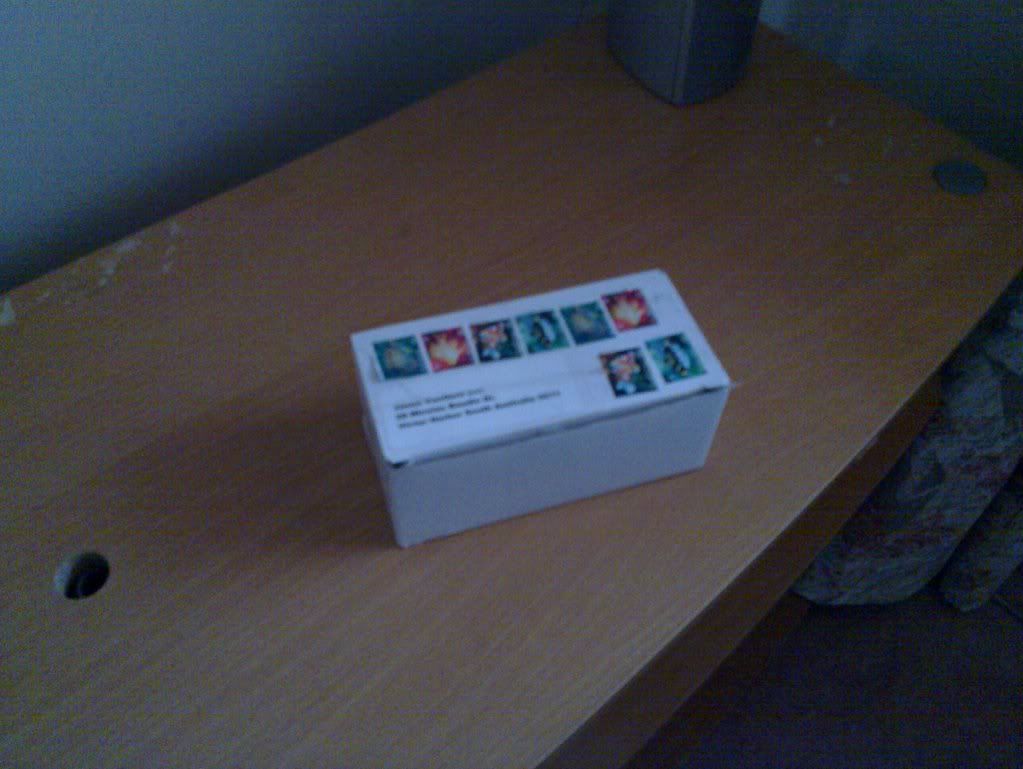 can anyone guess???? its kinda chunky and it fits nicely in my hand im looking at how to use it with my current setup but i think i might have a little issue more updates soon! |
||
| Top | |
||
| jvangent |
|
||
|
Okay so its been a few days busy prepping and spraying the bonnet with primer. just finished wet sanding it down today ready for the big spray tomorrow. just one question that im unsure about, what PSI do i have to use to spray paint? i used around 100psi when spraying on the primer and that seemed too much?
but anyways just a few photos after ive sanded it back =) 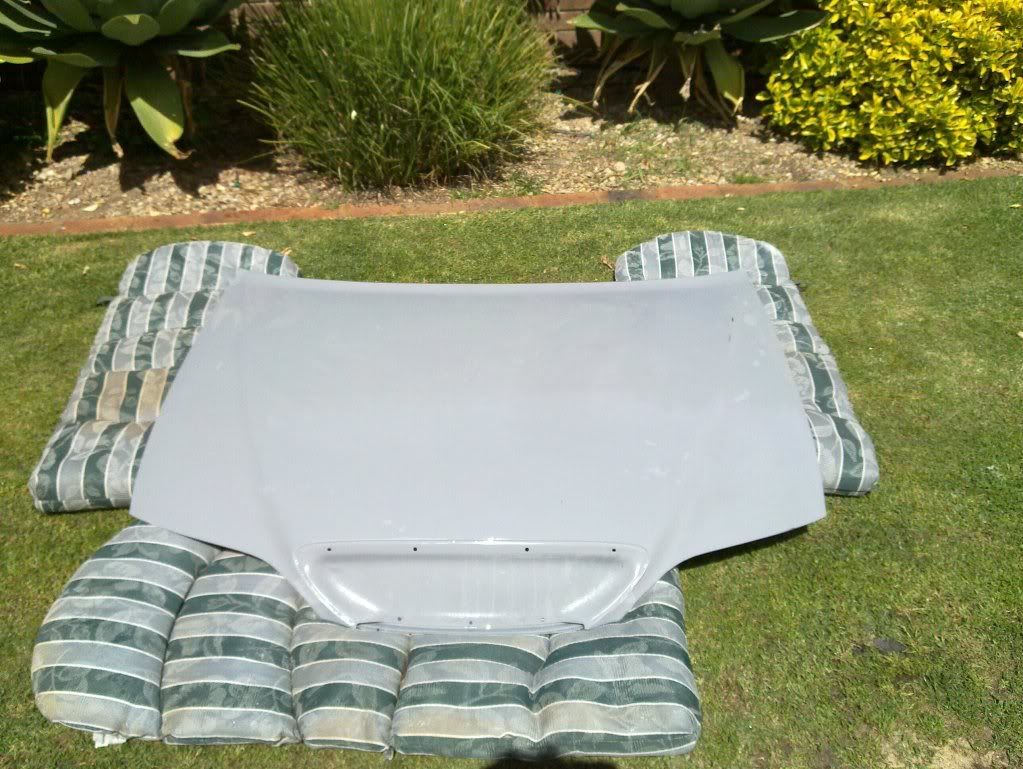 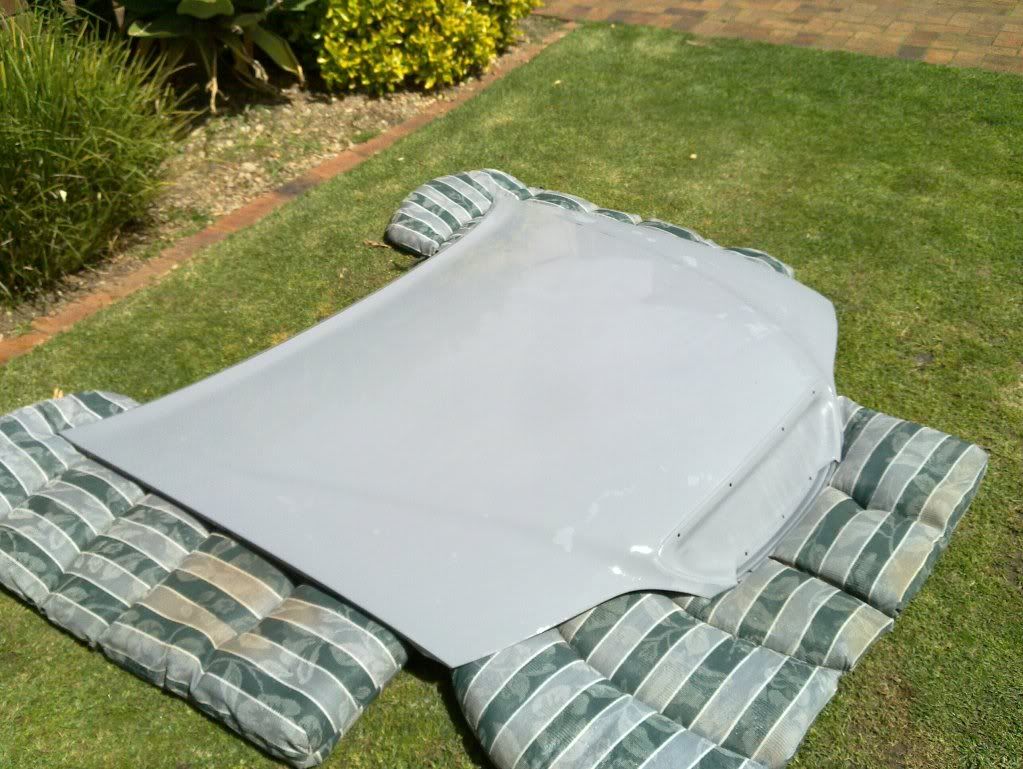 and a picture on how im driving around now with the old bonnet 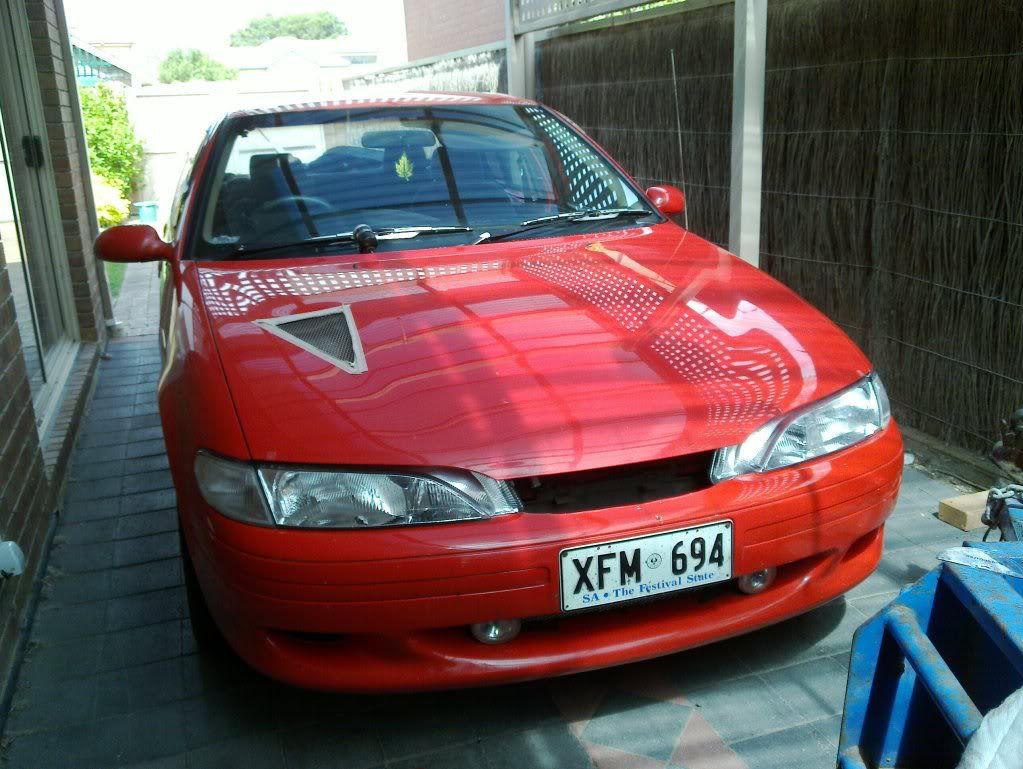 but i think it turned out okay so far, first time using the spray gun so was alittle shaky at the start. tomorrow ill clean it up with prep-wash and give it a few coats of paint and see how it goes then |
||
| Top | |
||
| jvangent |
|
||
|
Okay so today i tried my hand at Spraying for the first time.... and i must say i dont think its too bad. still needs a clear coat but so far im pretty happy with my home job
Just some photos of it drying 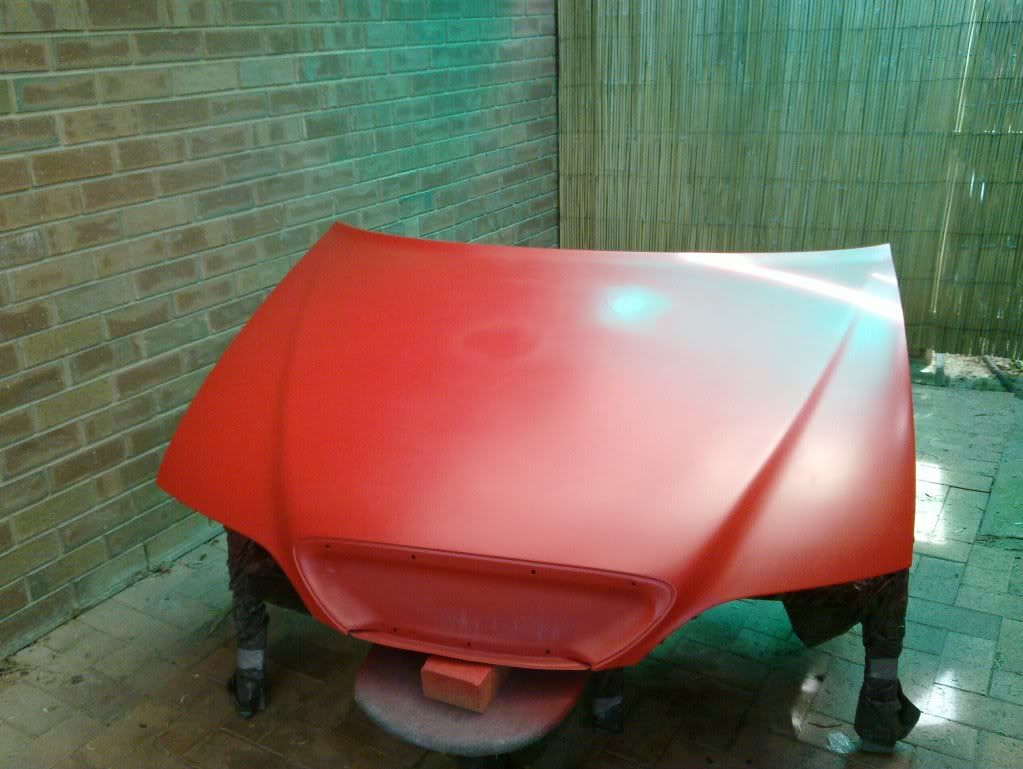 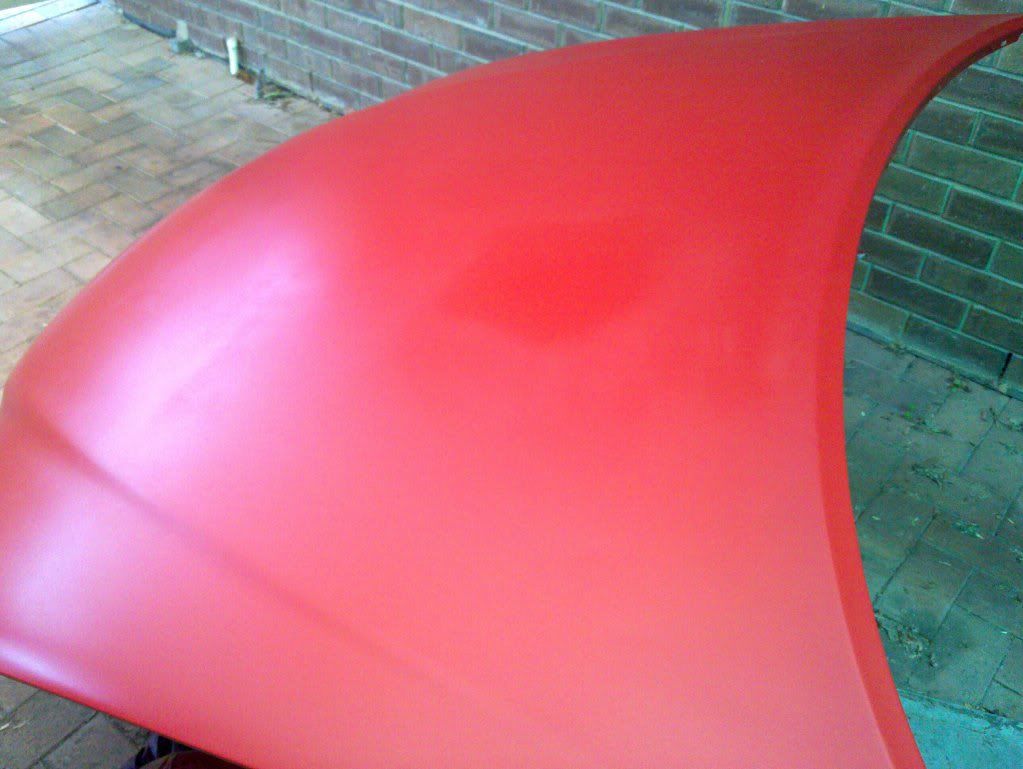 tell me what you think? |
||
| Top | |
||
| jvangent |
|
||
|
So Finally got around to take some photos of the nearly completed front end, just have a bit of buffing and polishing to do and it should come out good =) not bad for a first spray job. thre is a slight colour difference from the original. but its hardly noticeable from a distance. here are some pics
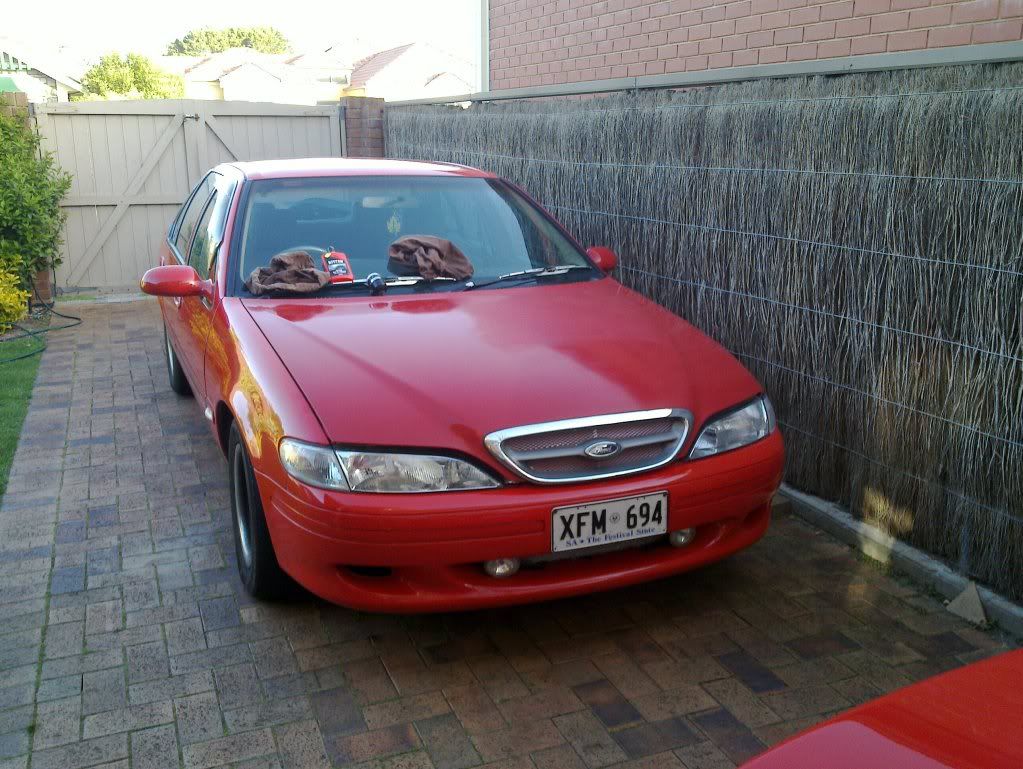 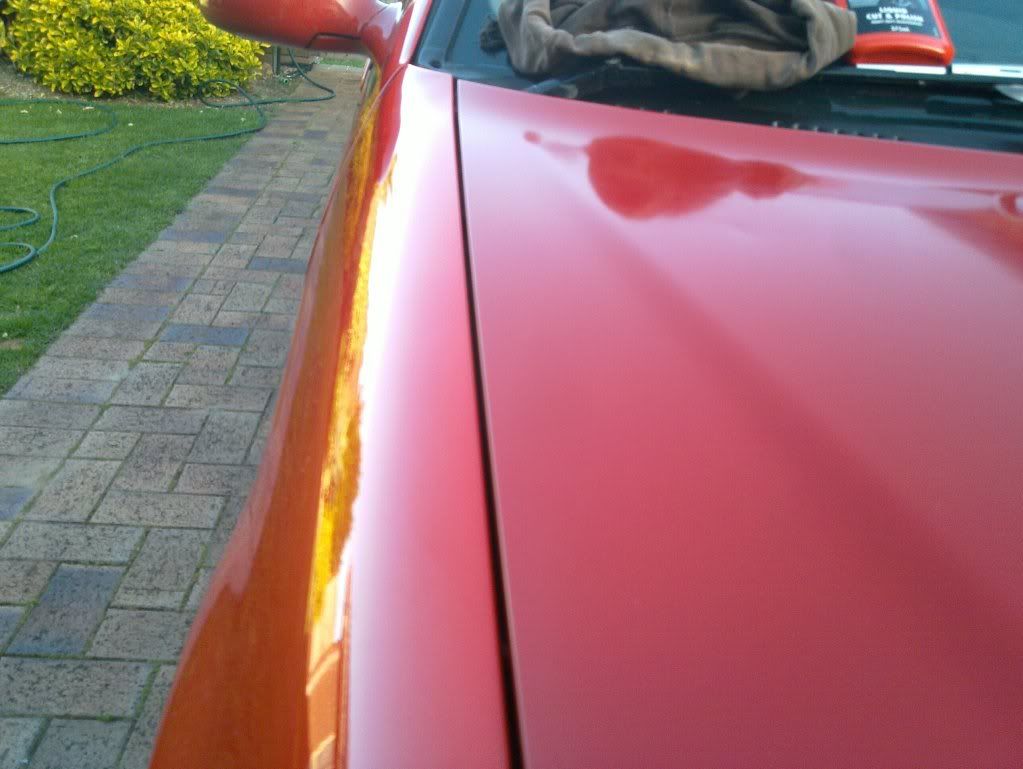 you cant see it much on the camera but the bonnet is slightly darker then the rest of the car, im going to get some cut and polish on the rest of the car when ive done the bonnet to see if it will match more. but im very pleased with the out come so far tell me what you think?? the next plan is to get the back of the interior done. the front is done but at the moment im running around with out any back seat or anything. i would like to try and put some front EF seats in the back and convert it to just a 4 seater. but i shall see how it all goes. |
||
| Top | |
||
| MA77US |
|
|||
|
awesome work jason! youve done a good job man! i think im going to do my door rubbers soon as well. keep up the good work
|
|||
| Top | |
|||
| jvangent |
|
||
|
{USERNAME} wrote: awesome work jason! youve done a good job man! i think im going to do my door rubbers soon as well. keep up the good work cheers mate, yeah its a easy thing to do. just make sure you sand them pretty well so the paint can stick! ive noticed that the parts i havnt sanded too well have started to peel. but for little no extra effort it would be well worth it in the end. |
||
| Top | |
||
| MA77US |
|
|||
|
yeah i saw on another thread that he had done it but left a tiny bit of the blotchy stuff and it didnt take long for it to re-appear so ill do it right the first time
|
|||
| Top | |
|||
| jvangent |
|
||
|
okay just been looking at the shifter tonight while i had nothing to do.
im going to try to replace the stock shifter with this one out of a BA 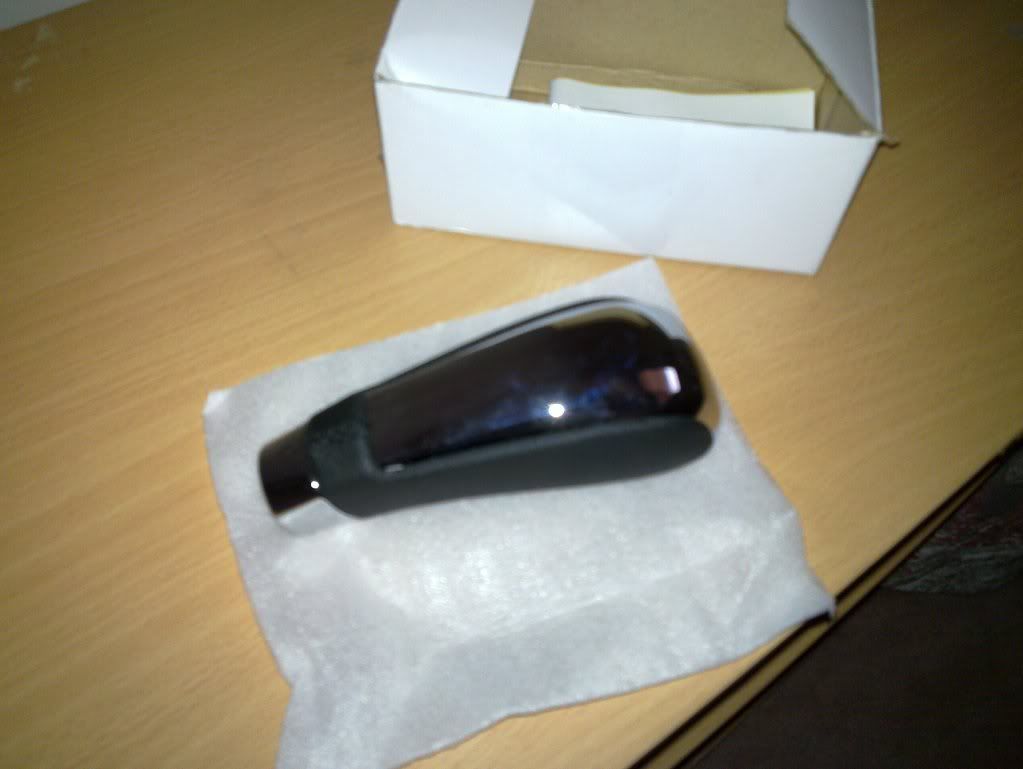 has anyone done something like this? i have a few plans in my head on how it might work but that requites alot of work for such a minor mod. so any suggestions maybe? ill give the trusty 'Search' button a hit and see how i go there |
||
| Top | |
||
| Who is online |
|---|
Users browsing this forum: No registered users and 184 guests |