

|
| jvangent |
|
||
|
Ive been on here for some time now, and some of you may have seen some posts of what ive done to the Flacon since i first got the car when i was 15.
Just alittle background info, so ive had the car for about 6 years now. got it for around 2000$ as a dead stock 1995 EF futura from a 'P' plater who upgraded to a AU Falcon of some sort. since owning it ive done the basic extractors, 2.5" system, 3" intake, Low King Springs with Monroe GT shocks, HD whiteline front swaybar, Alpine Stereo and speakers and just small things like clear side indicators and etc. (pictures of how it looked) 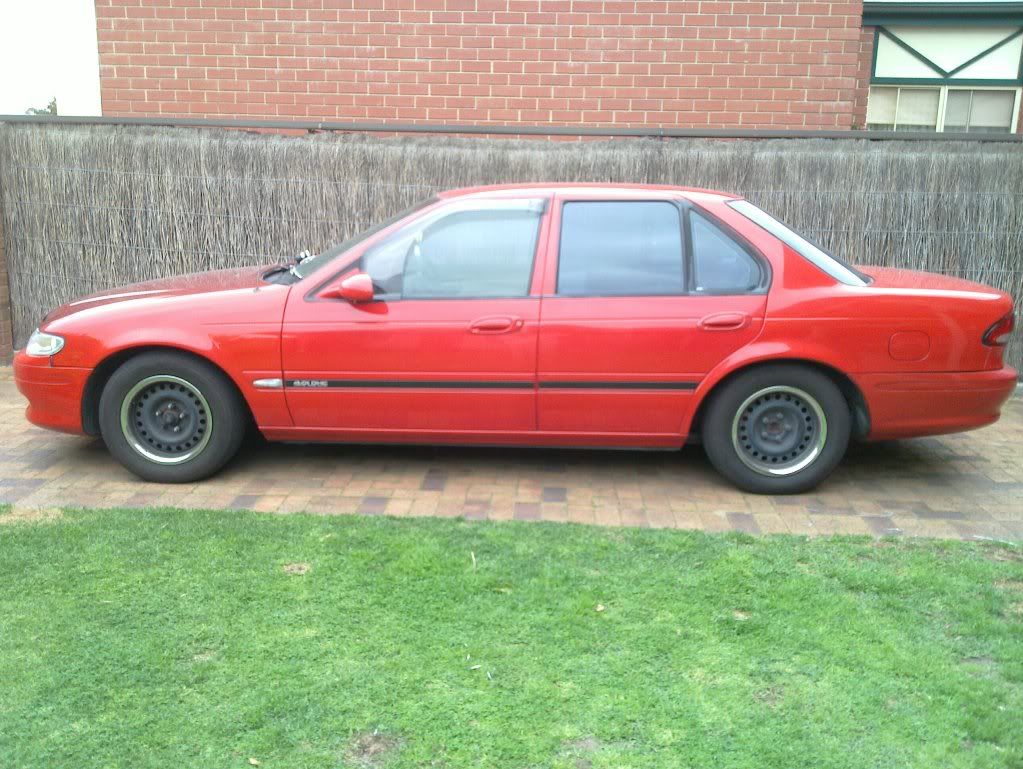 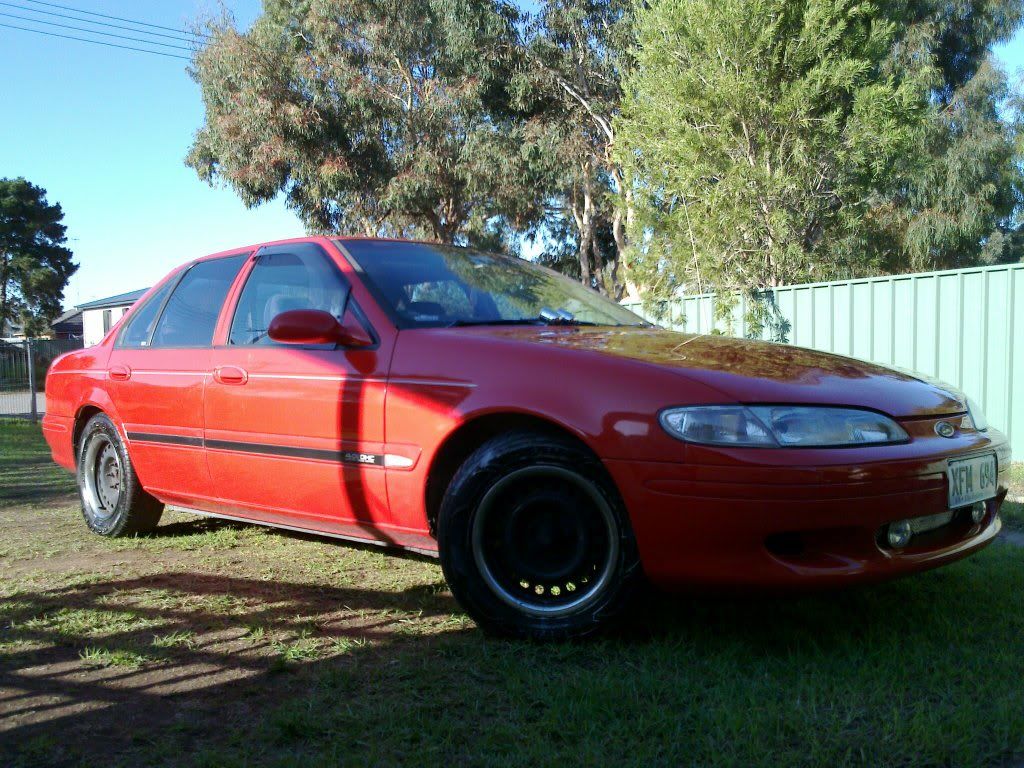 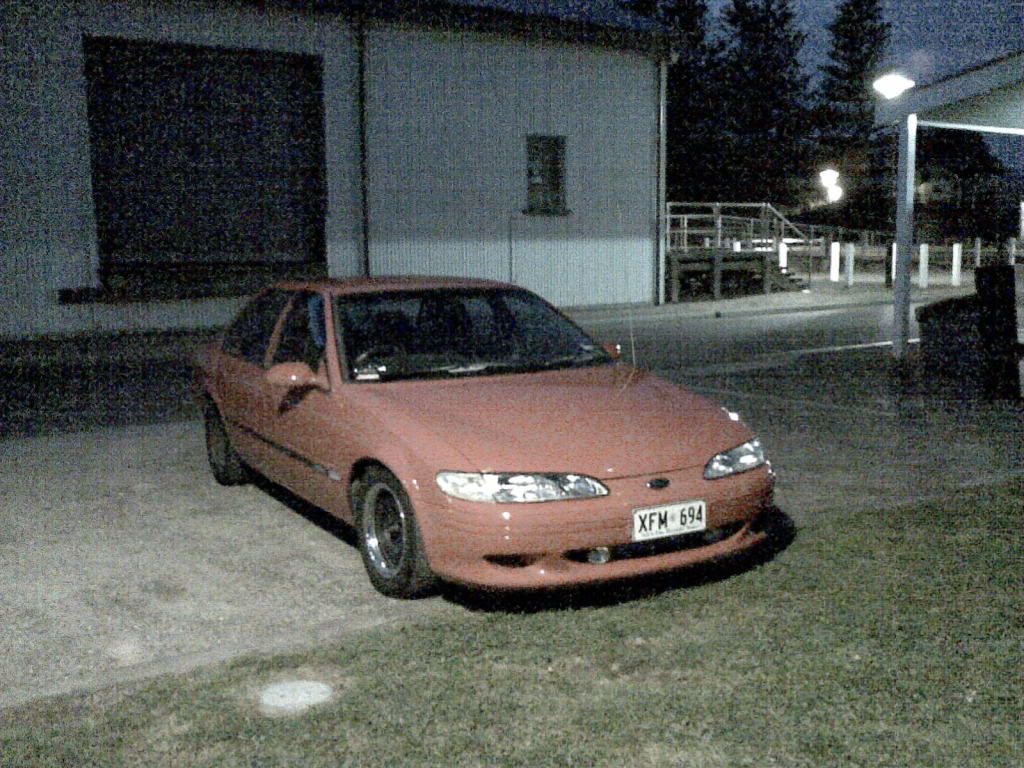 i was happy with the car with that setup while i was on my 'Ps' but recently i decided to try out with customizing my interior. and after some thought and looking at photos of what other people have done i decided to go with the cream and black theme. (see Link below) {DESCRIPTION} that is still in progress at the moment, waiting on some custom seat covers to come in as well as some new carpet as a stuffed up on the install with the other one. i also had enough with the way the front end looked it just grew old on me and a change was necessary, and after looking at some more photos of custom body kits and other conversions i decided i liked the EL Fairmont styled front end. i wanted to look stock but still have some class and to me the front end of a fairmont just does it! so i sourced a bonnet from a bloke in Adelaide and some new EL fairmont aftermarket head lights that a mate couldnt use. with all the excitement i put the bonnet on to see how it looked. (more pics for the blind) 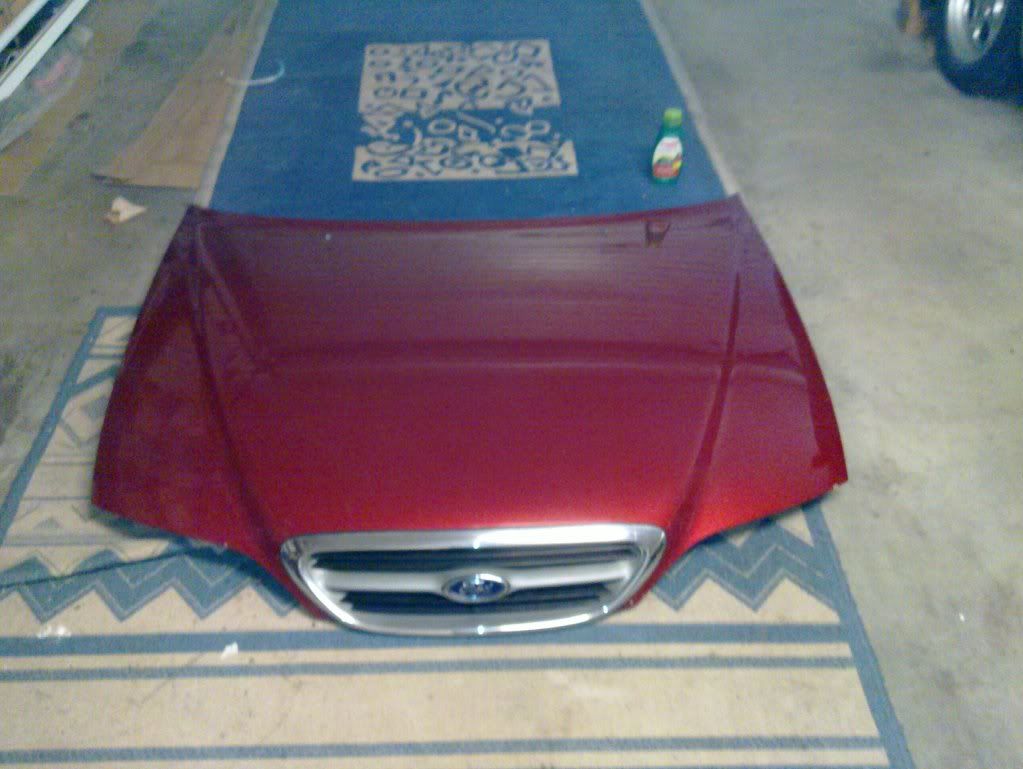 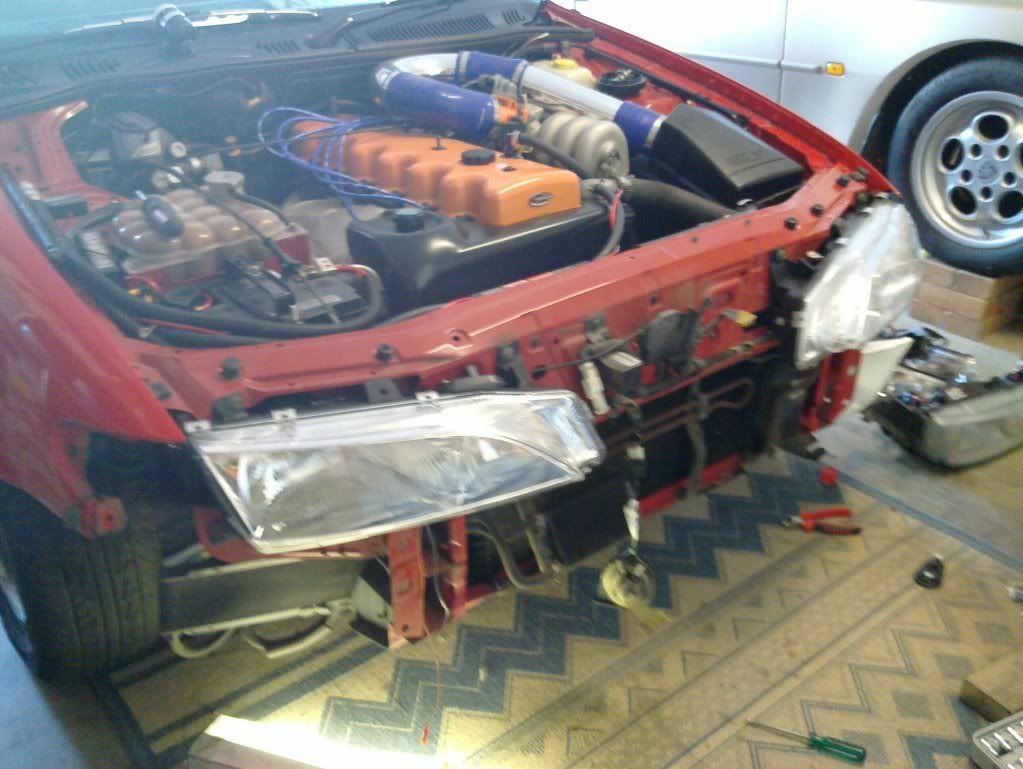 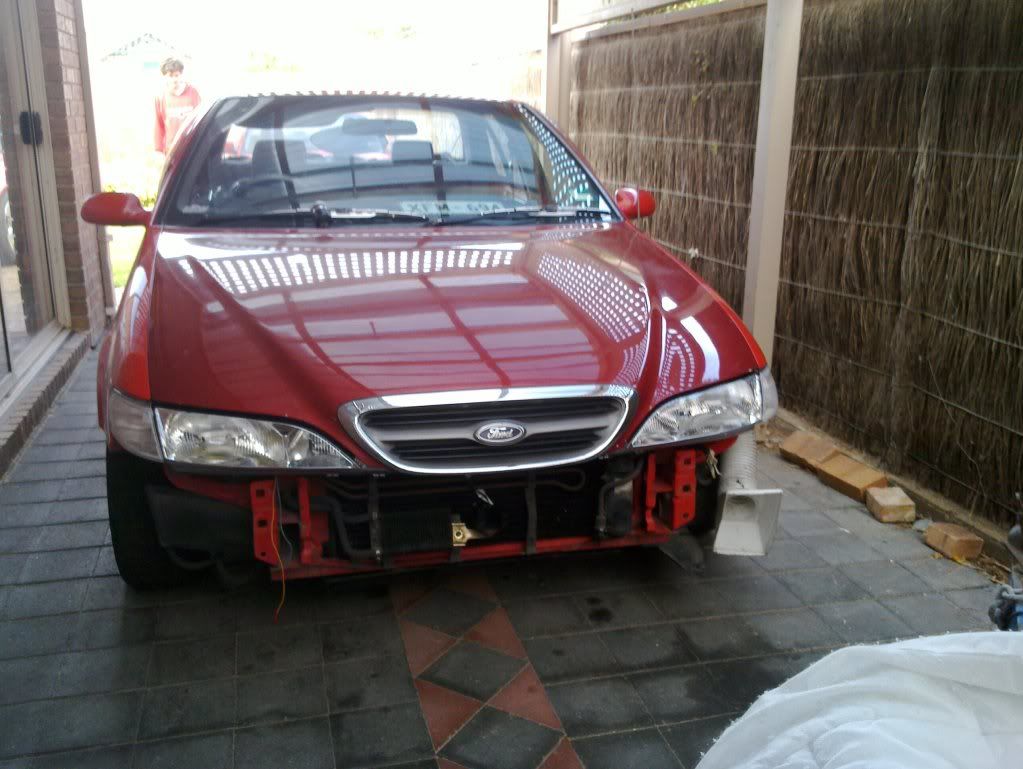 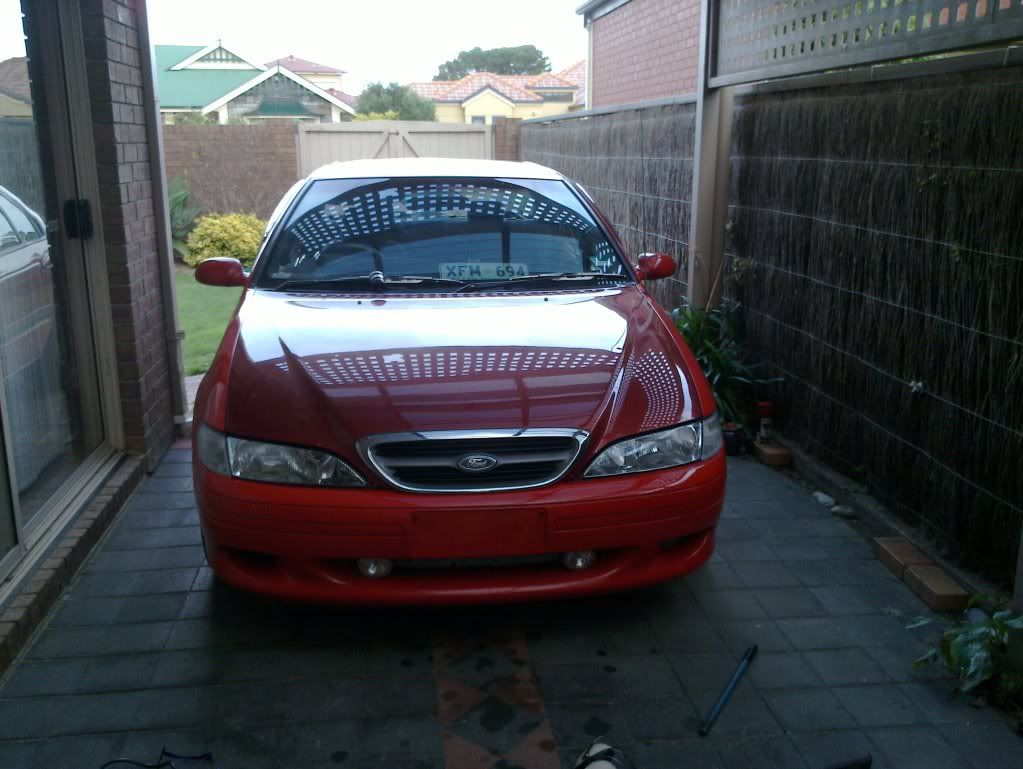 I ran around like this for awhile waiting for the Uni holidays to start so i could get started on the colour change. but untill then i just messed around with small things, first up was the tint. i went on e-bay and got 3m of reflective mirror for 5$ so i gave that a go. 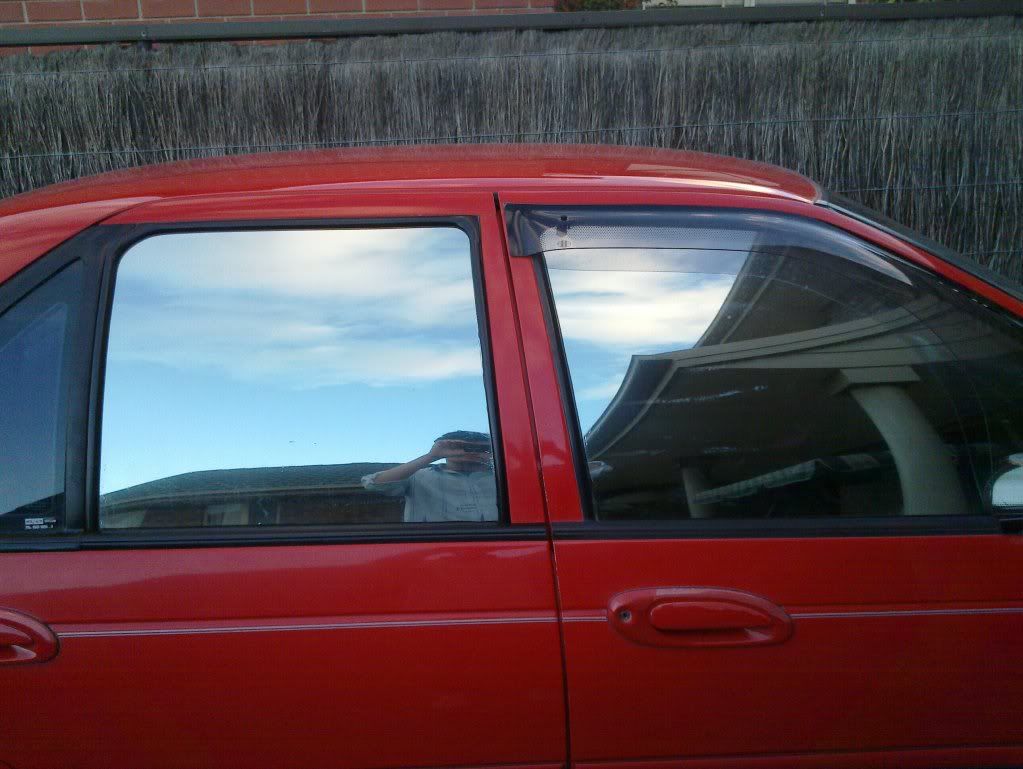 Its still on there but im not liking it at all, too rice for my taste. so im thinking some nice dark tint will go well with the red =) and also sprayed the rubber/ plastic bits around the car. 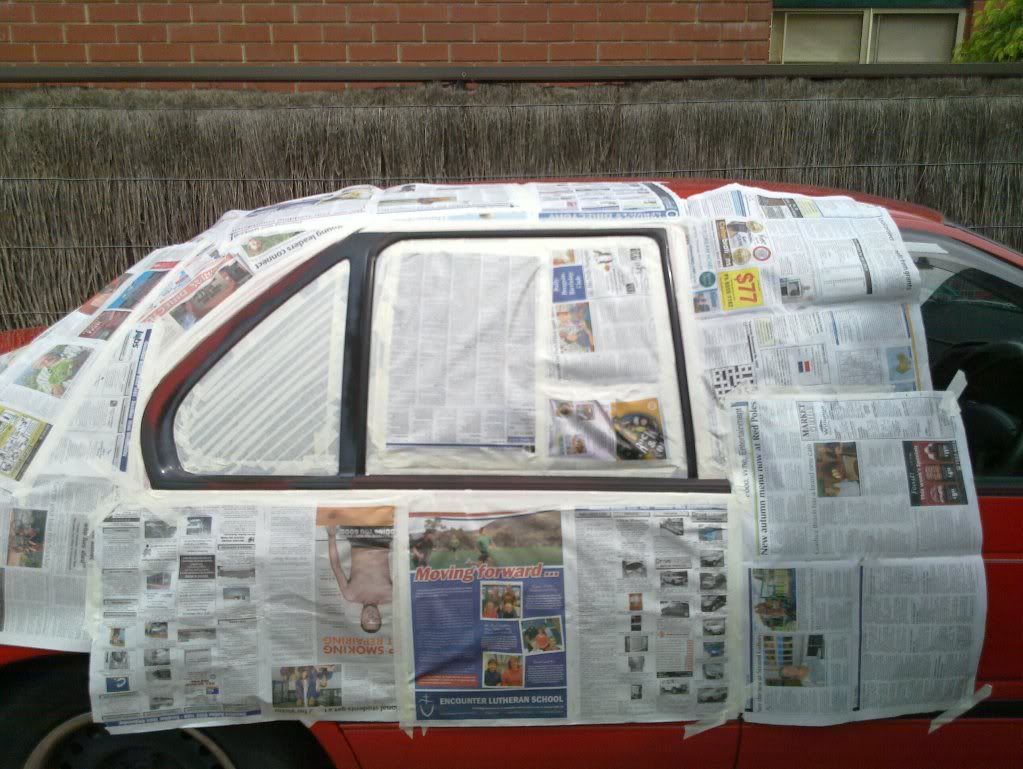 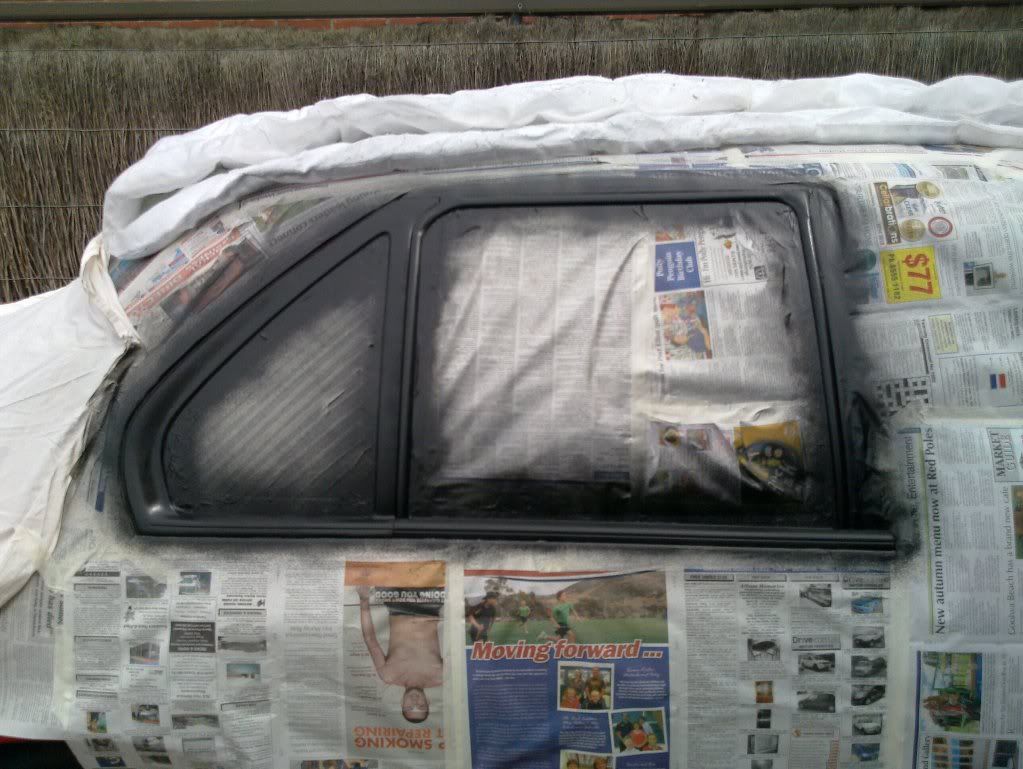 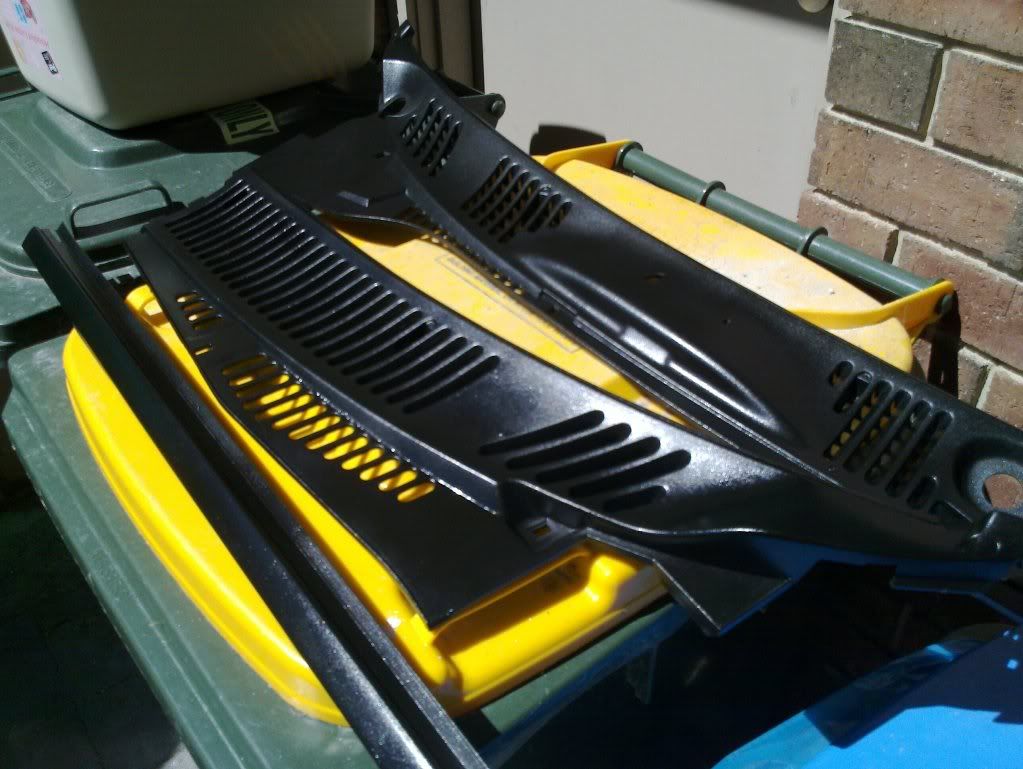 and also modified the front grill after reading some posts of guys on here changing it to the aluminum mesh stuff =) 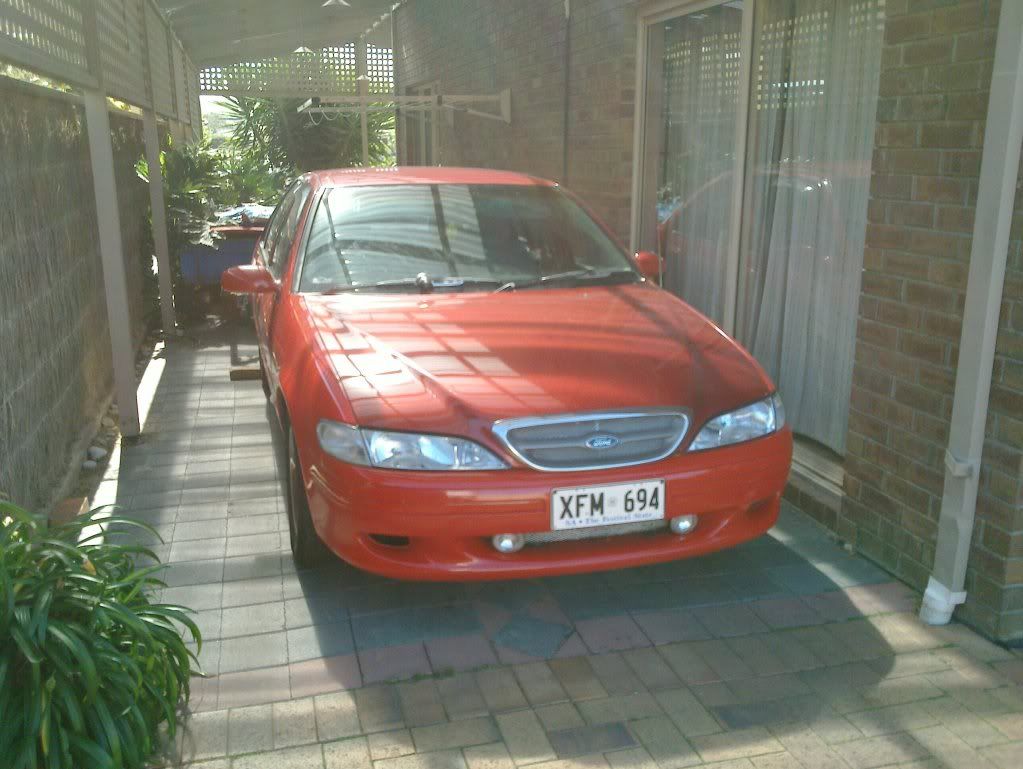 but then Finally the holidays are here!!!!! so off came the bonnet and standing and prep work had begun! ive never ever painted a car properly before (with out using cheap spray cans) so this is a learning experience for me. so far everything ive done ive researched on youtube first to see how its done. but here are some more pics 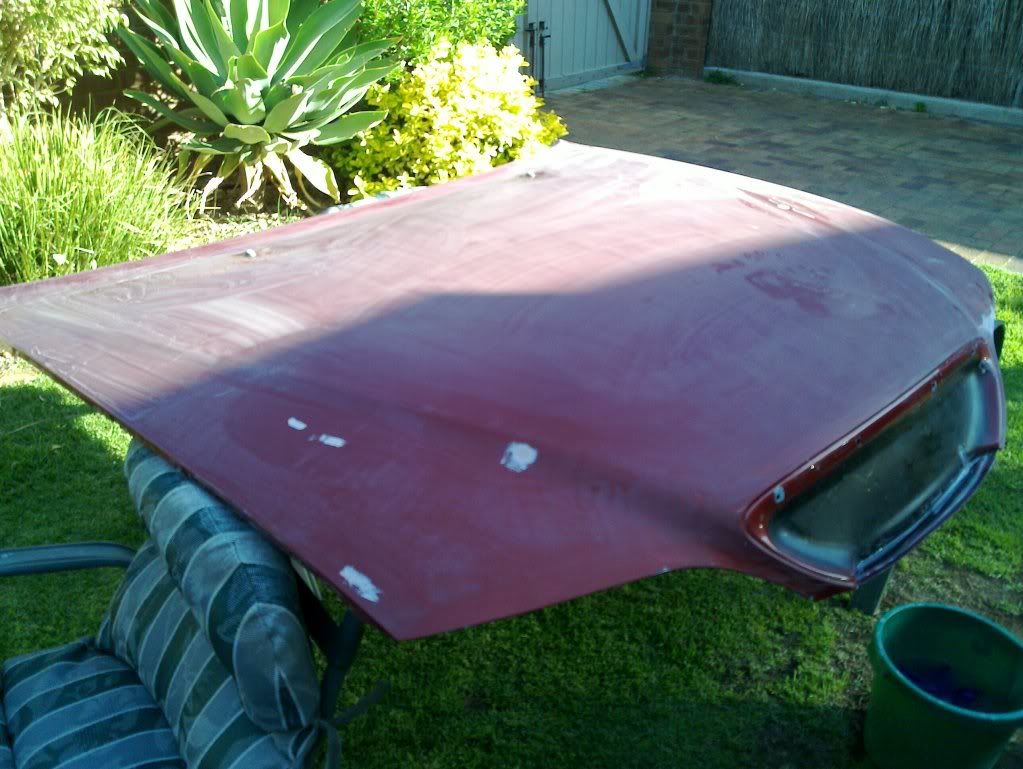 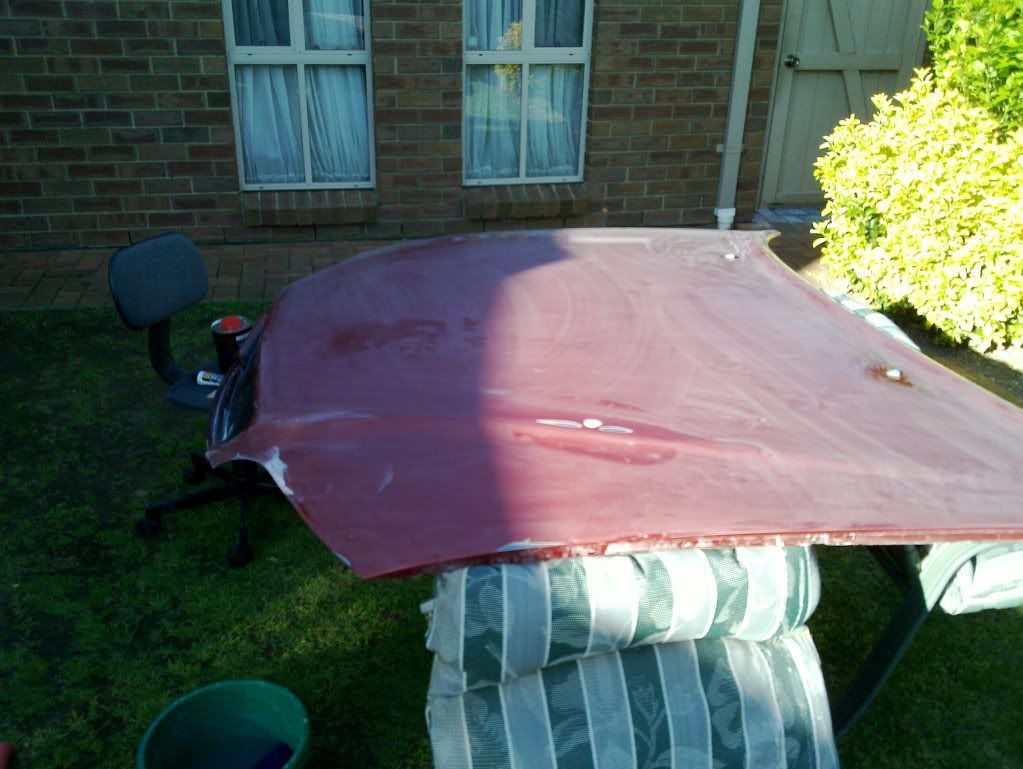 ive also decided to take out thoes windscreen washing jets in hopes the bonnet will look smoother and cleaner =) (here are the pictures of the water jet holes getting bogged) 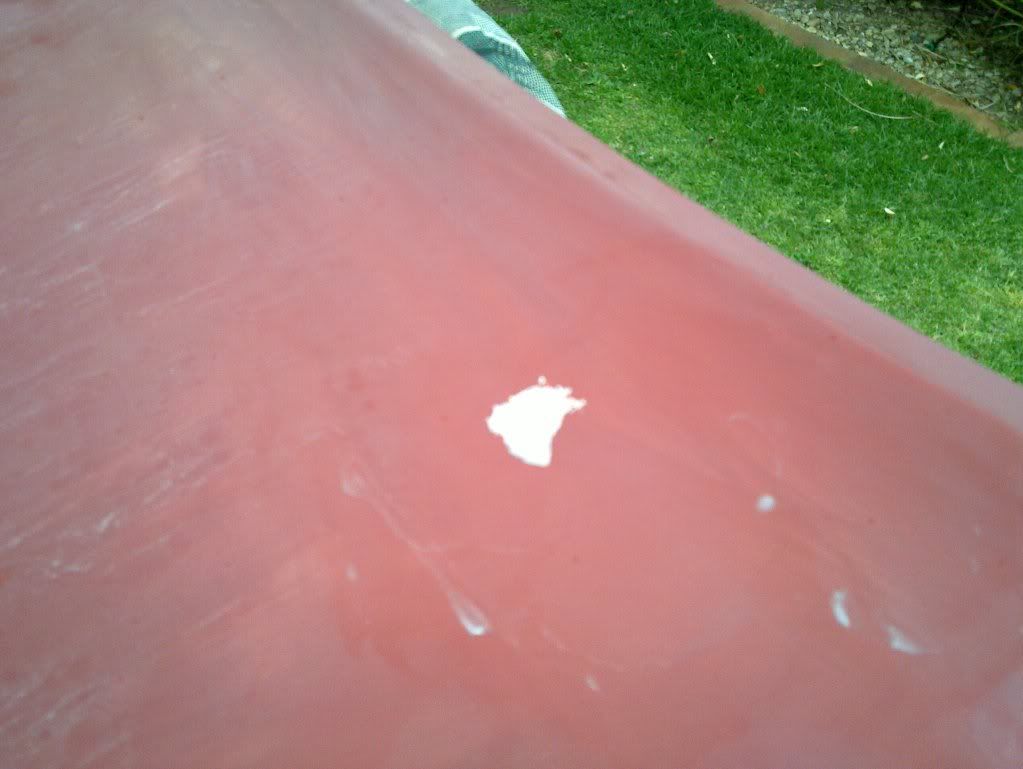 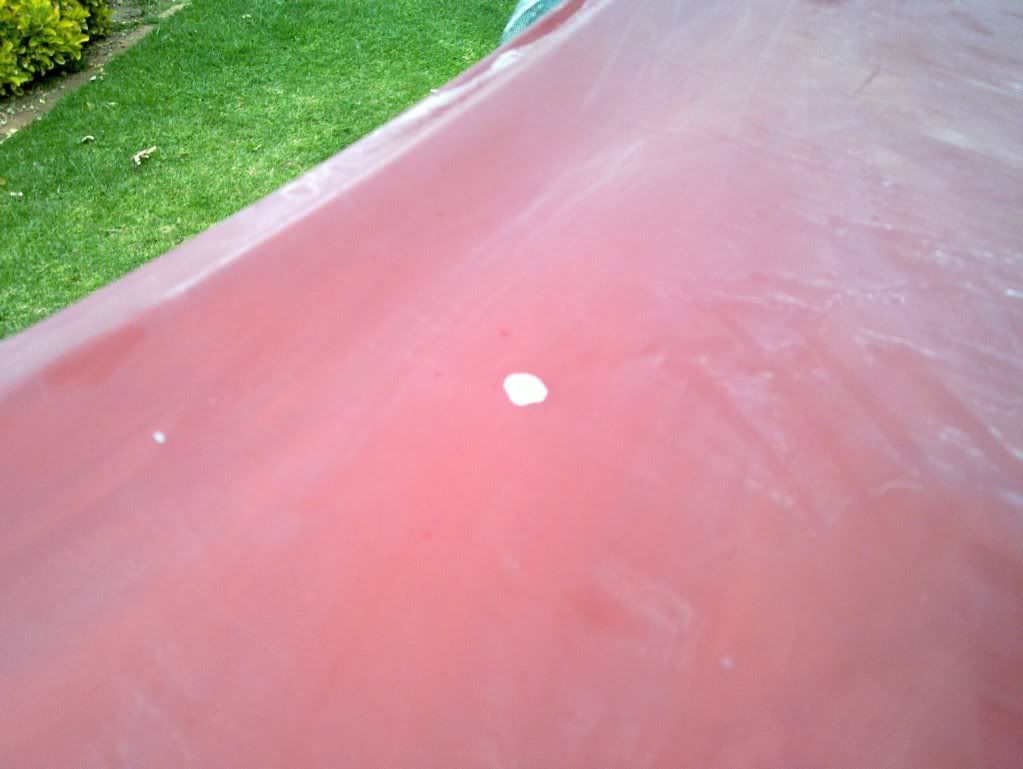 and i moved the jets to the plastic cowl thingo infront of the windscreen. here are some pictures =) 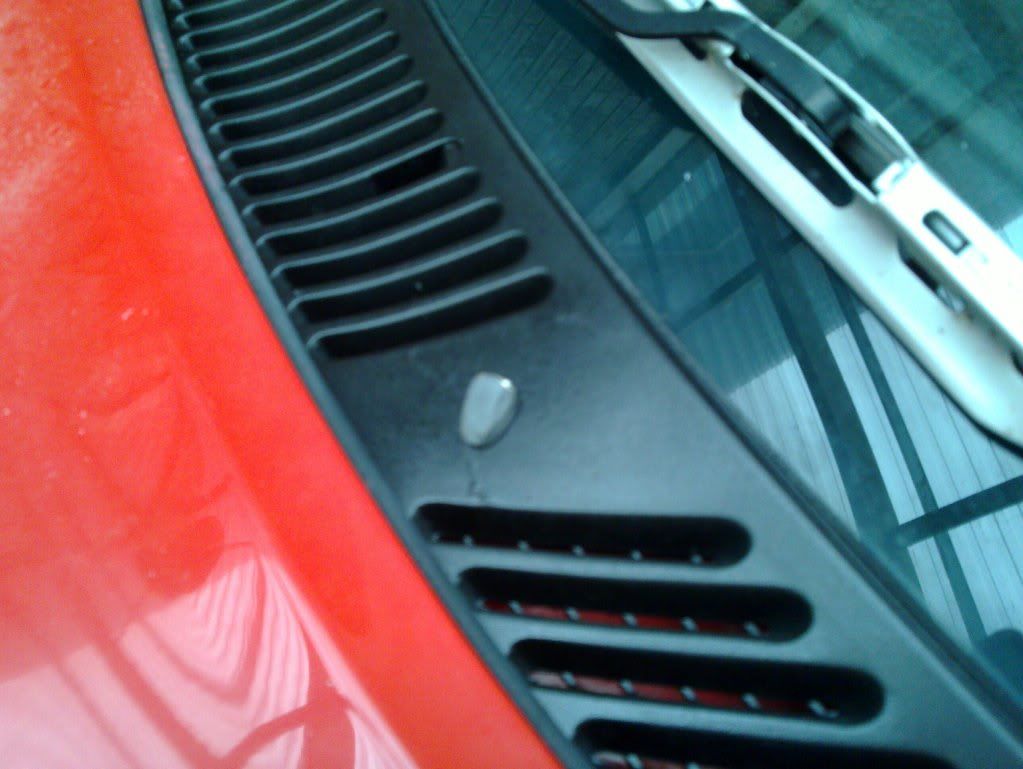 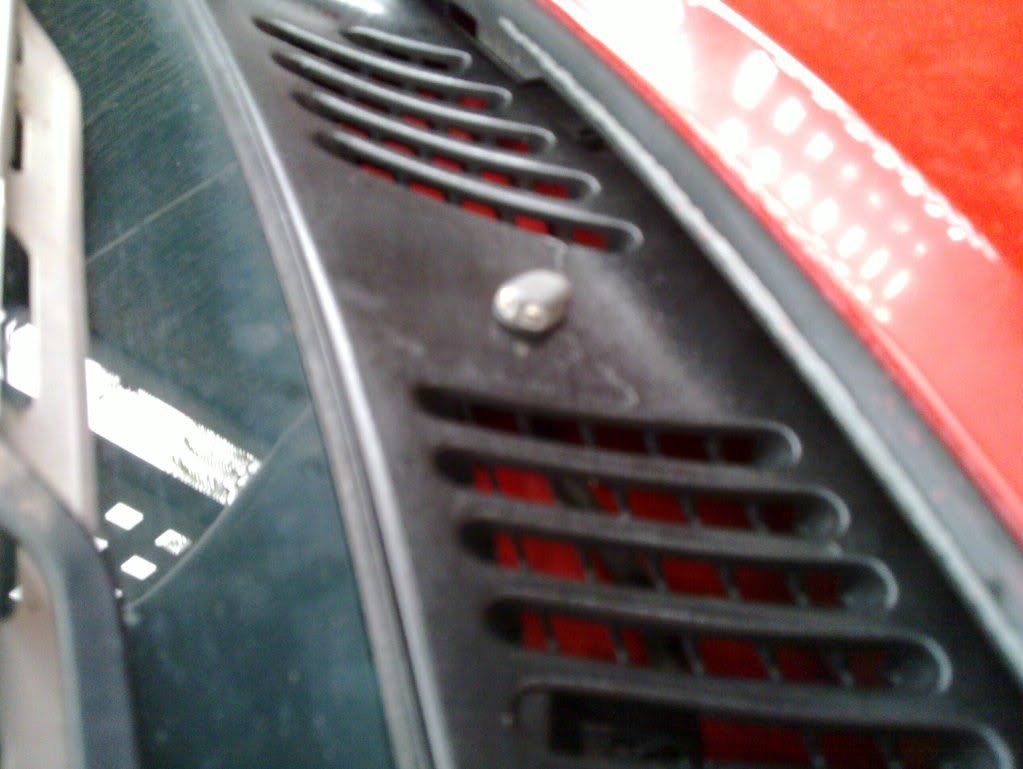 and thats it so far! hope you guys enjoyed my write up and any opinions or questions are welcome. also if you guys have any tips for spraying the bonnet please tell me! i need all the help i can get! |
||
| Top | |
||
| Saphiric |
|
|||
|
Hey mate...keep up the good work! It's all a bit of a learning curve...even the pro's have got to start somewhere. If I may offer you some advice...be very gentle when sanding back near edges...try to avoid rub throughs...sometimes it just can't be helped...but if it doed happen, make sure its feathered out properly and this part should be primed. Also you said that you were bogging up your w/washer holes...you will need to reinforce underneth this to stop it flexing and your bog cracking out after you have sprayed your colour on. I hope this is of some help to you. Hope to see some finished pics up here soon.
|
|||
| Top | |
|||
| B Bear |
|
|||
|
Good to see you have build thread now dude
I like the fairmont bonnet, looks a lot better ! I was going to swap mine round with an EF but cause of the EL I have the bonnet, lights and lower bumper all differ and plus I had to buy a whole car.... it was cheap but not enough room to store another one...anyway. I also love the little water nozzle mod |
|||
| Top | |
|||
| jvangent |
|
||
|
{USERNAME} wrote: Hey mate...keep up the good work! It's all a bit of a learning curve...even the pro's have got to start somewhere. If I may offer you some advice...be very gentle when sanding back near edges...try to avoid rub throughs...sometimes it just can't be helped...but if it doed happen, make sure its feathered out properly and this part should be primed. Also you said that you were bogging up your w/washer holes...you will need to reinforce underneth this to stop it flexing and your bog cracking out after you have sprayed your colour on. I hope this is of some help to you. Hope to see some finished pics up here soon. hey thanks mate, i was worried about the bog cracking so ill take your advice and put something behind it, and yeah as you can see i do have some rub through. i got some 2 in 1 primer/bog stuff that i will spray over it before i spary the colour on. so hopefully that will help as well =) |
||
| Top | |
||
| jvangent |
|
||
|
{USERNAME} wrote: Good to see you have build thread now dude I like the fairmont bonnet, looks a lot better ! I was going to swap mine round with an EF but cause of the EL I have the bonnet, lights and lower bumper all differ and plus I had to buy a whole car.... it was cheap but not enough room to store another one...anyway. I also love the little water nozzle mod cheers mate! yeah i was lucky enough to get the bonnet cheap from the bloke in adelaide, as well as the lights from a mate. i think in total i spent 250$ on the swap over including the paints and etc. and i just used the falcon bumper and cut it out alittle to fit the grill. =) but i think it will look great once done! |
||
| Top | |
||
| jvangent |
|
||
|
Just a update, ive also been looking into making a custom tail light with inbuilt LEDs.
ive used some old Altezza styled clear-lens lights just to test out different options. 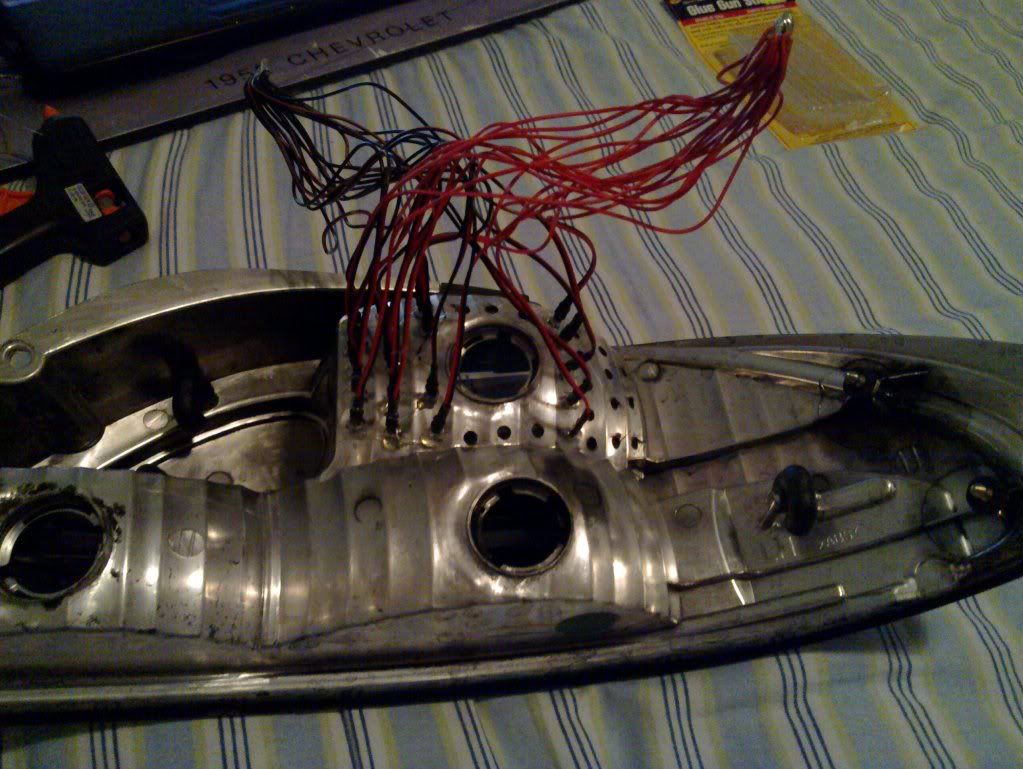 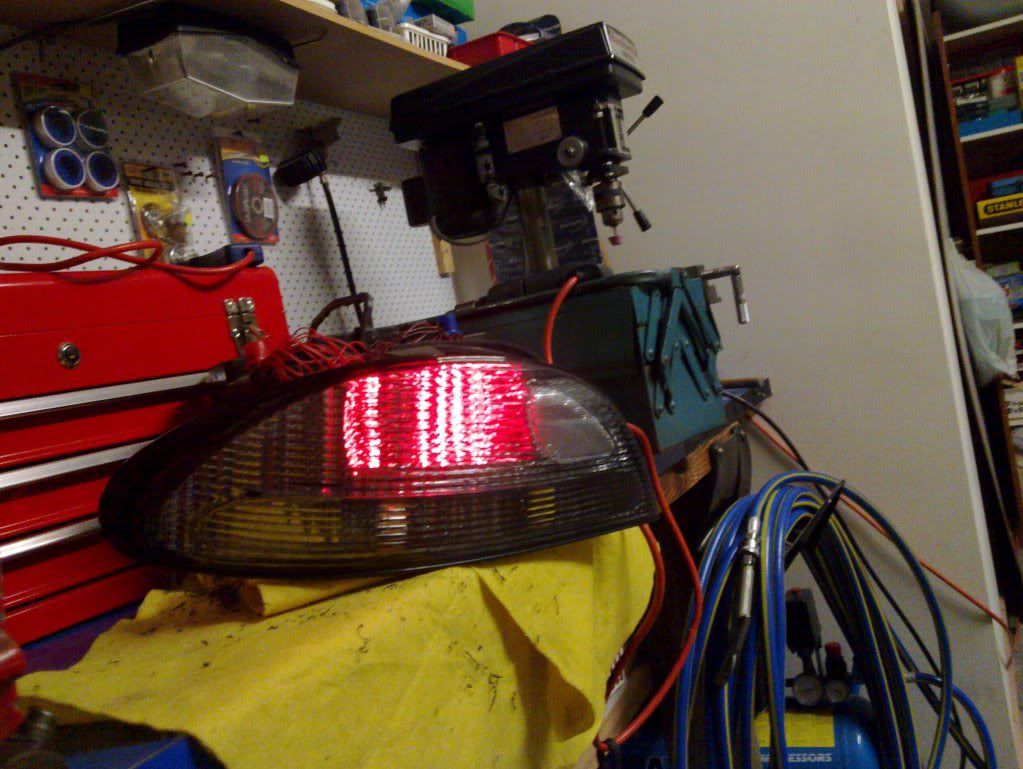 and a link as well explaining some stuff and some more photos! =) {DESCRIPTION} so many projects on the run! so i doubt i will be bored this holidays! im hoping the weather will be okay tomorrow to do a coat of primer on the bonnet. kind of need it done before the end of the holidays (around 1 week lest) so fingers crossed with that! anyways cheers for the comments =) and as usual ideas and opinions are welcome! |
||
| Top | |
||
| chris sieclay |
|
||
|
really the squirter holes should be welded by someone that knows what theyre doing so the bonnet isnt warped, but if you're going to use filler those repairs havnt been knocked down enough.. i can tell that by the size of the repair.. its going to fall out quite soon.
Grind the washer hole area with 36 grade to at least the size of your hand and tap the washer hole area down a little to give the bog some depth and strength, let the bog go off and grab a hard block with 36 scratch paper and work it down flat.. keep reapplying bog till you're confident you have it flat. with the 36 scratch leave the bog a little high and finish it of with 80 grit.. make sure the bog isnt going to the edge of the paint, notice it has on your repair? If you dont the paint will bite up when you go to paint it and will be an unreliable repair.. feather it all out with 150 grade. 4 coats of high build primer, give it a week then knock it down with a hard block and 400 or 600 if you prefer. PS: get the primer on there with your coats dont be shy.. let it flash off between coats.
_________________ South Australia.. Heaps good. |
||
| Top | |
||
| fordnut1988 |
|
||
|
hey mate when you did the mirror tint did you have to remove your existing tint and if so how did you go about it?
|
||
| Top | |
||
| jvangent |
|
||
|
{USERNAME} wrote: really the squirter holes should be welded by someone that knows what theyre doing so the bonnet isnt warped, but if you're going to use filler those repairs havnt been knocked down enough.. i can tell that by the size of the repair.. its going to fall out quite soon. Grind the washer hole area with 36 grade to at least the size of your hand and tap the washer hole area down a little to give the bog some depth and strength, let the bog go off and grab a hard block with 36 scratch paper and work it down flat.. keep reapplying bog till you're confident you have it flat. with the 36 scratch leave the bog a little high and finish it of with 80 grit.. make sure the bog isnt going to the edge of the paint, notice it has on your repair? If you dont the paint will bite up when you go to paint it and will be an unreliable repair.. feather it all out with 150 grade. 4 coats of high build primer, give it a week then knock it down with a hard block and 400 or 600 if you prefer. PS: get the primer on there with your coats dont be shy.. let it flash off between coats. thanks heaps mate! i think im going to tap it out and using a 105 epoxy resin and a 205 hardner with 405 filler, ive used this stuff before with boats and a mate suggested it would be a good way to fill in large gaps as it sticks to metal and can flex but still have the same strength as bog. so im wondering if i could use that instead? and will it effect my primer and paint in anyway? |
||
| Top | |
||
| jvangent |
|
||
|
{USERNAME} wrote: hey mate when you did the mirror tint did you have to remove your existing tint and if so how did you go about it? yes i removed my original tint, i just used a heat gun and slowly peeled it back. it wasnt as hard as i thought. there was some glue still left on the window but i just used alittle bit of petrol to get it off =) |
||
| Top | |
||
| jvangent |
|
||
|
Got alittle gift today from the Father =)
must say was a good surprise! the Octane booster i will probably try some time when i can use it best (sucks SA doesnt have a official 1/4mile) 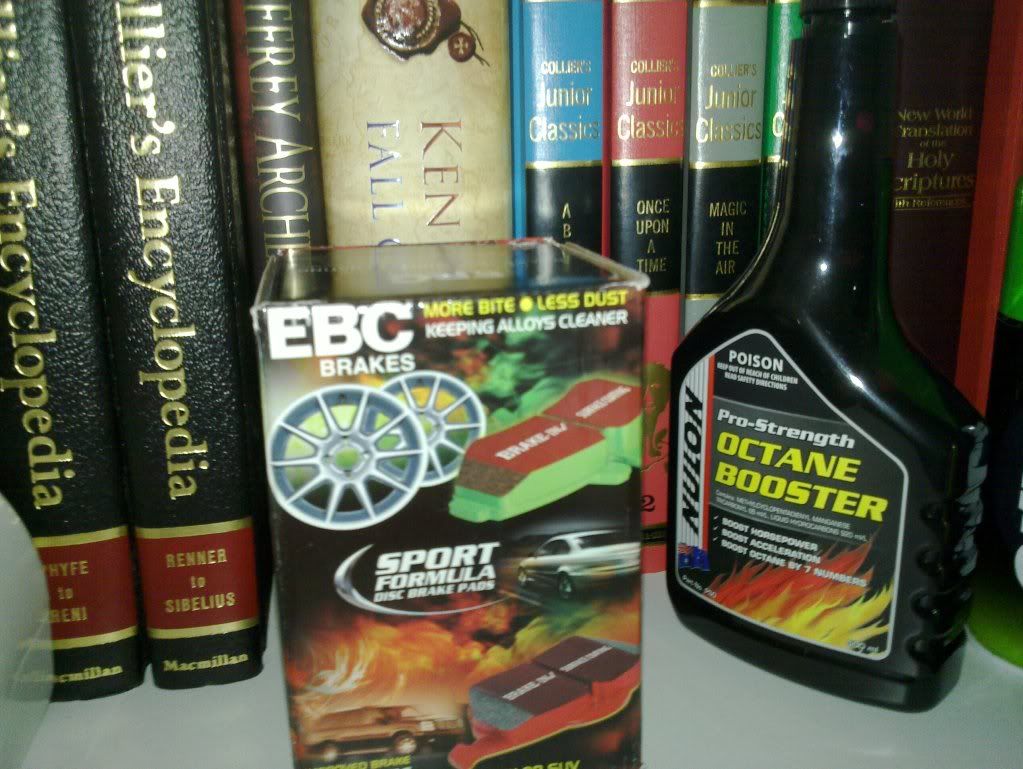 so after some lunch i done this to the front =) before 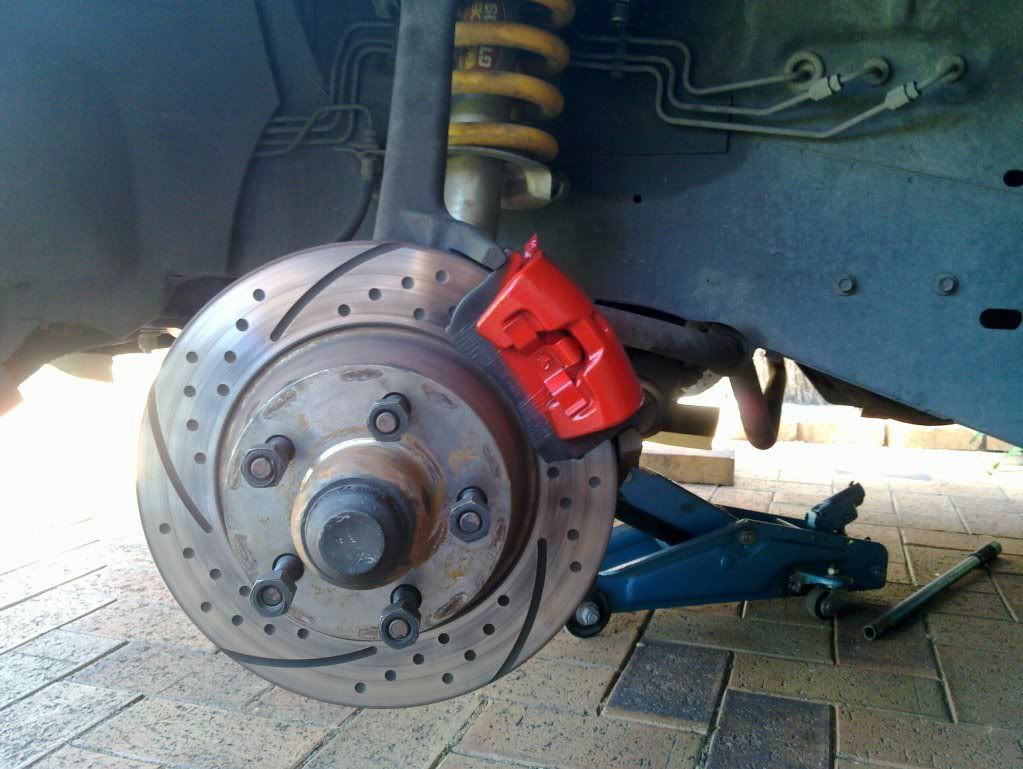 after 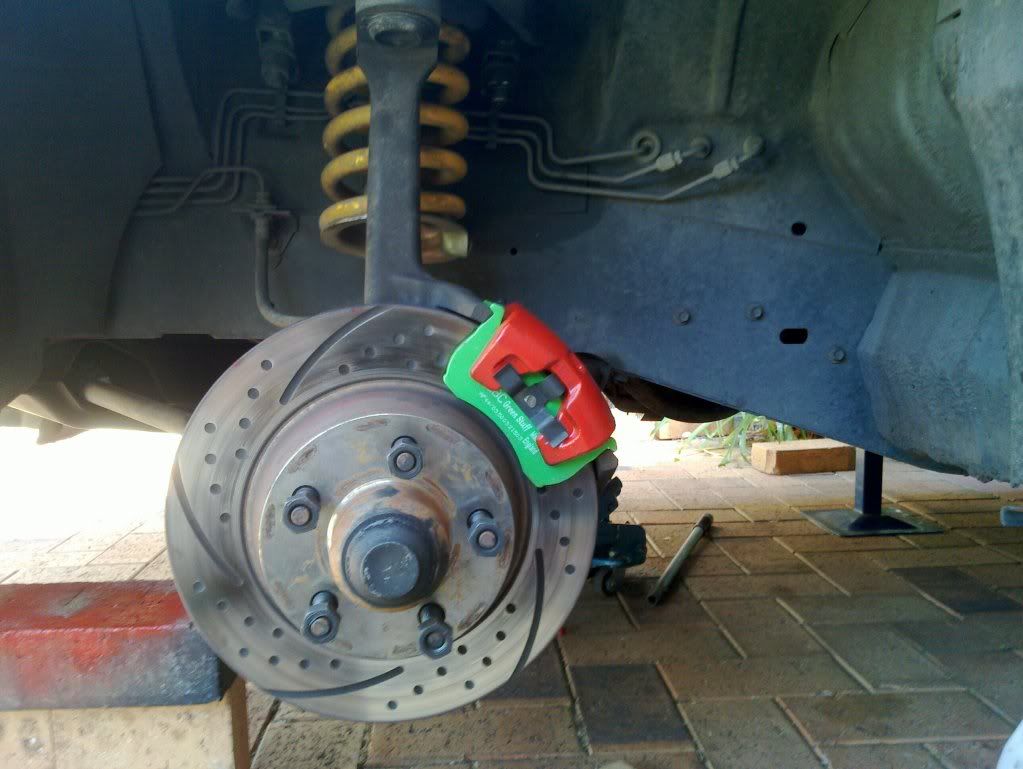 the red and green i must say looks different but i like it =D if only i didnt have stockies so i can show them off more! and here are the rears done too! 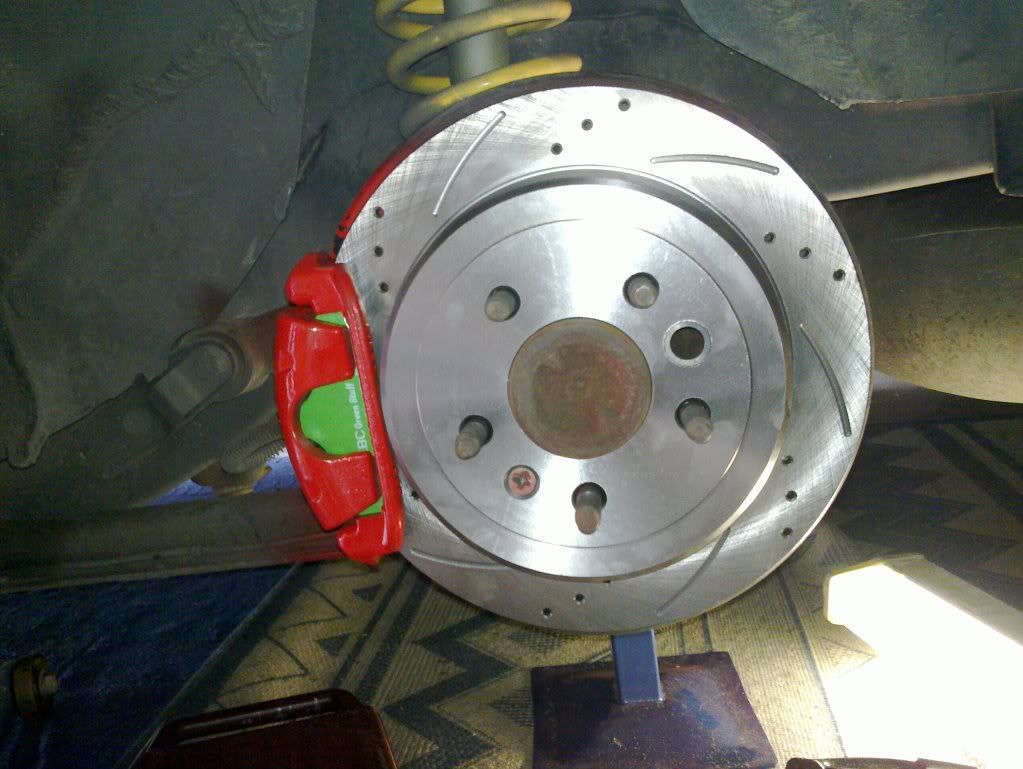 i havnt tried them yet as they need to bed in properly, but im sure they will be alot better then the crappy cheap pads i had before! here is a comparison between the two if anyone is interested =) the Green stuff is obviously on the top. i dont know if its just me but it seems the green stuff has a slightly smaller surface area??? but anyhows for a freebie im happy =) 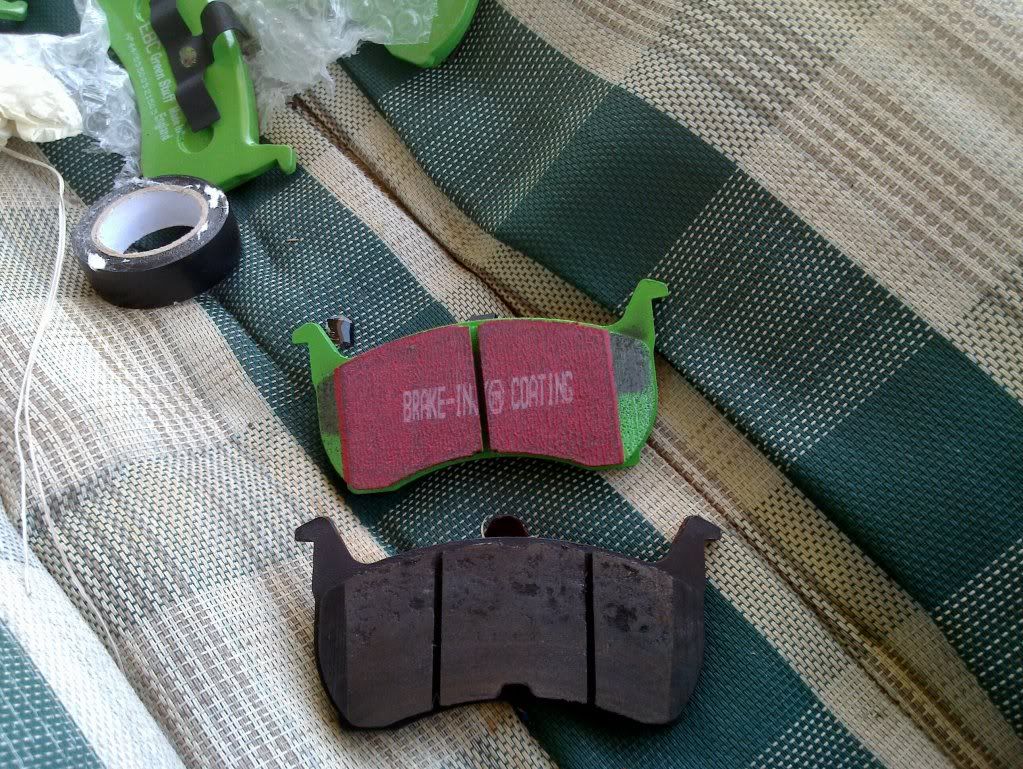 unfortunately the weather isnt too good and i had to move to the shed to do the rear pads, so there goes any work on the bonnet today. (dad doesnt want me messing up the shed with bog and crap) but anyways questions and opinions are welcome =) |
||
| Top | |
||
| green machine |
|
|||
|
Hey mate just watch the green pads as they are a hard pad and if to much heavy breaking they will warp the s**t of of your rotors!
_________________ custom airbox,custom intake |
|||
| Top | |
|||
| chris sieclay |
|
||
|
{USERNAME} wrote: {USERNAME} wrote: really the squirter holes should be welded by someone that knows what theyre doing so the bonnet isnt warped, but if you're going to use filler those repairs havnt been knocked down enough.. i can tell that by the size of the repair.. its going to fall out quite soon. Grind the washer hole area with 36 grade to at least the size of your hand and tap the washer hole area down a little to give the bog some depth and strength, let the bog go off and grab a hard block with 36 scratch paper and work it down flat.. keep reapplying bog till you're confident you have it flat. with the 36 scratch leave the bog a little high and finish it of with 80 grit.. make sure the bog isnt going to the edge of the paint, notice it has on your repair? If you dont the paint will bite up when you go to paint it and will be an unreliable repair.. feather it all out with 150 grade. 4 coats of high build primer, give it a week then knock it down with a hard block and 400 or 600 if you prefer. PS: get the primer on there with your coats dont be shy.. let it flash off between coats. thanks heaps mate! i think im going to tap it out and using a 105 epoxy resin and a 205 hardner with 405 filler, ive used this stuff before with boats and a mate suggested it would be a good way to fill in large gaps as it sticks to metal and can flex but still have the same strength as bog. so im wondering if i could use that instead? and will it effect my primer and paint in anyway? Ive never used that product mate but if its anything like fibre reinforced resin well then yeah but i'd grind it down a bit low with 36 grade and wipe some bog over the top and do as above.. polyester fillers have a finer finish, i dont like the edges resin compounds leave.
_________________ South Australia.. Heaps good. |
||
| Top | |
||
| jvangent |
|
||
|
{USERNAME} wrote: Hey mate just watch the green pads as they are a hard pad and if to much heavy breaking they will warp the s**t of of your rotors! cheers mate! =) do you know how well they brake under lots of pressure? |
||
| Top | |
||
| jvangent |
|
||
|
{USERNAME} wrote: {USERNAME} wrote: {USERNAME} wrote: really the squirter holes should be welded by someone that knows what theyre doing so the bonnet isnt warped, but if you're going to use filler those repairs havnt been knocked down enough.. i can tell that by the size of the repair.. its going to fall out quite soon. Grind the washer hole area with 36 grade to at least the size of your hand and tap the washer hole area down a little to give the bog some depth and strength, let the bog go off and grab a hard block with 36 scratch paper and work it down flat.. keep reapplying bog till you're confident you have it flat. with the 36 scratch leave the bog a little high and finish it of with 80 grit.. make sure the bog isnt going to the edge of the paint, notice it has on your repair? If you dont the paint will bite up when you go to paint it and will be an unreliable repair.. feather it all out with 150 grade. 4 coats of high build primer, give it a week then knock it down with a hard block and 400 or 600 if you prefer. PS: get the primer on there with your coats dont be shy.. let it flash off between coats. thanks heaps mate! i think im going to tap it out and using a 105 epoxy resin and a 205 hardner with 405 filler, ive used this stuff before with boats and a mate suggested it would be a good way to fill in large gaps as it sticks to metal and can flex but still have the same strength as bog. so im wondering if i could use that instead? and will it effect my primer and paint in anyway? Ive never used that product mate but if its anything like fibre reinforced resin well then yeah but i'd grind it down a bit low with 36 grade and wipe some bog over the top and do as above.. polyester fillers have a finer finish, i dont like the edges resin compounds leave. yeah ive never used that stuff with cars or to patch up holes so ill put some more research into it. but i defiantly will grind it down alittle in ether case. thanks for the tips mate! very much welcome! |
||
| Top | |
||
| Who is online |
|---|
Users browsing this forum: No registered users and 185 guests |