

|
| KWIKXR |
|
|||
|
Finally, I have a front sound stage again!
Found the reason behind the lack of midbass - p/s woofer wired in opposite phase at the amp end Cut up the p/s door trim a bit for more clearance around the mid woofer. While the trim was apart, I resprayed the door trim top and arm rest so it matched the d/s trim. All good, clears the woofer now and no longer getting any weird noises. 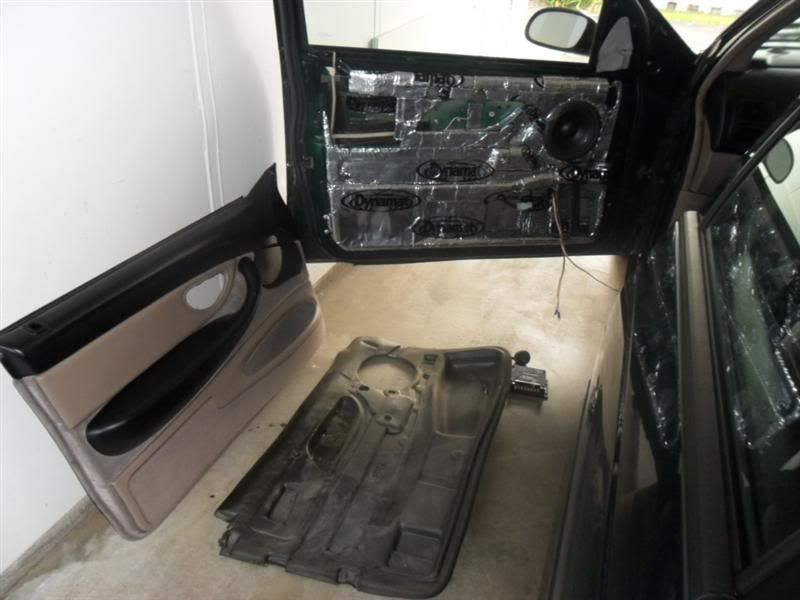 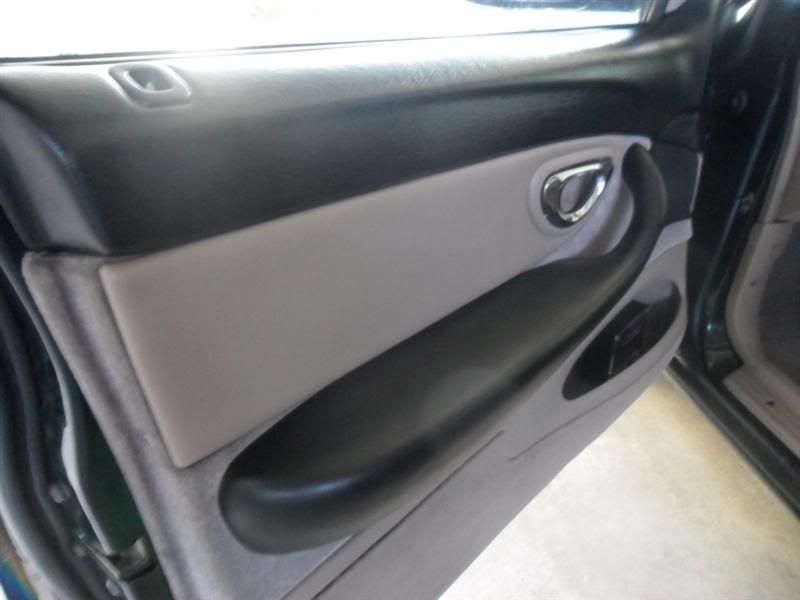 Had the Response Precision x-overs and tweeters left over from the original install, so thought I'd give them a try to see how they'd go, seeing as I wasn't happy with trying to mount the Rainbow x-overs and haven't yet purchased the Sea's Prestige tweeters... Pretty wrapped with the overall sound using the Response items. The tweeters blend in very nicely with the DLS mid's, good thing is the x-overs are easy to mount so have used the original holes in the map pocket I used last time. Will probably still change the tweeters eventually to the Sea's once I get around to making the order, but for now they are doing the job, and doing it nicely! Tweeters are pretty much positioned as they were when they were installed last time round but will a slight alteration to the cup mounting position to give a touch more angle. Right now they would be 'semi' on-axis. Staging is pretty good too, fairly central and at a nice height, although I wish my H/U had time alignment to play with right now - new H/U possibly on the cards? Here's a quick vid of the sound, although it is very crappy quality, camera barely picks up any bass lol.. http://www.youtube.com/watch?v=hIaoDWjiSkE |
|||
| Top | |
|||
| Deff |
|
||
|
As always mate, super impressed with your work!
If you make the Hamilton run I hope to make it as well. We can talk some s**t |
||
| Top | |
||
| KWIKXR |
|
|||
|
Cheers matey!!
Yep, I'll most likely be there on the run down to Hamilton All Ford Day - should be a decent drive down there early on a Sunday morning for sure, will be interesting to see how the Ford's are down that way. See ya there! -------------------------------------------------------------------------------------------------- Having driven around for about a week now with the sound system all up and running, I'm pretty happy with the sound overall. Still getting very slight vibration noise from the drivers side door trim so I'll probably take that off tomorrow and see what is making all the racket. Pretty weird because when I re-installed the door trim last weekend after modding it to clear the woofer things were fine and no longer had the noise so it could be something else vibrating from the midbass. Went out to Jaycar today to pick up what is supposedly the last set of Response Precision ribbon tweeters in Auckland. Really couldn't wait for the Sea's Prestige tweeters as they had to be ordered in so decided to give these a go. At $53 (down from $107 due to end of line clearance on Response) guess it's worth the risk lol, compared to $100 it'll cost for the Sea's which come with no mounting hardware.. Will fit them up tomorrow and see if they live up to the "Audiophile Quality" that is labelled on the box lol.. 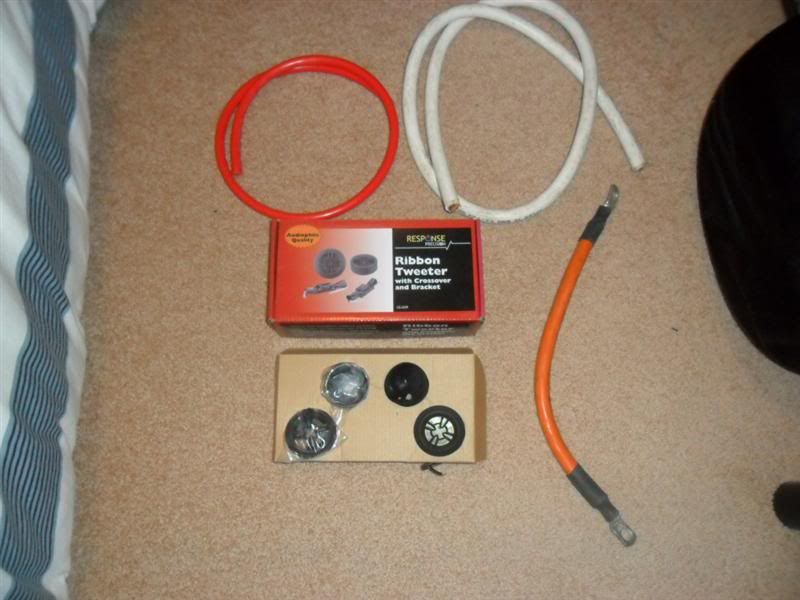 Also picked up some 2ga power cable to upgrade the alternator power cable with. Received some 70mm2 welding cable to use for the earth upgrades, holy s**t its some fat cable, way over overkill lol, but should be fine as long as I can somehow fit it inside the -ve battery terminal.. Fingers crossed, it'll be fine tomorrow and I'll get a bit more work done to the Fairmont. While I was out, I got a few snaps and some quick drive by vid's of the slow thing in action 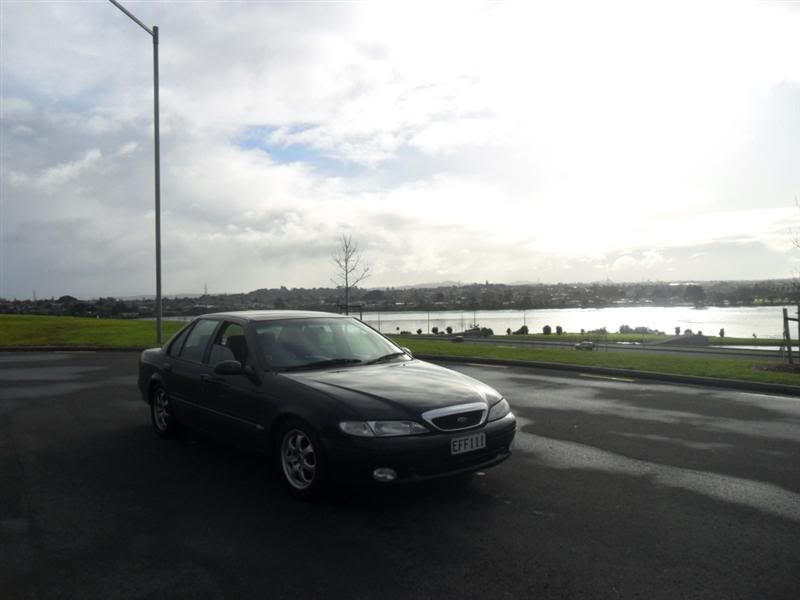 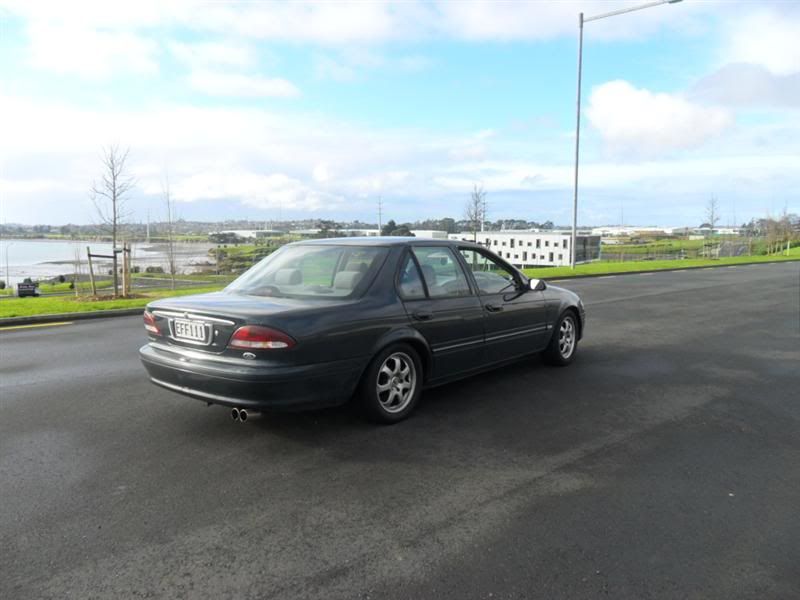 http://www.youtube.com/watch?v=ZxqXZKdjygw http://www.youtube.com/watch?v=VMExUT6xBL4 |
|||
| Top | |
|||
| KWIKXR |
|
|||
|
Got the new ribbon tweeters in today as well as most of the power and earth cable upgrades.. As always with small jobs like this, s**t always goes wrong, especially if you've put a few bottles back, lol..
The tweeters went in without a hitch though! They sound pretty awesome too, high end frequencies are much smoother compared to the silk dome Response tweeters that were in there previously - funnily enough, all I ever read about was ribbon tweeters being excessively bright. They aren't the prettiest tweeters out, but for what they lack in the looks department, they more than make up for in sound. Still have a few things to fit back on the door trims (door lock strikers, armrest screw covers, Fairmont 'F' badges) but this is how they look.. 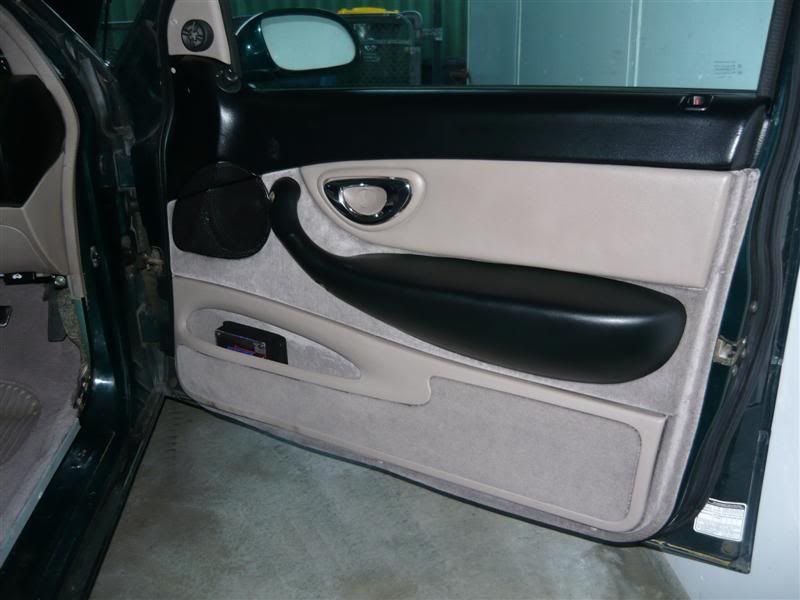 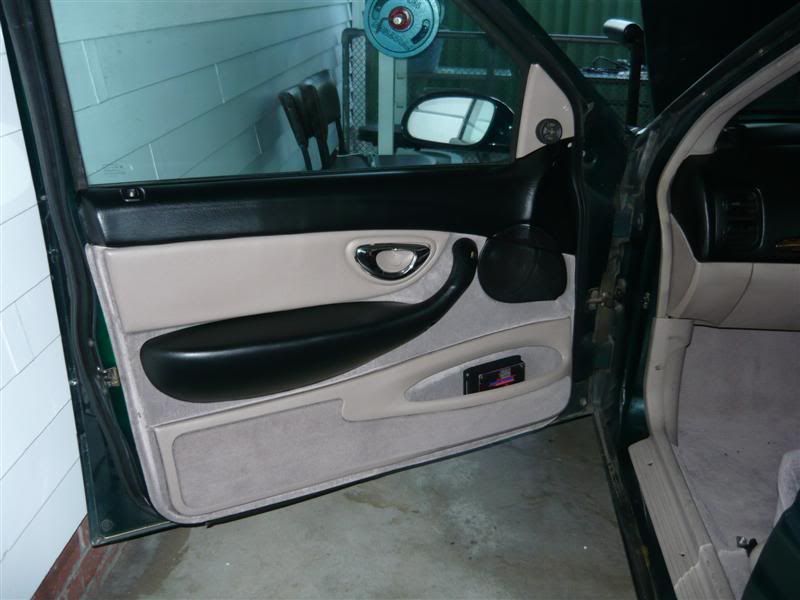 Weird looking tweeters, ha 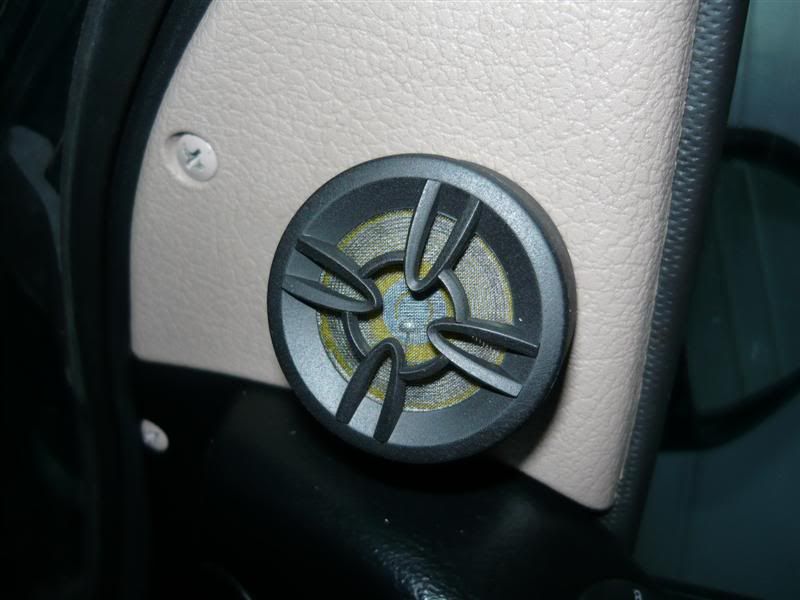 Front stage sounds much more balanced now and I'm pretty happy with the sound so I don't think I'll upgrade from what I currently have Now onto the cable upgrades, where s**t went wrong one thing after another.. Firstly, got all my chosen cables crimped and soldered before attempting to fit them all, then noticed the stupid battery terminals had all the wrong sized holes for the cables I needed to add. Ended up having to use 2ga battery to block cable instead of the 70mm2 welding cable I bought. As mentioned, the welding cable is beyond overkill/excessively huge so decided not to bother with that as 2ga should be more than sufficient really. From the top: Std battery to block earth, new 2ga battery to block cable, 2ga battery to alt cable, 70mm2 welding cable 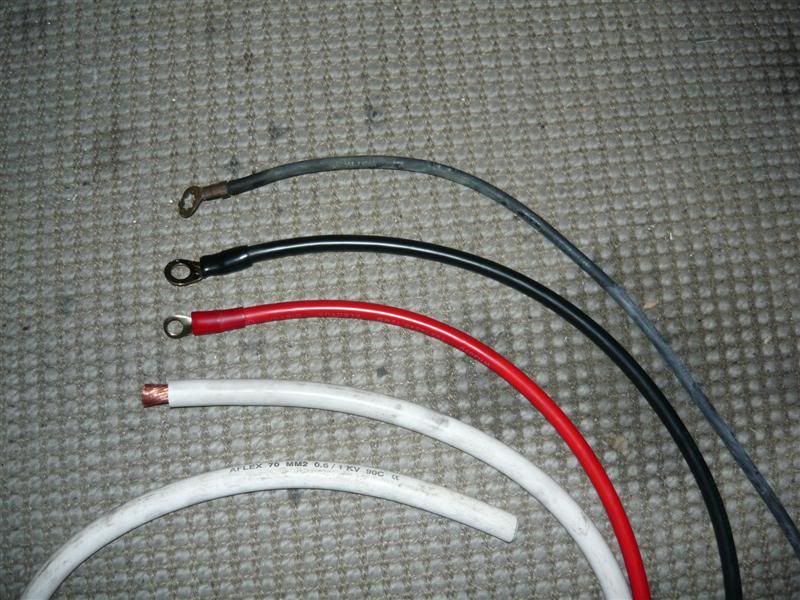 Wasn't too confident in my chosen cable for the battery positive to alternator cable. Since I was planning on adding an extra cable that went directly to the alternator without going through the fusebox I thought 4ga might be more appropriate than the 2ga cable I already had crimped ready to fit.. but then again I know SFA about the electrical side of things.. So I grabbed a new lug and just crimped up a new 4ga cable to use instead. Took the battery out, removed all cables from the terminals and got to work fixing the new cables in place. Went to undo the nut holding the earth cable to the block and it spun the entire stud along with it. Managed to get it undone as there was another nut screwed onto the stud which the earth lug sits up against, so got a thin enough spanner in there to hold it in place while I undone the retaining nut. FFS, what a mission lol. Wrapped a bit of loom tube around the cable, then some heat shrink tube around the end then fixed it in place.. 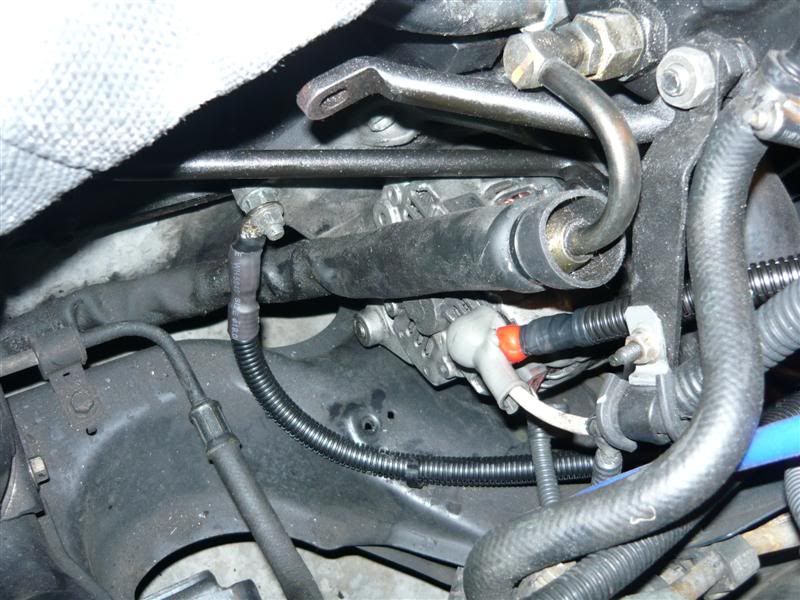 The battery to alternator cable was pretty much a 2min job which was good, just routed the cable accordingly and fixed it in place along with the std cable.. 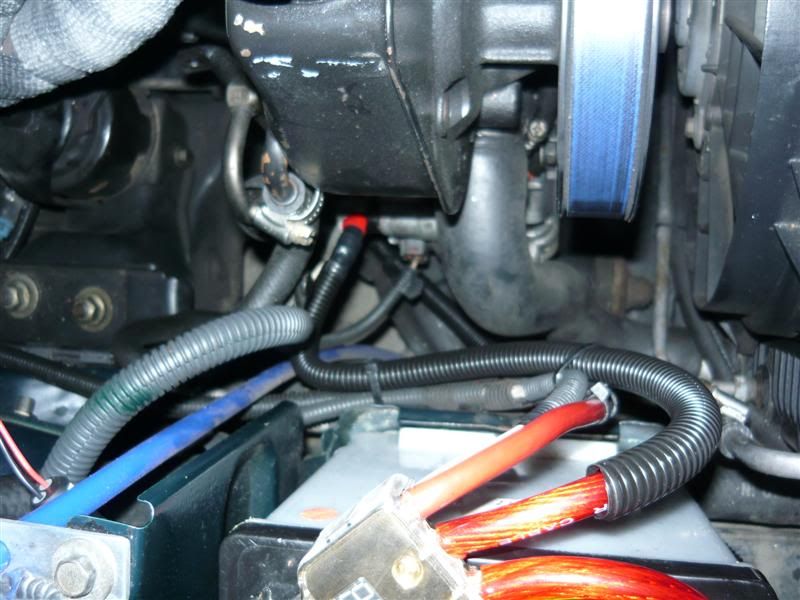 Then when attaching all the cables back into the terminals I hit another snag.. Whilst screwing one of the allen key grub screws back in, I somehow dropped the key and watched it fall down somewhere underneath the battery tray never to be seen again. Guess it'll eventually fall out on the road for some lucky bastard to come across some day Next snag was when I threaded the grub screw holding the amp power cable into the terminal, I just about had it at that point as the screw also fell down onto the battery tray then bouncing off somewhere else just below it. Just as well I had a broken 0ga grub screw type lug from the past which still had the screw, magically it just so happened to be the same thread size. Added a new 2ga earth from battery to header tank support while I was there. Was going to add a cable from engine block to chassis, but at 10.30pm, s**t like that can wait.. I swear I'm buying some proper f**k battery terminals next time I ever need to do anything like this again though.. All done and dusted now! Only thing left to do now really is get a new battery eventually and that'll be the electrical side of things sorted for a long time. 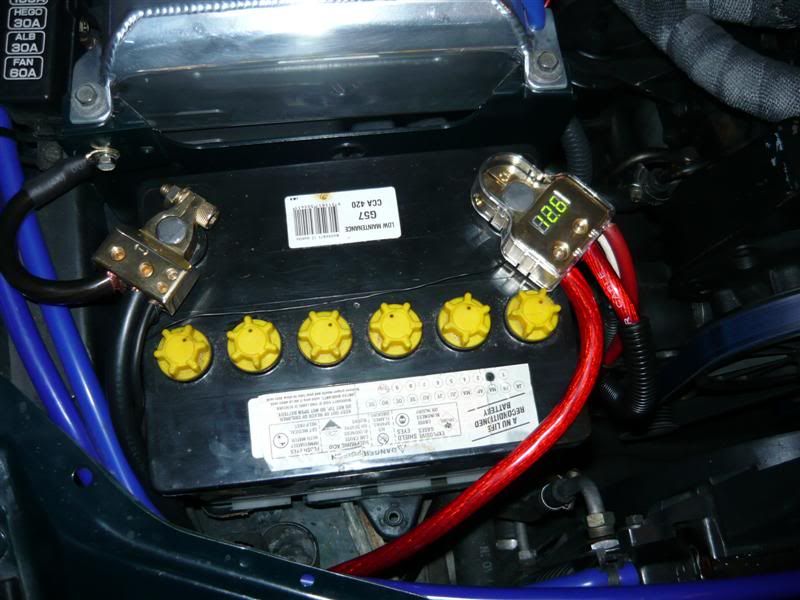 Fired up the engine right after connecting the battery and everything worked sweet, but then I had a blonde moment(s). Everything sounded as per normal except for this distinct metallic rattle coming from the top end of the engine. Scared the s**t out of me at first, sounded like it could have been coming from the exhaust side of the head.. Had my head down in the engine bay listening around above the extractors, then looked up and noticed it was the damn metal bracket that sits over the back 2 rocker cover bolts that was rattling as it was loose. Got in there and tightened up the retaining nuts, right before standing up and reverse headbutting the underside of the bonnet.. Today's/tonight's lesson - don't drink and mod.. |
|||
| Top | |
|||
| TerroristGHIA |
|
|||
|
Nice work.
Quick question though, the largest battery positive, whatr size grub screw is that, as the one in my Fairmont has gone walk about due to excessive engine vibration. I to am about to rewire my entire sound system and this is the only stumbling block at this stage. Cheers Brett
_________________ The Terrorist ED Retired due to RUST. |
|||
| Top | |
|||
| KWIKXR |
|
|||
|
Thanks mate
I guess with a big grunty 351w under the bonnet, it's no wonder the screw came loose, haha Sorry for not getting back to you sooner, Brett. Just went out to check the thread size of the grub screw for the largest hole on the positive terminal and it is an M10 grub screw, and about 10mm in length. I'm unsure of the exact thread pitch as the points on my vernier calipers are pretty blunt and that's all I had in the garage that I could use to measure it. The thread pitch is quite fine though, I think it's 1.0mm pitch, that's as close as I could get to measuring it accurately anyway. I know for certain it's finer than 1.5mm as I tried a m10 1.5mm pitched screw in the tapped hole on the terminal and it would catch on the first turn. Hope that is of some help |
|||
| Top | |
|||
| dahayes |
|
||
|
Looks nice and neat mate. I dont comment too much these days but love keeping an eye on your build thread.
Tell me more about those terminals? what the advantages to them and what should they be reading if all is as it should be? Dan |
||
| Top | |
||
| KWIKXR |
|
|||
|
Hey Dan, cheers mate
These battery terminals are pretty much just something fancy, with a few advantages. Main advantage I reckon is it's easier to connect up all your cables to the terminals, no need for lugs as you just secure the cables to the terminals by tightening grub screws. 2nd advantage is they look much neater than the usual nut and bolt type terminals with lug hanging off them etc. Problem with these things is over tightening the grub screws will stuff the threads as I managed to prove last night lol. Another problem is that you only have selected sized input holes to use so cable selection is fairly limited (typically you'll get 2x 8ga holes, 1x 4ga or 2ga and then 1x 2ga or 0ga hole for the main cables but it varies with different manufacturers). They are great when you use them with stock cabling as the stock cabling is generally not bigger 4ga size, but when you start adding amps requiring big power cable and then beefing up earth's and other power cables with larger items, it makes things difficult. With regards to voltages: From what I know the battery voltage with the car off should be 12.5v. With the engine running and alternator charging, it should be between 13.8 - 14.4 or thereabouts. The voltage display on my positive terminal reads pretty much bang on with those figures whereas the voltage display on the distro block in the boot reads slightly lower (usually by 0.1v - 0.2v or so) due to voltage drop. Still fairly accurate and handy to have so you can keep a check on things |
|||
| Top | |
|||
| dahayes |
|
||
|
yeh they do look pimp thats for sure. Yer still tinkering with the XG... at the business end of an AU donk conversion now, just trying to get it running right now. Im well over due for an update so look out in the not so distant future.
Seeing your audio set up has provided me inpiration to upgrade my old response splits too! |
||
| Top | |
||
| KWIKXR |
|
|||
|
Good stuff man!! Will be waiting for the update, I'm still subscribed to your build thread so no doubt I'll get an email notice anyways
|
|||
| Top | |
|||
| KWIKXR |
|
|||
|
Well not much of an update really but made the trip down to Hamilton today for their All Ford Day - what a great show!! Bigger and better than the Auckland AFD's, nice selection of cars and lots more of them, great people, atmosphere etc.
As always, the weekend/day/night before AFD is a busy one, getting everything cleaned and polished up etc. I managed to get a fair bit of work done this time round. Got the Fairmont washed, dried, light once over with some Meguiars Color X, followed by a once over with Meguiars Deep Crystal wax and the paint work was sorted! Interior and boot got the once over too, fully vacuumed, floor mats cleaned up, door trims now fully finished. Picked up a single din stereo surround/ashtray and sprayed it in satin black to replace the double din woodgrain item for now as I'm still using a single din headunit. Ran the USB cable extension for the USB input on the back of the headunit underneath the centre console, under the window switch panel and into the centre glove compartment via a small drilled hole just to keep things tidy and consealed. 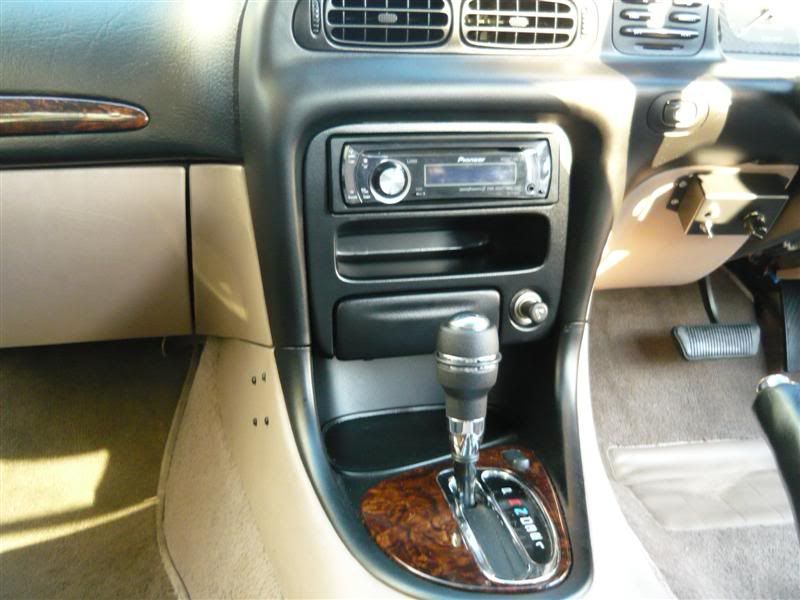 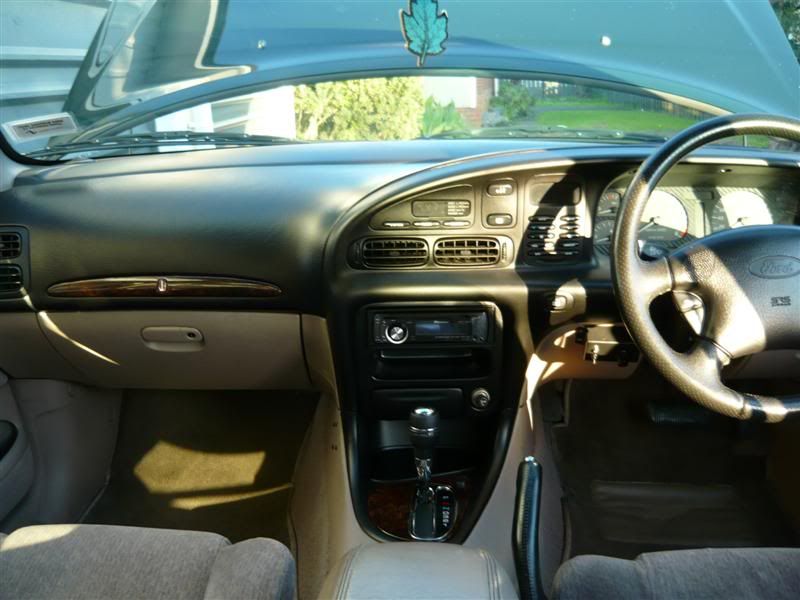 Engine bay saw a few slight changes. As stated in one earlier post, I rigged up the Tickford snorkel to feed into the DIY 'carbon fibre' box - this turned out to not work as well as it should have. I noticed during the week that the snorkel was just rubbing on the thermofan shroud due to how I positioned it to feed into the side of the airbox. Didn't want to risk the rubbing wearing through the plastic so made up a new side for the airbox, re-wrapped it and then just stuck the snorkel there as a bit of fill for the empty space. Might have to do a Round 2 on that one sometime lol.. Also picked up a Stant radiator cap for the PWR tank, looks much better. Picked up some ACL heatshield material from a mate @ Repco who got me an epic discount on it. Cut it to shape and bent it to cover the extractors to aid in keeping radiant heat away a bit - difference in under bonnet temps seems to have reduced a noticeable amount, got home after the 1.5 hour drive home today and wasn't hit with a heatwave as big as I used to after popping the hood. Cleans up the look of the ugly looking heatwrap. Swapped out all the blue joiners for some black ones for a less colorful look. Polished all the alloy bits with some Mothers metal polish, cleaned up the engine bay paint and rocker cover with some spray on wax and it turned out sweet!! 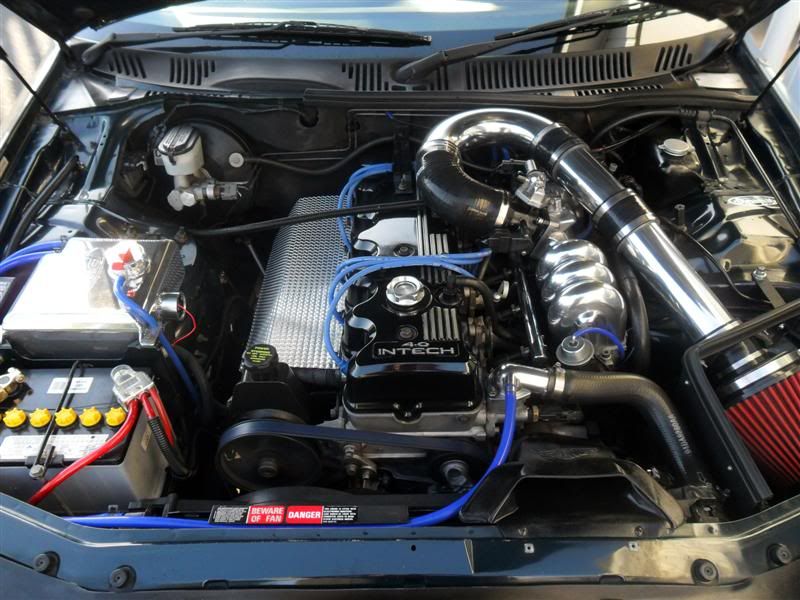 Topped up all the fluids and then the car was ready to go - literally finished getting the car ready at 12.05am this morning. Had big bright lead lights, ratchets going nuts, me cursing, spanners working away, neighbours love it Had an organised run down to Hamilton AFD with the NZ Ford Forum members @ 7am, convoy of about 10 or so cars heading through some very cold temps and terrible fog, but was well worth it. 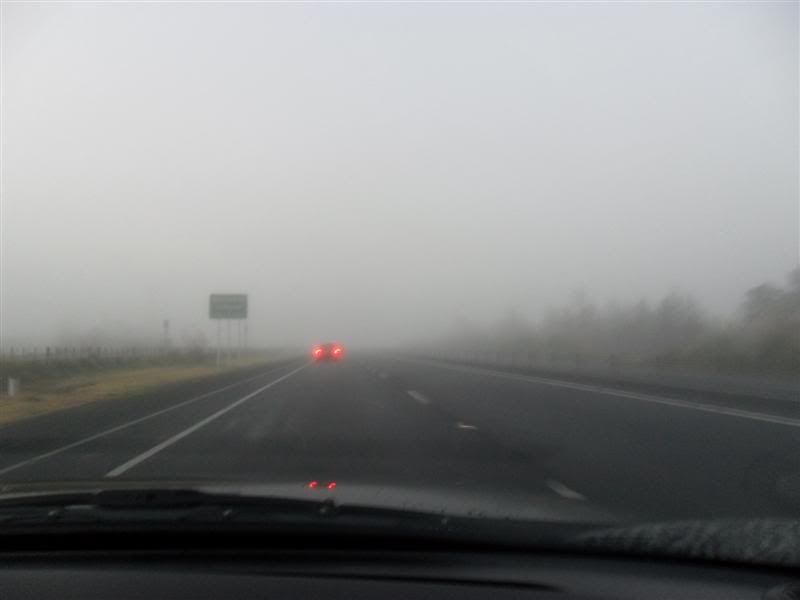 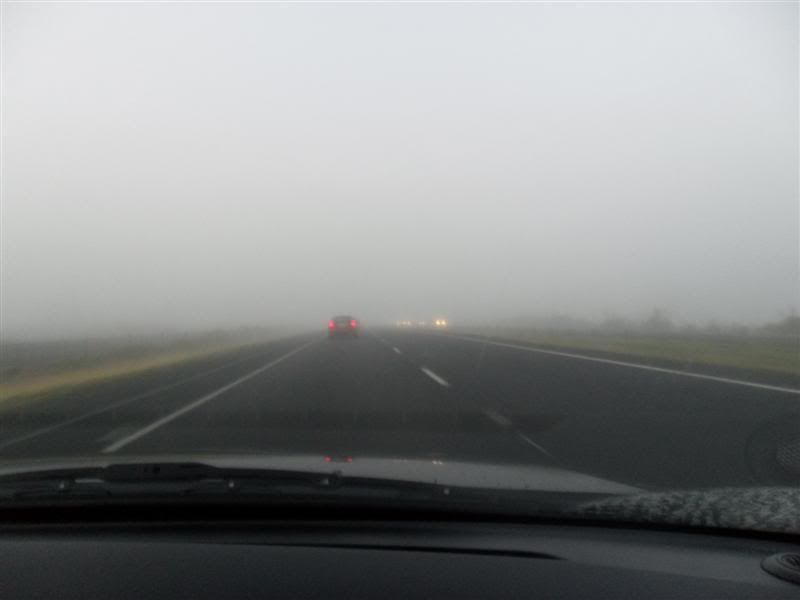 Then as the sun started breaking through, it got a little better coming up to around an hour into the trip just before reaching Hamilton.. 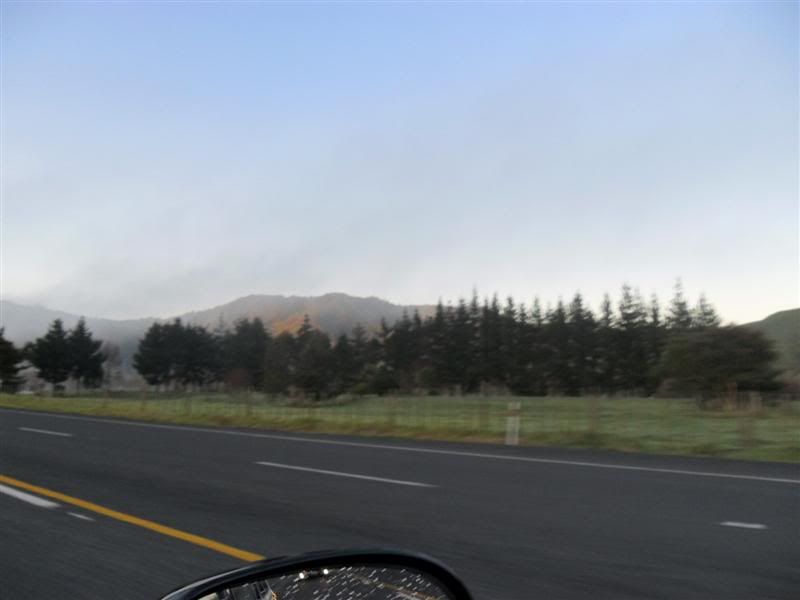 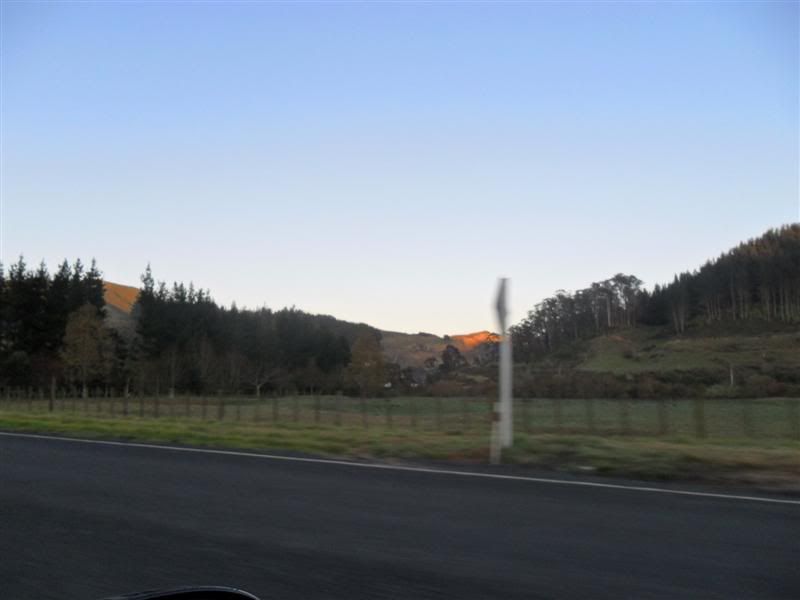 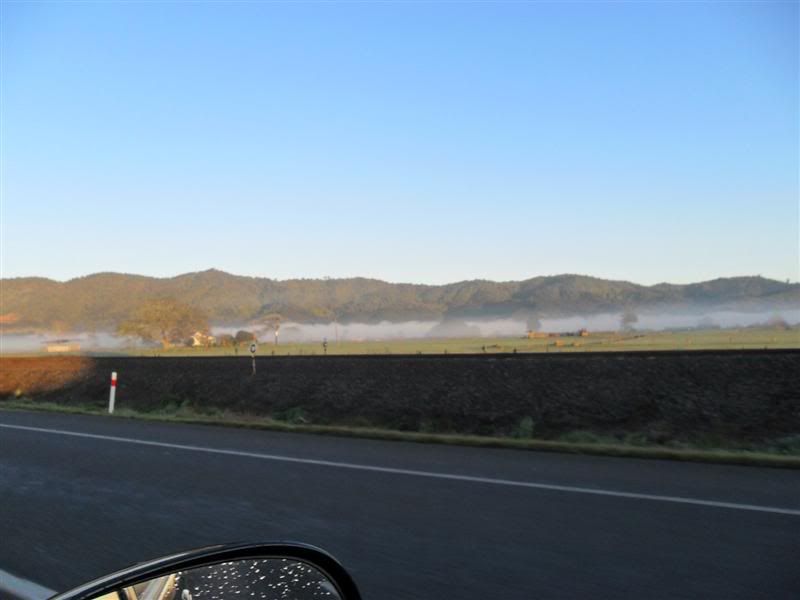 Caught up with a few other NZFF members along the way and then all headed in together. Got in all parked up by about 8.30am, was packed full of Fords, never thought there would be so many! I took like near on 300 photos and photobucket has a fit whenever I try upload them so I'll just chuck up some of the car featured in this build thread lol.. 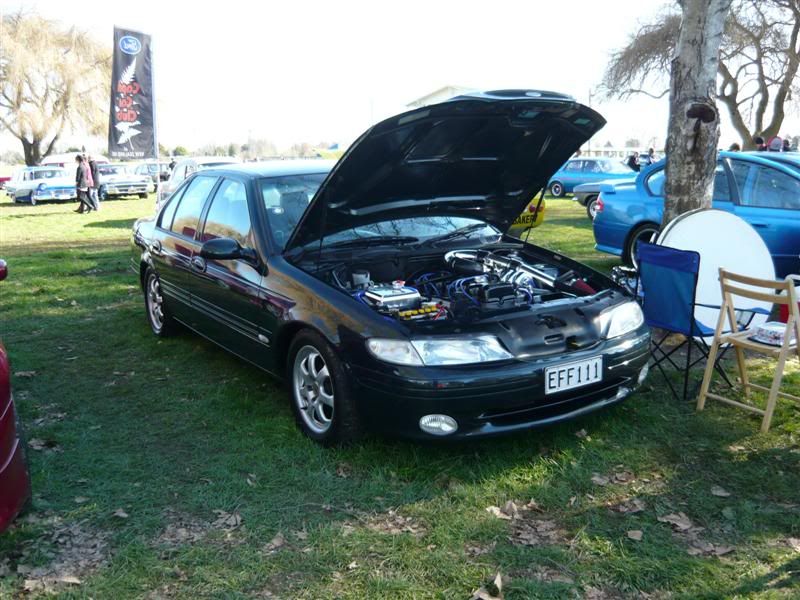 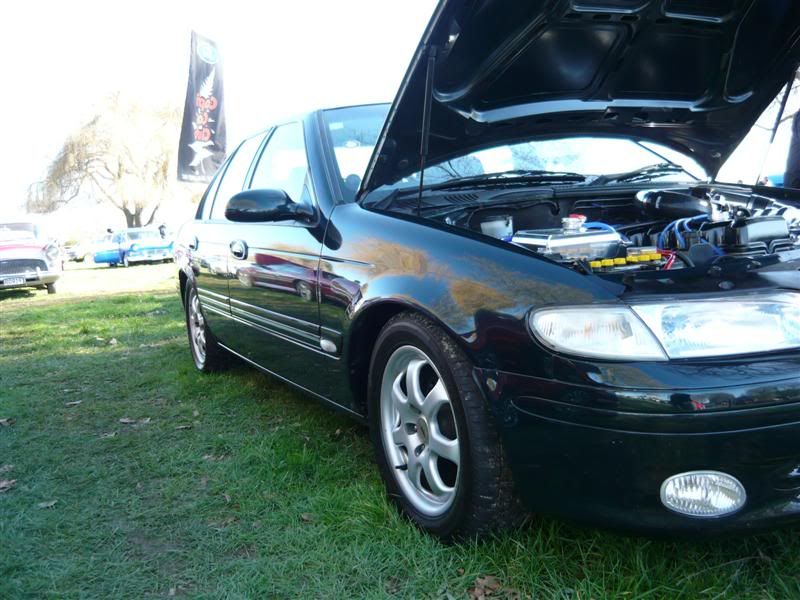 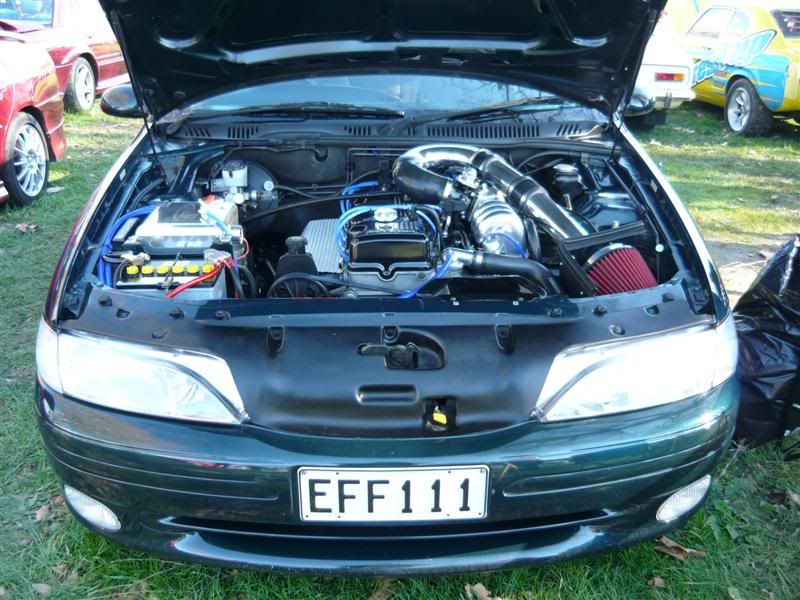 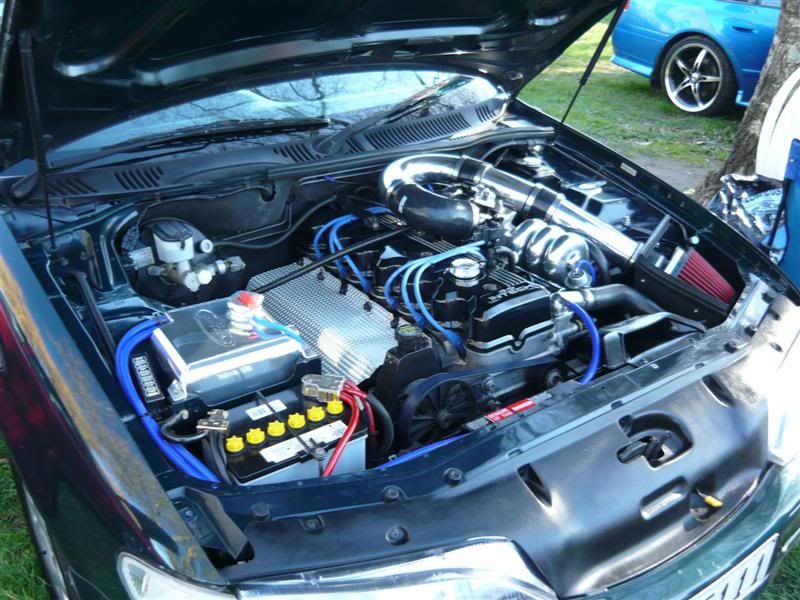 Sound system proved to be quite popular today, had quite a few impressed guys during a few short demo's. 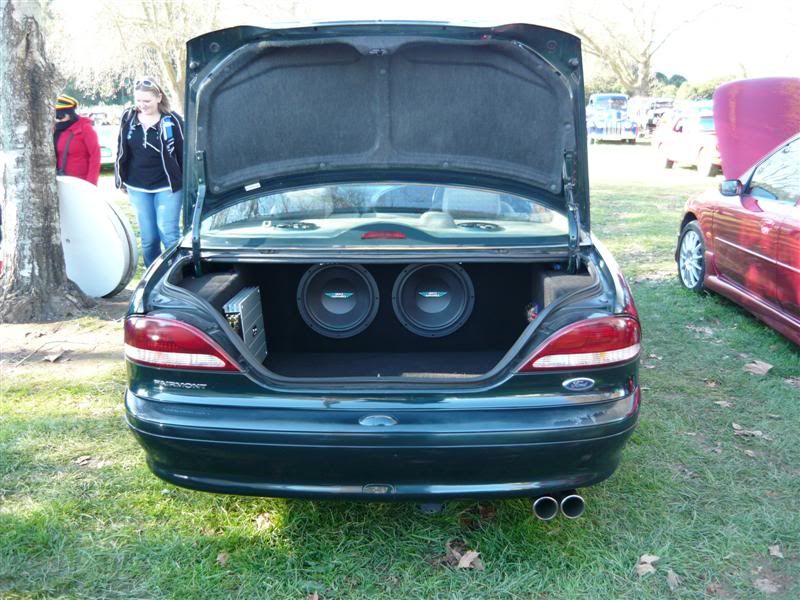 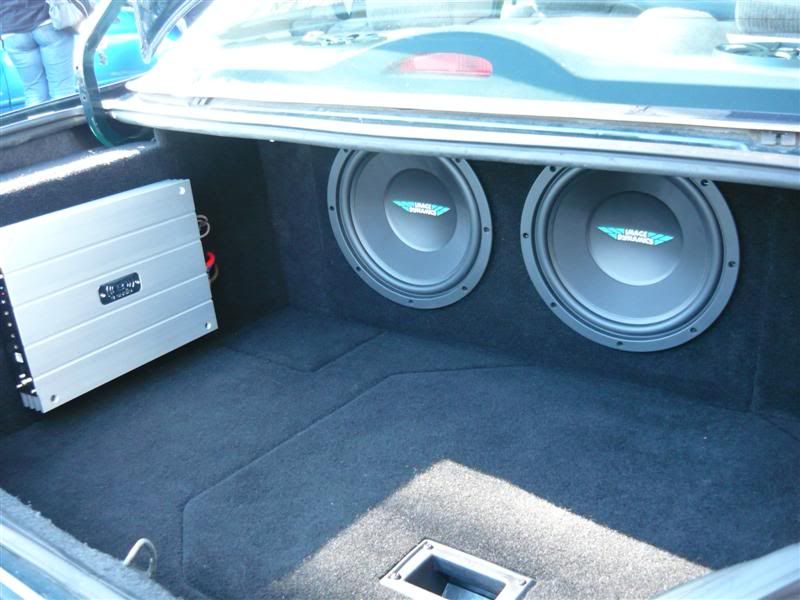 For those interested in the rest of the photos from the show I've uploaded them on Facebook.. {DESCRIPTION} {DESCRIPTION} And a quick video I got of the 2 mother-grunters of today cruising in.. {DESCRIPTION} Easily the Fairmont's longest trip under my name, clocked up a round trip of around 240km's and used almost 3/4 of a tank doing so - mixture of being a lead foot and driving a gas guzzler of a Ford Definitely wouldn't a better time to get this thing tuned |
|||
| Top | |
|||
| Falcon_92_EB |
|
||
|
Cars looking good man! but how did you use 3/4 of a tank!
|
||
| Top | |
||
| _LowKey_ |
|
|||
|
Hey man where did you get the extractors cover from? asume you have extractors under there? Mine are destroying my engine bay lol i need one of those covers!
_________________ 98 Fairmont Ghia, T5, 6 Puk Clutch, Extractors, 2.5" Exhaust System, J3 Chip, Dobi Superlows, 17's, B&M Line-Loc. |
|||
| Top | |
|||
| FordFairmont |
|
||
Posts: 6113 Joined: 8th May 2007 |
{USERNAME} wrote: Hey man where did you get the extractors cover from? asume you have extractors under there? Mine are destroying my engine bay lol i need one of those covers! he said he got some ACL Heatshield from Repco. You can also use the factory heatshield from the AU's KWIKXR, that engine bay looks fantastic!!!!, and yeah the black joiners go well with the rocker cover....... good to see the bay is a feature like the rest of the car. You should also try polishing the front of the head. and im not sure why, but im liking those weird rims more everytime i see them. I went on my own engine detailing mission on Sunday, had to do something about the dusty faded windsor. Painted a few things with aluminium engine enamel, and MSD wannabe coil packs 
|
||
| Top | |
||
| SLO247 |
|
||
|
Looks good FordFairmont. Still enjoying the Ghia? I've never driven an AU 5L, I reckon it would be a hell of a car. I still love driving the XR6, feels generations ahead of an E-Series.
KWIKXR, the finished boot install looks brilliant. I'd love to hear the system at full song. With the firewall insulation, have you tidied that up? It looks great, usually they are burnt behind the exhaust manifold. The engine bay paint is quite shiny too, I may try to cut and polish mine in the NL. With the interior, have you thought about hiding that box near your left knee in the centre console bin? I also noticed you have the towbar wiring connector still on the rear bar too. Why not remove it? If you want to keep the wiring there and ready to go, you can hide a connector under the boot carpet. I've always done it, makes the rear end cleaner. The new wheels look good too. I've fitted a set of ROH ZS wheels on the NL. Only 16s but they look more like 17s thanks to the design and ride height I guess. Surely there can't be much more left you want to do on this? |
||
| Top | |
||
| Who is online |
|---|
Users browsing this forum: No registered users and 16 guests |