

|
| SLO247 |
|
||
|
f**k yeah. $63! They will look fantastic in there, get on it!
|
||
| Top | |
||
| TyLeR3397 |
|
|||
Posts: 465 Joined: 22nd Jun 2011 |
{DESCRIPTION}
& {DESCRIPTION} OR {DESCRIPTION} I have the exact Audioengine setup and they are god damn amazing, you could pretty much say they sound better than my dads 5.1 1000W BOSE/YAMAHA home theatre (except the extreme loudness). The Swans would do very well also. |
|||
| Top | |
|||
| KWIKXR |
|
|||
|
{USERNAME} wrote: f**k yeah. $63! They will look fantastic in there, get on it! Pretty mint price, the girl at the counter kept saying it was f**k insane that the rear seat alone was listed at $20 ($10 for the upper half, $10 for the lower) in their system, and the front pair was $43. I just lol'd as I paid for them thinking how I could have bought the exact same seats, most likely in worse condition from a wrecker for over $500 {USERNAME} wrote: {DESCRIPTION} & {DESCRIPTION} OR {DESCRIPTION} I have the exact Audioengine setup and they are god damn amazing, you could pretty much say they sound better than my dads 5.1 1000W BOSE/YAMAHA home theatre (except the extreme loudness). The Swans would do very well also. Wow! Those Swans look freakin' awesome! The Audioengine stuff looks tops too, especially like the look of those A5+'s Thanks for the heads up on that site, they have some good gear on there |
|||
| Top | |
|||
| Troy |
|
||
|
{USERNAME} wrote: {USERNAME} wrote: f**k yeah. $63! They will look fantastic in there, get on it! Pretty mint price, the girl at the counter kept saying it was f**k insane that the rear seat alone was listed at $20 ($10 for the upper half, $10 for the lower) in their system, and the front pair was $43. I just lol'd as I paid for them thinking how I could have bought the exact same seats, most likely in worse condition from a wrecker for over $500 i've seen them on trademe closer to a grand. so you got them bloody cheap, can't wait for the pick a part to open here in chch |
||
| Top | |
||
| _LowKey_ |
|
|||
|
Chch pick a part would have so much better s**t to i reckon, when on trademe looking for a xf or mint falcon, they all seem to be down south... wankers send some up here hahaha
_________________ 98 Fairmont Ghia, T5, 6 Puk Clutch, Extractors, 2.5" Exhaust System, J3 Chip, Dobi Superlows, 17's, B&M Line-Loc. |
|||
| Top | |
|||
| KWIKXR |
|
|||
|
{USERNAME} wrote: {USERNAME} wrote: {USERNAME} wrote: f**k yeah. $63! They will look fantastic in there, get on it! Pretty mint price, the girl at the counter kept saying it was f**k insane that the rear seat alone was listed at $20 ($10 for the upper half, $10 for the lower) in their system, and the front pair was $43. I just lol'd as I paid for them thinking how I could have bought the exact same seats, most likely in worse condition from a wrecker for over $500 i've seen them on trademe closer to a grand. so you got them bloody cheap, can't wait for the pick a part to open here in chch About time they start opening more yards! I think they've recently opened one in Hamilton, so hopefully they keep on popping up {USERNAME} wrote: Chch pick a part would have so much better s**t to i reckon, when on trademe looking for a xf or mint falcon, they all seem to be down south... wankers send some up here hahaha Agreed! Have seen a fair few decent Ford's down in Chch, bet they all can't wait for the new yard to open |
|||
| Top | |
|||
| KWIKXR |
|
|||
|
Well, front seats are in
Pretty straight forward to do also which was nice. Unbolted the NU Fairlane seat bases (4x allen bolts) from the rails/slide assembly, and unbolted the seat backs (2x 13mm bolts on each side) from the frame. Was as simple as just swapping them over to the EF rails/frame. Drivers side was simple as simple as the above, however the passenger side required a few more minutes of work. The passenger side seat mounts differently when it comes to the forward facing base mounts, but it's an easy enough fix. The NU Fairlane passenger side seat uses the exact same mounting positions from the rail assembly to the seat base as the drivers side, but with the EF, the front of the seat base is mounted to the rail assembly in a different position. The NU Fairlane has holes in the same position where the EF rail assembly mounts, however they don't have the threaded nut welded on the inside for the bolts to screw into. My fix was to find a suitable high tensile nut to match the allen key bolts used to secure the base and a matching sized washer. Unclip the leather covering from the seat base, lift it away from the base along with the foam seat padding, slip the allen key bolt through the mounting holes and use the washer and nut to secure the base to the rail assembly. Once the bolt/nut is tightened, clip down the leather cover and you're done 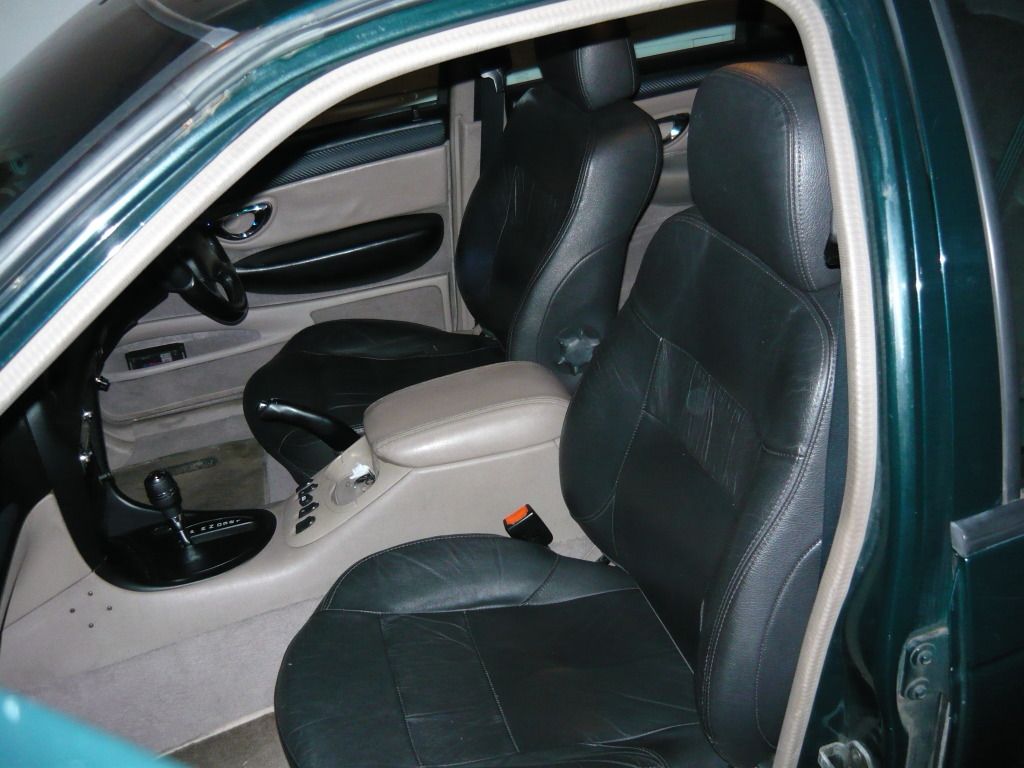 Have just cleaned them up with Meguiars Trim Cleaner to remove any dirt and grime on the leather and also remove whatever product has been used previously. Will leave it till sometime during the week before I apply some decent leather conditioner to revive the leather to a better state. Haven't even looked at the rear seats yet. Maybe do that during the week sometime. |
|||
| Top | |
|||
| _LowKey_ |
|
|||
|
nice mate good upgrade, they the same seats as a fairmont ghia? look alot like the seats in my car, except yours are a better colour (more bogan) haha. good s**t
_________________ 98 Fairmont Ghia, T5, 6 Puk Clutch, Extractors, 2.5" Exhaust System, J3 Chip, Dobi Superlows, 17's, B&M Line-Loc. |
|||
| Top | |
|||
| KWIKXR |
|
|||
|
Haha, thanks bud
The seat bases feel a fair bit different to the EF/EL Fairmont Ghia seats I've sat in. The AU style seats are more rounded in the front of the cushion. The seat backs look very similar in shape though. Much more comfy that my EF Fairmont seats that's for sure. So good to have black leather |
|||
| Top | |
|||
| fiend |
|
|||
|
Score. Goodbye Cuppicino, welcome in the black...!
|
|||
| Top | |
|||
| KWIKXR |
|
|||
|
{USERNAME} wrote: Score. Goodbye Cuppicino, welcome in the black...! Amen to that! Well, the NU Fairlane rear seat swap is finally done. Not without a bit of f**k around though, but it's done as of about 10min's ago lol.. Rear seat backs were a straight swap over, lined up with factory mounting points etc. Simple enough. The latches were the seat back lock into position needed the matching AU style bracket/latch for it to work. I had a look at trying to modify the original mount so the the locking pin was lower down to line up with the hook of the NU seats, but the pin was way too big and when it came time to mount the AU style side bolsters, the original mounts fouled on the inner part of the bolsters. So off with the original brackets. 2x 12mm bolts to remove and a fair bit of forward/backward bending to break the spot welds holding the bracket to the body of the car. 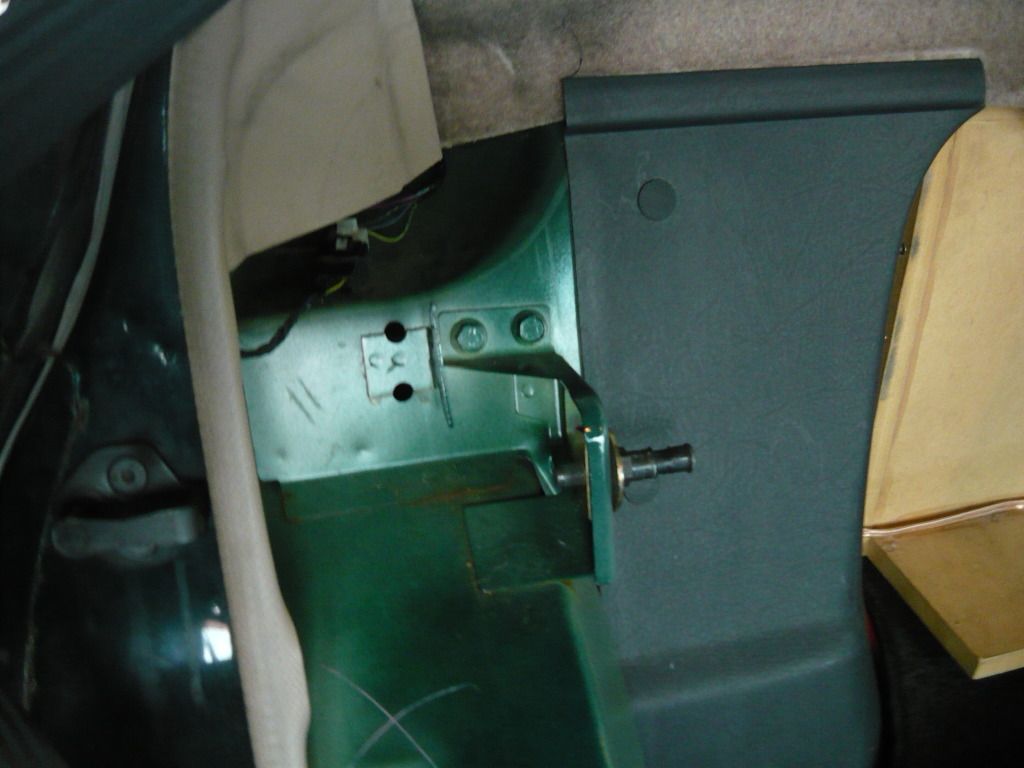 Dummied up the AU style bracket with the seat in the locked position. With the bracket parallel to the mounting area, the bracket sat almost a whole inch away from where it needed to be bolted to. 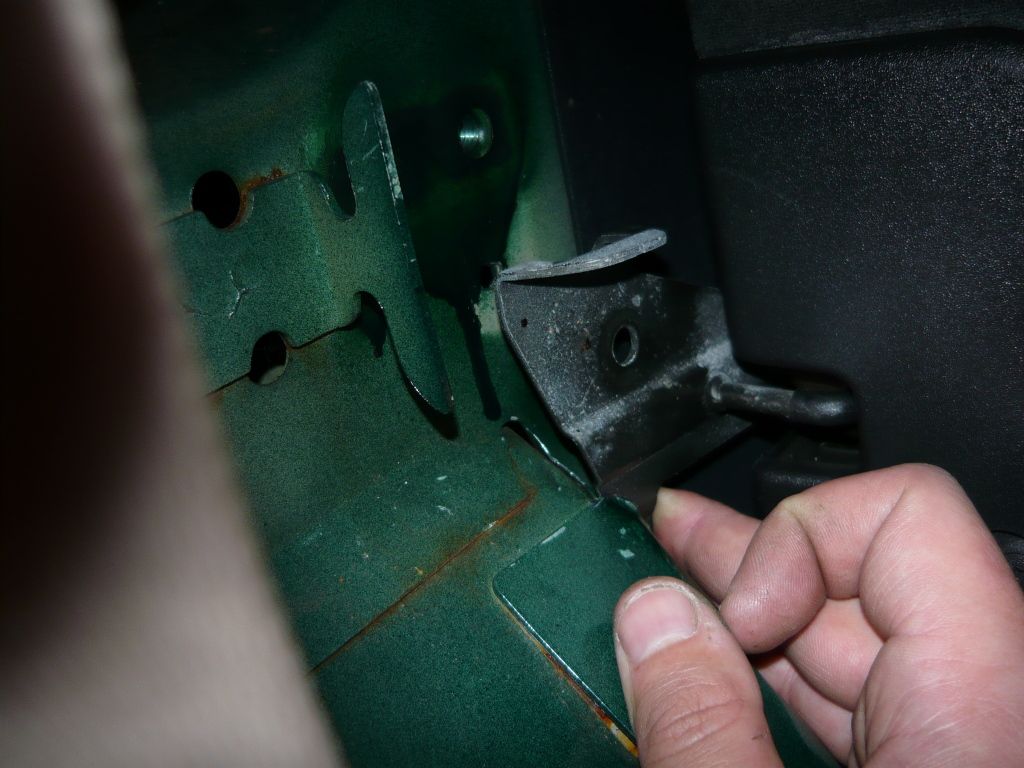 Basically the bracket needed to be spaced a fair amount so that it could be bolted to the body of the car. Took me a while to figure out what to do, but noticed a few parts I could use by pulling apart the locking pin assembly. 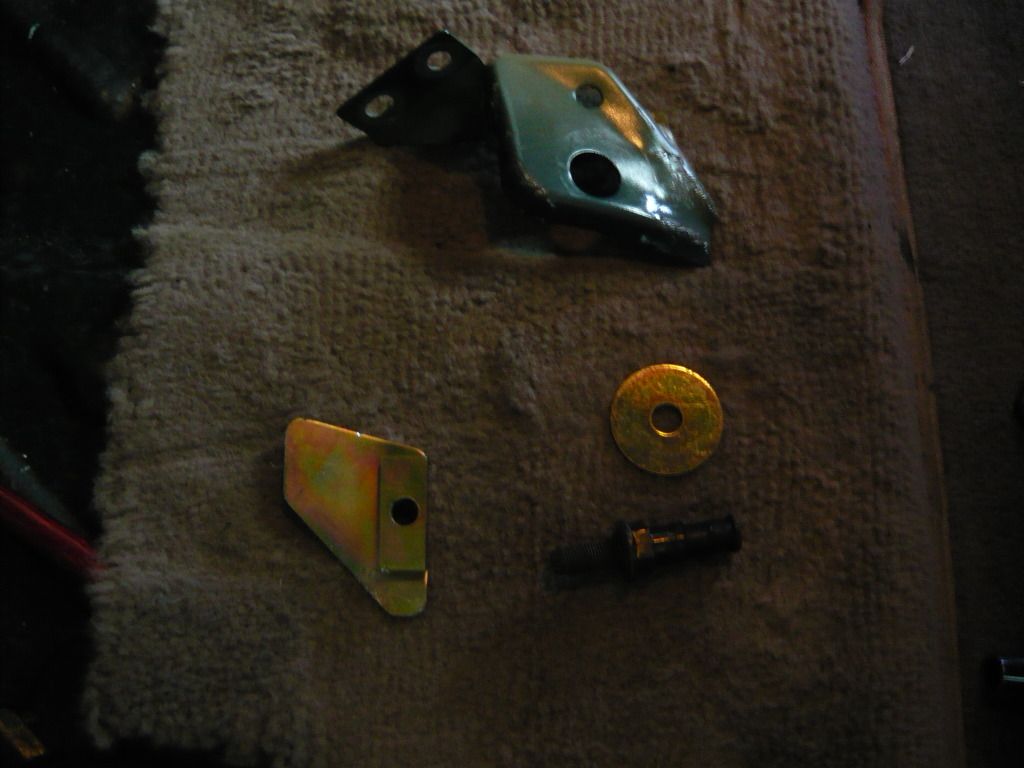 Decided to use the funny looking shaped bracket (has a block welded to it with a threaded hole) to mount to the body of the car, then mount the AU bracket to that bracket using the bolt half of the locking pin. Cut out a small section out of the bracket so it could fit nicely around the wheel arch and cut the locking pin in half so I could use the threaded bolt half of it. 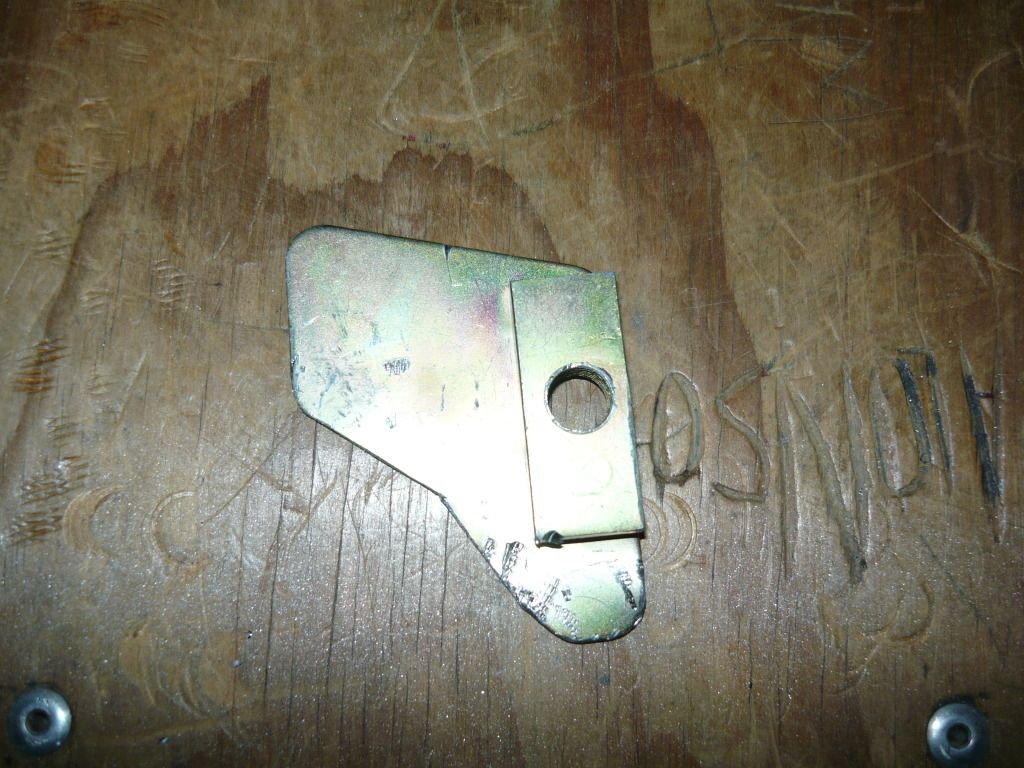 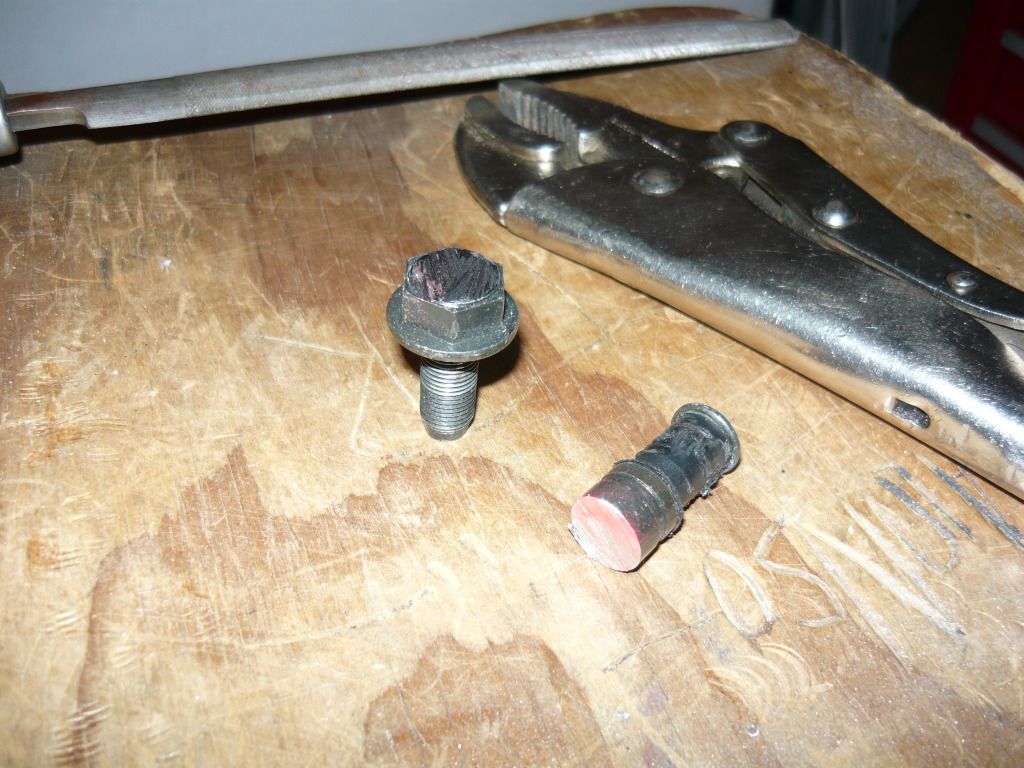 With a bit of trial and error, I worked out where I needed to mount the bracket to the body. Drilled a couple small holes into the bracket and through the body and used some decent sized self tapper's to secure it in place. 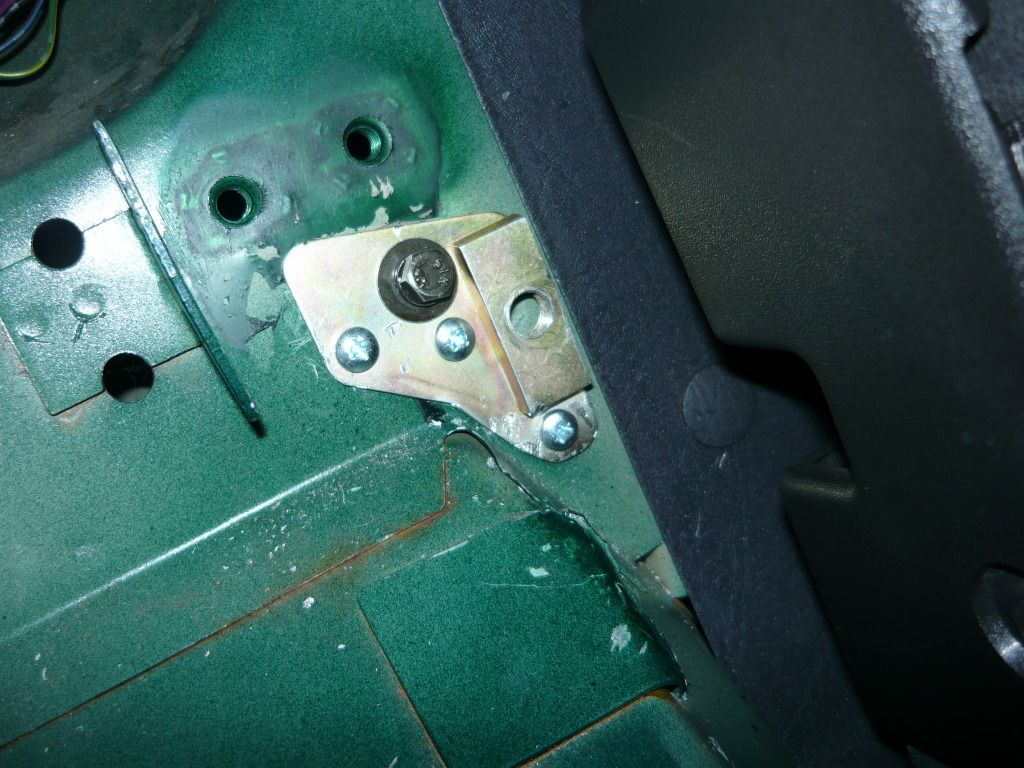 Grabbed the AU bracket and drilled the original hole out larger to so the locking pin bolt could fit through. I have a fairly thick stainless spacer on the back side of the AU bracket to take up the extra clearance so that the bracket sits parallel to the seat latch and mounting point on the body. 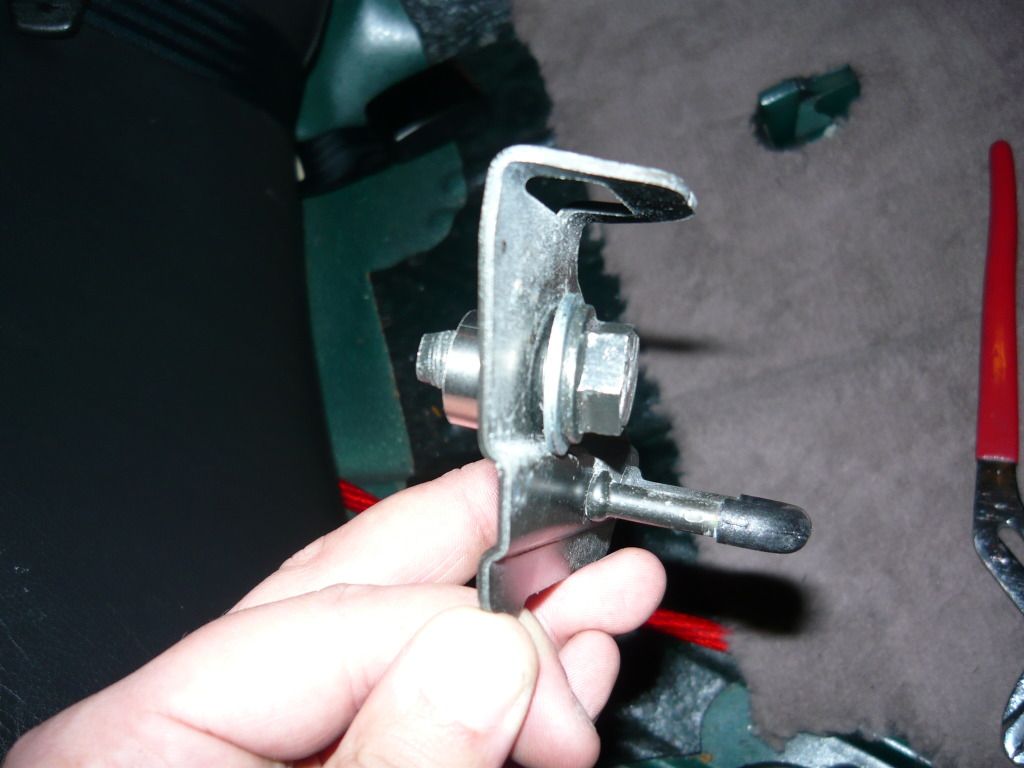 Lined the hook in the seat up with the latch, then tightened the bolt to hold it in place. Isn't exactly the most ideal way of doing things honestly, but it works fine and seems to hold in position just about as well as the original EF seat does (you can pull forward on the headrests and there is only the slightest movement from the AU latch moving inside the hook. It's one of those parts that isn't going to move around a hell of a lot, so as long as it holds the seat in position securely, I'm happy. 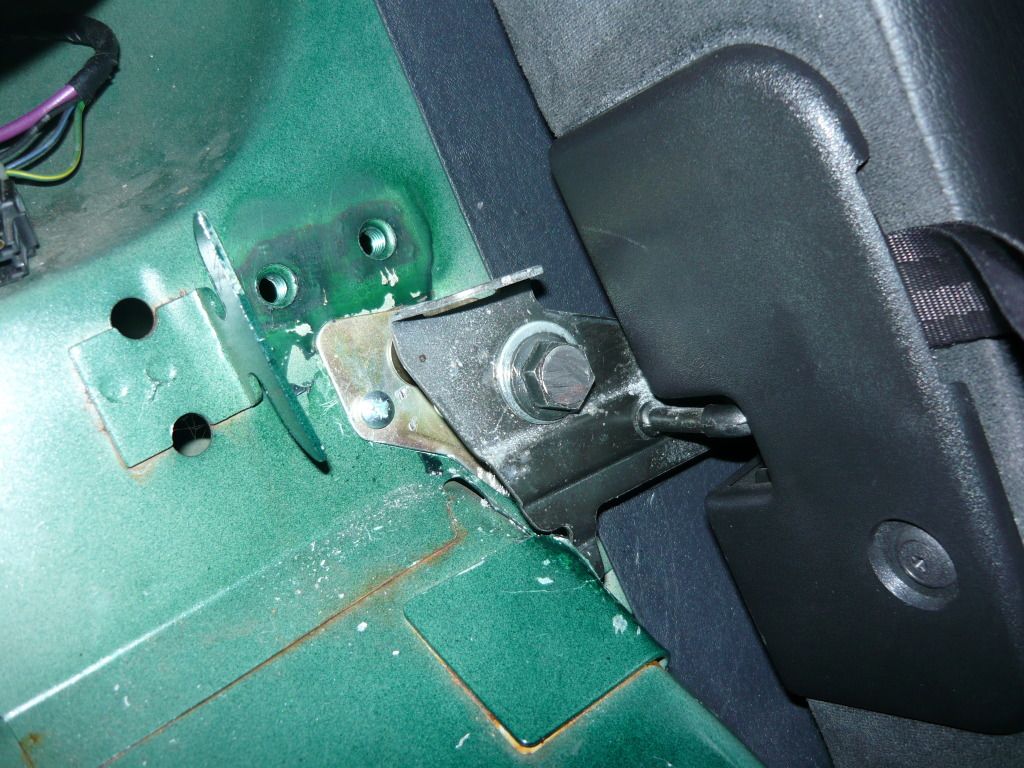 Then had to do the same for the other side. Then it came time to mount the bolsters. This is the reason why Fairlane ones won't fit. Compared to AU SR bolsters, the Fairlane ones are on f**k 'roids. 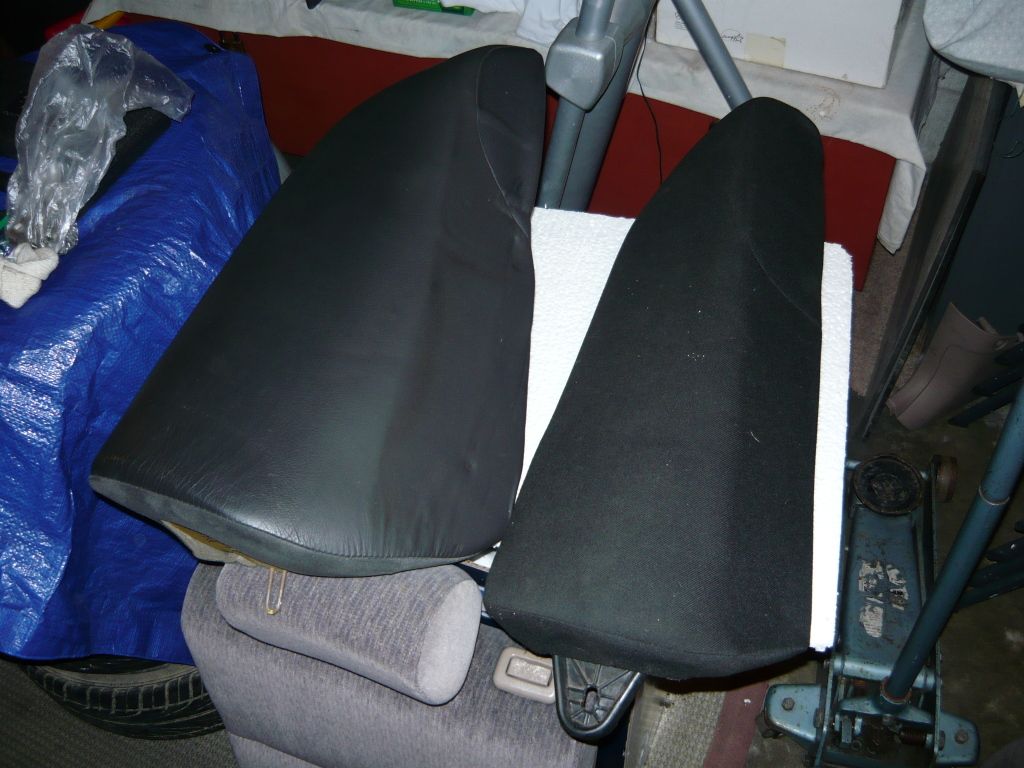 Made use of the AU SR bolsters as they are known to fit, and just made up a horizontal 'locking pin' so that they lock into the original notch that the EF/EL bolsters lock into. Yes my mounting point was a decent sized nail lol. Drilled a hole slightly smaller than the diameter of the nail and then slowly tapped the nail through so it was a tight fit. The half of the nail where the head is locks into the factory notch on the EF, bottom mounting point lines up with the original hole so it's a fairly straight forward fit. 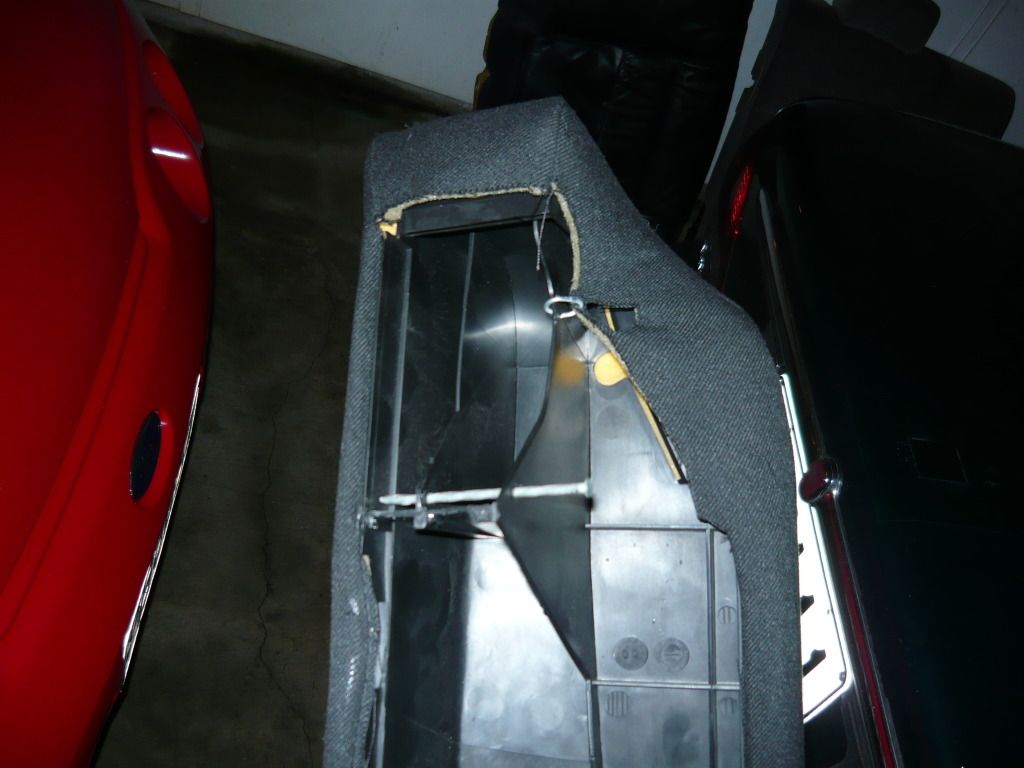 Was planning to transfer the leather from the NU bolsters to the AU SR ones, but on closer inspection, the bolsters are shaped a little differently at the top, therefore the stitching wouldn't follow the lines of the SR bolster and would probably look a bit funny. Decided to leave the SR ones in as is, and maybe take them to a trimmer later on to get trimmed to match the NU leather. Bottom part of the seat was a b**ch. Not that it was overly hard, but more the case of eye-lining the AU style hoops and the plastic brackets to make sure they were mounted in fairly close proximity to where they need to be exactly. I did it by laying the seat down and pushing it into position, lifting the front of the seat gradually and marking with a marker pen where the hoops were touching the carpet. Removed the seat, grabbed out the drill and then hoped that wherever I made those marks, were correct or close enough lol. After a few drilled holes followed by the use of big centre punches to link the drilled holes to form a slot, they brackets were pushed in nicely, then the seat dropped into place. Done! 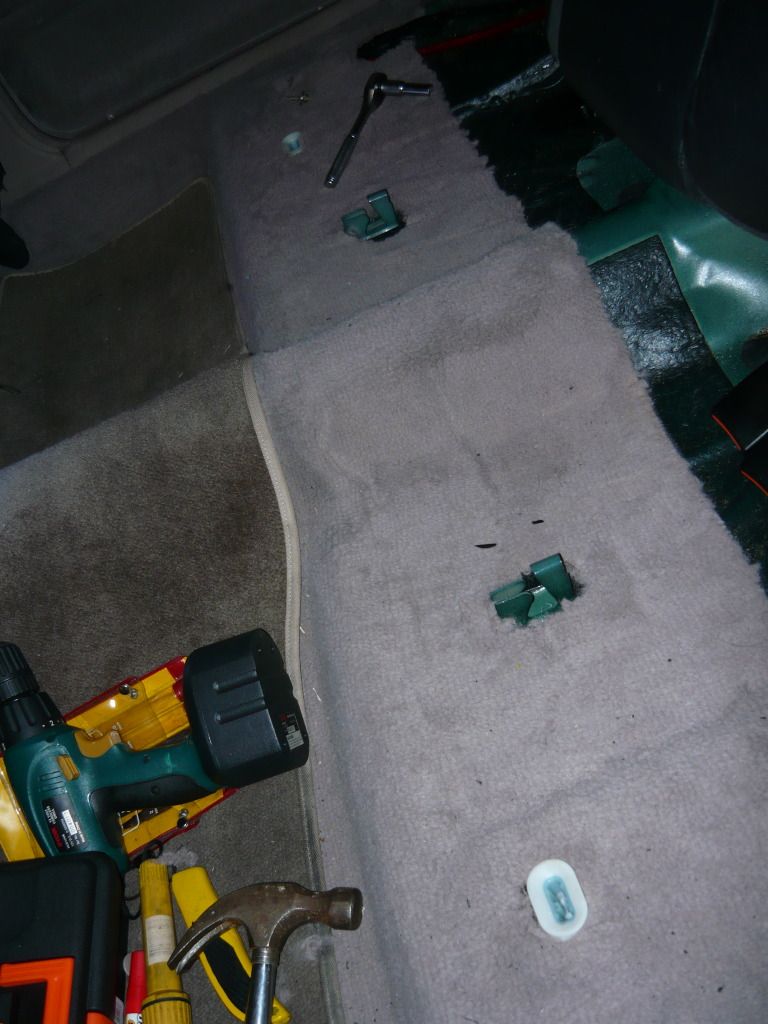 Pretty happy all in all! The rear seat is comfy as hell, really holds you in and feels really plush. The bottom doesn't exactly line up perfectly with the driveshaft tunnel, but it's close enough to nearly not notice unless you're really picky. Everything else sits pretty well. I have noticed there is slightly less leg room in the rear though, not by much, but I noticed it straight away. One of the best features I've noticed is rear cup holders, lovin' it! 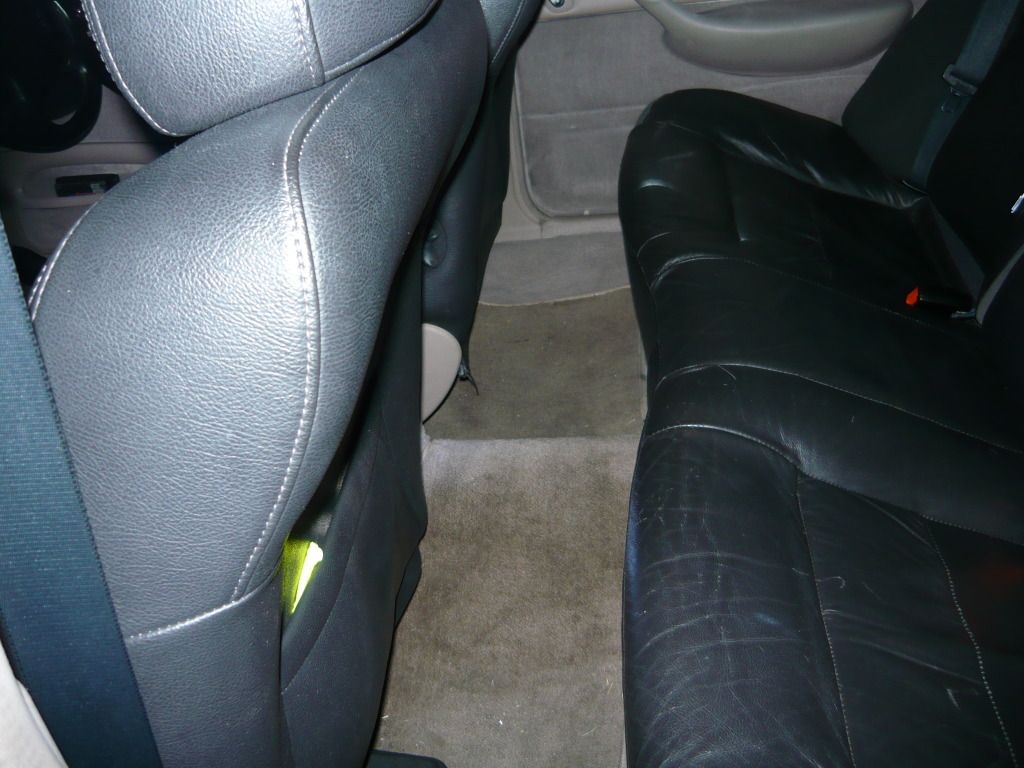 Pic's are a bit s**t, we're taken at like 8.30pm in darkness with the flash on, so every little crease in the leather shows up lol. Will get some better ones through the week in natural light. 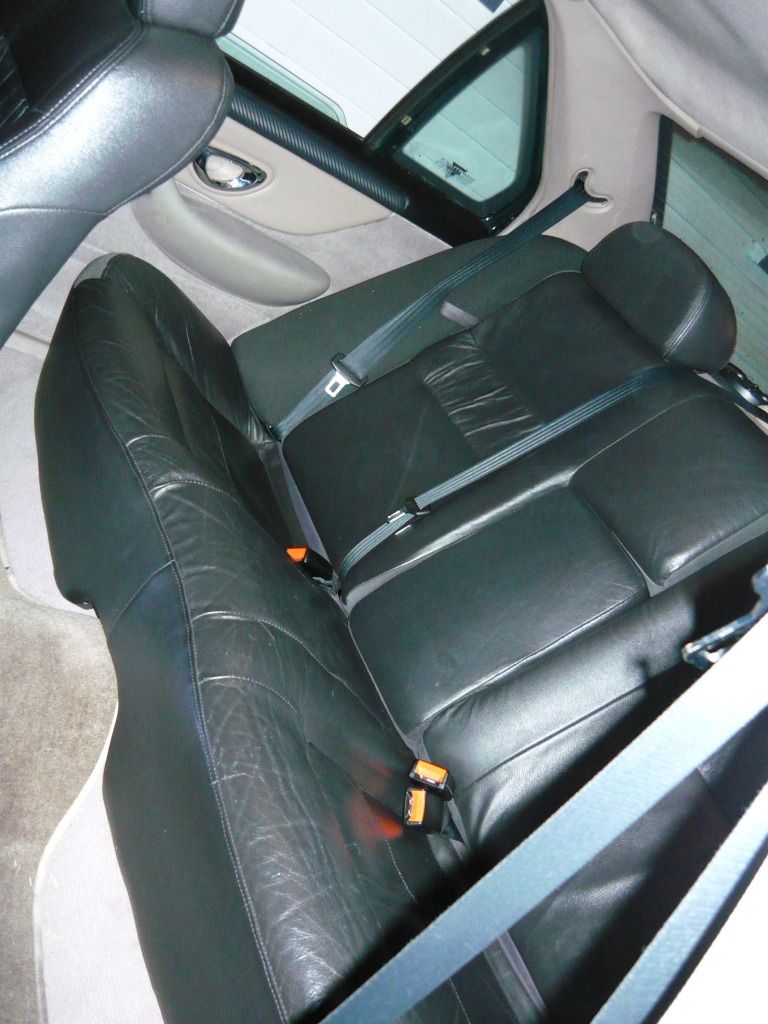 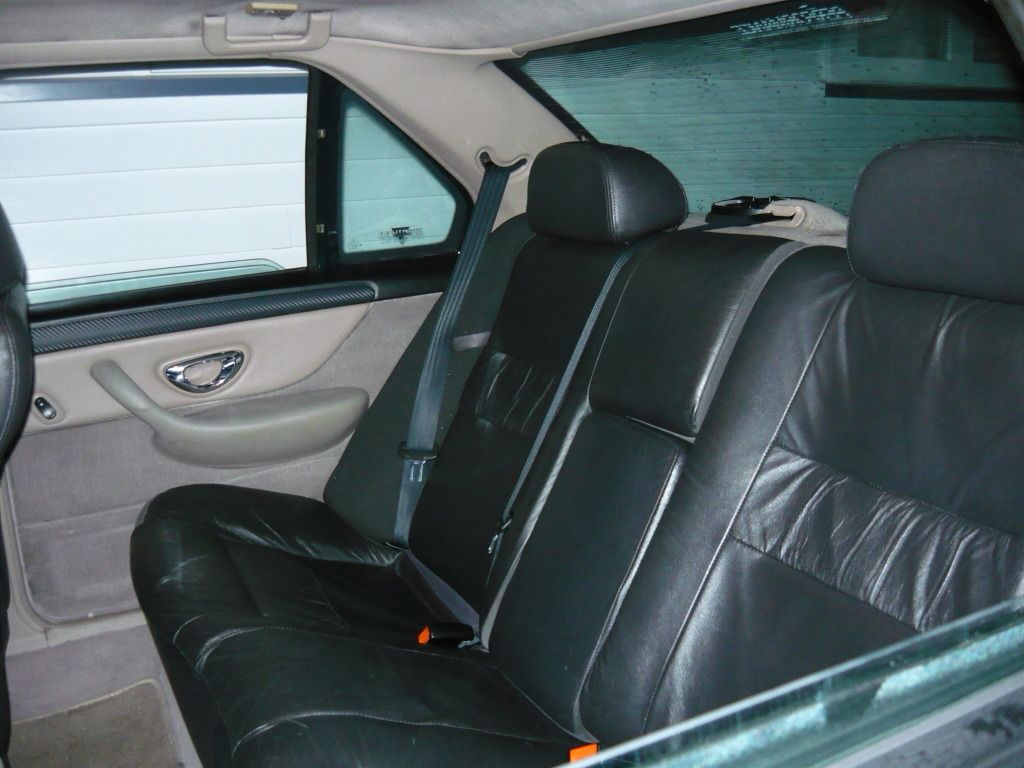 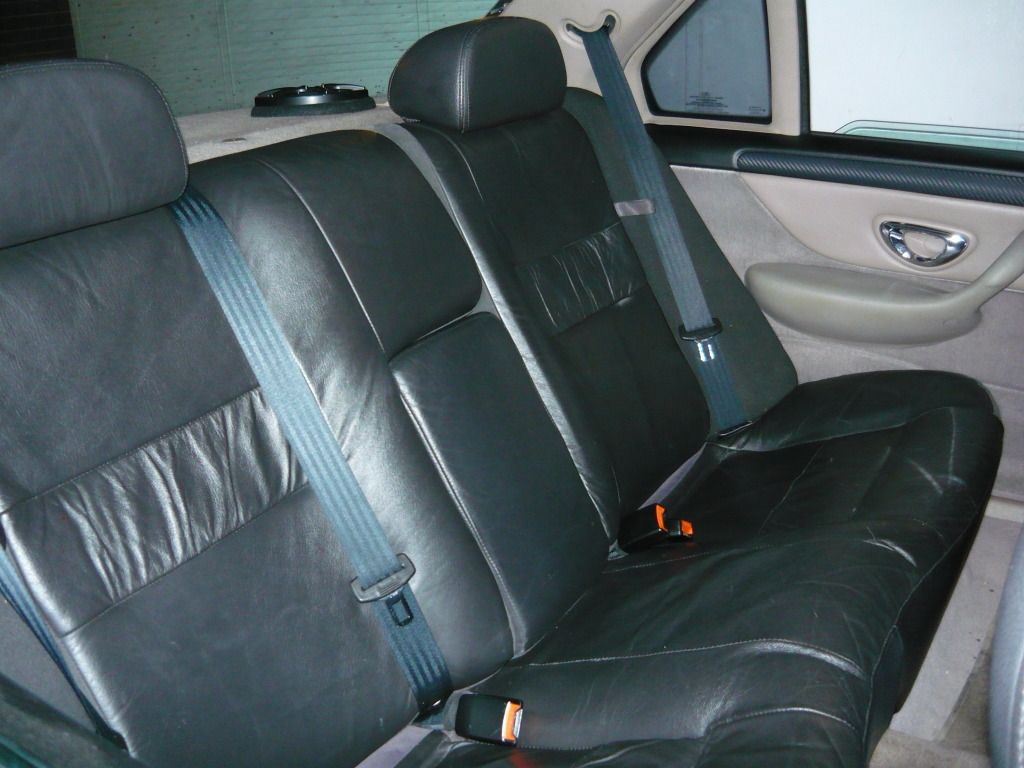 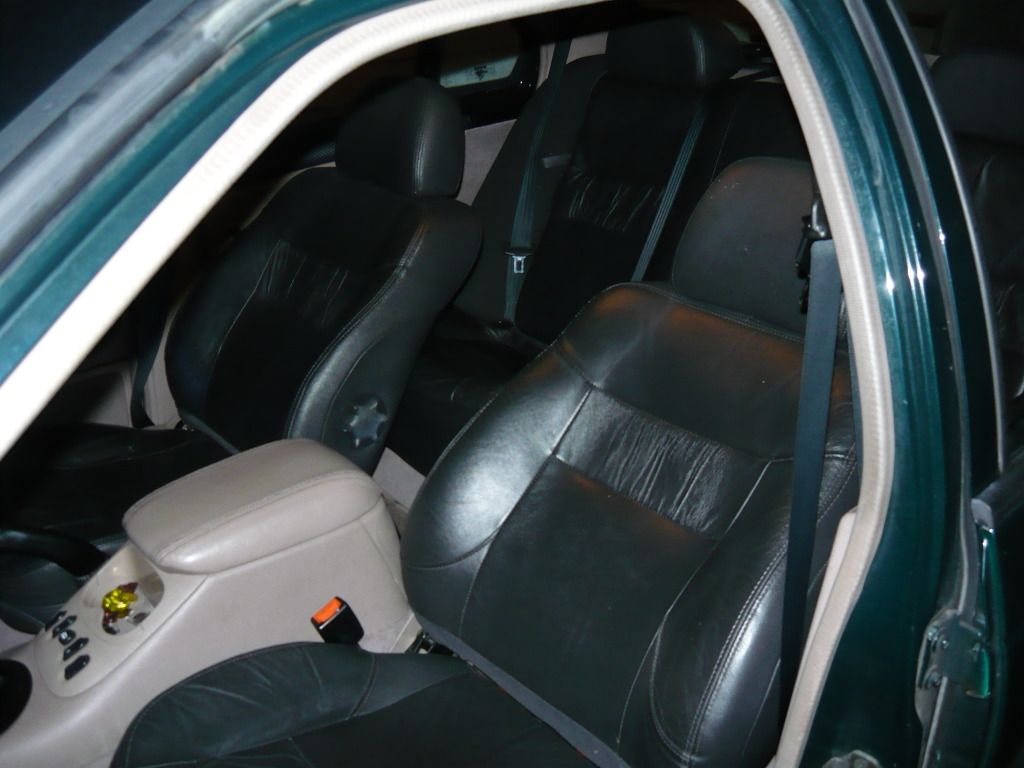 So, that's the interior pretty much done and dusted really. I have a few small things to finish off, such as dying the rear door arm rests satin black like the front doors, work out a way of securing the rear quarter window trims so they don't rattle off when the music is off (have currently lost all the original screws holding the drivers side trim in, probably when vacuuming the interior after they have been rattled loose Not much else to update on really. Have fitted my Digital Design CXS6.5 rear speakers after having to repair one that had a slight problem with part of the speaker cone spider coming away from the basket, but all is working fine again and I'm loving the sound. 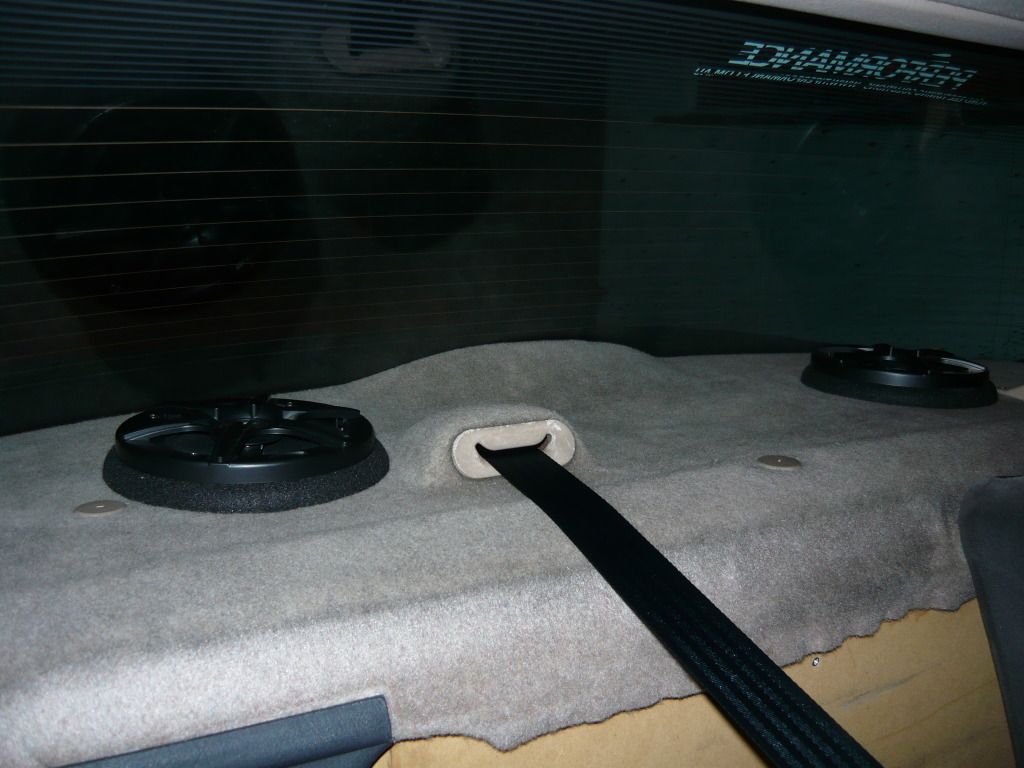 Sound system will probably stay as is for a while, although I'm on the look out for a 2nd DD3512 just so I can complete the Digital Designs speaker/sub arrangement lol. Have booked the Fairmont in for a dyno run @ Protune at the end of this month. Looking forward to that, mostly so I can see how close/far off the current tune is and see how much of a gain can be made with alterations to the tune. Should be fun! |
|||
| Top | |
|||
| REW93N |
|
|||
|
Looks great, as per usual.
Now you just need forced induction...
_________________ Blue blooded. |
|||
| Top | |
|||
| fiend |
|
|||
|
{USERNAME} wrote: Chch pick a part would have so much better s**t to i reckon, when on trademe looking for a xf or mint falcon, they all seem to be down south... wankers send some up here hahaha Usually as everything around Wellington turns to piles of rust and the rest of the North Island ain't much better. Central Otago, Southland and the far north seem to be only places where twenty year old cars live and breath in happiness. |
|||
| Top | |
|||
| KWIKXR |
|
|||
|
Went in to Protune today and got a few runs done. There was some good and bad news...
Bad news, the J3 programmer was having a little problem communicating with the chip last night when I was making a few pre-dyno adjustments. First I downloaded the current tune off the chip and all the data was haywire, would open up say the VE table and the spark tables, and every value in the table was the same So found my current tune on file, brought that into TunerPro, made some adjustments, and whenever I tried burning to the chip, it would fail. Had this same problem with a mate's programmer, so I think this may be down to the actual J3 chip connection that the ribbon cable plugs into. Managed to get it to burn eventually an hour later by playing with the connection. Because of these dramas, it put me off trying to fine tune whilst on the dyno just incase it started playing up again, leaving me there with added time and no progress costing more money. Once the tune was done, got to work on replacing a few serviceable items so the car is running at it's optimum so to speak when it's getting it's reading on the dyno. So new fuel filter, air filter and spark plugs went in at about 11pm last night lol.. 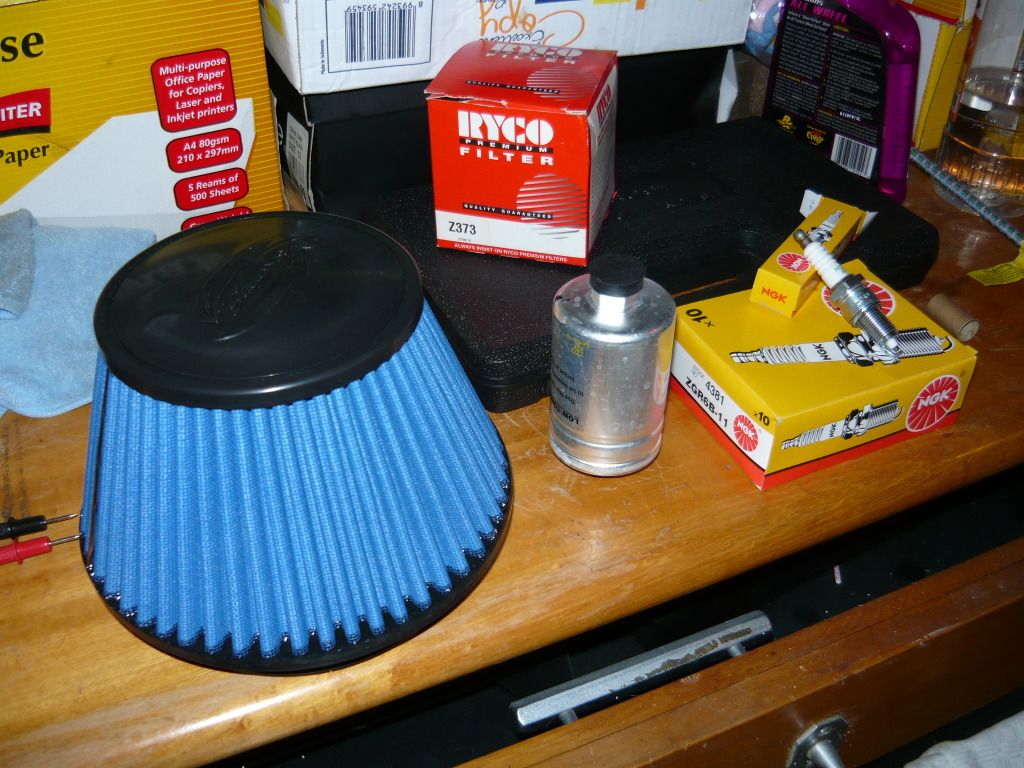 Anyways, good news is everything went well on the dyno. No smashed gearbox, not blown bottom end, nothing of the sort thank God lol. 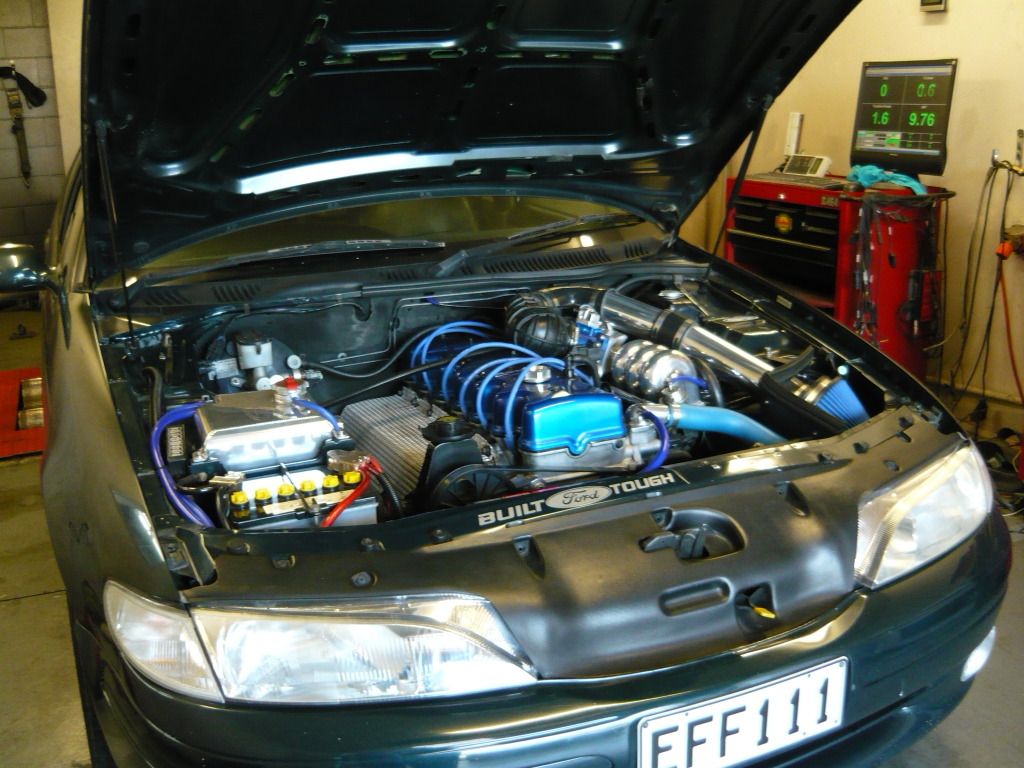 AFR's aren't too bad considering it was all a pretty much 'guess tune' trying to get it running after the cam swap lol. AFR's around idle and at part throttle were pretty good, but at WOT it was still pretty rich (running in the low 11:1 range from 2200rpm - 5500rpm, then for some reason it started leaning off to 13:1 before hitting the limiter at 5800rpm. So still a fair bit to be gained in trimming the fuel map in the midrange. The spark map is still relatively sedate, have only added a small amount to the timing map so could add a bit more safely. On the first run, I almost s**t myself when I saw it pull past 170rwkw, thought something must be going wrong. Sure enough, it was a spike due to the rear end not being strapped down hard enough. Apparently being a Ford and the type of dyno they have, makes tying these things down a b**ch unless you've got a toe bar to make use of lol. Would explain why both times I've been to Protune, the first question they ask is "does it have a toe bar?" All tied down hard, it managed to pull a best of 152rwkw. The 2 best runs were pulling a 149.0rwkw and 149.2rwkw back to back, peak power on both runs was at 5350rpm. AFR's were exactly the same on both these runs so decided to get this run printed off with AFR readout so I can tune off that when I get a wideband kit. 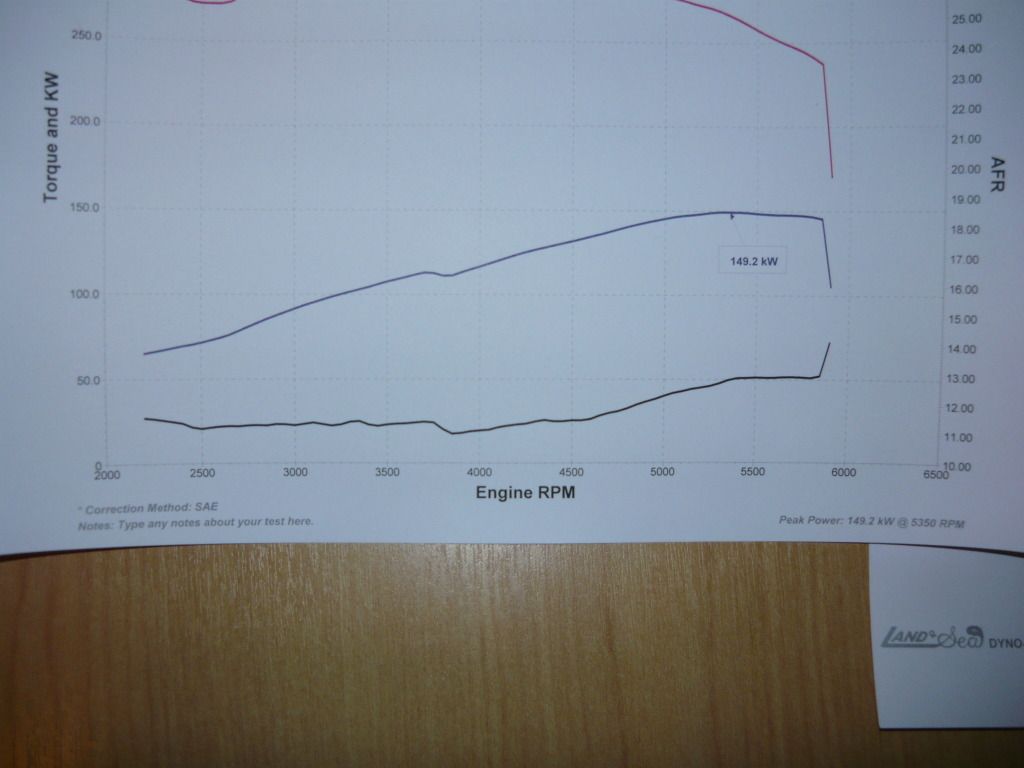 Pretty happy with the result, it's reached my original target rwkw figure in NA form, 200hp at the wheels lol. Sounds pathetic I know haha.. Just need a wideband to sort out the AFR's at WOT in the midrange, play around with the timing a little more and it should be good. It's not making huge power at all, but its putting down a bit more than it was when I bought it so that's good enough for me. Slowly getting ready for the Hamilton Ford Day this Sunday. Took it to the old man's workplace, put her up on the hoist, new oil and filter, and gave a good checking over. All it needs now is a wash, detail, and the engine bay looking all schmick and we are rolling 8) 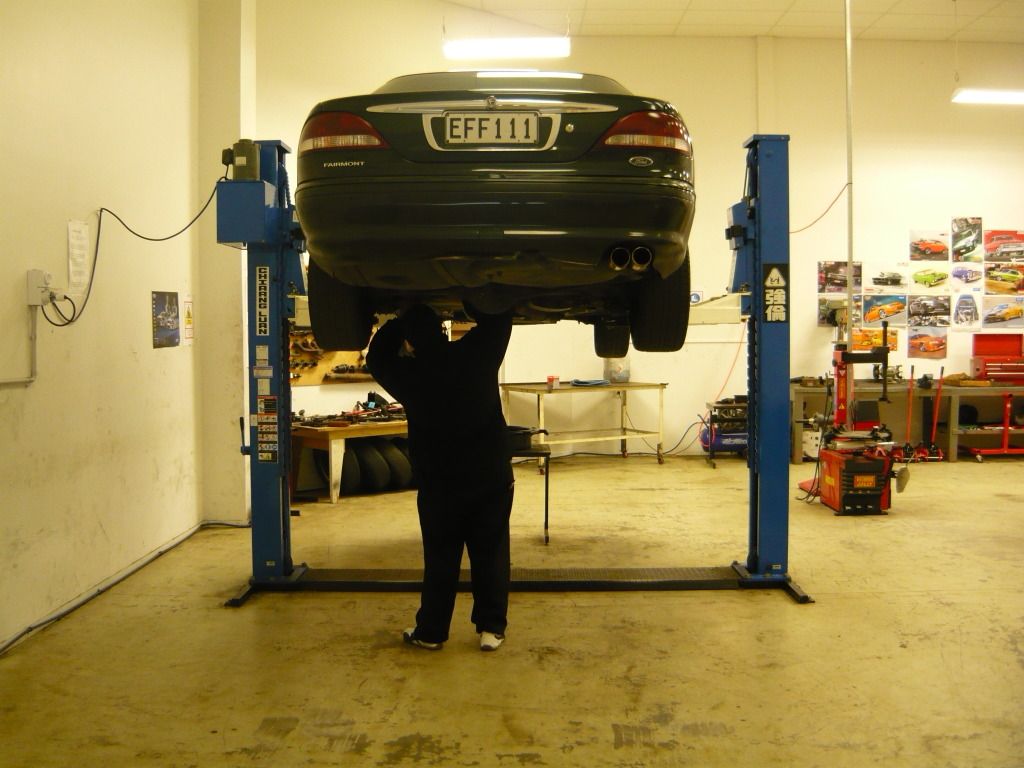 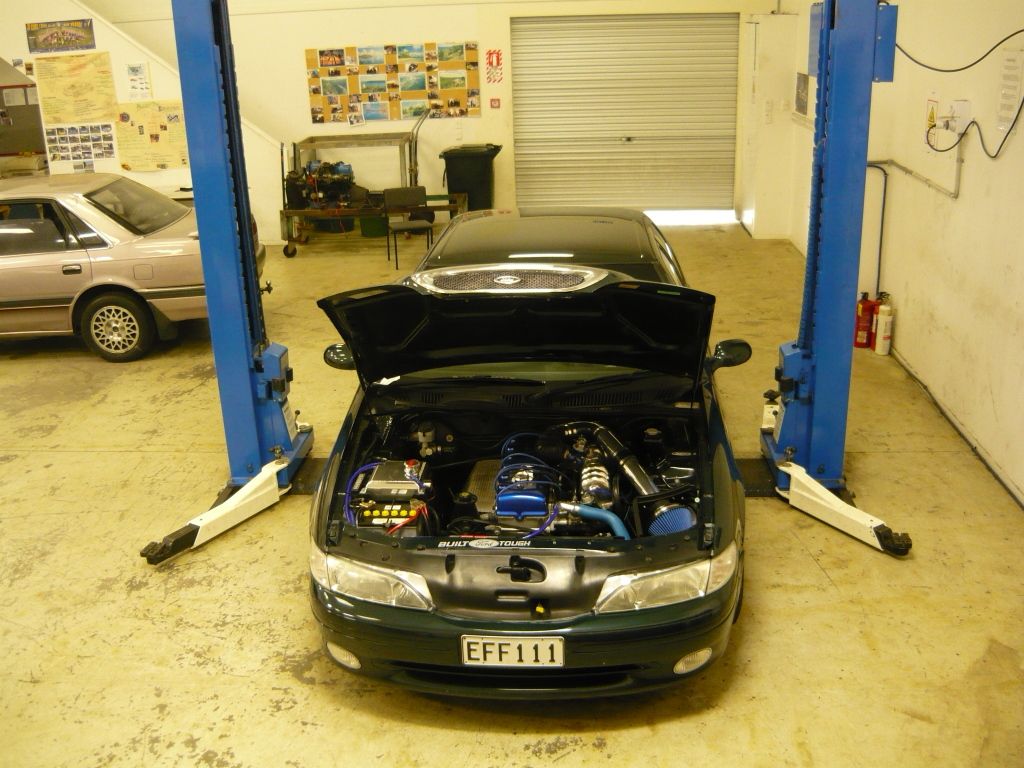
|
|||
| Top | |
|||
| REW93N |
|
|||
|
s**t that filter is massive...
Good figures, KWIK!
_________________ Blue blooded. |
|||
| Top | |
|||
| Who is online |
|---|
Users browsing this forum: No registered users and 60 guests |