
|
| lil_lincoln |
|
|||
|
alright guys a bit of an update,
after getting the tires fitted i had a peek under the car to realize that the center bearing had s**t itself. below is how to replace it. note some photos are taken once i had put it back together as i forgot to take the photos at the time. jack the car up and put it on 4 jack stands. Where the tail shaft connects to the transmission coupling bush remove the 3 bolts and nuts, note they are installed opposite to the other 3. i also marked the tail shaft just so i could install it the same way it was removed.  then remove the 6 bolts that screw into the diff housing, they are a 10mm bolt, i used a rattle gun to remove them. Rotating the tail shaft after i had done two at a time.  Then the center bearing is held in by two 10mm bolts also remove these and the tail shaft should become loose.  at the transmission end slide a flat head screw driver in between the tail shaft and the coupling bush to remove the 10mmshaft that the tail shaft slides into. refer to this picture again  The tail shaft now can be removed with ease. To replace the center bearing, you need a vice or a press. Once the tail shaft is out you can look at the uni joint, two yokes and a uni joint itself.  need to remove all 4 c clips  This is where a press or vice will be needed, using something to sleeve and a rod the size of the end caps press the end cap out the other end, untill the uni itself cannot go further,  remove the end cap that has just been pushed out. Repeat this for 3 more caps to remove the uni joint. Note i replaced the uni joint with a new one just because the car has traveled 178,000kms and its time for a new one. i forgot to take a couple of photos here. Once the uni joint has been removed you will have two separate sections, The yoke with the center bearing connected will have a nut off the top of my head its 24mm, you will need to remove this, i had to use a breaker bar.  photo above you can see the nut that needs to be removed. Then remove the yoke which is on a spline that will pull off with ease. you will be then left with this, the center bearing can be removed with a flat head screw driver behalf the bearing, note not to mark the shaft.  the shaft with the bearing off  The new bearing, NOTE their is Two different sizes 30mm for 6 cylinder models and a 35mm for v8's this photo is of a 35mm bearing. i changed it over to a 30mm the next day  I installed the new bearing, fitted the yoke, installed the new uni joint and painted the tail shaft.  Reinstalled in the car and went for a test drive.
_________________ |
|||
| Top | |
|||
| lil_lincoln |
|
|||
|
I also gave the car a clay bar.
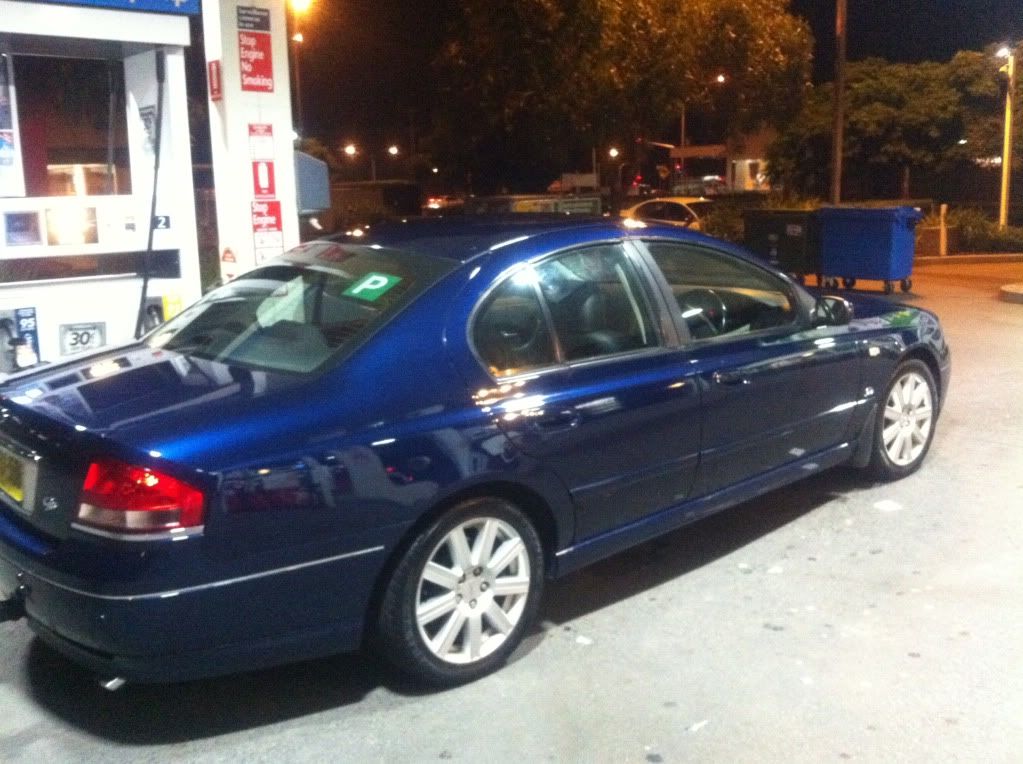
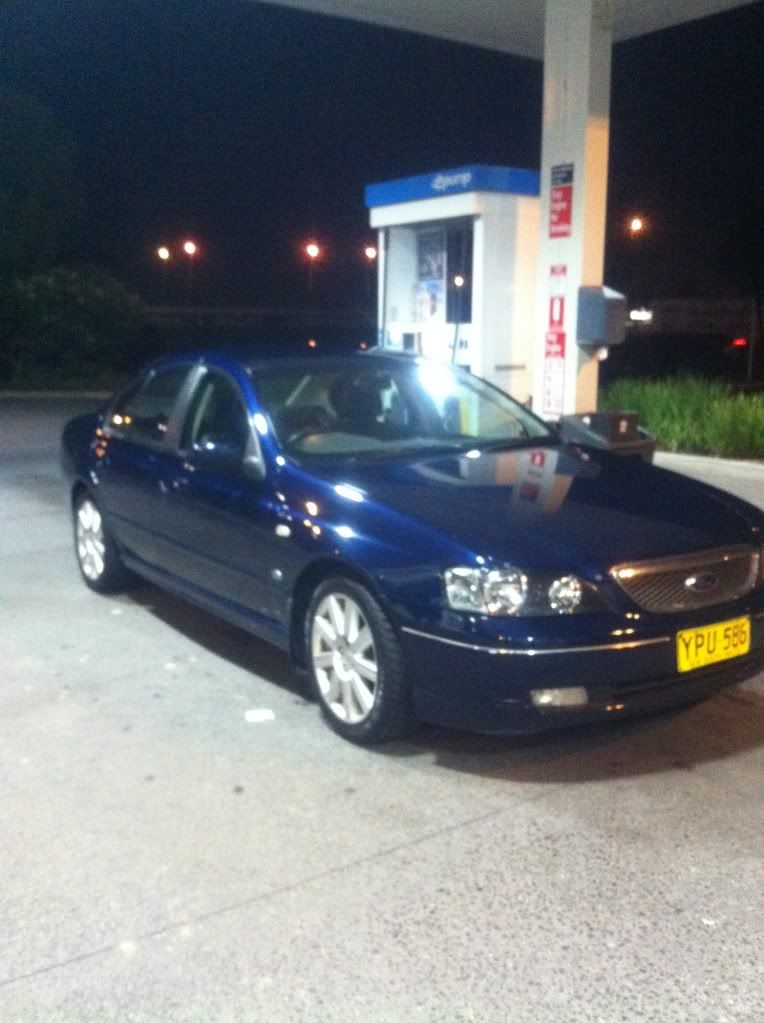
 A couple of photos i took at the servo after it, sorry about the quality of photos.   This week the car will go in for a road worthy. A new windscreen was installed last week for a sum of $160 Adjusted the hand brake today. there is a small leak coming from the from of the cat on the exhaust, untill i get a new one i am going to see how this liquid metal works.
_________________ |
|||
| Top | |
|||
| lil_lincoln |
|
|||
|
well abit of an update.
Car got its road worthy done. Last friday i drove up to Kyneton and got the car registered in victoria Also after that i then went to Tidd Brothers exhaust in altona. Cannot speak higher of the guys who work there and how nice they are, let me watch them put the exhaust on the car. Cheap price too. I got a 2 1/2" Red Back cat back exhaust with 2 mufflers. reason being i cant handle drone and id rather it that little quieter. Also got a set of Super low King springs for the car. Started with SL in the front and SSL in the rear, but i couldnt get out of the drive way, so jacked the car up swapped them for SL's in the rear and now it sits perfect
_________________ |
|||
| Top | |
|||
| lil_lincoln |
|
|||
|
      photos speak better than words.
_________________ Last edited by lil_lincoln on Wed Apr 04, 2012 8:12 pm, edited 1 time in total. |
|||
| Top | |
|||
| Benny D |
|
|||
|
photos do speak better when theres somthing to see
_________________ BA XT V8. Ice Mint. 18" Speedys. XR6T LSD. Full Pacemaker twin 2 1/2inch Stainless Steel system. Custom CAI. Black XR interior with white trimming. Powerbond underdrive kit 25%. |
|||
| Top | |
|||
| lil_lincoln |
|
|||
|
cant see the pictures?
_________________ |
|||
| Top | |
|||
| Benny D |
|
|||
|
workin now
musta been my lame as$ net
_________________ BA XT V8. Ice Mint. 18" Speedys. XR6T LSD. Full Pacemaker twin 2 1/2inch Stainless Steel system. Custom CAI. Black XR interior with white trimming. Powerbond underdrive kit 25%. |
|||
| Top | |
|||
| lil_lincoln |
|
|||
|
another update,
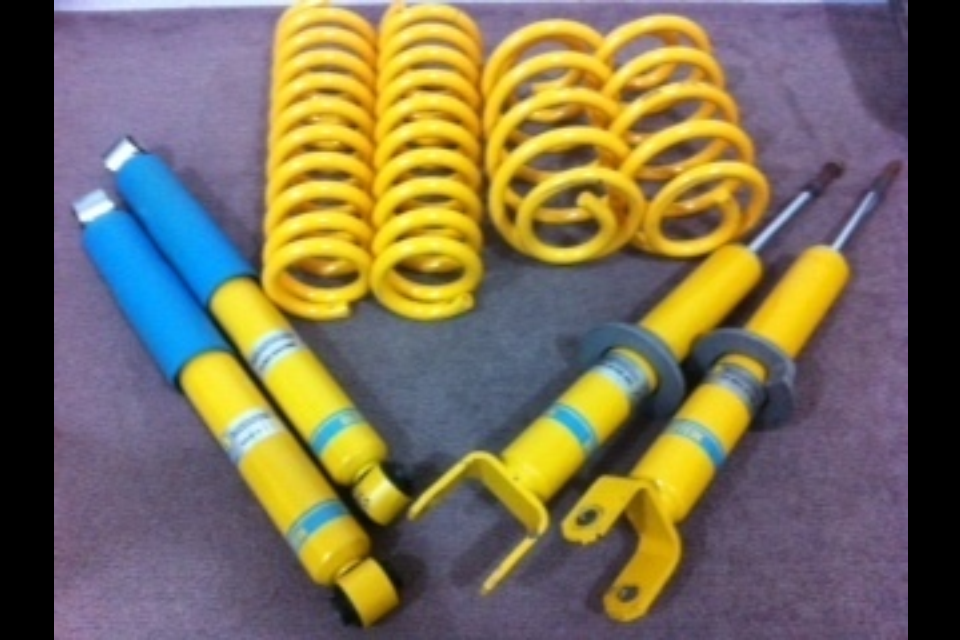
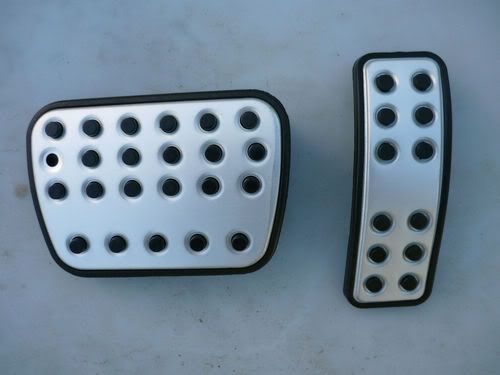
car has just been sitting in the driveway and gets driven twice a week tops, the roof lining had started to sagg and was annoying the s**t out of me....... so it was time to do somethng about it, if someone would like i can post pictures of the step by step process how to reline your headlining, photos tel the story.  Front section of the headlining where it was coming away,  Rear section.  Full view with everything removed.  Headlining removed from the car (sorry about the quality of the photo)  Removal of the fabric which leaves this orange foam, this needs to be removed totally  Removed  Relined with the sunglasses holder and lights put back in  Back in the car   Tools and materials used. 1L of contact adhesive 130mm roller 2x 130mm rollers stanley knife steel brush. Also picked up these little goodies  Bilstein shocks and King Springs, the springs will be up for sale as i am just after the shocks,  A pair of sports pedals to dress up the floor area just a little.
_________________ |
|||
| Top | |
|||
| falconutex2 |
|
||
|
Good description and pics mate, just what I was looking for with the driveshaft and headlining.
|
||
| Top | |
||
| Who is online |
|---|
Users browsing this forum: No registered users and 87 guests |