

|
| xcabbi |
|
||
|
Next came the relocation of the steering damper.
With the ammount of shimmy I was getting with the 33's it was either no one in wollongong can do a wheel allignment on a 4wd anymore or the stock steering damper was not effective with a tyre of that size. So I went out and spent $160 on a tough dog return to centre damper. At this time I ordered a drop bracket from marks 4x4 and it did not fit without requiring significant modifications and after reading their disclaimer I decided to chuck it in the bin ($140 bucks worth). A simpler sollution was developed by using the steering arm bump stop as a drop bracket. This worked out perfectly as the bushes in both ends of the steering damper were angled rather than straight. A 10mm piece of flat bar was drilled to suit and welded to the bottom of the bump stop as shown below.  Yes its only single shear but it was only done to check the fit. Since then it was made to be loaded in double shear with the adition of a 6mm piece of flat bar welded inside the bump stop. Also note the old chassis-engine mounts I had bodgied up with the plasma cutter were ditched in favour of a set that were cut much neater. Also note they now sit up about 15-20mm from before and back a bit too. This was done before I started on the crossmember. |
||
| Top | |
||
| xcabbi |
|
||
|
And now we move onto the sump. A job that should have taken 1-2 weeks but ended up being stretched out to 1.5 months.
At the very start of the project I shelled out $350 for a rear hump sump from a 5.0 F truck. Here is a side by side comparo of both sumps. Note the lack of dipstick on the F truck sump as the dipstick does though the block near the rear cylinder on the left hand side. There is a tiny welsh plug that needs to be knocked out of the block (pic to come later). 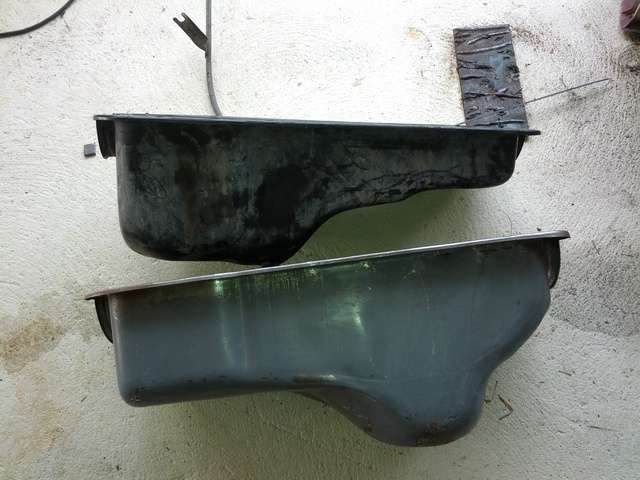
|
||
| Top | |
||
| XPFalcon170 |
|
|||
|
good progress dude
_________________ 84 4runner.......needs boost |
|||
| Top | |
|||
| xcabbi |
|
||
|
In order to choose we sump we were going to hack up we had to check oil pickup clearances. Both front and rear pickups fouled.
The front one 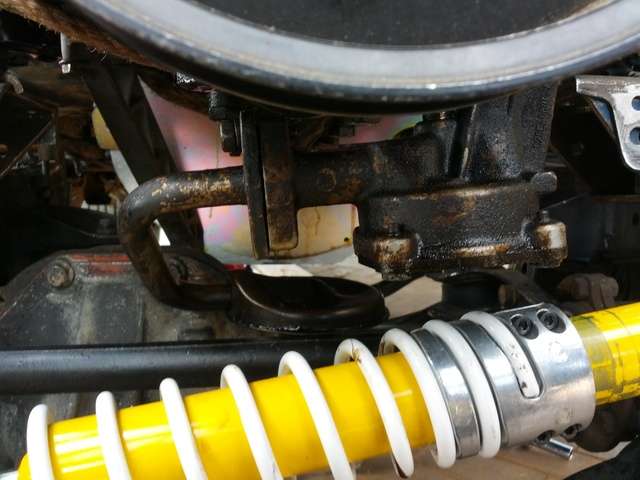 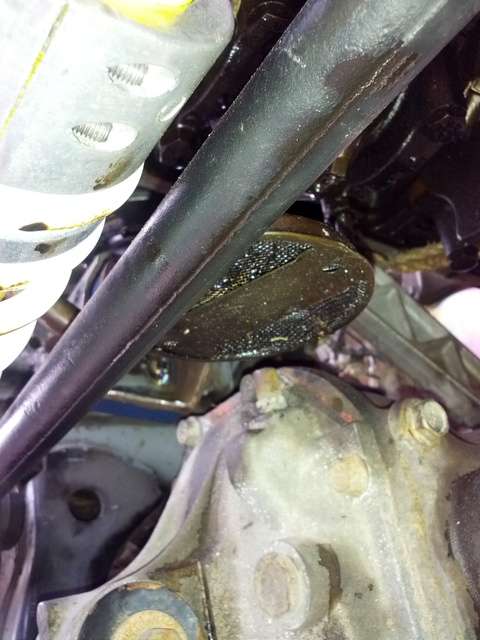 And the rear one 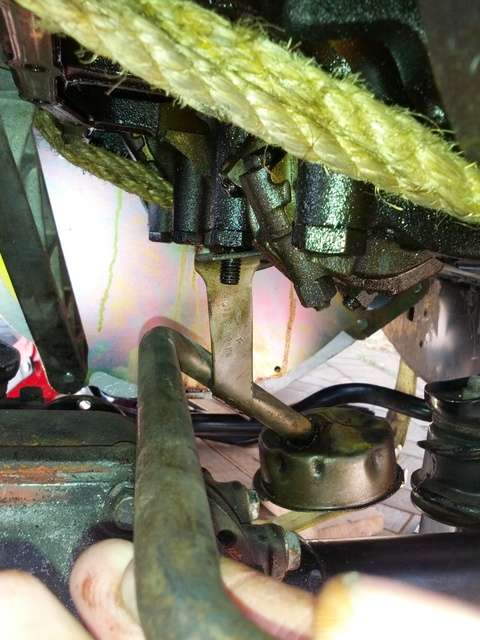 After a bit of head scratching (read hope and prayer) we decided to make one pickup out of two. 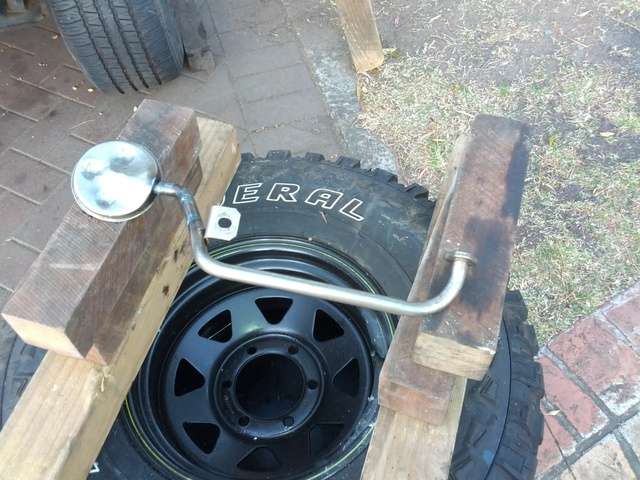 And adapt the rear sump to fit. |
||
| Top | |
||
| xcabbi |
|
||
|
Thanks wade. Right now all that's left to do is ps and aircon lines, exhaust, wiring and ducting. I'm just recapping what I've done for all the people who don't have a fagbook account.
|
||
| Top | |
||
| xcabbi |
|
||
|
We simply sliced off the bottom of the sump like so
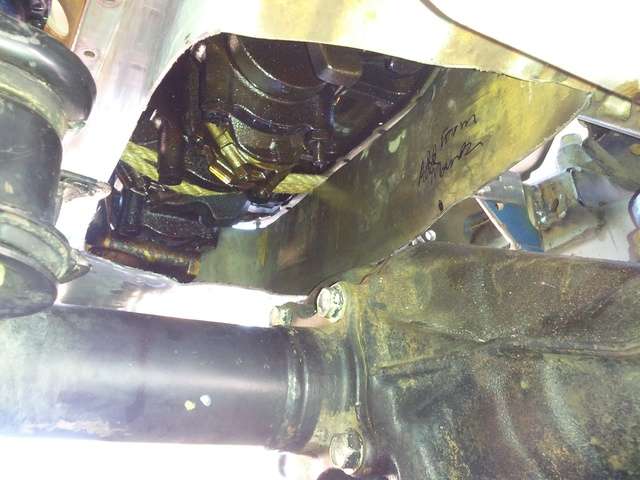 And taped up bits of carboard which we trimmed back in order to create a template.  And after some welding it started to take shape.  After a few trial fitments some mods were required and this is what we ended up with. 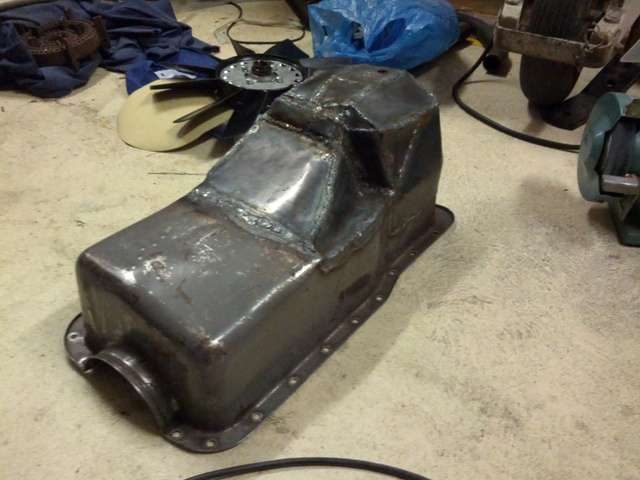 Before we were done it still needed leak testing. First with water and then when we were confident with kerosene. It took a few go's to fix all the leaks. 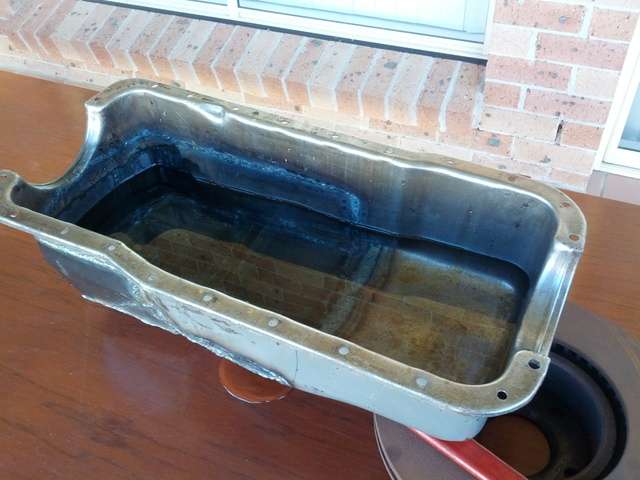 We then primered it up and marked out some fluid heights to get an idea of a safe oil level.We decided on around 5.5-6 Litres. 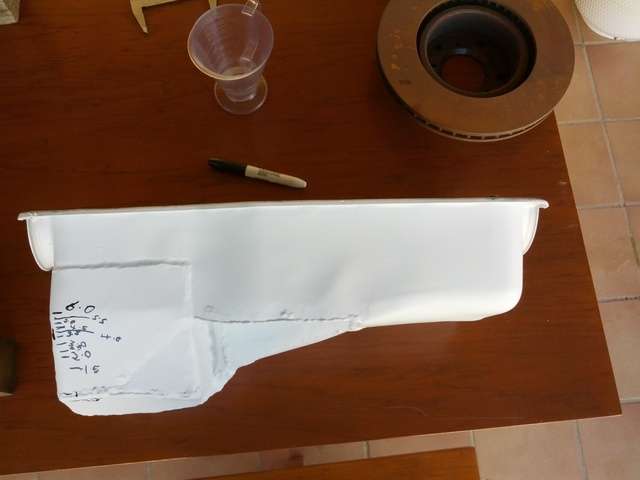
|
||
| Top | |
||
| xcabbi |
|
||
|
Whilst we painted the sump up we decided to do a bit of painting in the engine bay. Note the double shear mounting for the steering damper drop bracket (not to be confused with the original steering damper bracket which I have not bothered to cut off) and the revised chassis-engine mounts with beafed up welds.

|
||
| Top | |
||
| Ballast |
|
|||
|
That's a lot of writing to simply say 'It's still not running yet'
but it's good to see that you haven't given up yet
_________________ Remember kids, the more pages of crap in your build thread, the bigger your e-penis is |
|||
| Top | |
|||
| xcabbi |
|
||
|
I'm trying to be as in detail as I can so if anyone wants to do this conversion they can have a crack at it themselves. I can't belive there are only 4 windsor powered hiluxes/4runners in the country (Ozrunner's and DJ's 4runners, a hilux in Melbourne and mine).
|
||
| Top | |
||
| Matt_jew |
|
||
|
Going well.
At this rate Im thinking yours will be back on the road before mine. My one hasnt even come off the road yet!
_________________ {USERNAME} wrote: More people paid for a ride in a VT commodore then an AU Falcon so the VT is superior.
Based on that fact my Mum is the best around! |
||
| Top | |
||
| xcabbi |
|
||
|
I'm up to the part where I actually have to start spending some cash now to get it finished. Up to this point its only cost me $4000. I might need another 1-1.5k to get it running and who knows how much more to get it engineered.
|
||
| Top | |
||
| D.J. |
|
||
|
Coming along well, keep up the great detail on updates
|
||
| Top | |
||
| DA22LE |
|
|||
|
{USERNAME} wrote: Coming along well, keep up the great detail on updates Yes........ I cant really tell how much room there is or isn't. Did you consider turning the hump on the original sump around? Looks much the same as the massively modded one, and a lot nicer looking......lol... Has the 'Runner got A/C??
_________________ BA XR8 Boss 260 |
|||
| Top | |
|||
| xcabbi |
|
||
|
Yeah its got AC.
As for the sump Reversal I did consider it but it still needed to slice the bottom off and flip it cause they only bolt on one way. Then I also would have had to sculpt around the front diff and mess around with pickups as well. The ugly sump is significantly deeper than both of the factory offerings. I'll take some more pics of it tomorrow so you can get a better picture of the available space. I reckon I've got some room on the passengers side for a turbo should I choose to go down that path later on. |
||
| Top | |
||
| xcabbi |
|
||
|
Spent the weekend discussing exhaust options with Dazzle and we decided that the best option is to make up a pair of 4 into 1's with the drivers side collector facing forward. That way a crossover pipe will go under the front of the sump and under the diff and a 2 into 1 collector behind the starter motor.
And yes there is room for a turbo on the passenger side should I decide to go the boosted route later on. The only mods required to make it fit would be to modify the passenger side exhaust header with the left over bends, remote mount the oil filter and modify the crossover pipe to come up where the oil filter was. T70 boost here we come. I also spent the day researching master and slave cylinder combo's in order to acheive enough throwout bearing travel to properly engage the clutch. The 4runner has a 5/8" Master and 13/16" slave whilst the 75 series cruiser has a 3/4" master and 13/16" slave. Even though they share a common slave cyl bore the internal spring may or may not be different between them. Now my options are to either sleeve the slave down to 11/16", bore the master out to 3/4" or retrofit an external 3/4" master cylinder. Sleeving the slave starts at $70 and can go up to $140 if a custom piston needs to be turned up from scratch. Boring out the master sounds appealing but I fear its more pricey than sleeving the slave. The best option would be to retrofit an external master. That way I can delete that ugly firewall bracket and neaten up the clutch lines. Again the $$$ is the dictator in all this. |
||
| Top | |
||
| Who is online |
|---|
Users browsing this forum: No registered users and 139 guests |