

|
| au man |
|
|||
|
Lotsa work goin into this one looking good so far. What color are you goin for? Some thing plain or a custom pearl?
|
|||
| Top | |
|||
| smithykicks85 |
|
||
|
{USERNAME} wrote: Lotsa work goin into this one looking good so far. What color are you goin for? Some thing plain or a custom pearl? The paint name is called "perfect purpel", i dont have the paint code on me but the base coat is jet black, then i think its 3-4 different peral mixe. I had a sampel of it in a container ages ago, as i was gonna paint my old AU in it (but ended selling it) but if i can get another sample made up this week, ill get some shots of it.
_________________ Weapon of choice, EB shell with a EL XR front powered by a BA engine. |
||
| Top | |
||
| au man |
|
|||
|
Sounds nice cant wait to see it
|
|||
| Top | |
|||
| Terrance |
|
||
|
Mate. This is coming along excellently sweet.
Thats alot of effort being put in and it's just awesome. Just curious are you a beater or painter? guessing beater?
_________________ 1982 60 Series Landcruiser. |
||
| Top | |
||
| smithykicks85 |
|
||
|
{USERNAME} wrote: Mate. This is coming along excellently sweet. Thats alot of effort being put in and it's just awesome. Just curious are you a beater or painter? guessing beater? Yeah beater, only got a few more months of my trade to. Iv never done a job like this, to be honest iv never taken an engine out until i bought this car. Thanks for the comments guys.
_________________ Weapon of choice, EB shell with a EL XR front powered by a BA engine. |
||
| Top | |
||
| smithykicks85 |
|
||
|
Its been a while since iv posted, iv been flat out with work and internetless for nearly a week now. But i have done a little more on the beast. Iv completed another door tonight so the BA trim will fit (only 2 back ones to go now) and iv repaired and primed the front bar. I wont go into detail about doing the passenged front door conversion as it was the same as the drivers. But when i do the back doors ill do a write up and let you know how to do them. Any way i thaught id do a little write up on my bumper repair job, this may help anyone who is currently doing any plastic repair jobs.
PLASTIC REPAIR KNOW HOW: I have a XH XR front bar which had some minor dents and a few major cracks and splits around where it gets bolted up. Ill explain the best process of repairing these common damages. As for dents you can use a hot air gun or an old hair dryer and heat the dent from the opposite end and then push it out with a damp cloth so it cools it down and sets it, but if you want to get it smooth and have a quality finish then follow these steps. Sand the dent and the sourrounding area with a bit of 80 grit. Then feather it out with 180-320. Once all the paint is removed use this prodduct from Teroson, its a plastic filler, try to avoid using any bog or body filler as it doesnt stick to well to plastic over time and may peel off. For minor dents you could prime the area thats damaged then use a 2pac filler but youll have to re prime it again. Any ways back to what i was saying, the plastic filler looks like this: 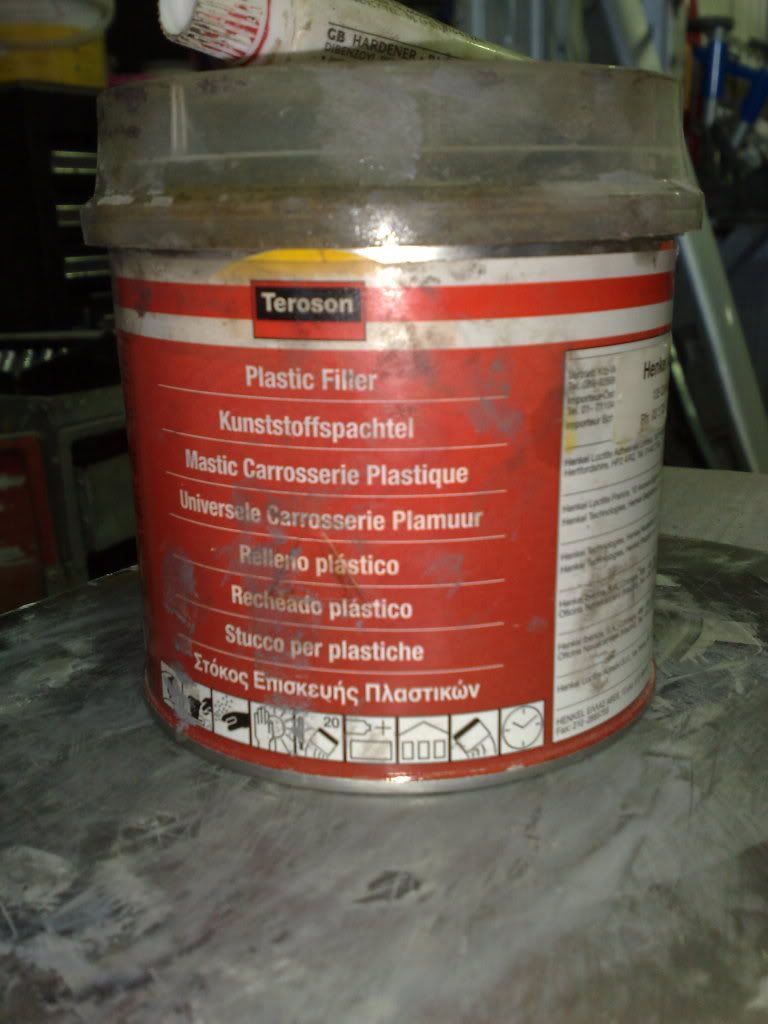 Use a bog board and a clean applicator to mix the plastic filler and harder together like so: 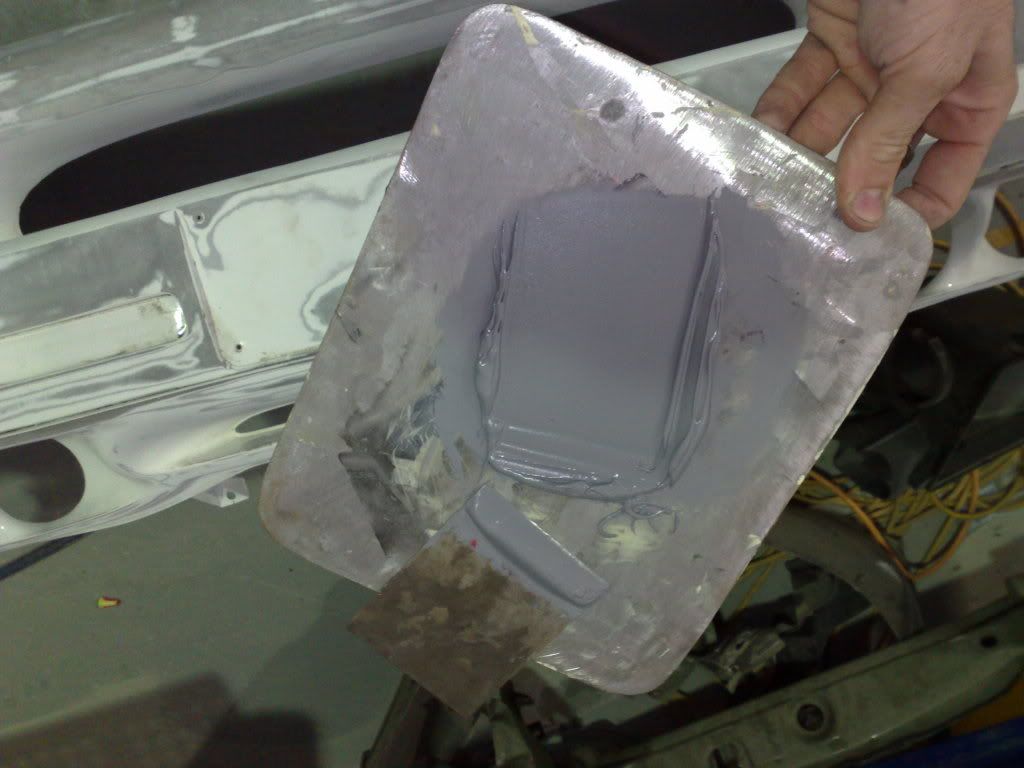 Apply in the dent: 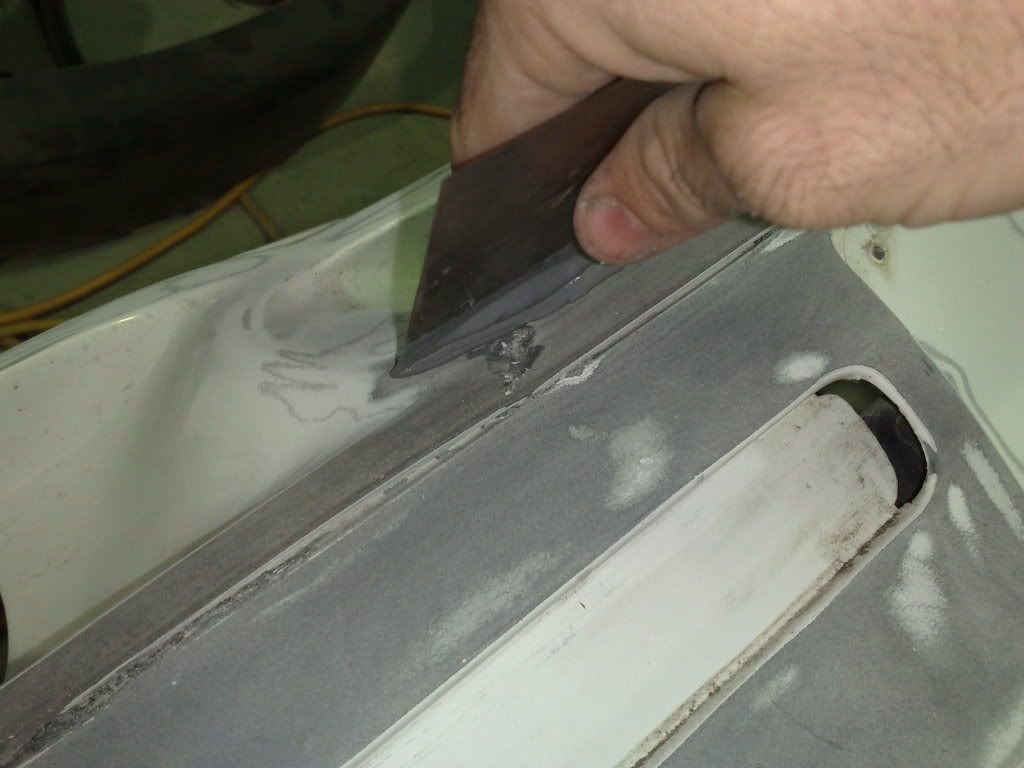 It doesnt take long to dry but for people who want to speed things up a little, you can use your heat gun or dryer to accelerate it. Once dry begin sanding down with a orbital sander, preferable with 200-320 on it, but try to finish the job off with 400-500 grit. If you finish the job off with course sand paper youll notice all this fuzzy plastic which will stick straight threw your prime. If you do end up with a few fizzy spots after youve primed your job dont fear. Just block down your job with 230 and make your way up to a finer finish and reprime it. It should come out sweet. As for cracks and splits, a easy way to get splits sticking together is a soldering iron, just tack the crack or split up, clean the area of any paint and use a product called Pannel Bond from 3M. Its a bonding glue used for metal only, how ever iv have used it on a few small repairs including plastic and fibre glass and have never had a trouble. However pannel bond will need to take 24 hours to cure. You can buy a gun that mixes it and sprays it out but it cost heaps, just evenly push out the right amount on a mixing board and mix the 2 together and apply it on your job. With major crack repair, you may need to use a soldering iron to V out the crack so you can apply the pannel bond in it, it may help hold it a bit better. Heres a shot of the splits in the front bar: 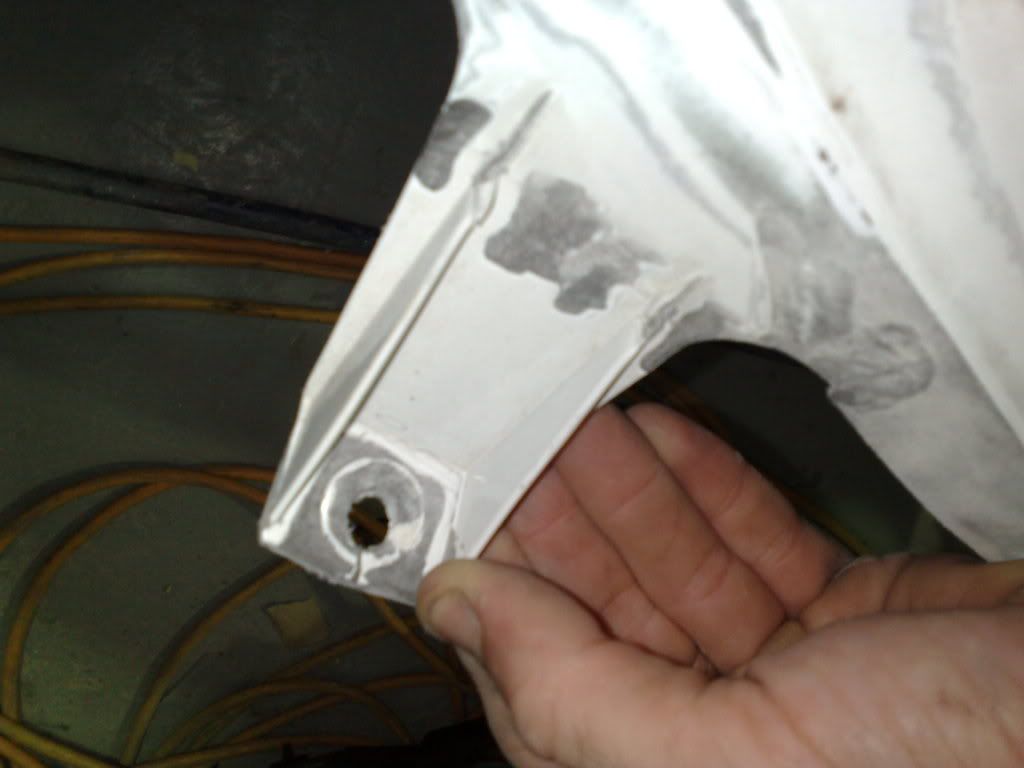 Heres a shot after iv applyed the plastic filler and the pannel bond, (pannel bond will also sand back ezy once dryed): 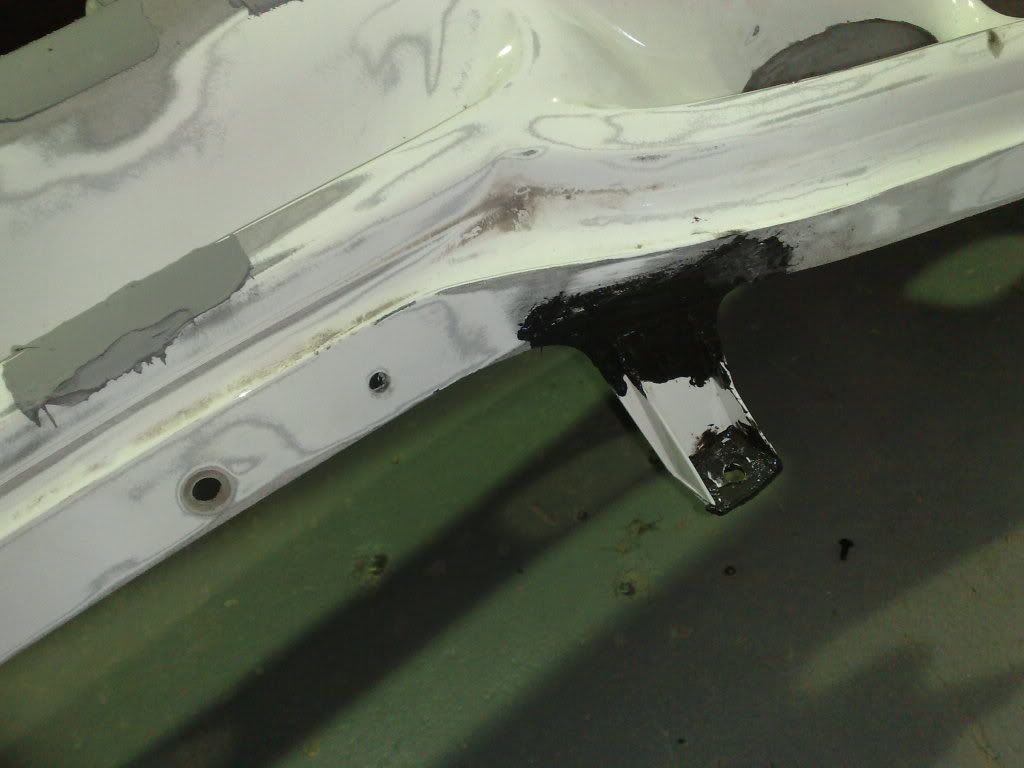 Heres the final shot of it primed: 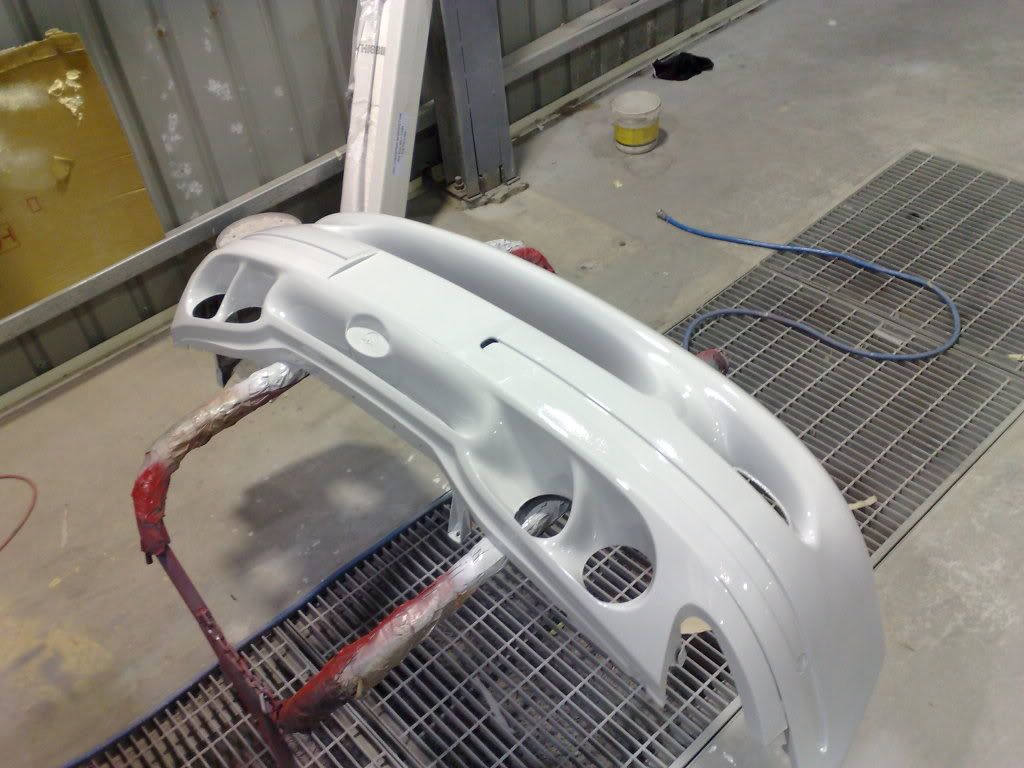 Hope that helps a few people out, also heres just a quick shot of the front passenger door all done and primed, ill try and get a bit more down on the car this week. Iam still waiting on the scorcher rear bar to arrive, as it shouldnt be to far off. Well ill keep you's up 2 date. cheers: 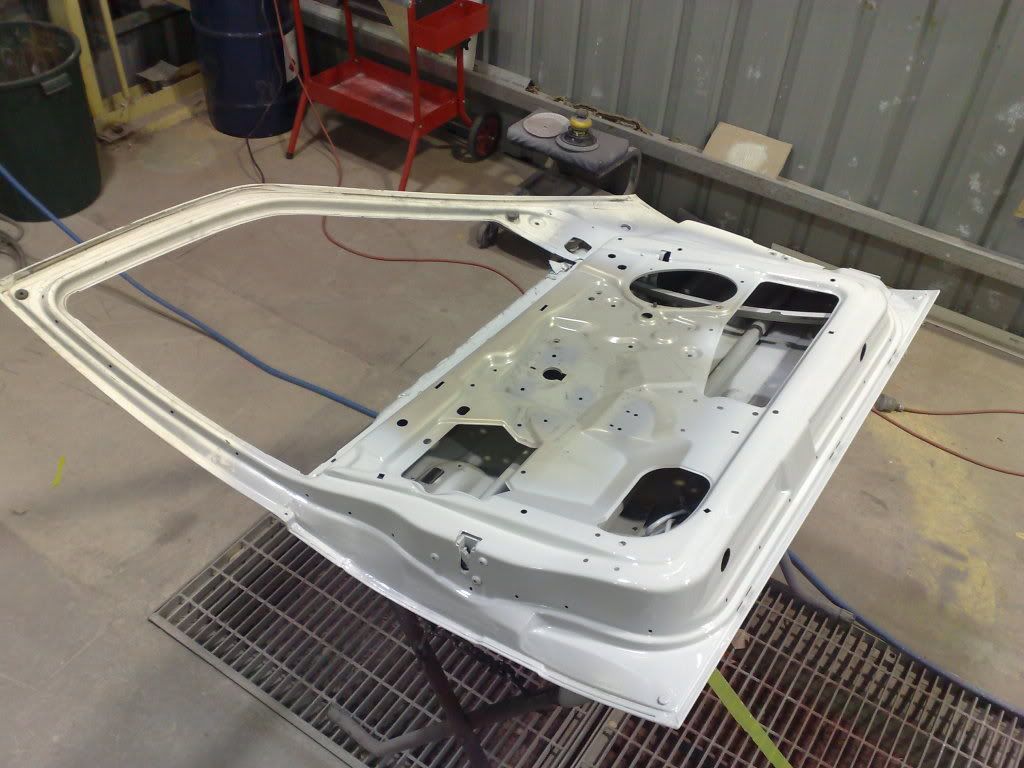 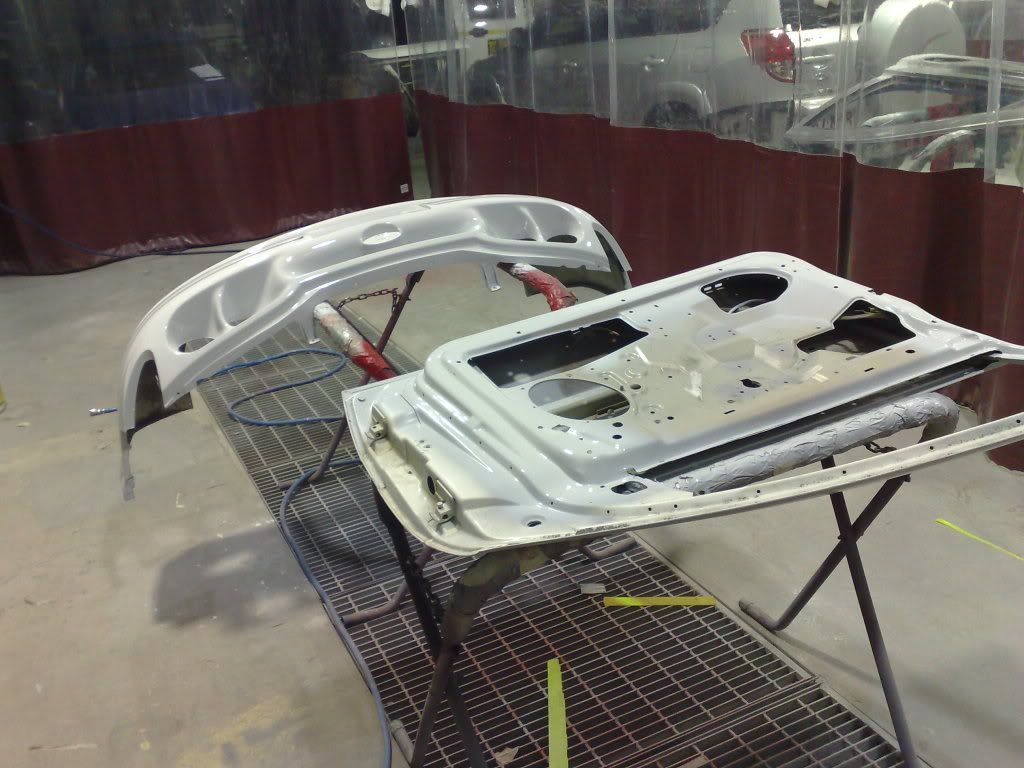
_________________ Weapon of choice, EB shell with a EL XR front powered by a BA engine. |
||
| Top | |
||
| Froudey |
|
||
|
looking really good can't wait til it is complete
_________________ R.I.P Tobias my son. |
||
| Top | |
||
| MRE-50L |
|
|||
|
Nicelly Done so-far Champ
_________________ Chance Favors The Prepared Mind ! |
|||
| Top | |
|||
| nicco |
|
|||
|
awesome work again mate.
and thanks for doing the big write-ups as well, definitely makes for a really interesting read. |
|||
| Top | |
|||
| alfy |
|
|||
|
i like your washbay drain. ours is like 50cm x 50cm, and blocks up all the time. and guess who gets to clean it
anyway, this build is coming along fantastically! cant wait to see it done.
_________________ 2021 V6 Manual Amarok - 245kw/750nm - many goodies |
|||
| Top | |
|||
| EFFalcon |
|
|||
|
Fantastic write up.
Going into this much detail is the sort of thing that inspires others to give things a crack.
_________________ FALCN6 - EF GLi Turbo, 20" Rims, Air Bag Suspension, Straight LPG, 225rwkw |
|||
| Top | |
|||
| itlookslikeaxr6 |
|
|||
|
Great build and write up always an interesting read.
Regards, Michael.
_________________
|
|||
| Top | |
|||
| fiend |
|
|||
|
Yeah, everyone seems to have said "nice write up", "good read", "nice job", and "good effort" so I am not bothering to say anything.
Oh, darn. I've said it now. |
|||
| Top | |
|||
| smithykicks85 |
|
||
|
YAY, the scorcher rear bar arrived this sarv. I raced home to pick it up and bought it back to work to do a quick trial fit. I carnt describe how good the end quality is for a fibre glass rear bar. Its strong and a high quality finish. I dont think there is a better looking and quality bodykit out there then the scorcher kit for the box cars. Iam the happy with it iam putting this blokes email up incase anyone is interested in getting a kit (paul.madden@australiaonline.net.au). Also it wasnt badly priced either. Very friendly nice guy to do buisness with to.
I was working in the dark tonight trying to do a quick trial fit to see how she fits and lines up. Very happy also a very install job. The rear bar has arrived: 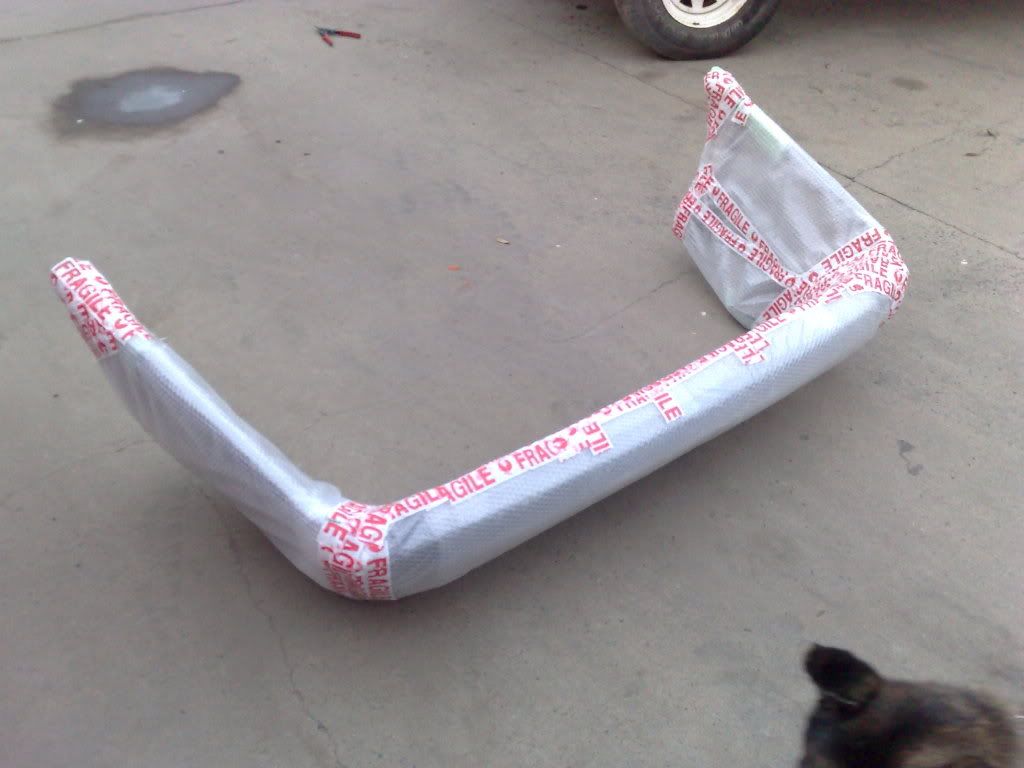 Heres a shot of the back of it. This is what the scorcher looks like with the number plate recess removed and filled. I was thinking for ages weather to put a EA garnish on and have the number plate in the rear bar, but i prefer the EB lights and garnish: 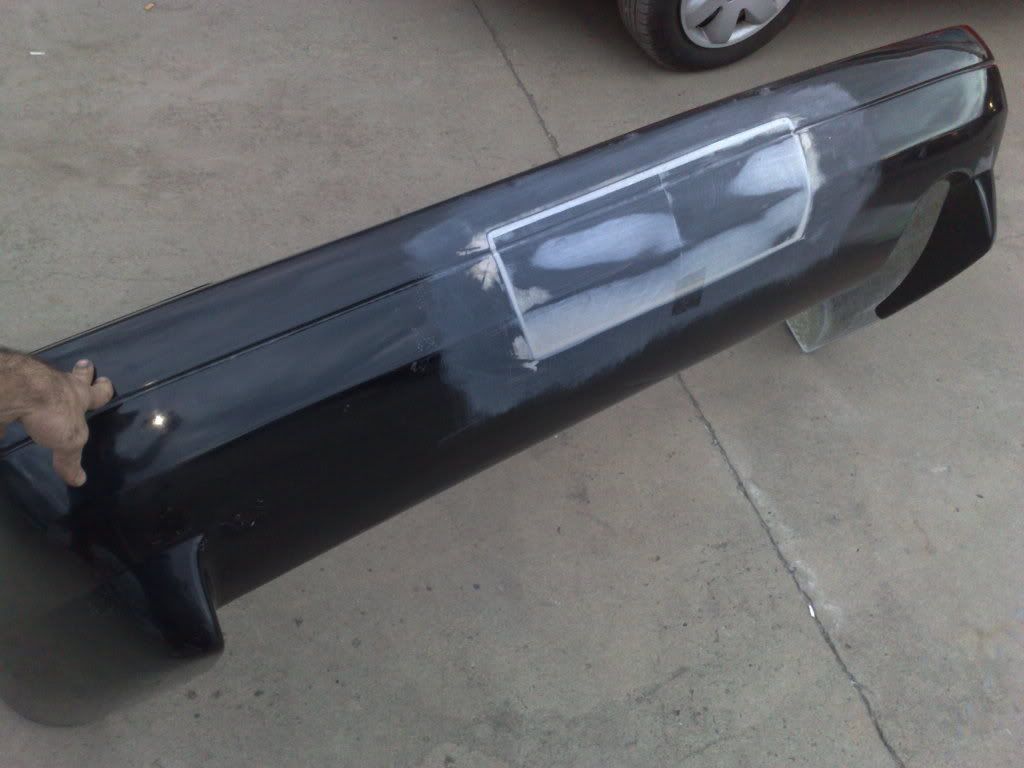 Easy to install, just remove the reo bar and line the 2 bolts up with it and drill the holes so the rear bar can be bolted straight to the reo, also the rear bar came with all the bolts you need (which is great for people doing home job fit up): 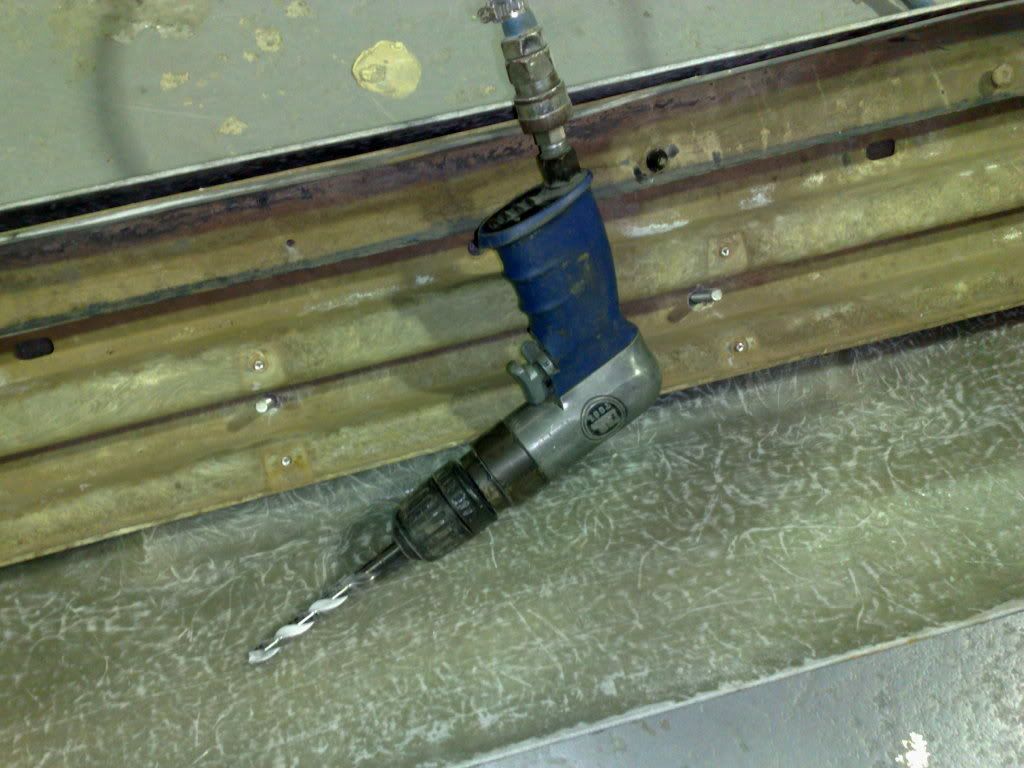 Just another shot of the reo bolted on to the rear bar: 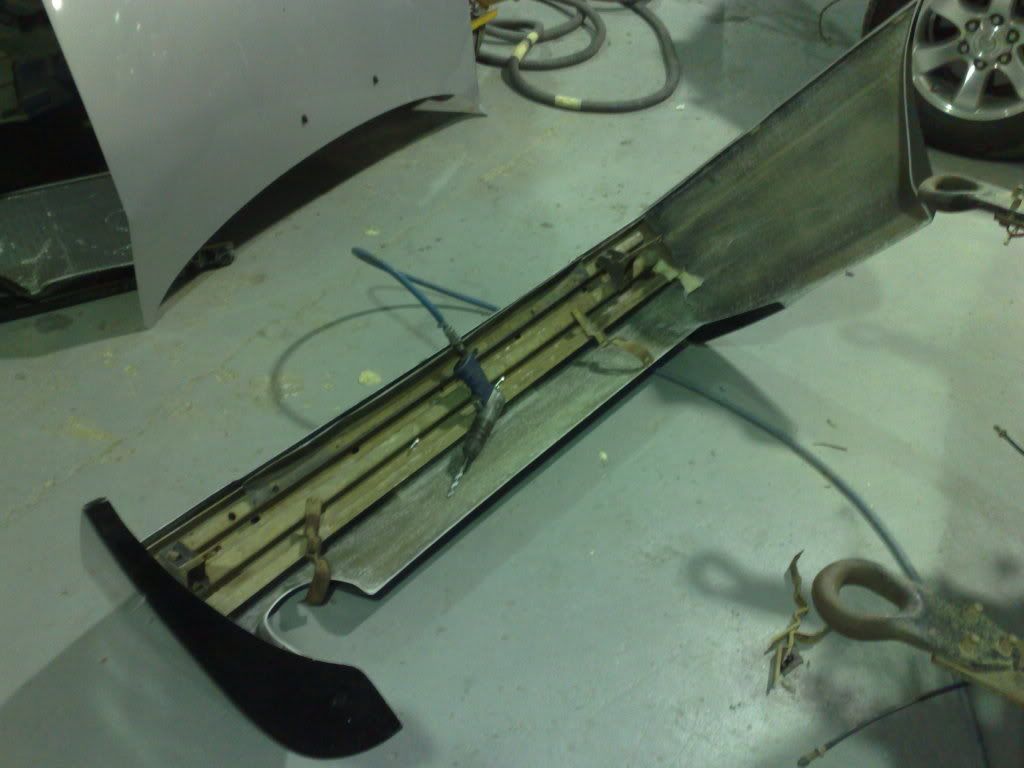 Its a shame i couldnt get a day shot of it on, but any ways to install the sides on, line them up with the quarter pannel, and from the inside of the boot youll need to drill 2 holes that line up with the nut inserts in the rear bar. Take your time measuring and lining them up, as it is a bit of a tricky task, but if you have patients itll look sweet: 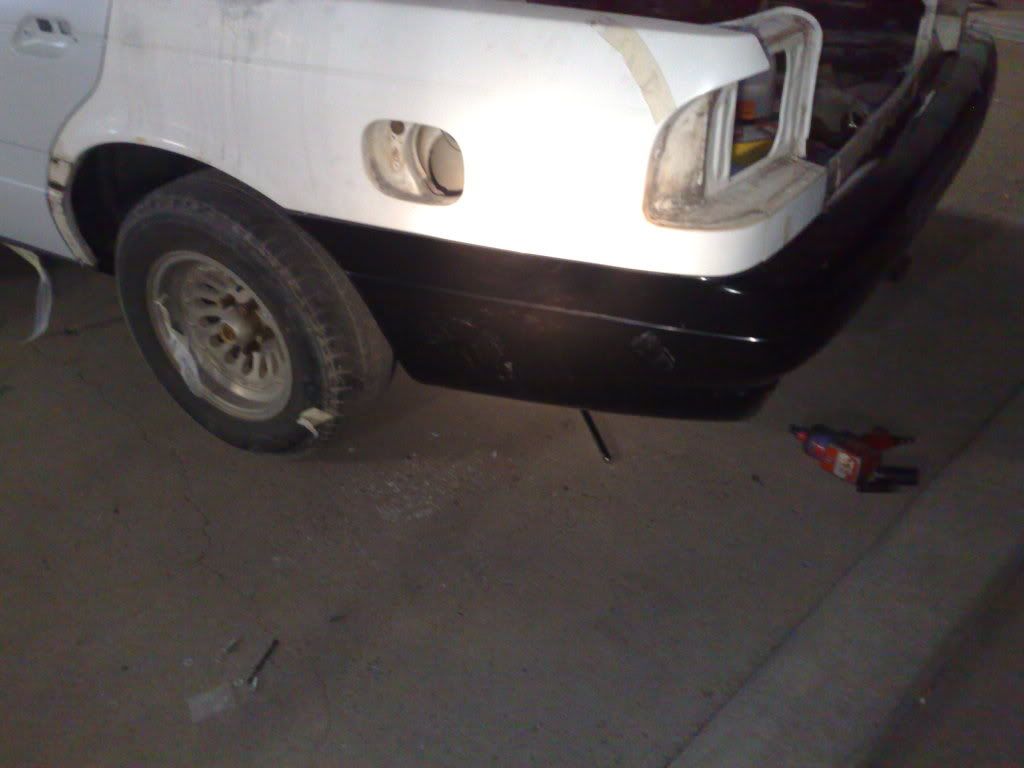 Heres the back end, i got the old tow bar behind it still so its kinda making sit a little sh*t at the back but ill remove it tomorrow. Also i wanna cut out a matching exhaust bit on the other side so i can run duals out the back, ill probably do that when i get on top of the 2 rear doors that i have to do: 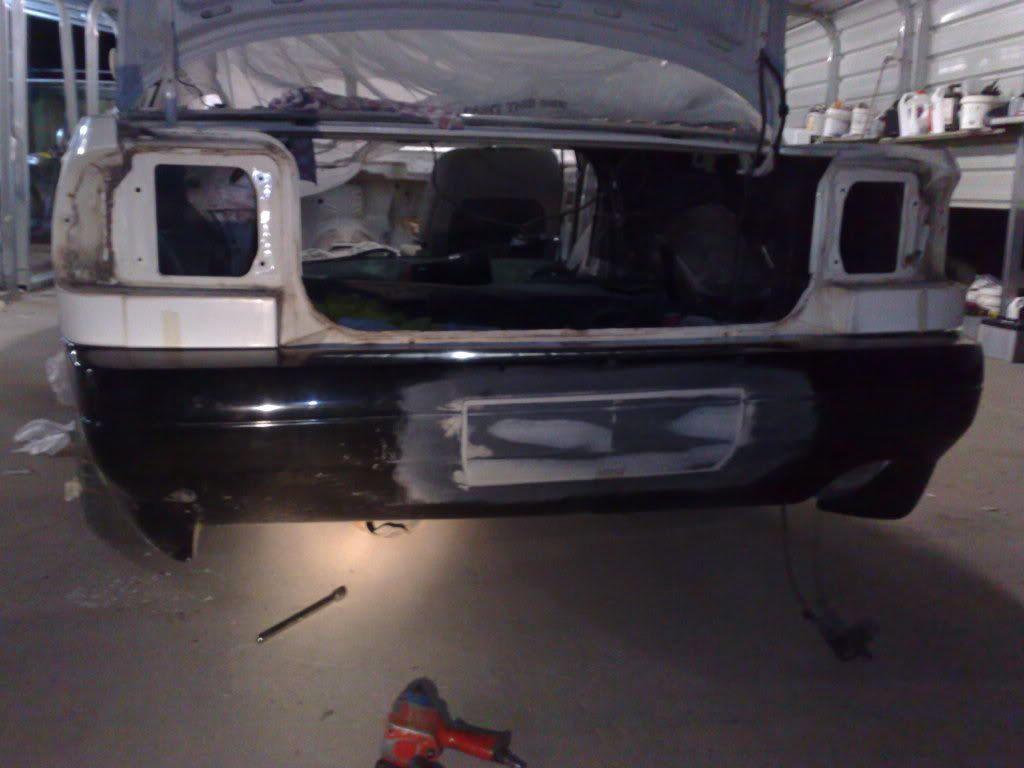 And heres the drivers side, night time shots dont do it justice: 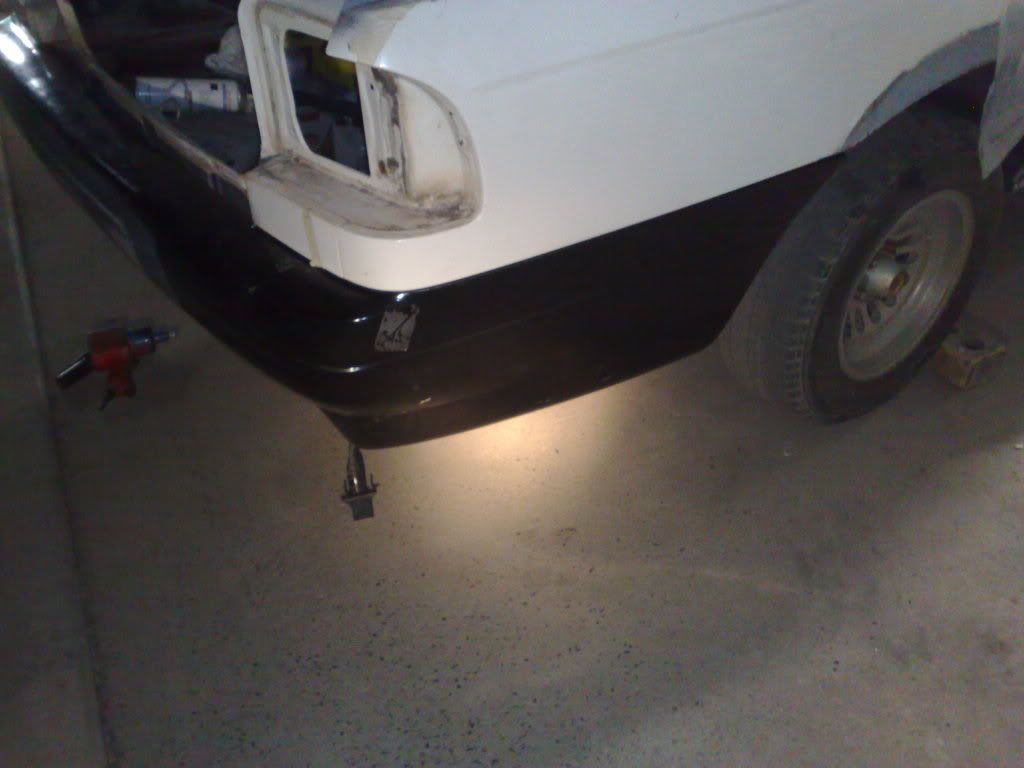 Iam going in to work hopefully tomorrow and spend another big day on it, hopefully ill get a bit done and have some more info and photos up of it. Also thanks for all the comments and that guys. Cheers.
_________________ Weapon of choice, EB shell with a EL XR front powered by a BA engine. Last edited by smithykicks85 on Sat May 23, 2009 10:35 pm, edited 1 time in total. |
||
| Top | |
||
| smithykicks85 |
|
||
|
post deleted.
_________________ Weapon of choice, EB shell with a EL XR front powered by a BA engine. Last edited by smithykicks85 on Sat May 23, 2009 10:35 pm, edited 1 time in total. |
||
| Top | |
||
| Who is online |
|---|
Users browsing this forum: No registered users and 175 guests |