

|
| thepistonhead |
|
|||
|
After lurking here for a couple of months I decided to post up a build thread, to give back to others needing inspiration doing small and cheap mods to there cars. The same inspiration i have gained from the build threads of others here.
It had the following: Full tickford bodykit from factory. 185KW ELII XR8 engine, box & exhaust - Dual Fuel - Tints - Leather steering wheel - Slotted rotors Also I look forward to looking back in a couple of years time to see my progress. First of, my car started out as a EFII V8 fairmont from the factory but the previous owner took the engine, box and exhaust of a wrecked ELII 185KW XR8 and slotted it into the fairmont.   Here are some pictures before i got it: 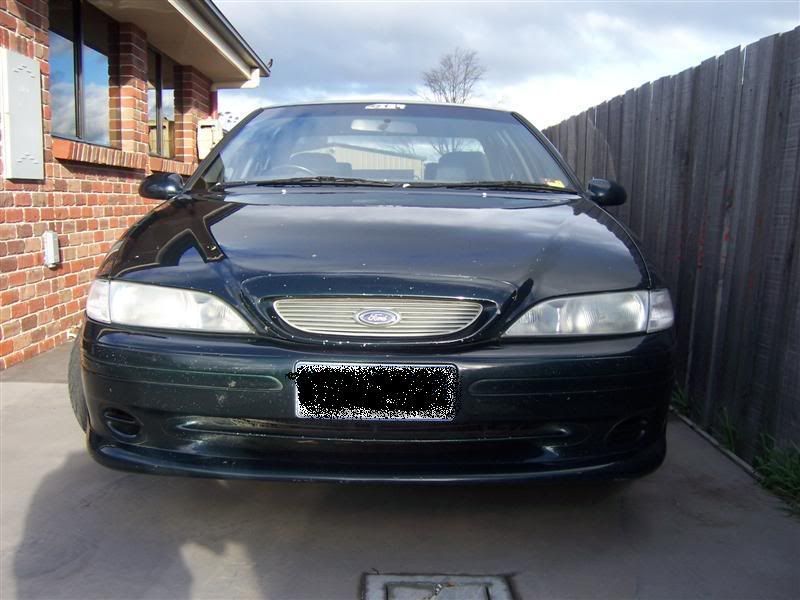 It shows the stone chips on the front bar and bonnet/grille. There were literally 100's of tiny stone chips on the front bar, which aren't very well visible in the pictures. 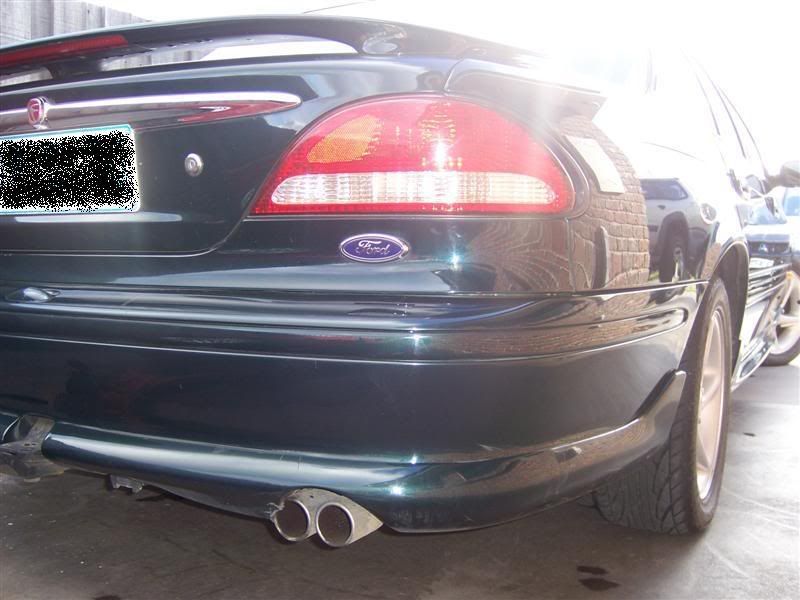 Also note the XR8 exhaust rubbing on the rear bar melting some of it away. 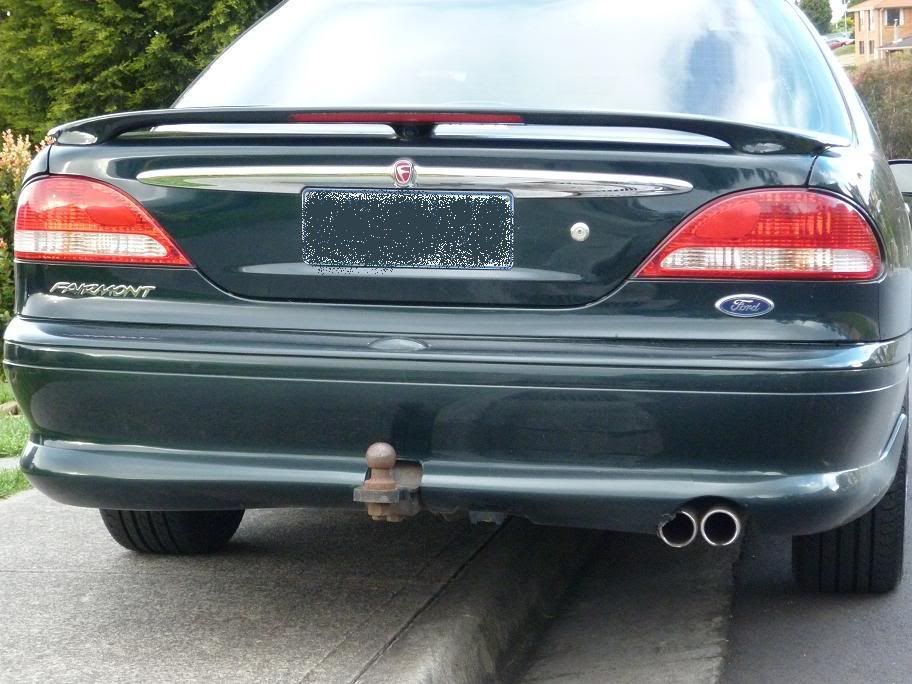 Also shows badly discolored towbar. The first proper detail:  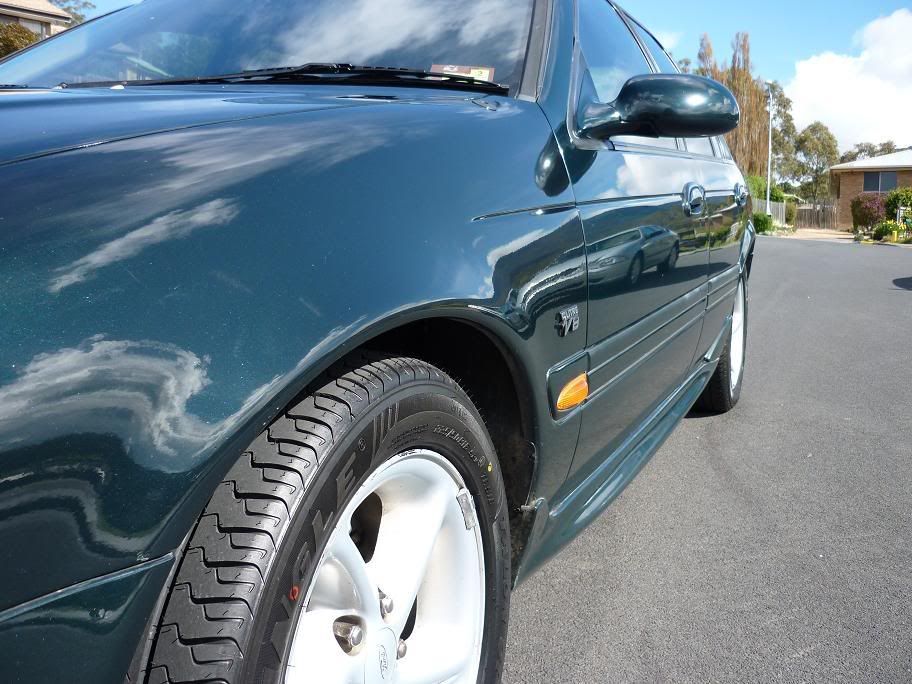
_________________
|
|||
| Top | |
|||
| thepistonhead |
|
|||
|
One of the first things i did was start an interior LED conversion:
The number plate light: 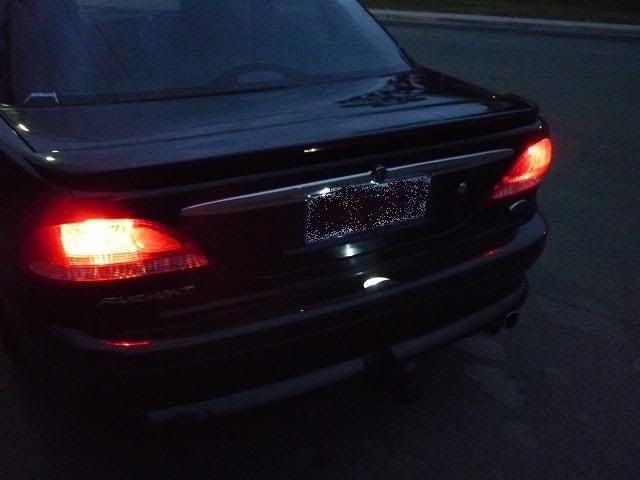 Cluster: 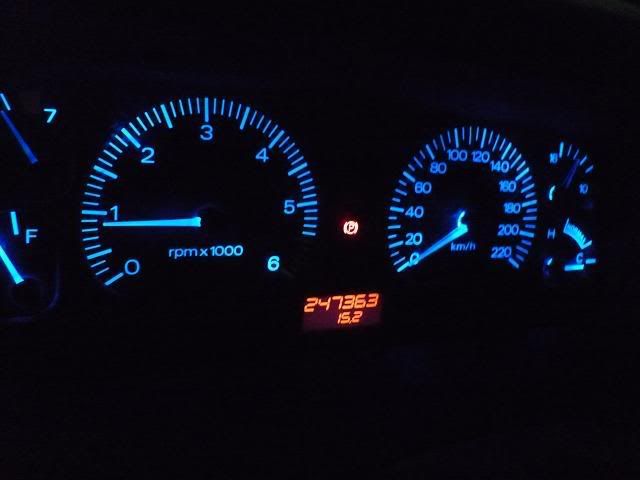 Others will come of the LED conversion once it gets dark tonight, I'll take some pictures, including the footwell neons, activated separately via a switch in the dash. Added a red V8 badge and a tickford badge also. Really turns the heads this, I see drivers heads staring at the guard at the lights 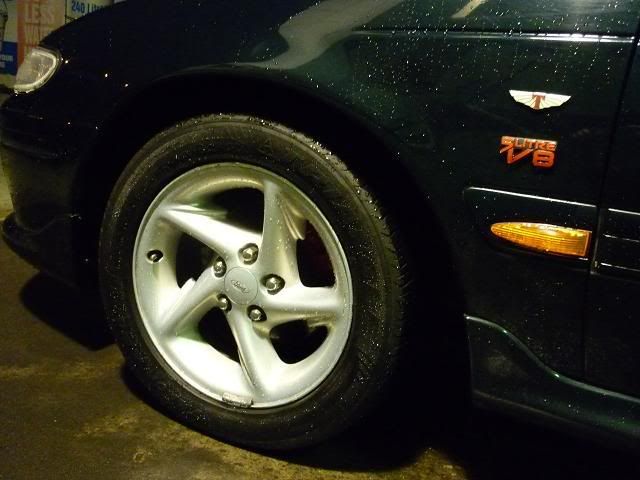
_________________
|
|||
| Top | |
|||
| KWIKXR |
|
|||
|
Nice looking EF you have there mate!! Nice find with the EL XR8 engine too.
Look forward to seeing your progress on this |
|||
| Top | |
|||
| thepistonhead |
|
|||
|
I next painted my calipers red:
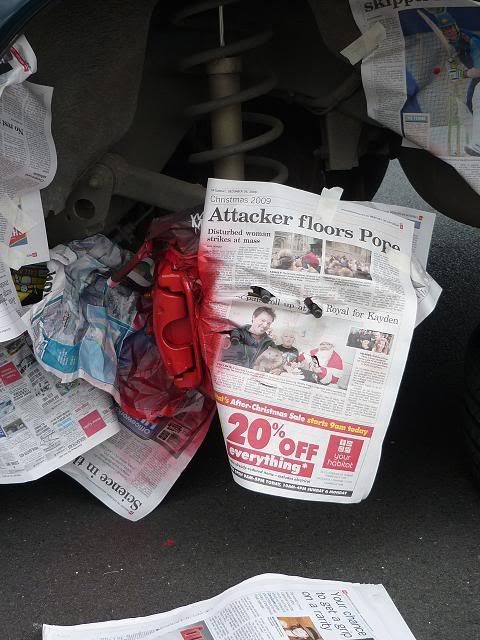 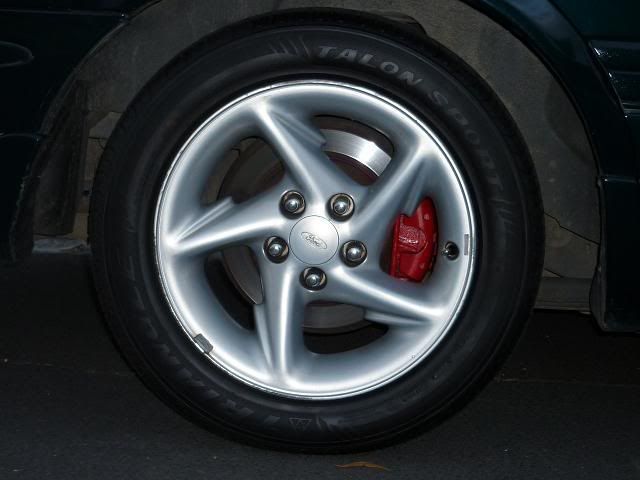 The engine cover also got a lick of the high temperature caliper paint, which coincidentally matched the colour of the V8 badge. I also repainted the black plastic strip which had faded badly. The block also got a polish. 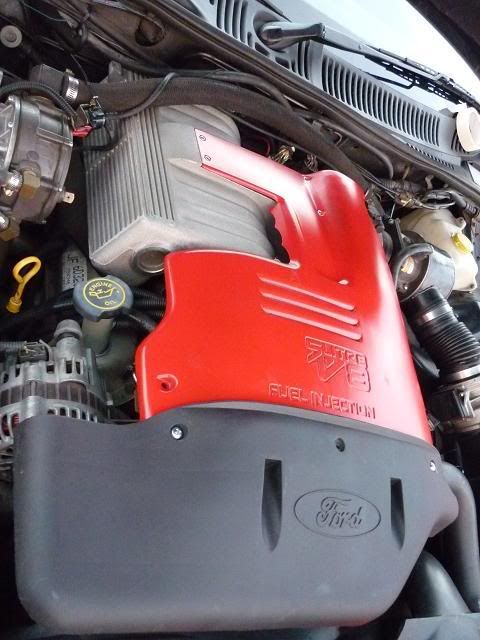 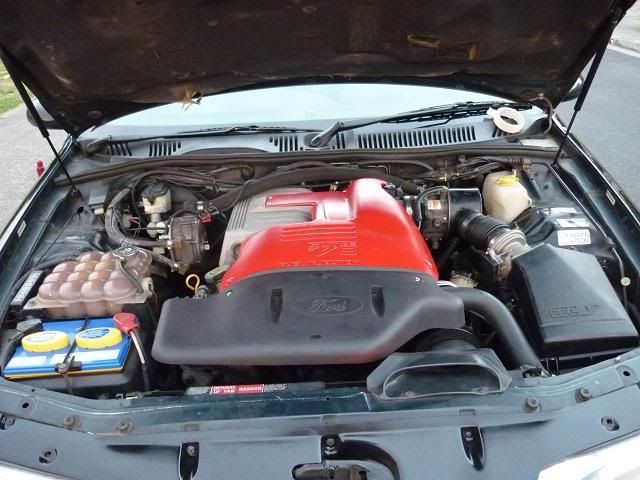
_________________
|
|||
| Top | |
|||
| thepistonhead |
|
|||
|
Next, the front bar got a respray and I resprayed the grille and plastic insert in the garage. Both were done within 2 weeks of each other. I chose to paint the black mesh the black colour found in the ghia's from factory versus the lighter grey of the regular fairmont's.
Some of the chips before: 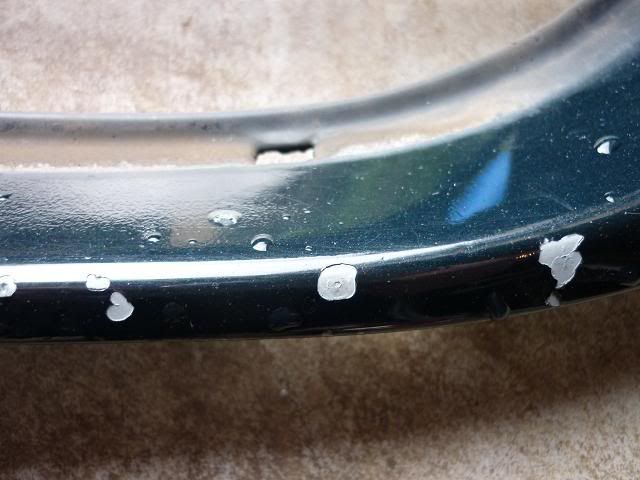 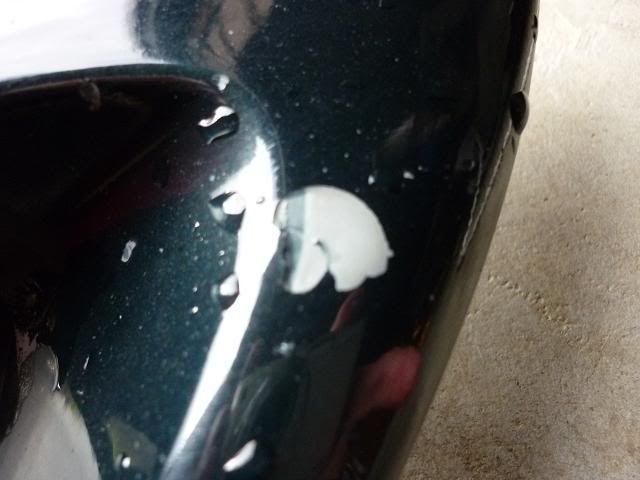 After: 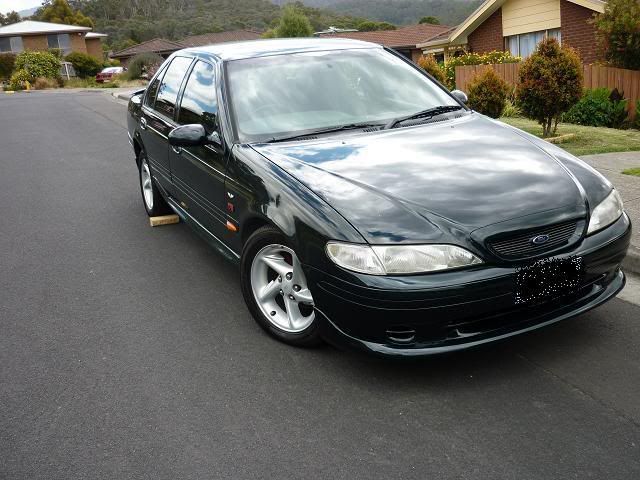 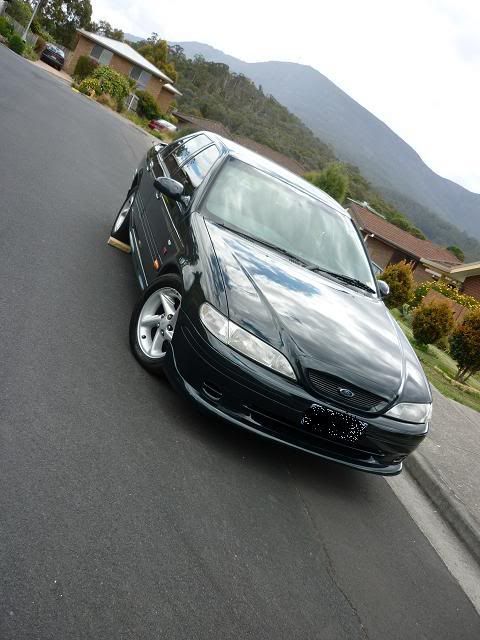 Also note the improved clarity in the headlight lenses. This was achieved by rubbing nail polish remover over it. Wet sanding was tried but the results were temporary and the discoloration came straight back. Very happy with the results of the nail polish treatment. No hint of it 3-4 months down the track. One cost $40 in paint, the other cost $700. Guess which one is cracking one month after getting professionally painted?  They also painted in my foglight surrounds!
_________________
Last edited by thepistonhead on Sun Jan 03, 2010 9:28 pm, edited 1 time in total. |
|||
| Top | |
|||
| thepistonhead |
|
|||
|
Next up i ripped off the side strips and repainted them as the clear had come away and it was flaking quite badly.
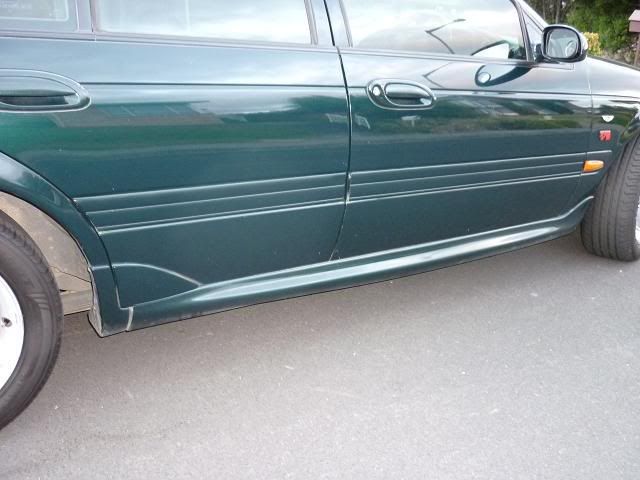 I also bought a set of ghia interior door cards, and installed and wired them up over a couple of days. The front speakers were also replaced at this time, while the door cards were off. 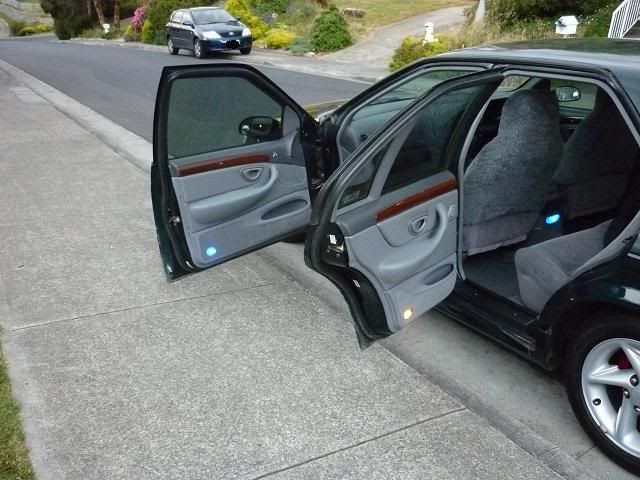 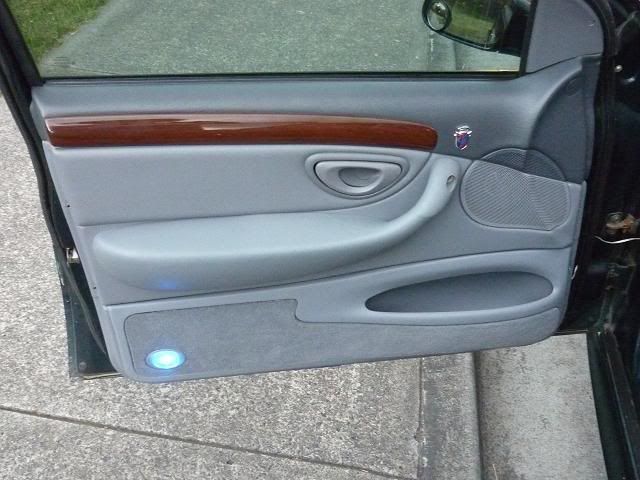 Still deciding whether to put the Blue LED's (front) or the regular bulb's (back) in the door cards. Thoughts?
_________________
|
|||
| Top | |
|||
| thepistonhead |
|
|||
|
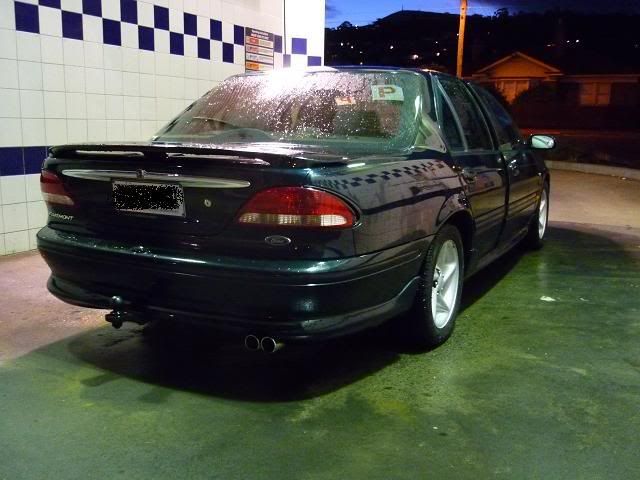
This shows the exhaust's alignment issue fixed, and the repainted towbar assembly. The exhaust was also given a polish.
_________________
|
|||
| Top | |
|||
| thepistonhead |
|
|||
|
{USERNAME} wrote: Nice looking EF you have there mate!! Nice find with the EL XR8 engine too. Look forward to seeing your progress on this Thanks KWIKXR, I have read through your build and have gained much knowledge and ideas from it.
_________________
|
|||
| Top | |
|||
| thepistonhead |
|
|||
|
The following shows the interior lighting, ranging from keyhole light to blue dash lights.
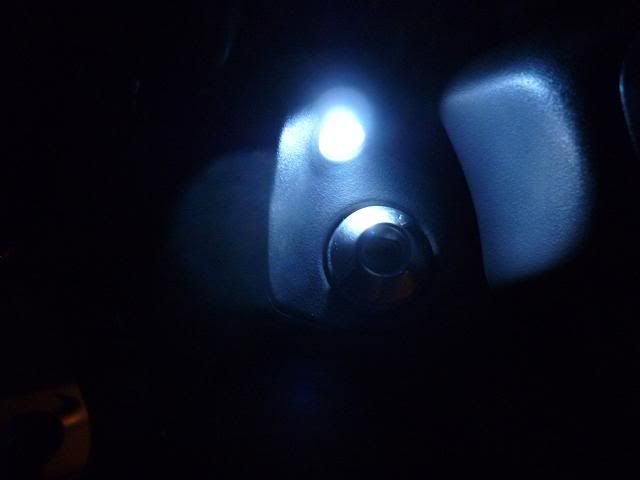 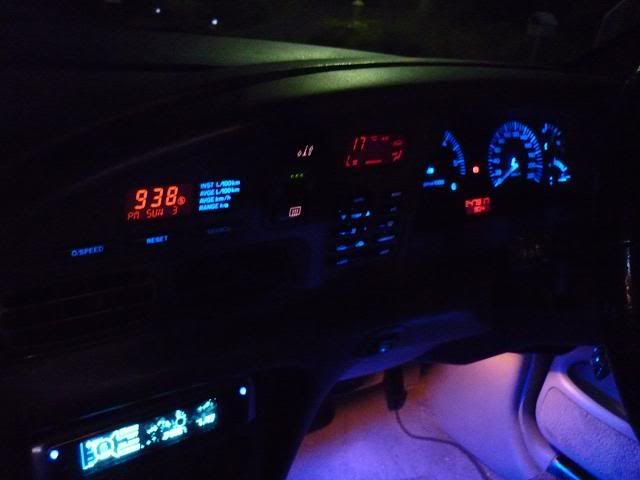 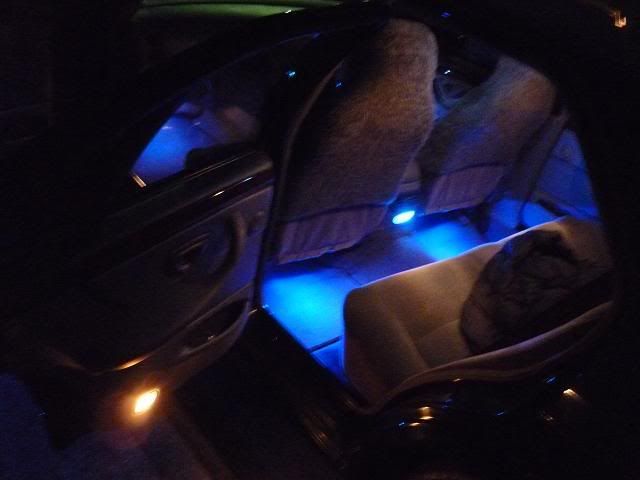 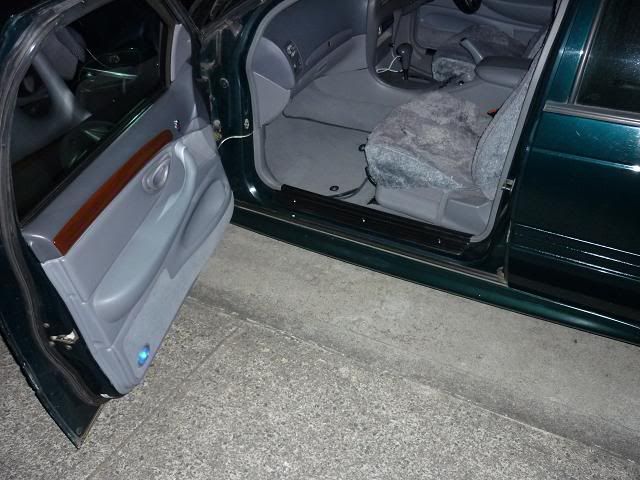 In the last picture, I removed my side steps and painted them black, and added some clear coat which made them quite glossy. I also replaced the screws which were badly rusted with some new stainless steel ones.
_________________
|
|||
| Top | |
|||
| SLO247 |
|
||
|
Nice car, and excellent work. Looks twenty times better already.
|
||
| Top | |
||
| thepistonhead |
|
|||
|
{USERNAME} wrote: Nice car, and excellent work. Looks twenty times better already. Thanks mate, really appreciate it. Can I ask how much your dash spear set you back, assuming it was new from Ford?
_________________
|
|||
| Top | |
|||
| SLO247 |
|
||
|
Was $30 second hand off ebay, pretty sure I answered that already. From Ford would be Prohibitively expensive, ask Papa Smurf for a price in his thread.
|
||
| Top | |
||
| eMpTy |
|
|||
|
Bloody nice looking car, great work.
Hopefully see it in the flesh sometime soon.
_________________ Cheers |
|||
| Top | |
|||
| thepistonhead |
|
|||
|
Small update:
I fixed my cruise control, the brake booster switch was faulty. Also, changed my boot stuts for the second time in a couple of weeks. My top tip, don't cheap out and buy non spoilered struts if you have a spoiler, even if you don't pay the extra to got spoliered struts. They are so much stronger! First time, it took me over an hour as i took the rear seats out, this time less than 2 mins as i did it the quick way. Now my boot can do this! 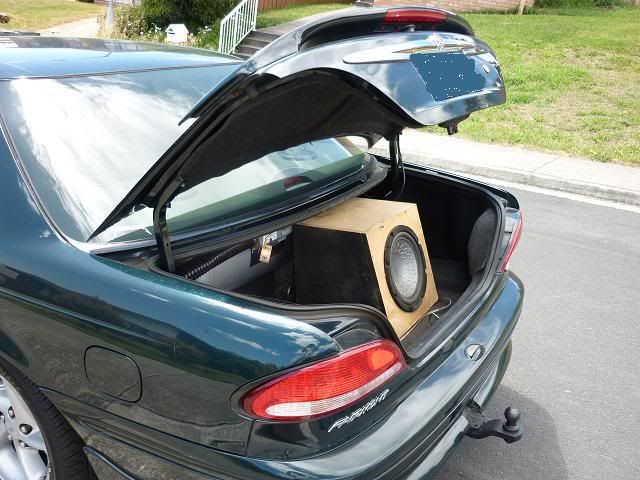 Note the sub, which hopefully will be hooked up this weekend. Also installed a chrome handbrake button which took me way to long, but in the end looks very good. 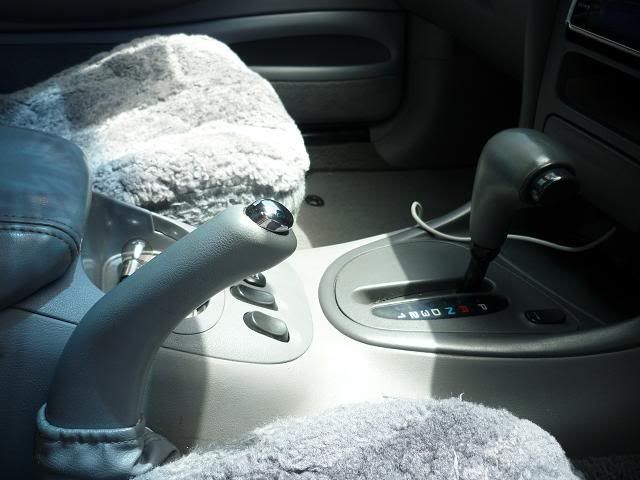
_________________
|
|||
| Top | |
|||
| banarcus |
|
|||
|
Hey pistonhead, what spec leds did you use for your interior lights? Looks good
|
|||
| Top | |
|||
| Who is online |
|---|
Users browsing this forum: No registered users and 116 guests |