

|
| tickford_6 |
|
||
Posts: 6449 Joined: 11th Nov 2004 |
|
||
| Top | |
||
| low_ryda |
|
|||
|
I'm impressed, both with the pace and the mods. I popped a shock last weekend
This will be one capable & reliable troll eh.
_________________ Not to get technical, but according to chemistry alcohol is a solution. |
|||
| Top | |
|||
| tickford_6 |
|
||
Posts: 6449 Joined: 11th Nov 2004 |
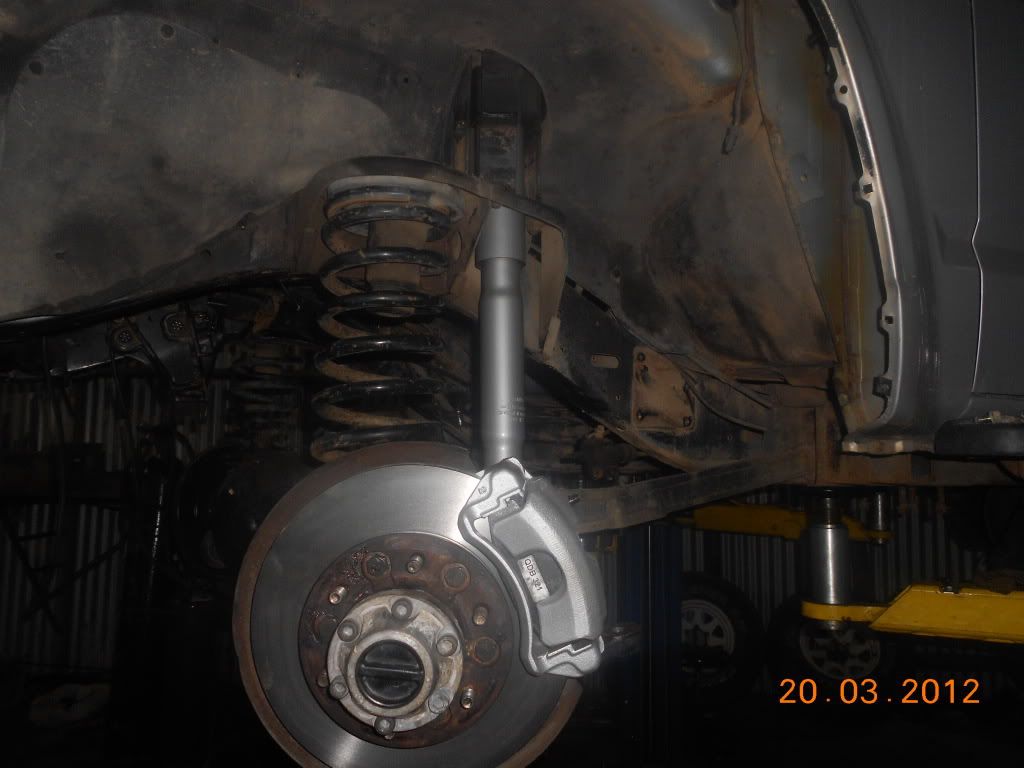
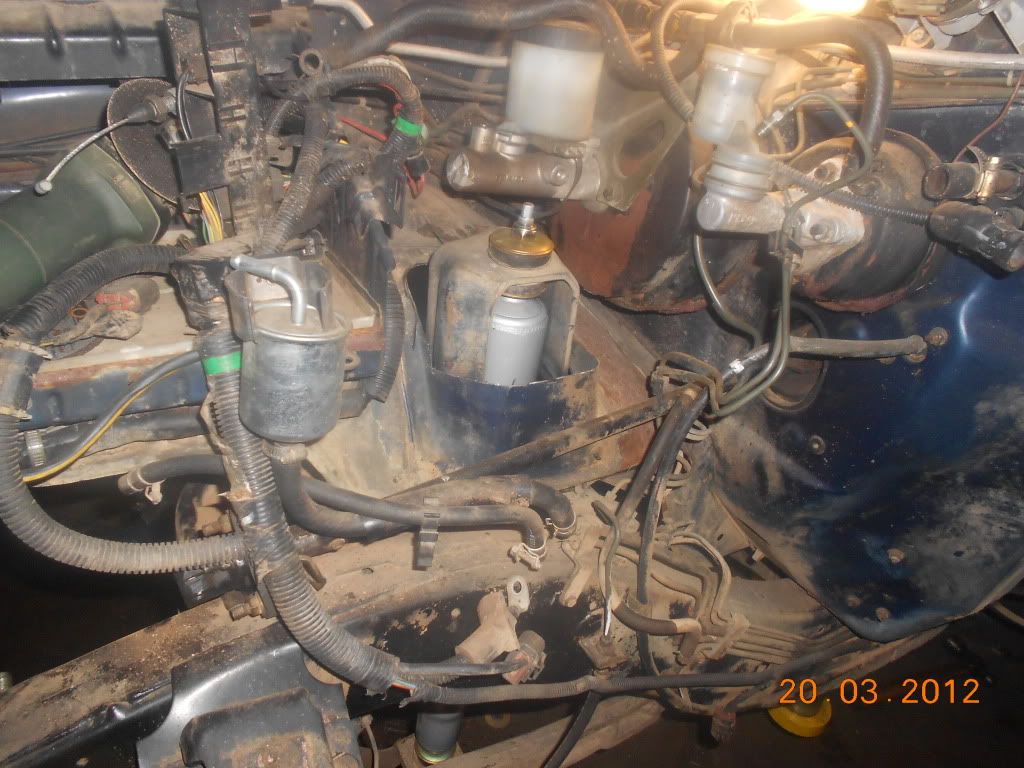
{USERNAME} wrote: I'm impressed, both with the pace and the mods. I popped a shock last weekend This will be one capable & reliable troll eh. The old one was pretty capable, I was happy with it considering the duel purpose of family camping truck and play toy. Most of the actual mods I'm doing now are just refining what was already there. Reliable is the key, I don't want to have to worry about anything for a long time. So as all the transferring parts happens things are being replaced/rebuilt as I go. As for the pace, I think i'm lagging behind a little. I was hoping to have more done by now. But I am also running a workshop, I get there at between 7:00-7:30am and I work through until 5:00pm then spend 2 hours on this and go home. I have also been in for a few hours on Saturdays. For todays update... Gear box is in, needs drive shafts (which also need new uni joints) A big thanks goes out to Townsville Gearbox Reconditioning, for fitting the crawler gears to the transfer case and for the reco job of the gearbox. Also fitted the steering box and front panhard bar. I ordered some radius arms spacers today as well. It will push the diff forward by 15mm and keep the tires away from gaurds. 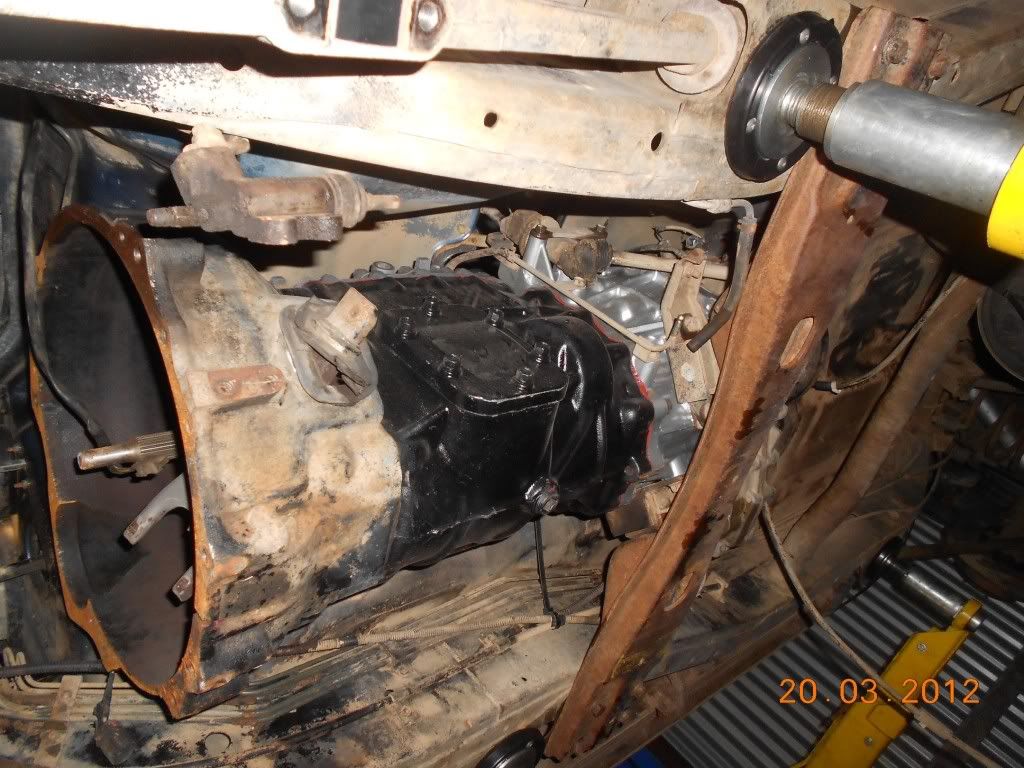 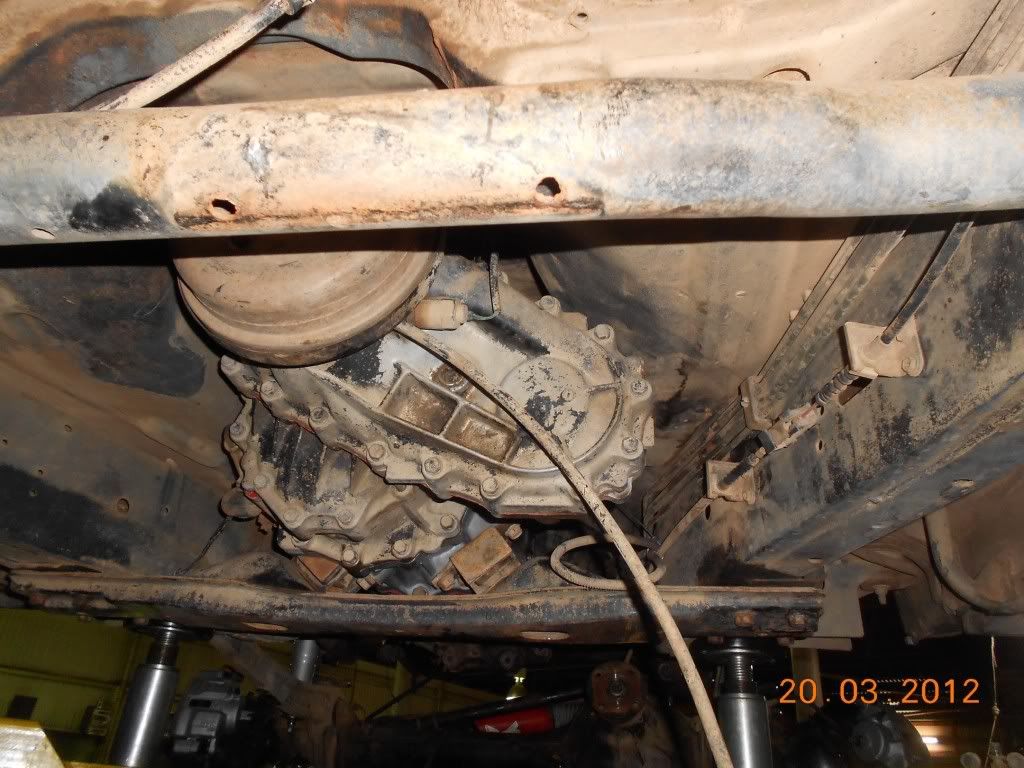 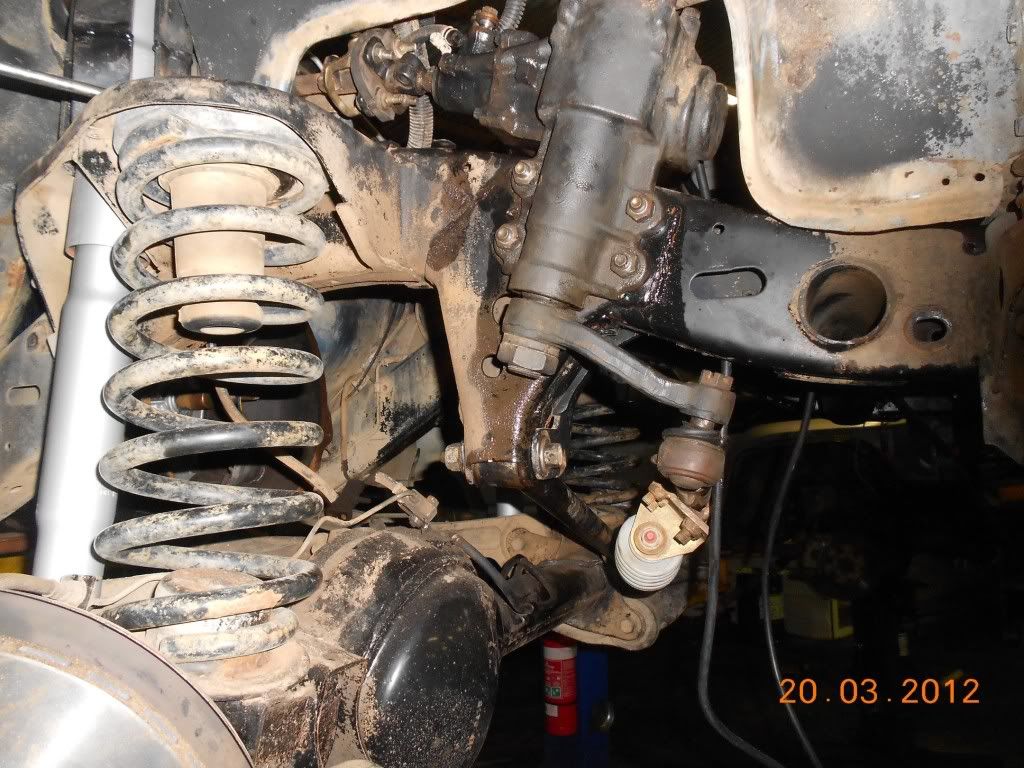 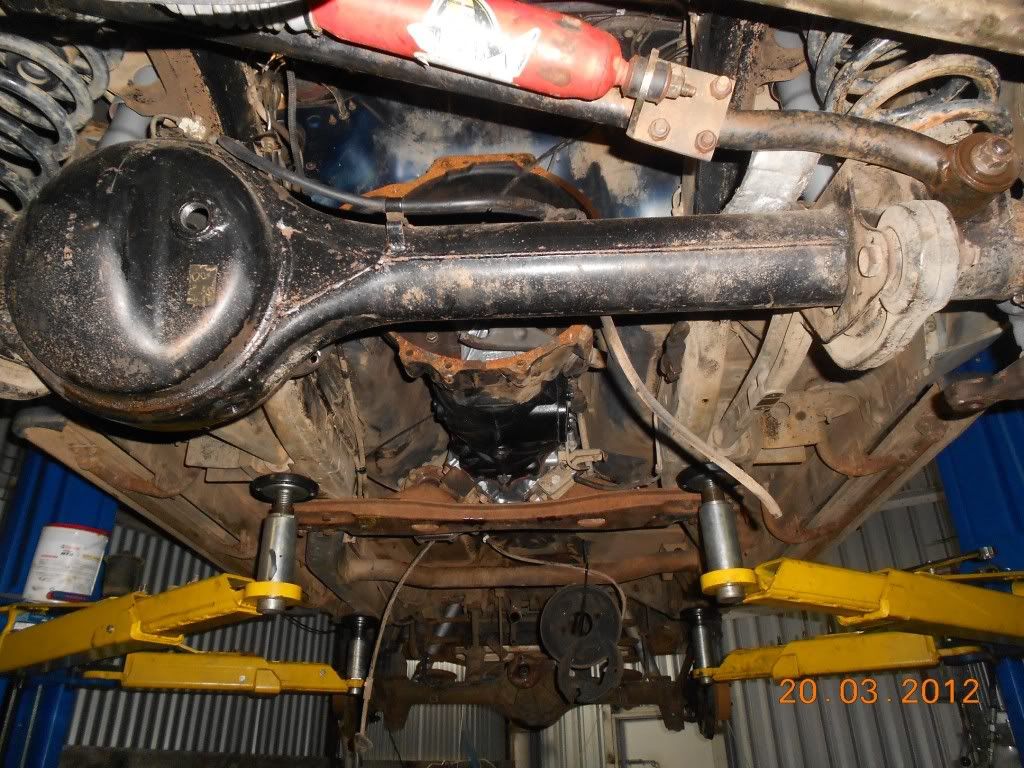
|
||
| Top | |
||
| tickford_6 |
|
||
Posts: 6449 Joined: 11th Nov 2004 |
Drive shafts fitted.
Also replaced the intake manifold gasket that had blown out on two ports. Seems aftermarket gaskets are not up to dealing with 15psi. Genuine gasket is a steel shim type. |
||
| Top | |
||
| cjh |
|
|||
|
Have you inspected carefully for chassis cracks around the steering box and the engine mounting just behind it??????
I saw a chassis stiffening assembly sitting on the floor in a photo there.....and they still cracked when they were fitted too. I had to remove the panard rod upper mounting and right hand engine mounting brackets from the chassis to make an effective repair. I had to remove an earlier bodgy repair, and add plating as well. It took me 2 whole days to do it, and the owner was very pleased with the repair I did. Good luck with your project..... You do not have the required permissions to view the files attached to this post.
_________________ http://youtu.be/jJTh9F3Vgg0 |
|||
| Top | |
|||
| tickford_6 |
|
||
Posts: 6449 Joined: 11th Nov 2004 |
There was a small crack above the panhard mount. Which is common on these.
It has been repaired. |
||
| Top | |
||
| tickford_6 |
|
||
Posts: 6449 Joined: 11th Nov 2004 |
The radius arm spacers
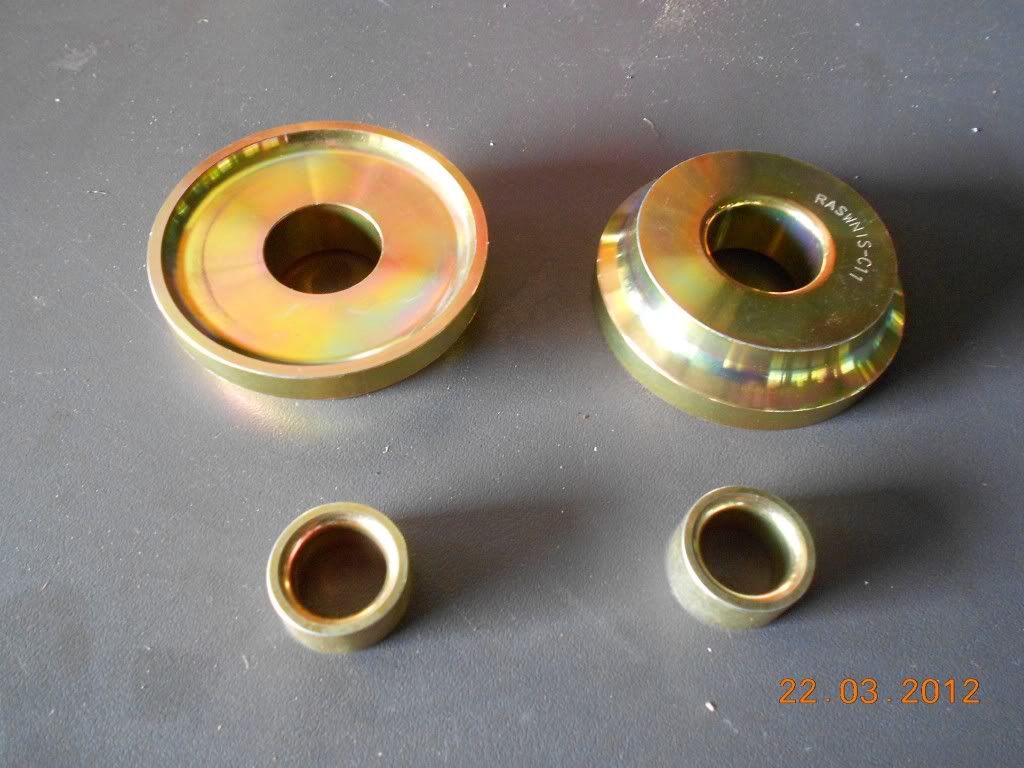 I wanted the arms from the old truck as they have new bushes, But I noticed the front of it was getting a bit light on the front of the hoist. So I had to drop both diffs out to stop it from over balancing. 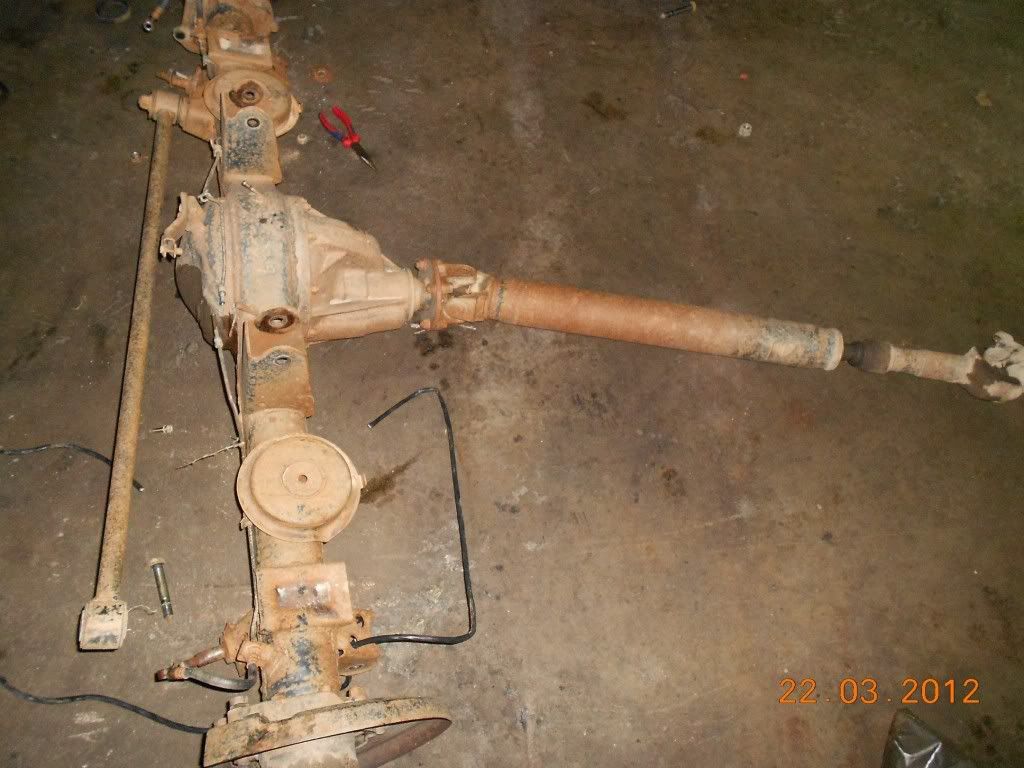 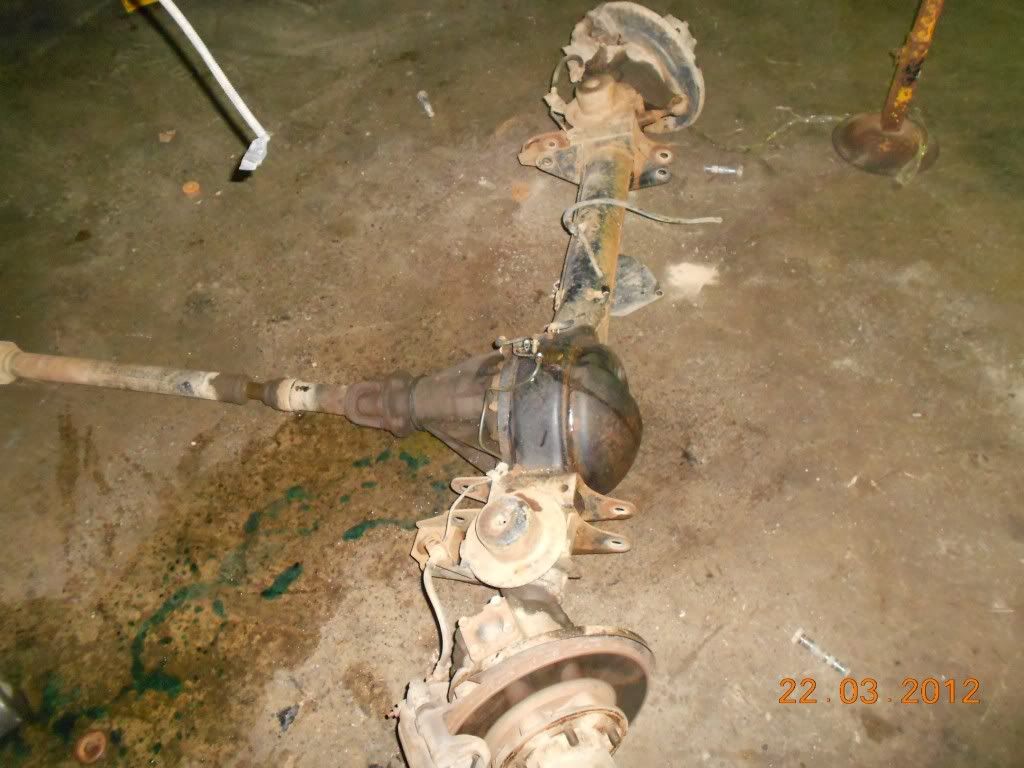 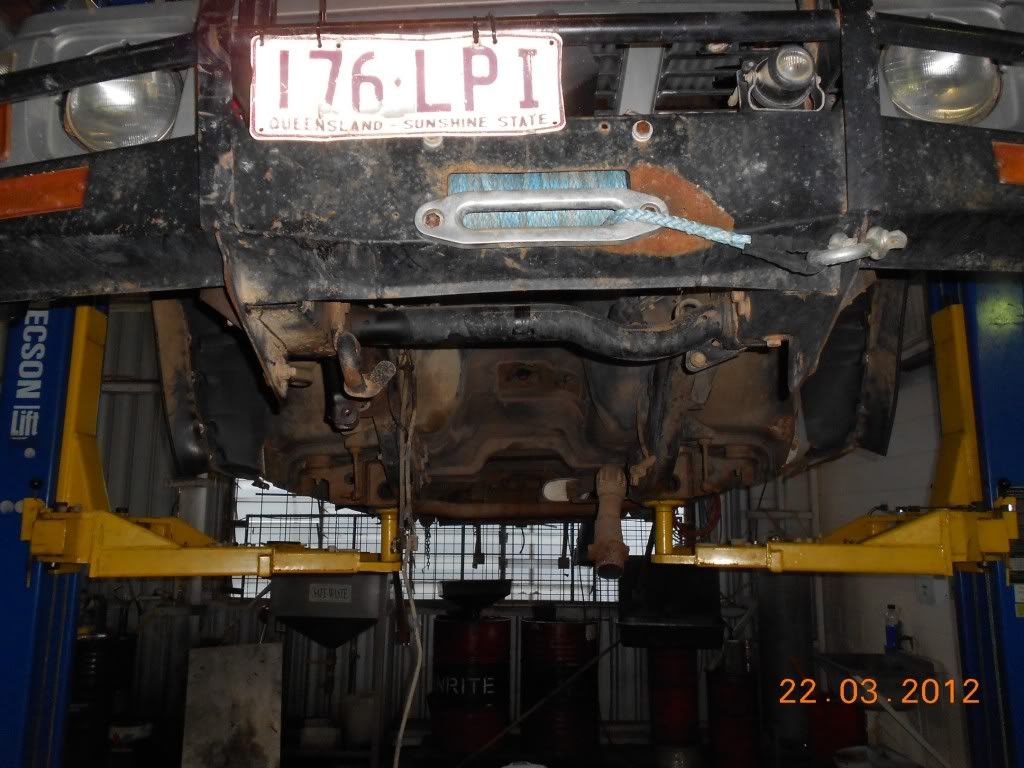 The easy way to get the radius arms out. 24mm deep impact socket, Snap-on 1/2" drive impact uni joint. 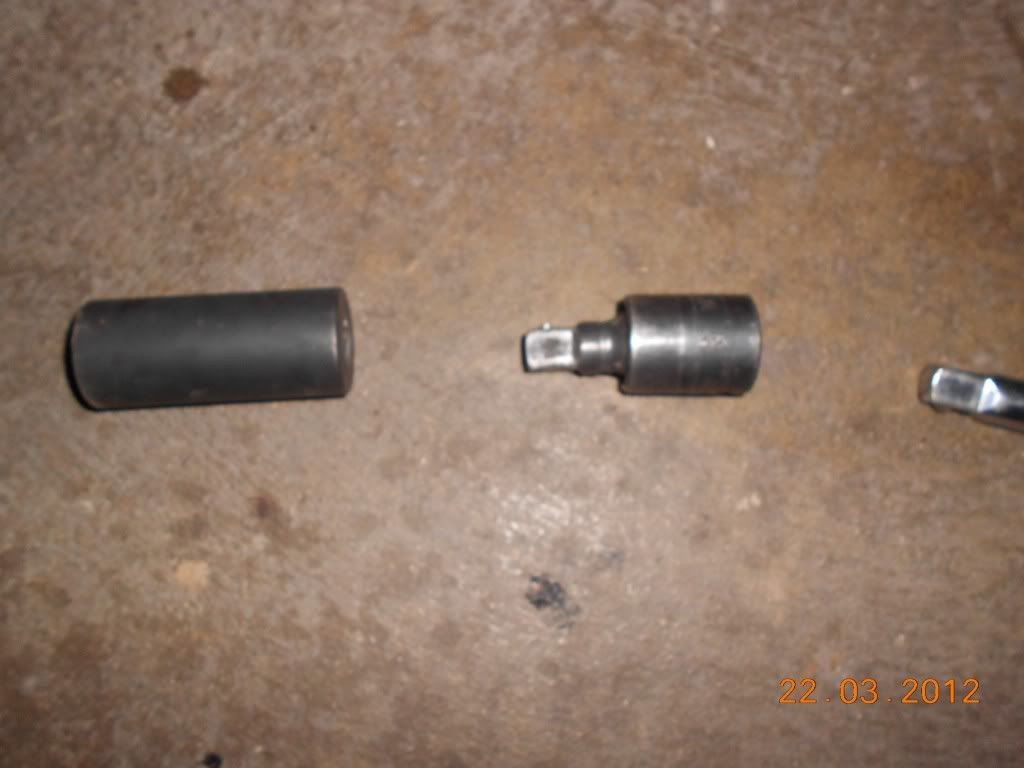 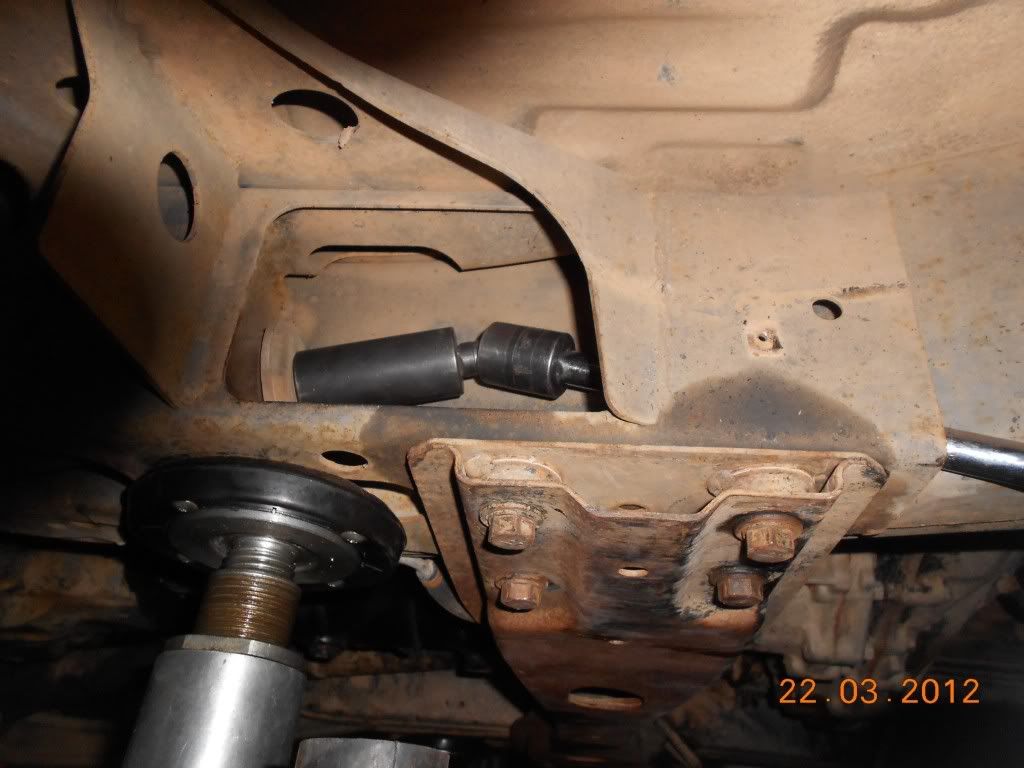 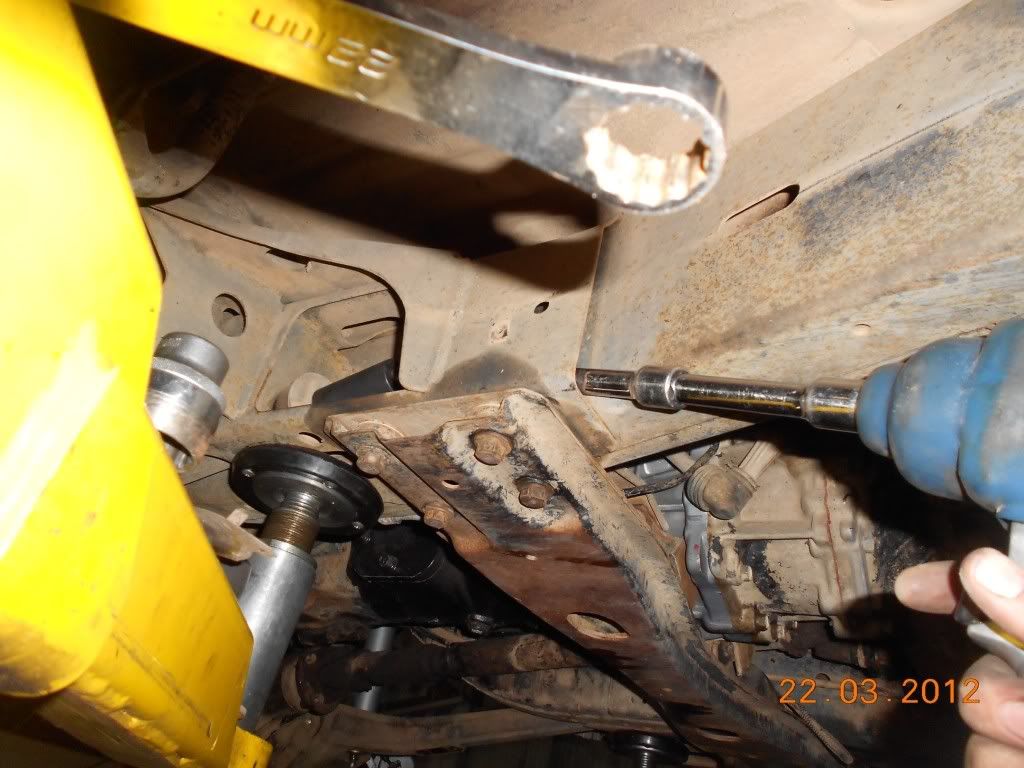 The arms with the spacers fitted. For the people who might be asking why. As you lift the suspension up, the wheel base shortens. With bigger tyres there are problems with the tyres rubbing on the rear of the front wheel arches. The spacers push the diff forward and stop this. 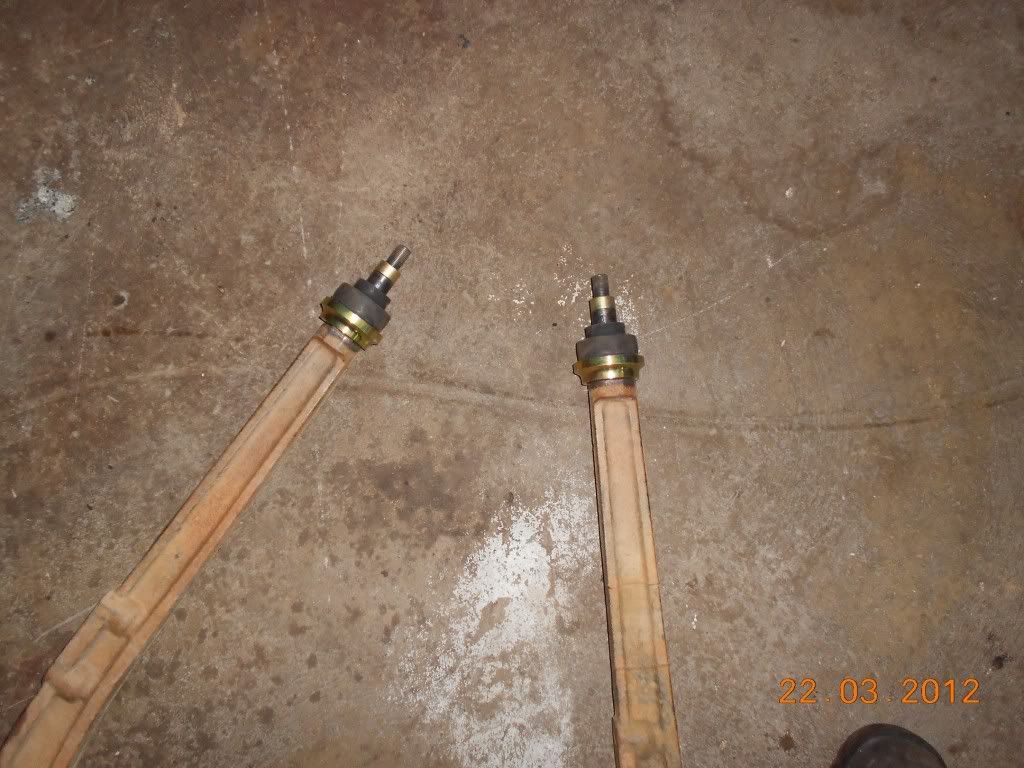 This the crud left in the mount. 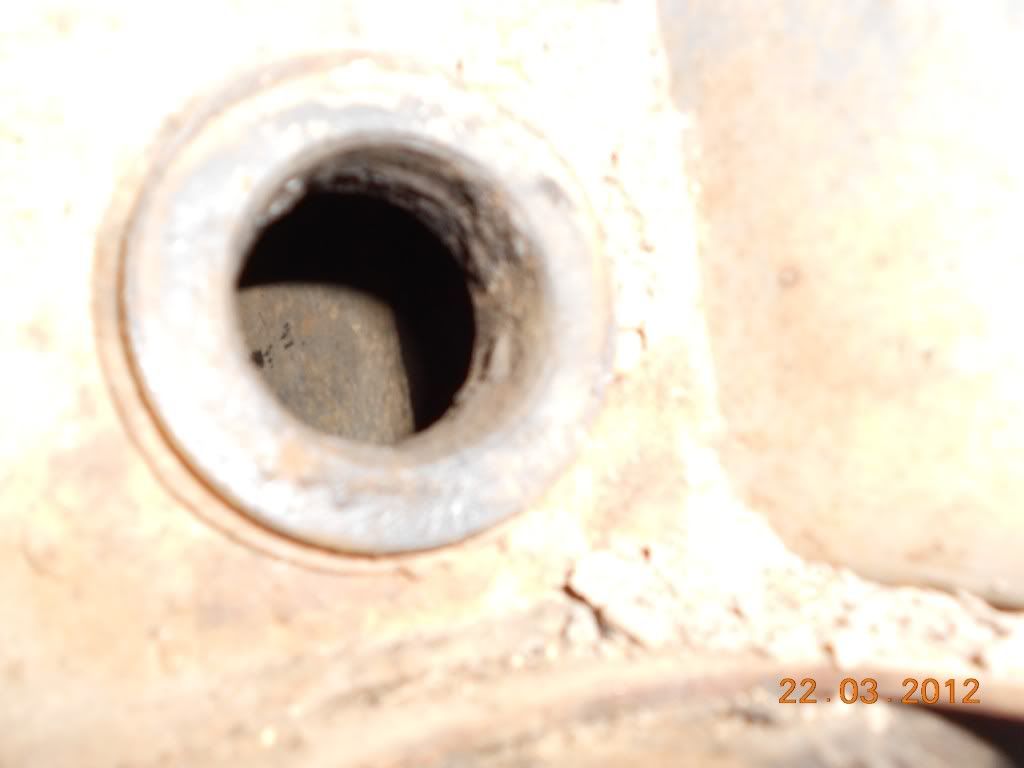 A quick clean with a cartridge roll on a die grinder 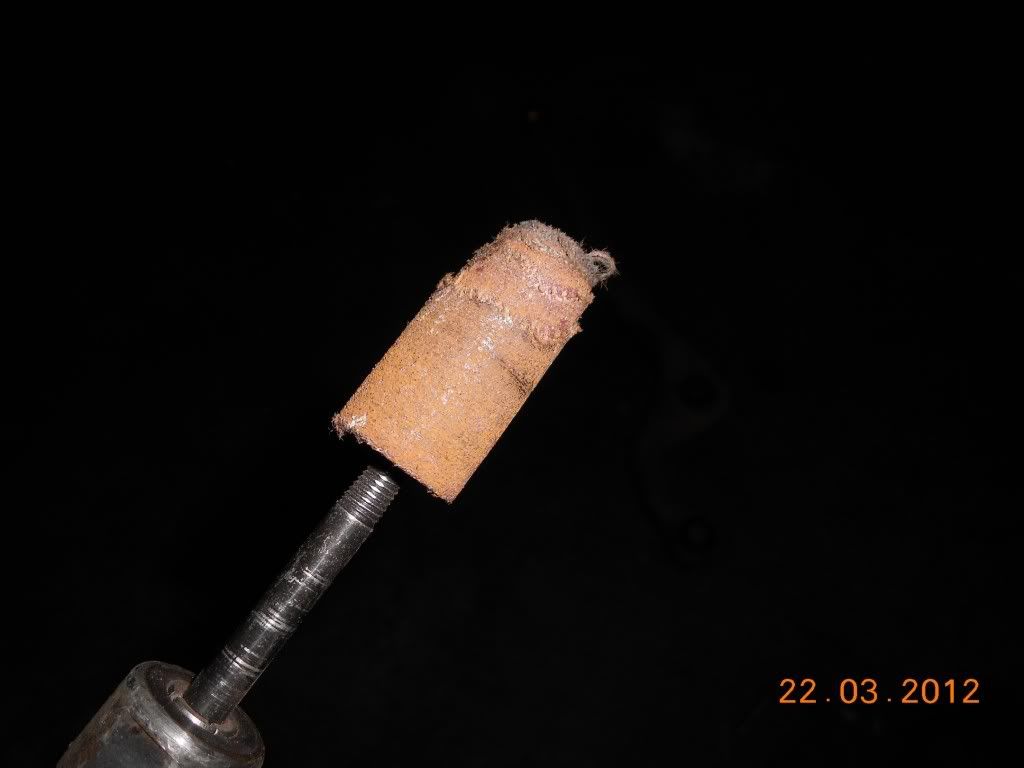 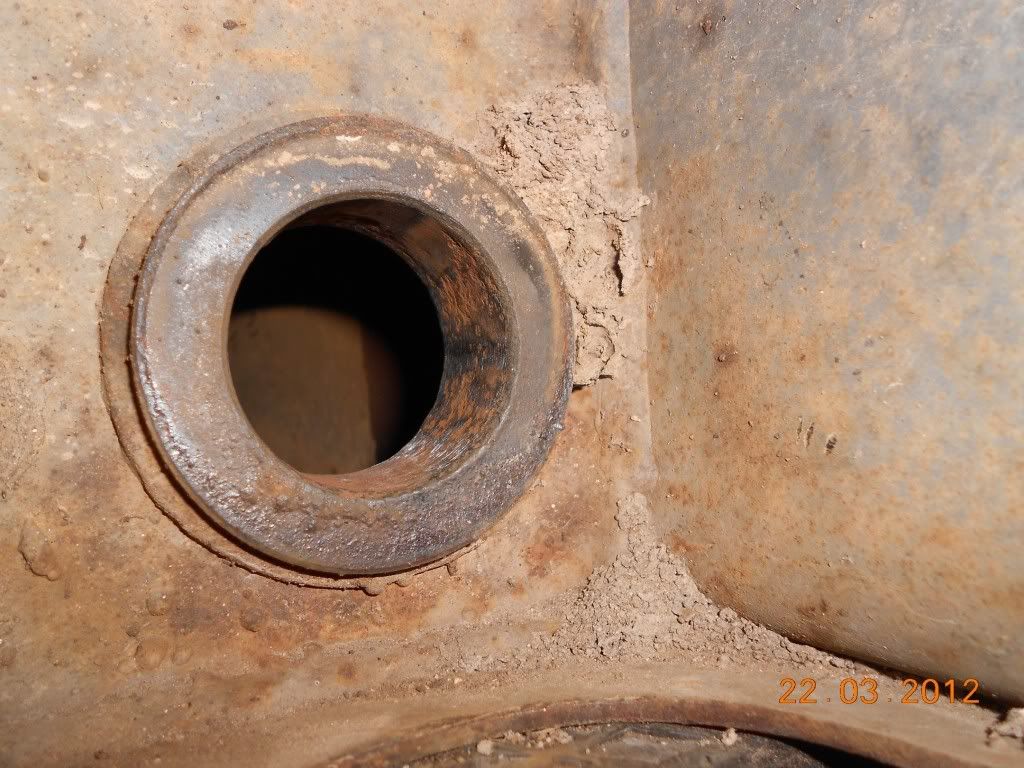 The arms fitted to the new truck 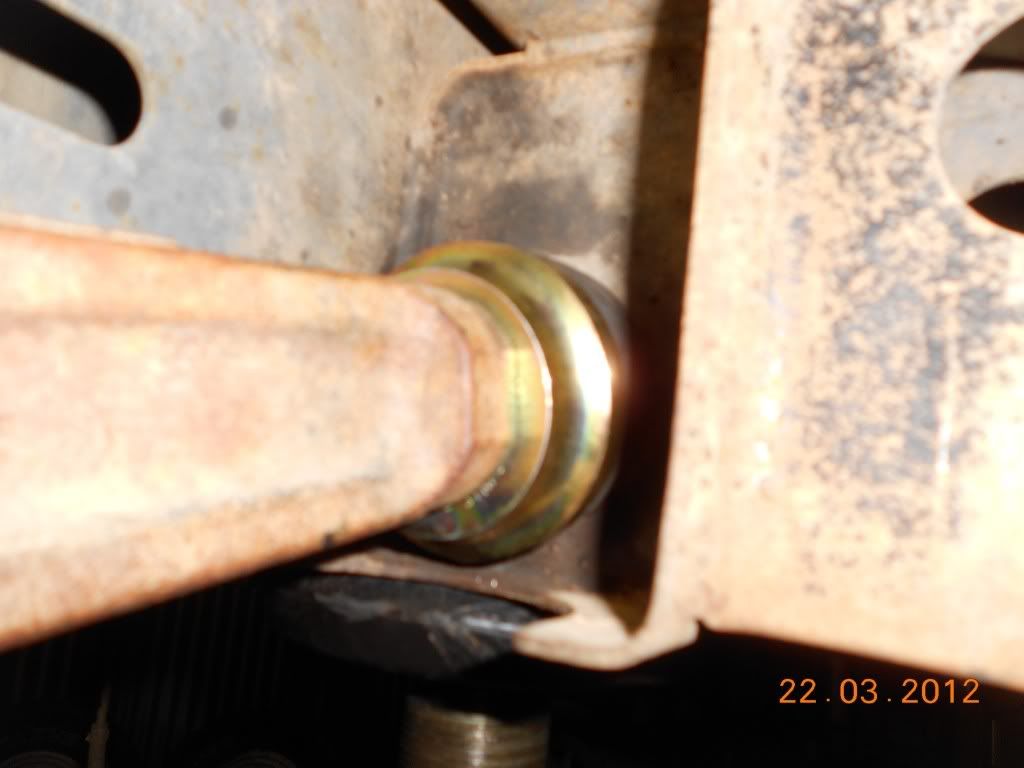 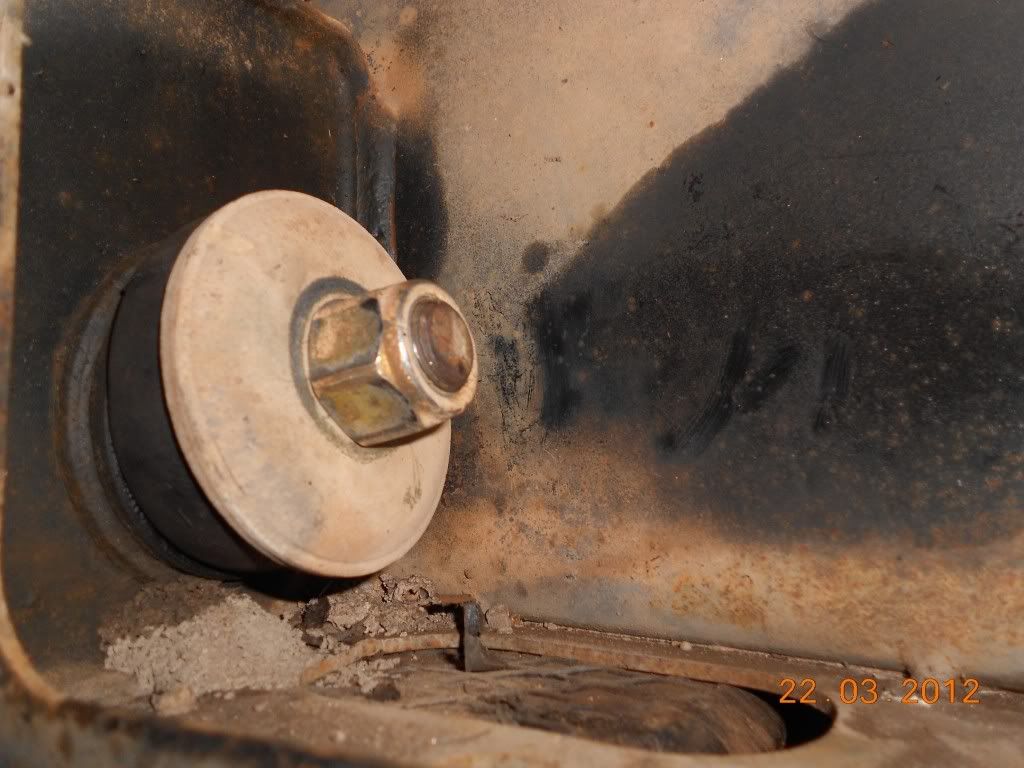 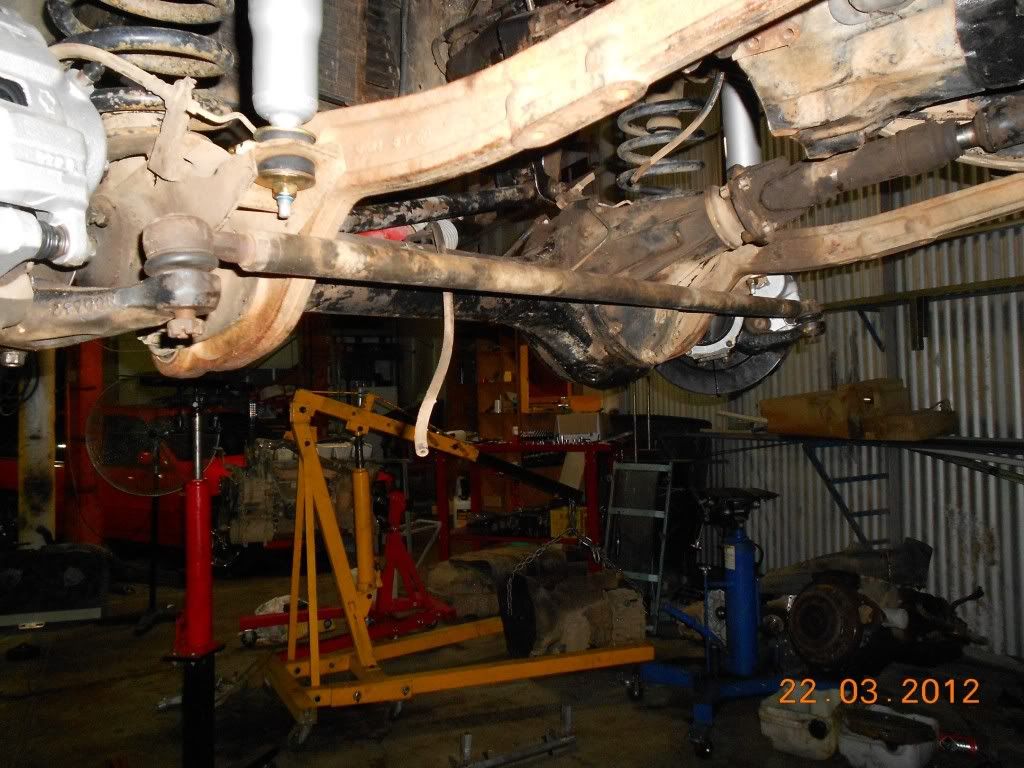 Tomorrow should be this tank 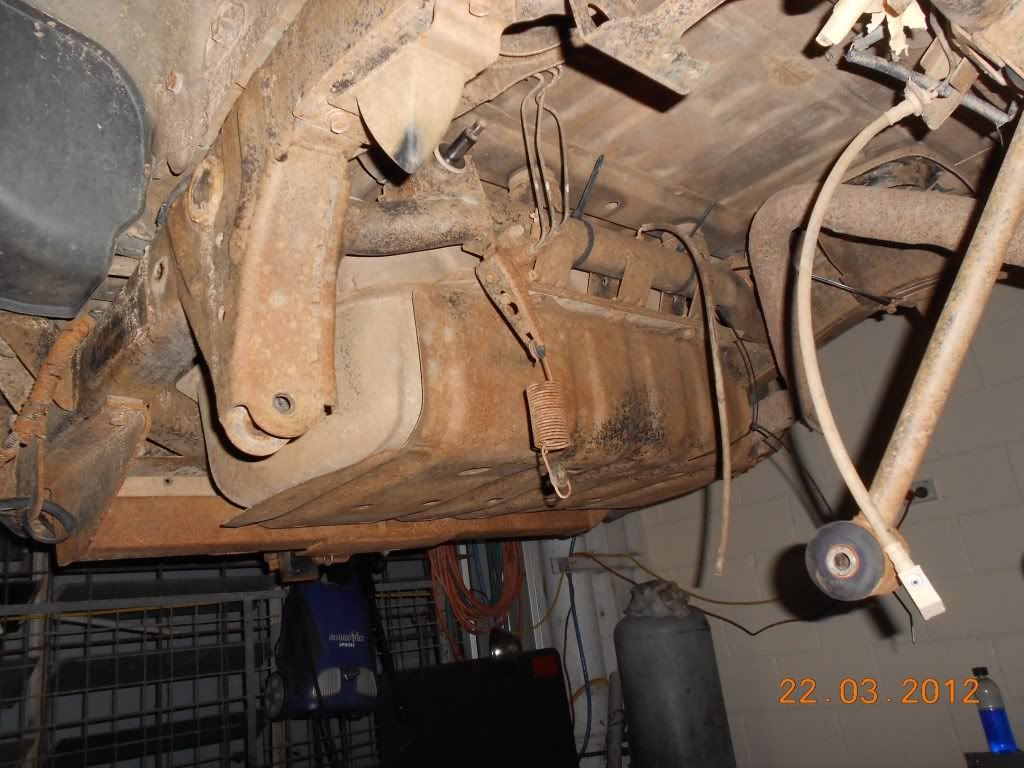 Being fitted to this space 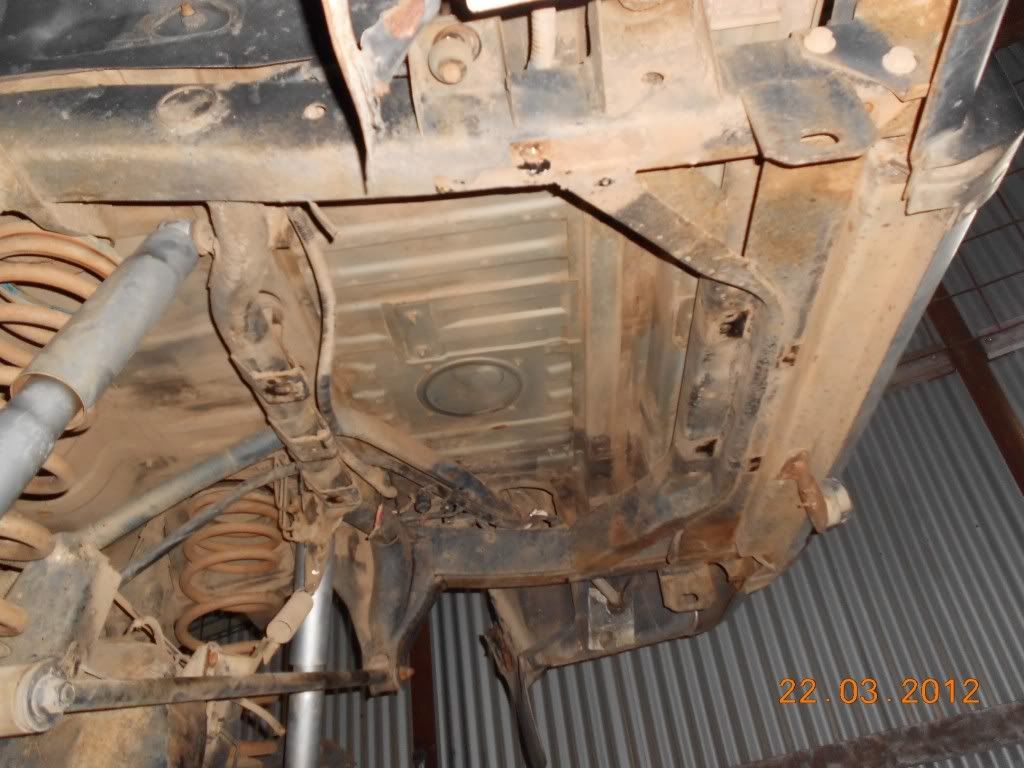
|
||
| Top | |
||
| tickford_6 |
|
||
Posts: 6449 Joined: 11th Nov 2004 |
I wanted to go home at a reasonable hour today, so this is what I did.
Fitted the new lower thermostat housing and cleaned up and fitted the upper. 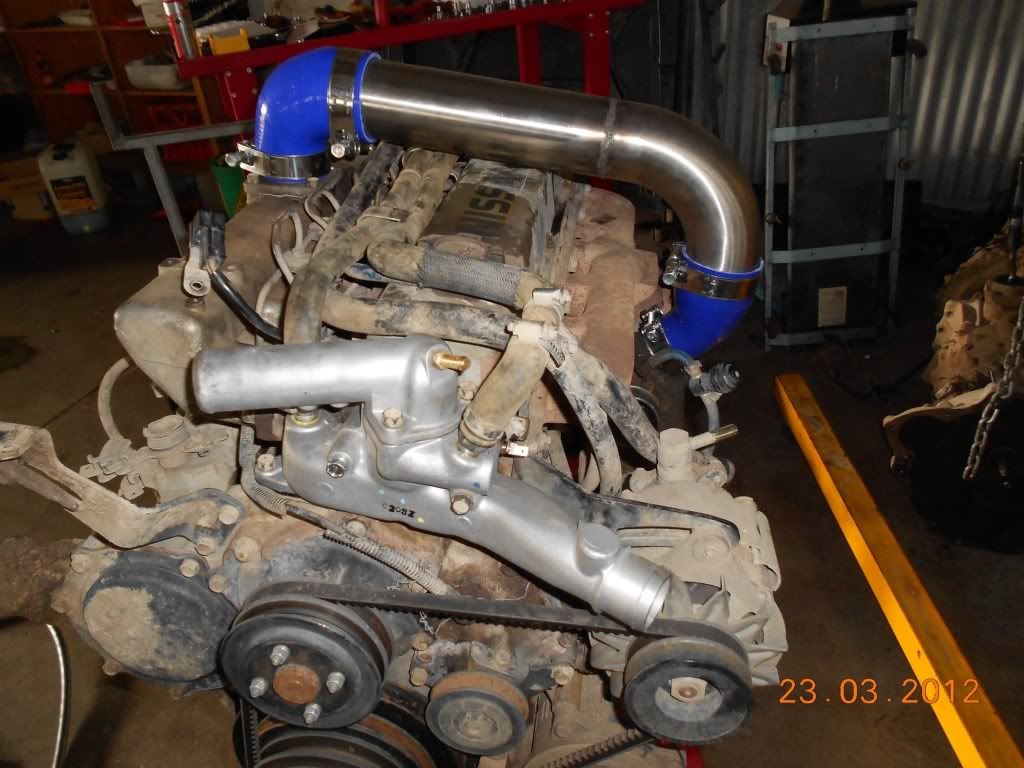
|
||
| Top | |
||
| tickford_6 |
|
||
Posts: 6449 Joined: 11th Nov 2004 |
Fuel tank out..............
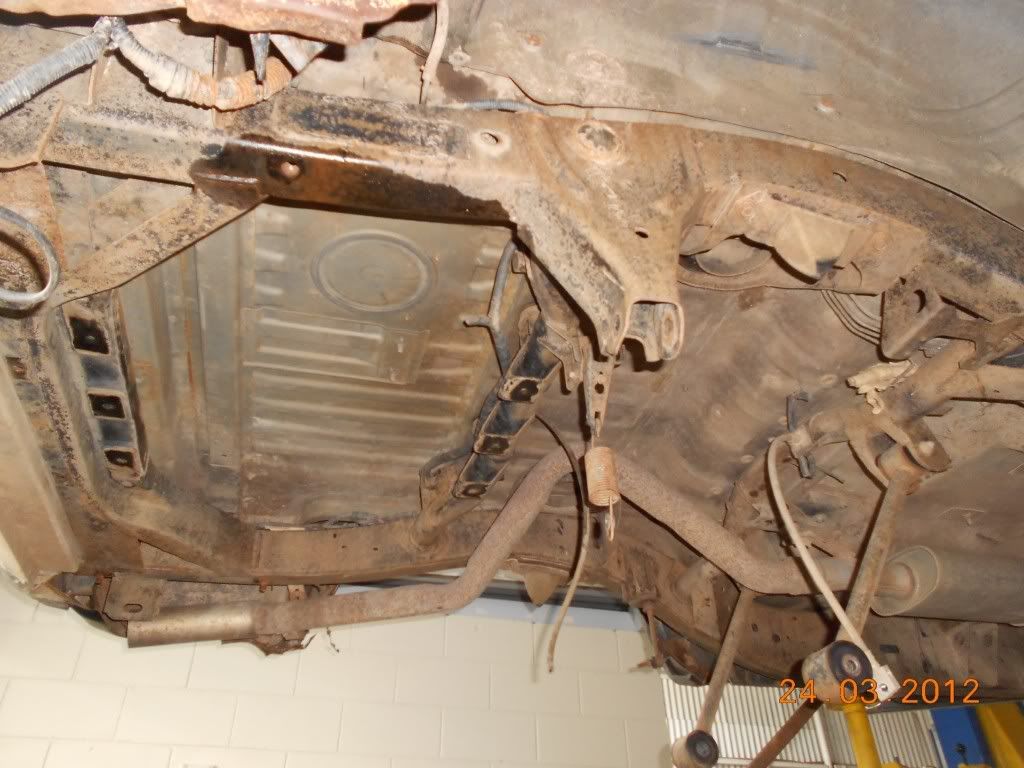 Fuel tank in............. 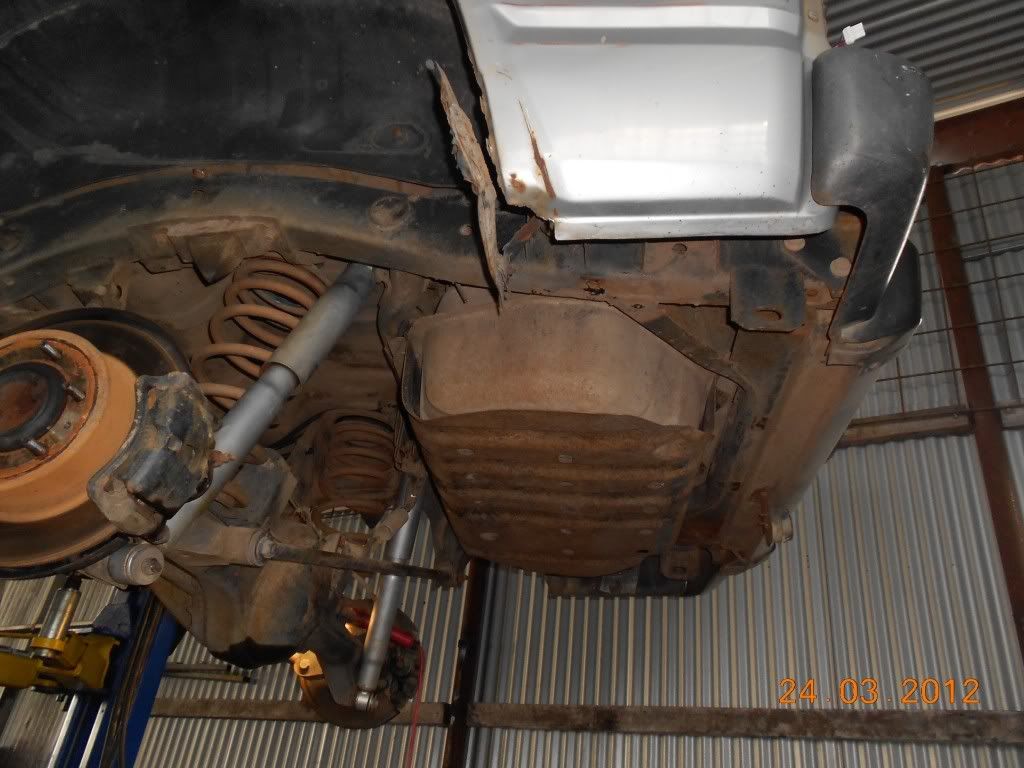 And got a start on the new exhaust system. Stainless this time, as the old had rusted very thin. 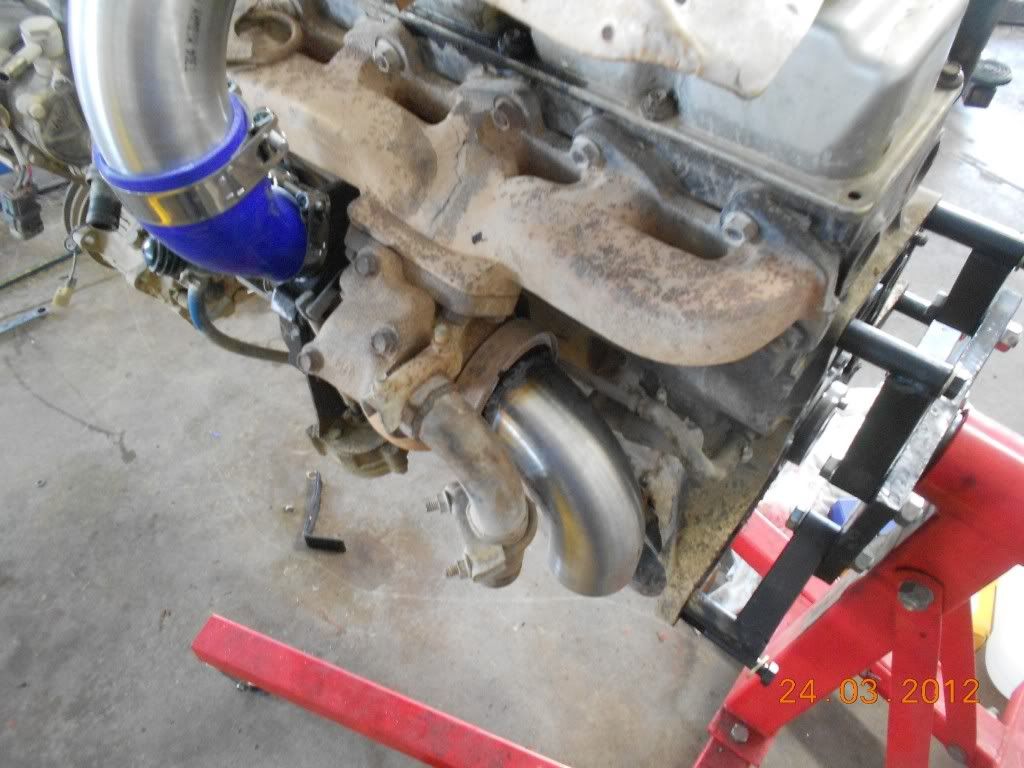 waiting for an engine... 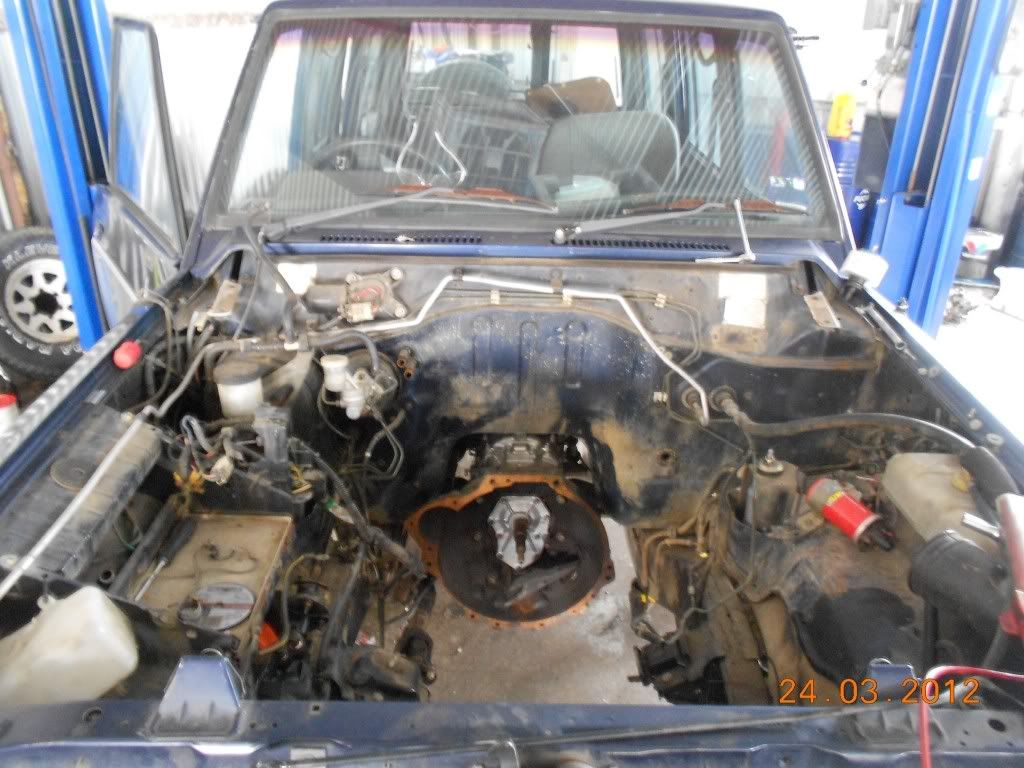
|
||
| Top | |
||
| tickford_6 |
|
||
Posts: 6449 Joined: 11th Nov 2004 |
So after some researching, it's become obvious to me, I had the TIG set with WAY to many amps for the job.
On top of that the tungsten was too big and the filler rod was to big. So I'm off on monday to but some 1/16 tungsten and some .035 308L filler rod. I'm also going to back gas all the welds for the rest of the system. |
||
| Top | |
||
| stalker |
|
||
|
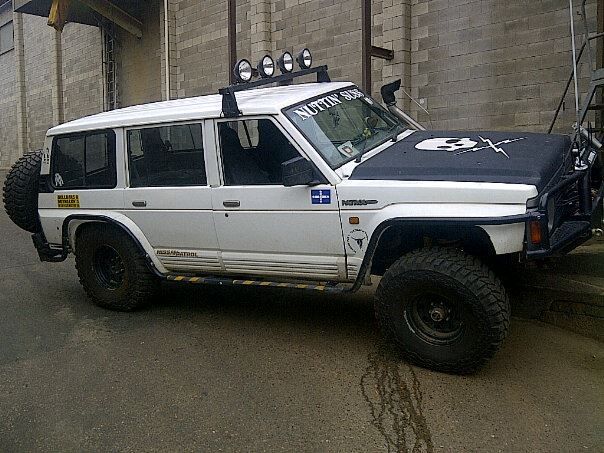
needs 35"s
_________________
|
||
| Top | |
||
| tickford_6 |
|
||
Posts: 6449 Joined: 11th Nov 2004 |
QLD rule for tyre size is plus 15mm. 15mm on top of the largest option 7.50R16 is still 2.5inches smaller then a 35. and 35s just aren't a practical option in out of the way places as they are not commonly available in small bush/outback towns.
They also cost a lot of economy. |
||
| Top | |
||
| stalker |
|
||
|
yer there not legal... but they get you places that smaller tires done. also cause less damage when going places. i have a twin wheel carier 2 spares with me seems plenty seeing the reinforcement
_________________
|
||
| Top | |
||
| tickford_6 |
|
||
Posts: 6449 Joined: 11th Nov 2004 |
{USERNAME} wrote: yer there not legal... but they get you places that smaller tires done. also cause less damage when going places. That is a discussion I choose not to get into. At most i'd go 285/75R16 |
||
| Top | |
||
| Gab1 |
|
|||
|
Will the diesel bolt straight in with no mods?
Gab |
|||
| Top | |
|||
| Who is online |
|---|
Users browsing this forum: No registered users and 46 guests |