

|
| XESP351 |
|
||
|
It's been a while so thought i'll post a small update. The ute now has keyless entry with a good quality alarm/immobiliser with dual stage shock sensors, and a central locking kit. The sound has been beefed up slightly (well a fair bit actually) after fitting six inches and tweeters in the doors.
I'm still trying to locate grey front XE ESP/Fairmont Ghia door trims but cant find any in decent nick, it's kind of holding up the whole interior upgrade so if any one can help please let me know. |
||
| Top | |
||
| XESP351 |
|
||
|
Sheesh, I haven't updated this in years. So much has happened since then so here it goes.
|
||
| Top | |
||
| XESP351 |
|
||
|
The ute then went to the auto elec to get the following wired up; Intermediate speed wiper stalk, electric windows, cigarette lighter, ESP clock, Glove box light and ESP interior light. I didn't worry about the electric mirrors and the illuminating door locks as a)They are not important b)Proved to be too difficult for the elec. I can always do them later if I find that I have to have them but I doubt it.
Prior to that, I replaced the damaged bumperette, fitted an ESP glovebox, ESP steering wheel and managed to get a really nice set of ESP front door trims and sun visors. All I needed to do next is to get the ESP grey carpet, Grey door seals, get the electric windows facia restored and finally have the ESP roof lining done and the interior would be finished. I also fitted a tub liner in the ute as I was feeling guilty dirtying and scratching the spotless tray. |
||
| Top | |
||
| XESP351 |
|
||
|
I bought the ESP charcoal carpet and charcoal door seals to replace the factory rubber flooring and brown door seals
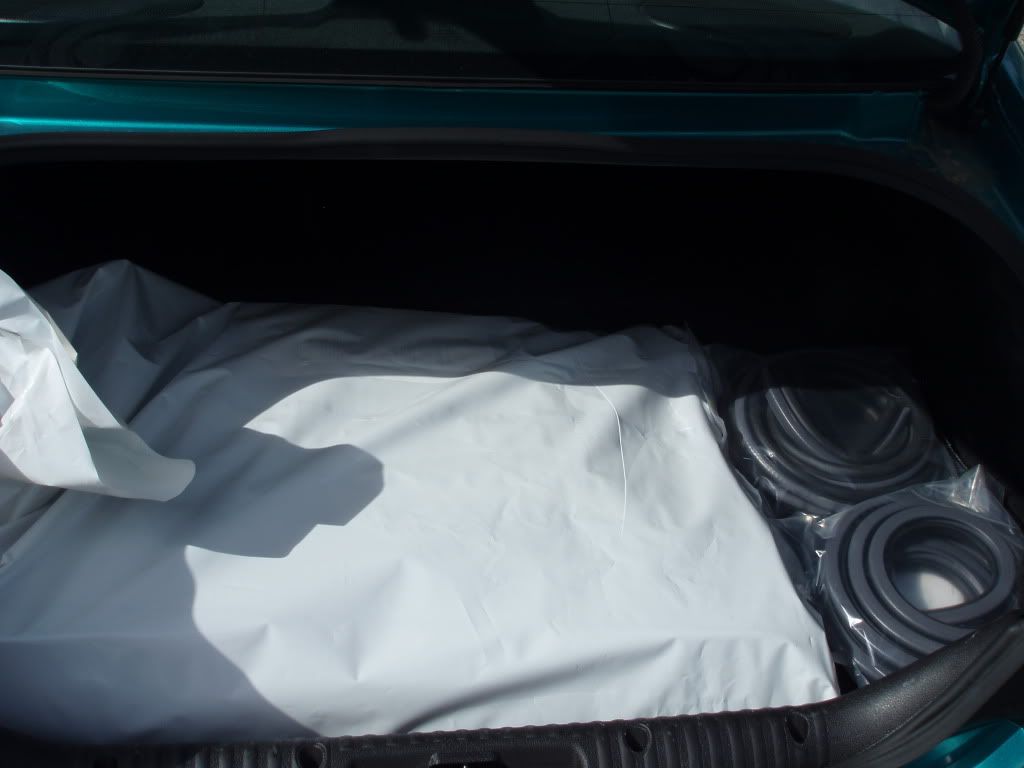 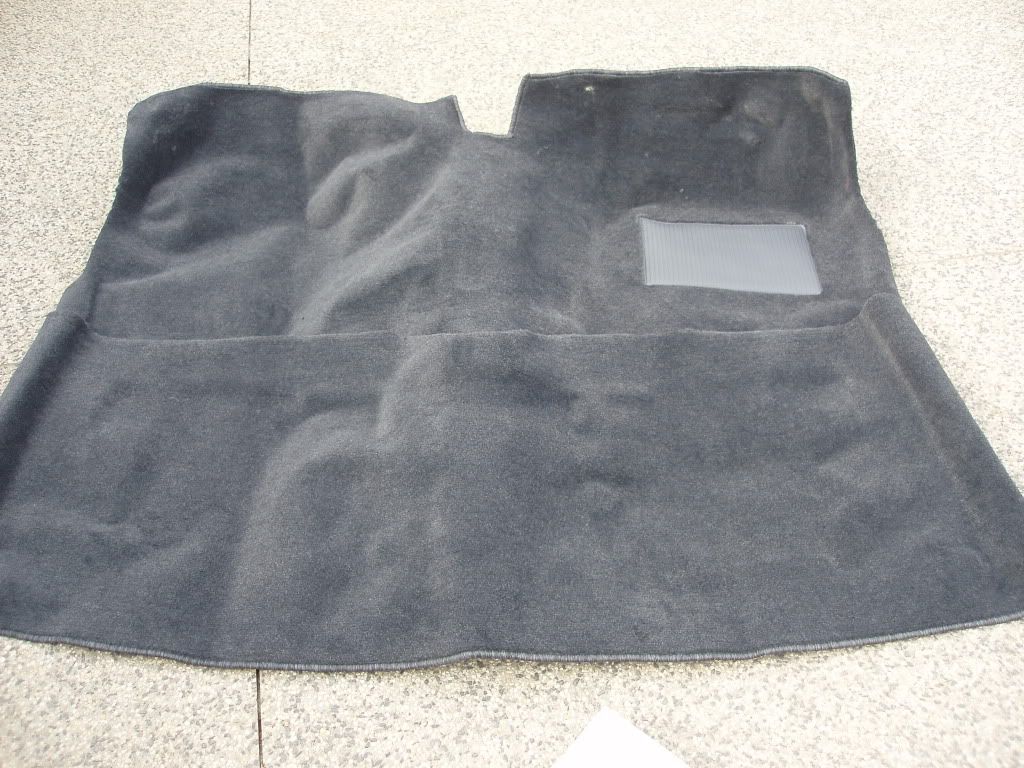 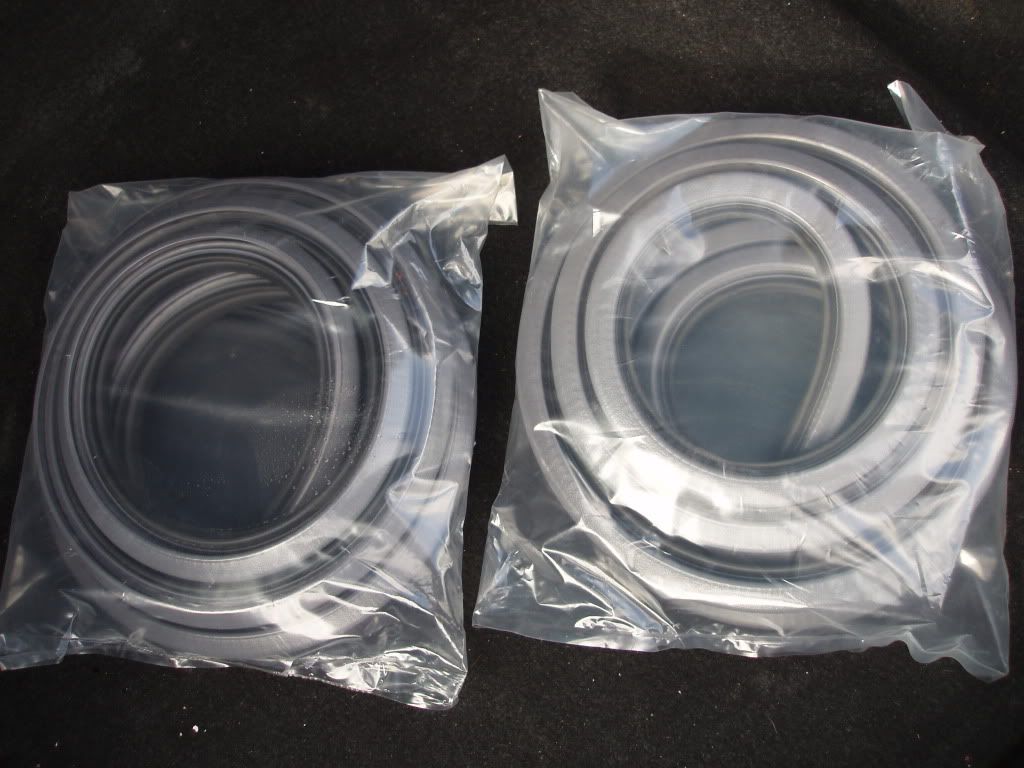 On Thursday morning I got the car back from the sparky, he did a great job. If any one wants auto electrical work done in the inner northern suburbs PM me and I can provide details, I have been going there for ten plus years and highly recommend him. Elec windows wired in and working: 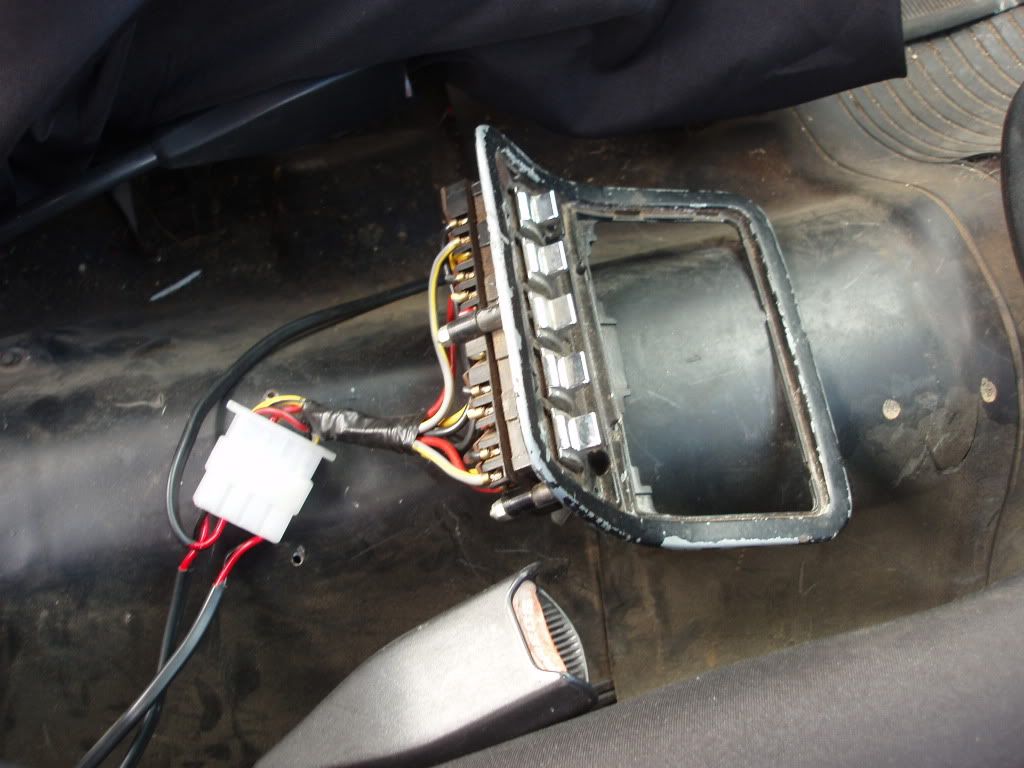 ESP interior light (sorry for the pic quality): 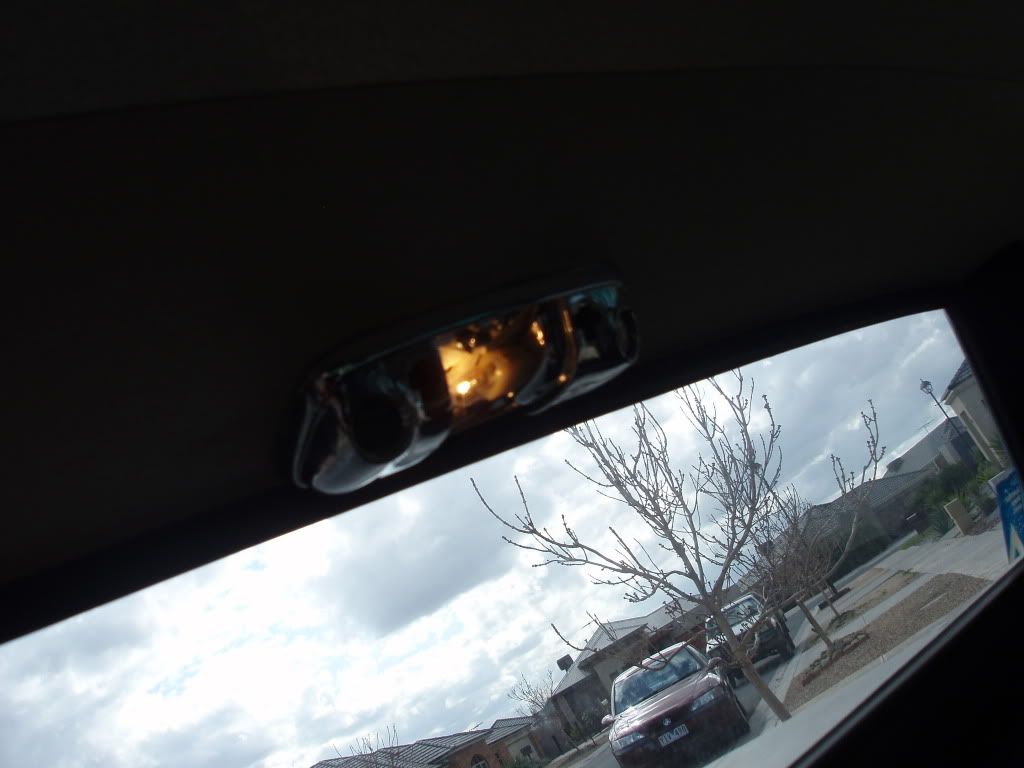 ESP Clock: 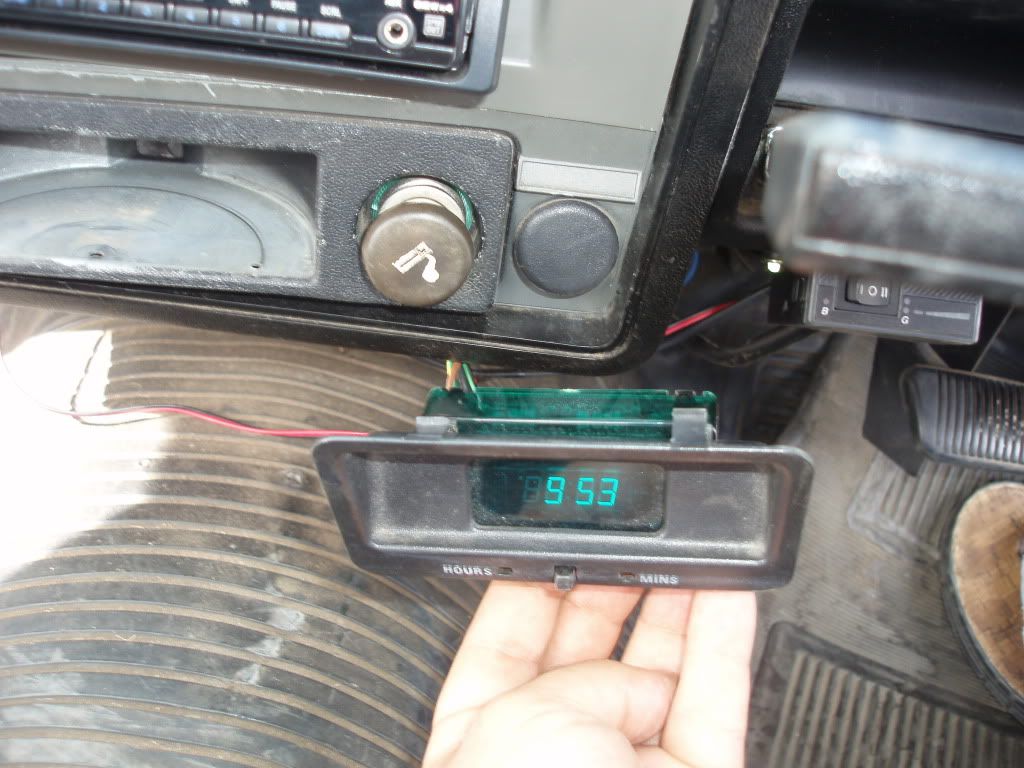 Glove box light: 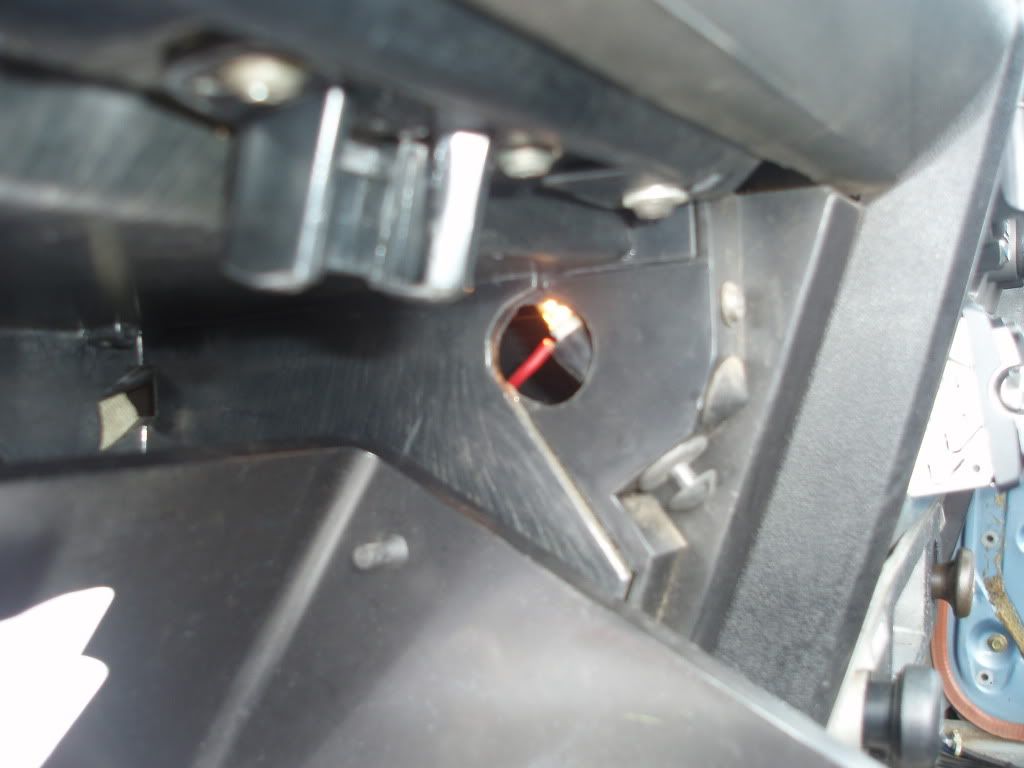 A few pics of the panel behind the seats covered in charcoal material: 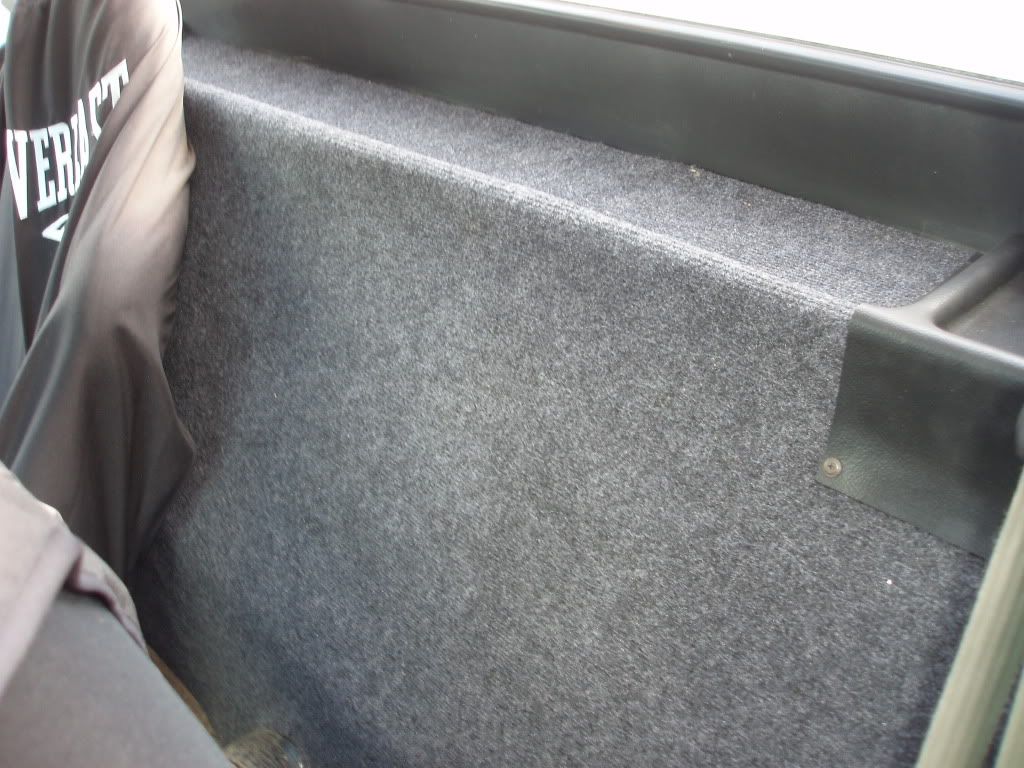 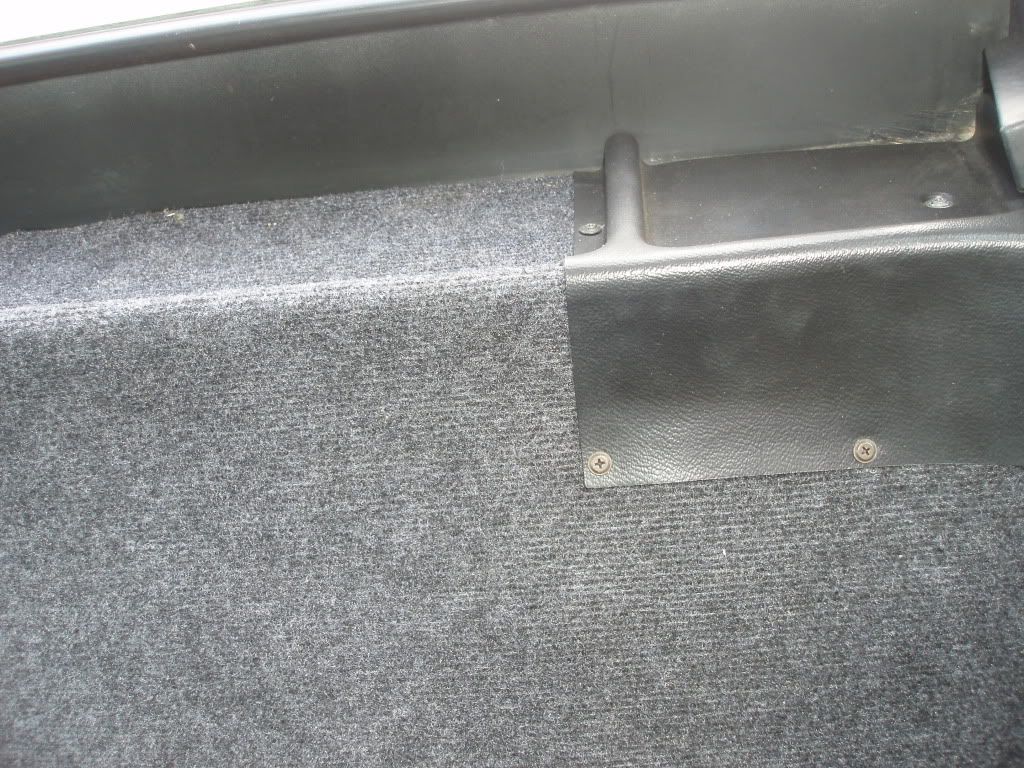 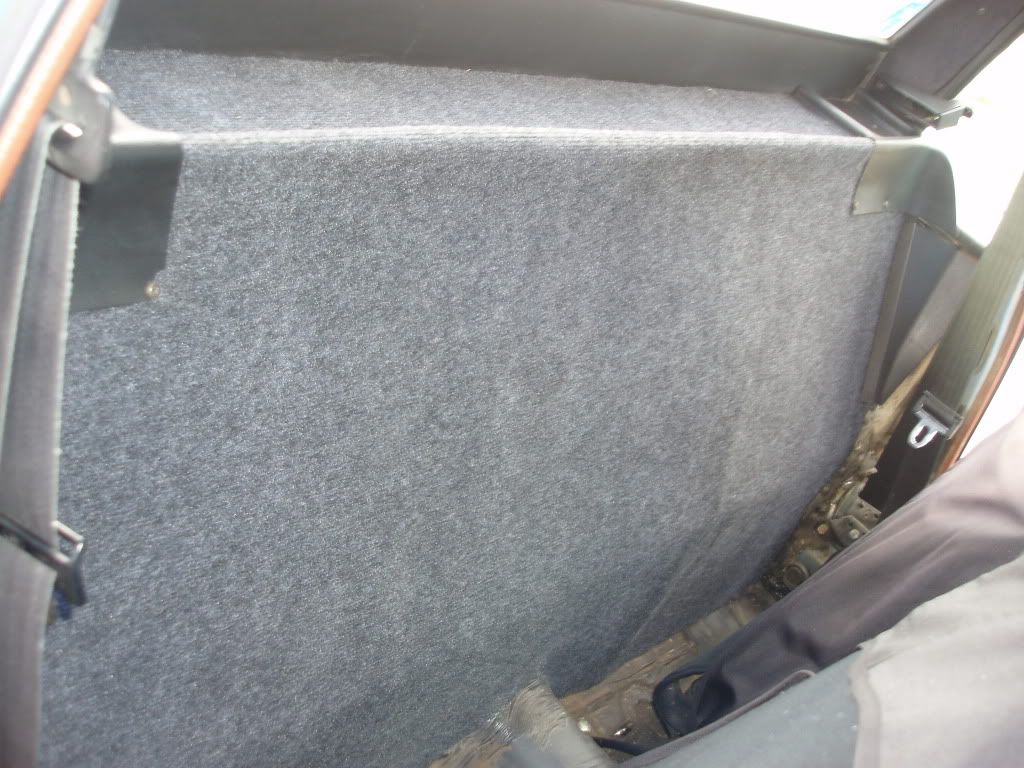 And the corner trim covered in black suede 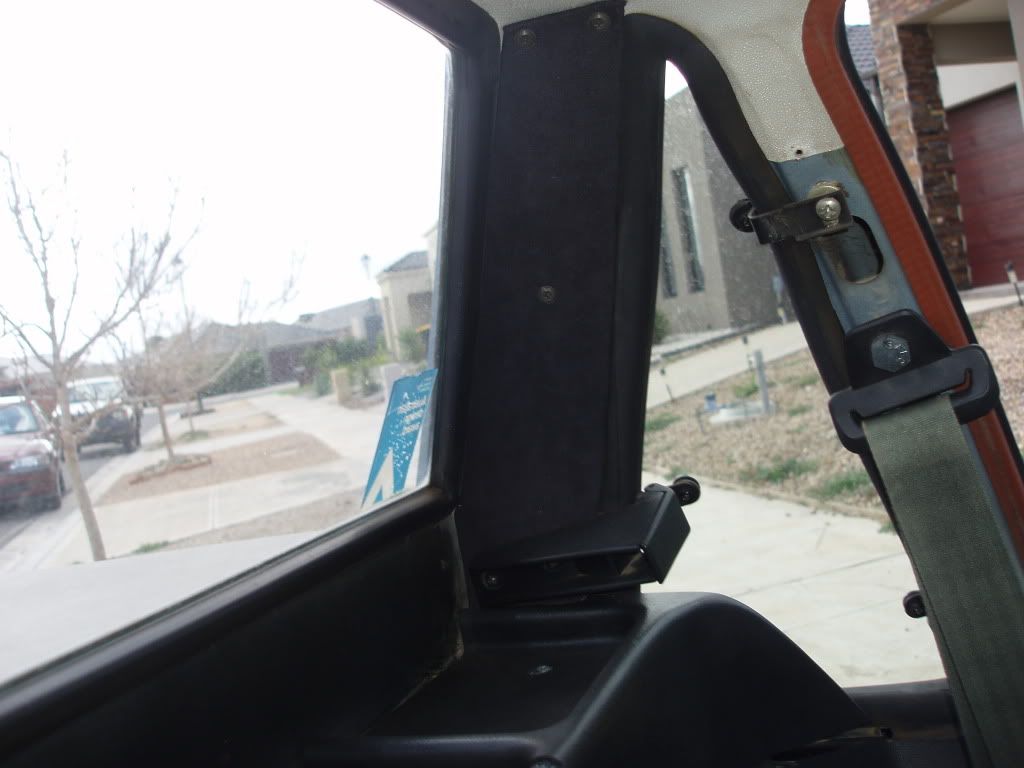
|
||
| Top | |
||
| XESP351 |
|
||
|
I now had everything I needed to put the interior back together and I was planning to have it all done in a couple of days.
Before that I thought I would thoroughly check the whole body and interior to check how it's looking two years after I bought it as it was at the time. Some bad news. Being parked outside, the weather took it's toll on the body, here is what I found. The couple of bubbles of rust on the roof are now much worse 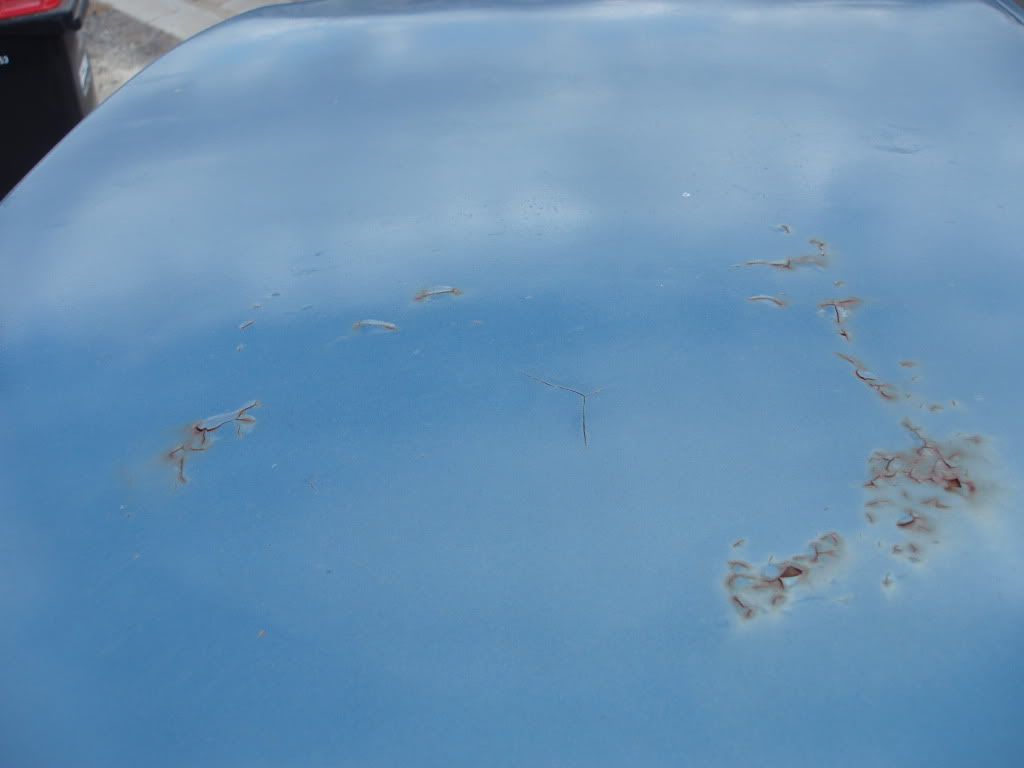 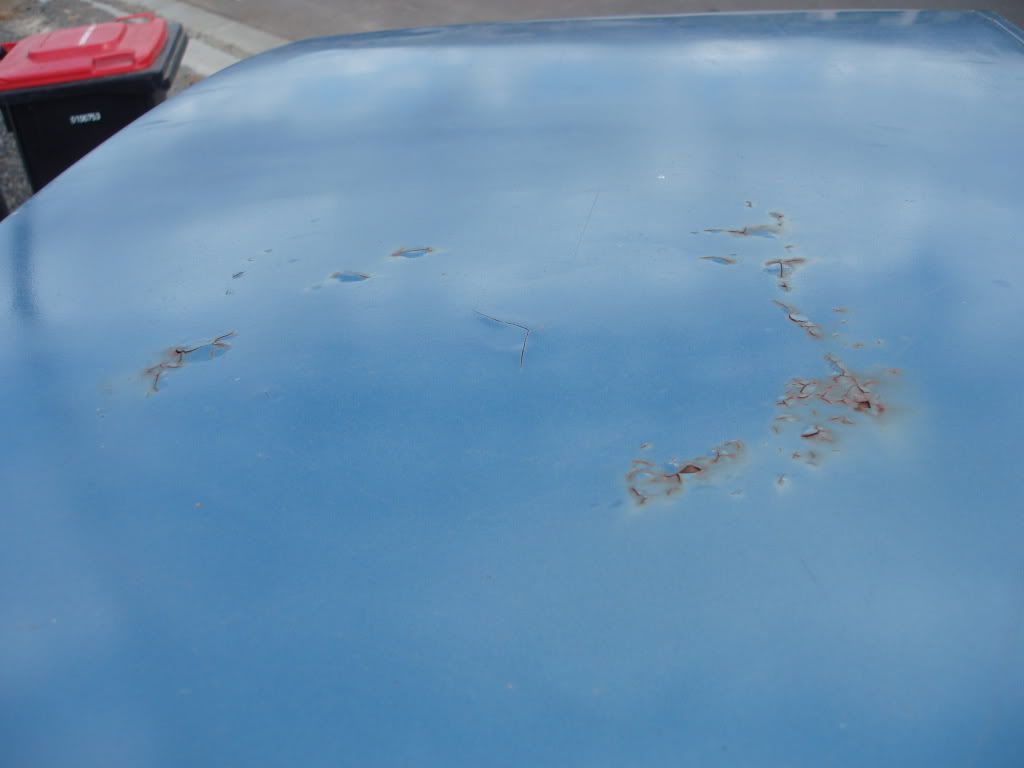 The bottom of the rear quarters has been bogged at some stage as is now showing badly 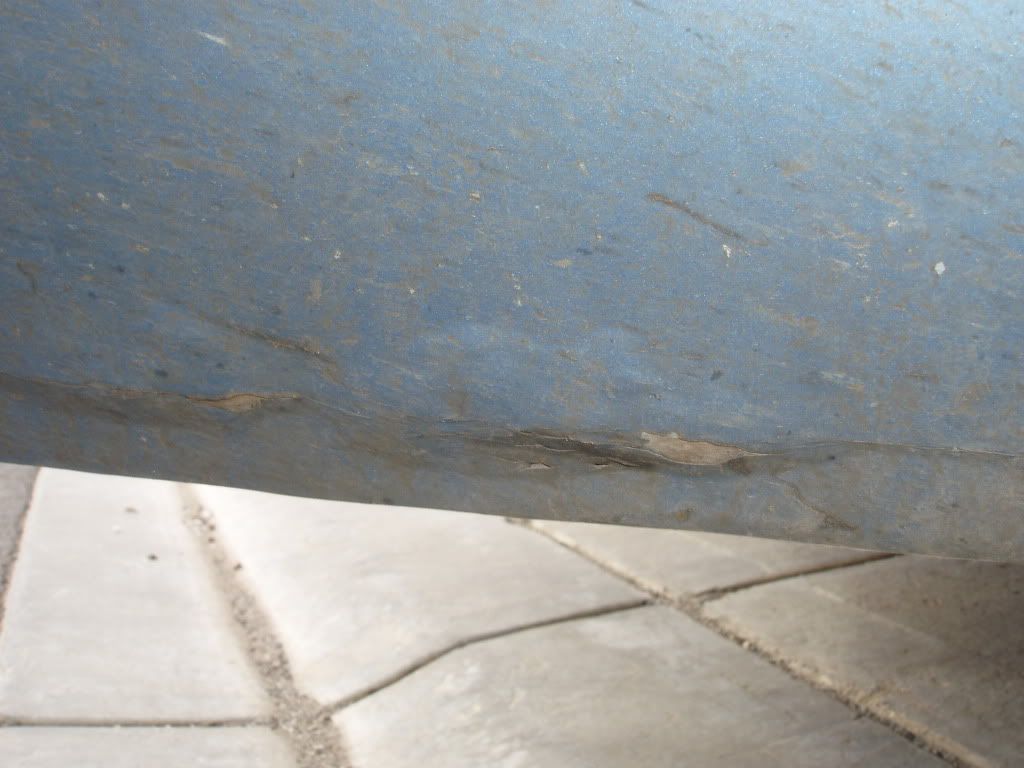 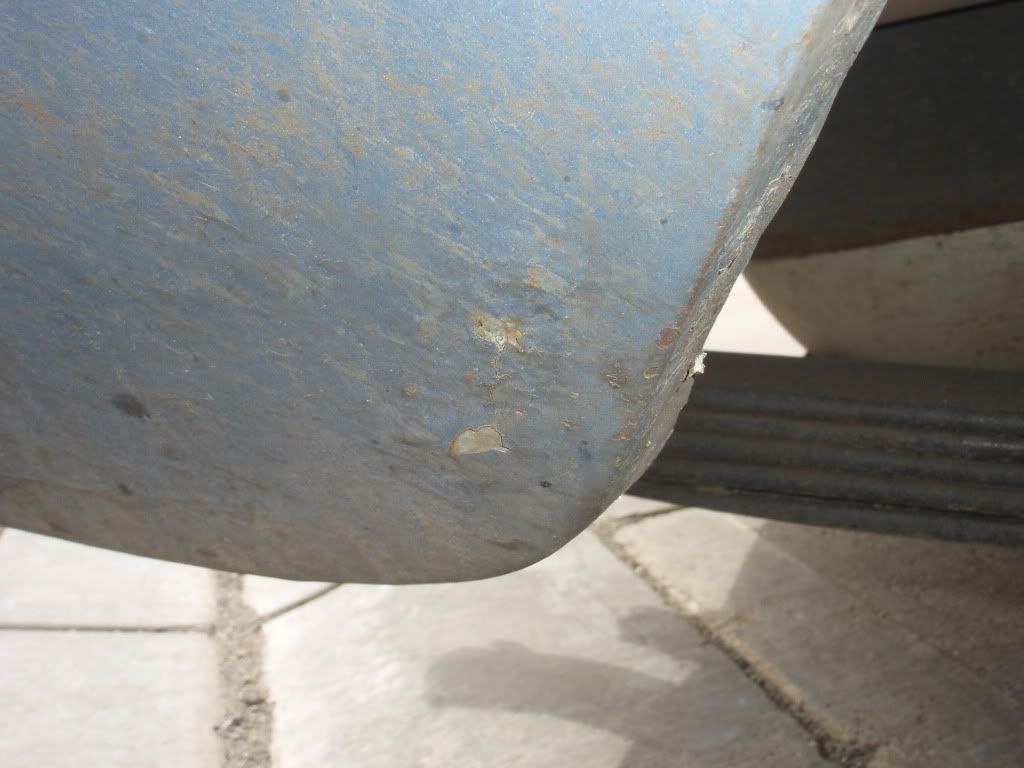 A couple of rust bubbles have formed on the LH rear wheel arch 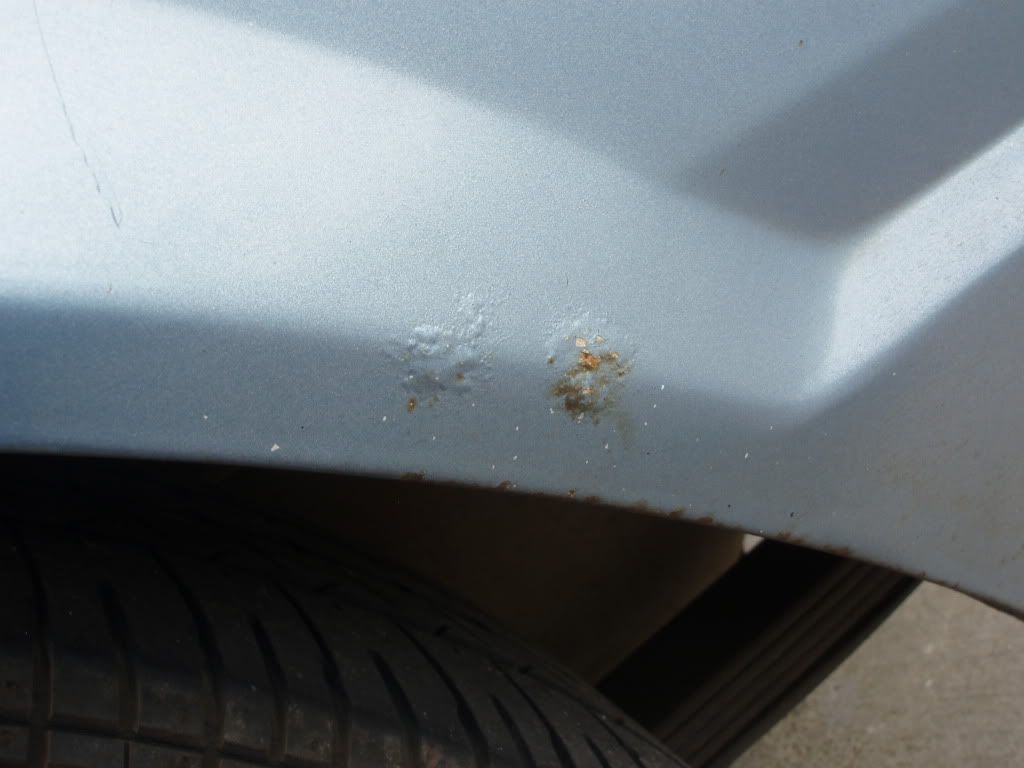 The doors are in very good nick but underneath some rust is starting to form 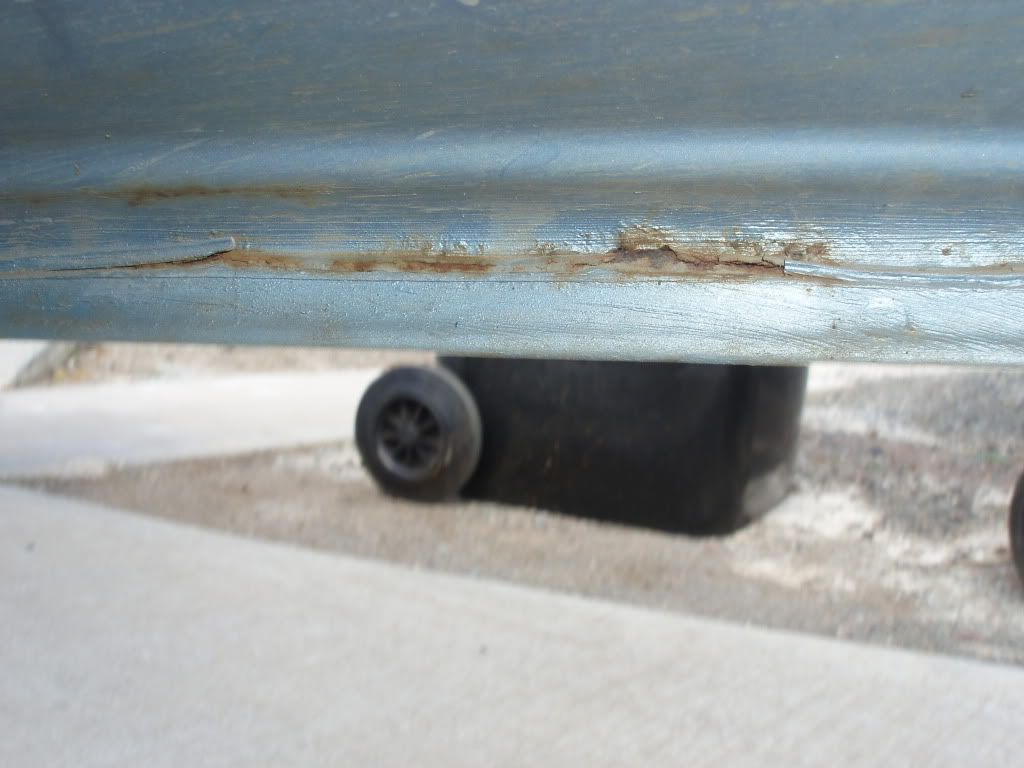 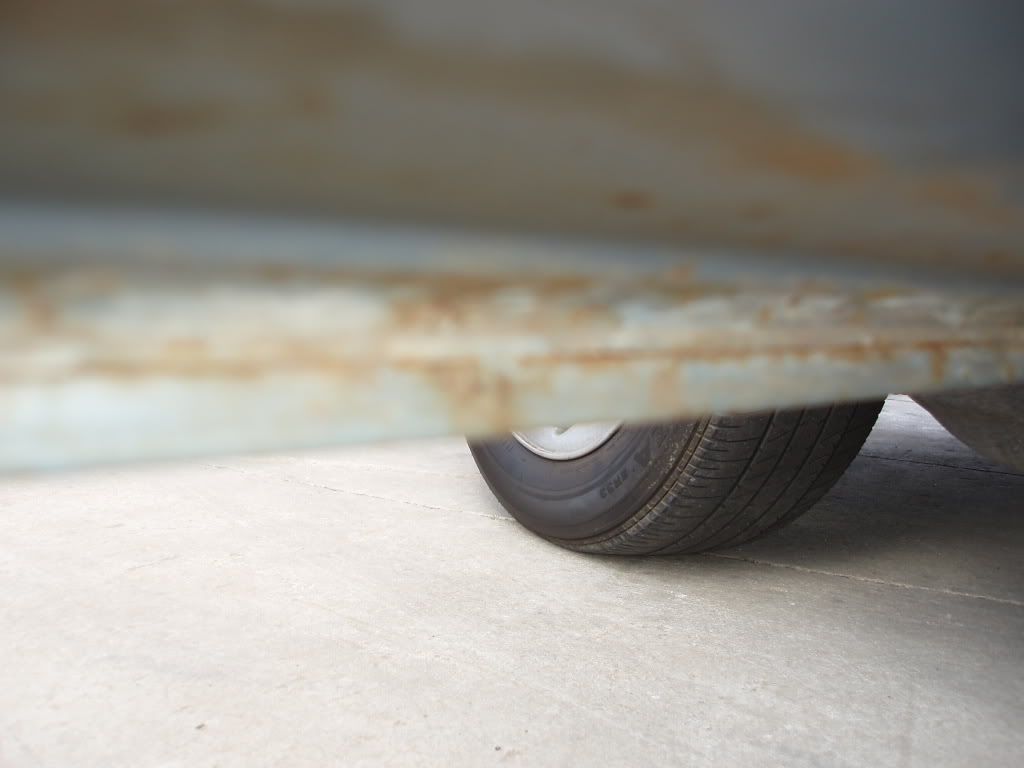 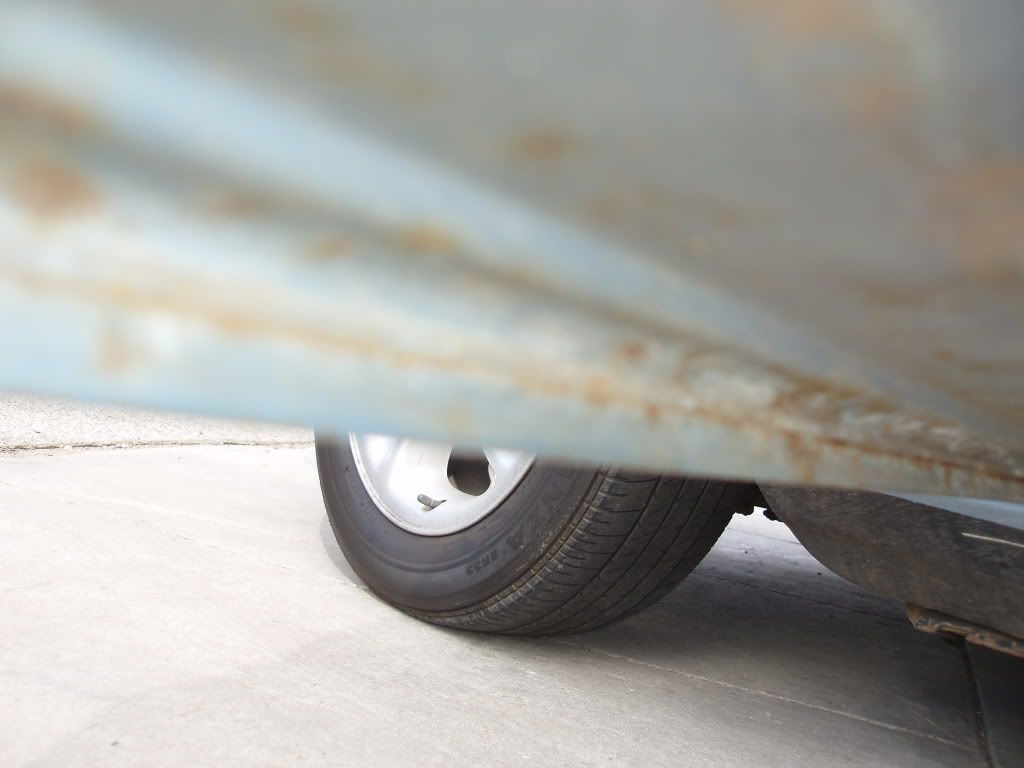 There is also some rust under the rear window but it's not severe yet. I would say the worst rust is on the roof and at the bottom of the quarter panels. There is also an interior trim which has a bit missing, I have a replacement which I'll put on when the interior is put together. 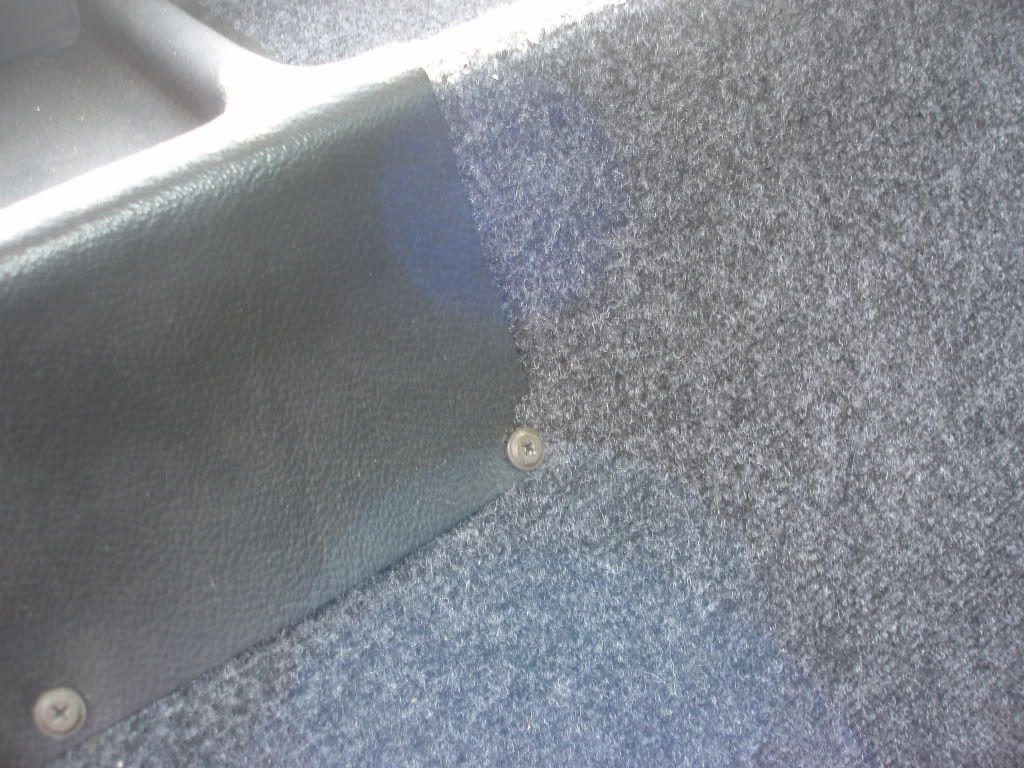
|
||
| Top | |
||
| XESP351 |
|
||
|
So I started taking the seats out so I can put carpets in etc. Here is how the rubber flooring looked, pretty shagged.
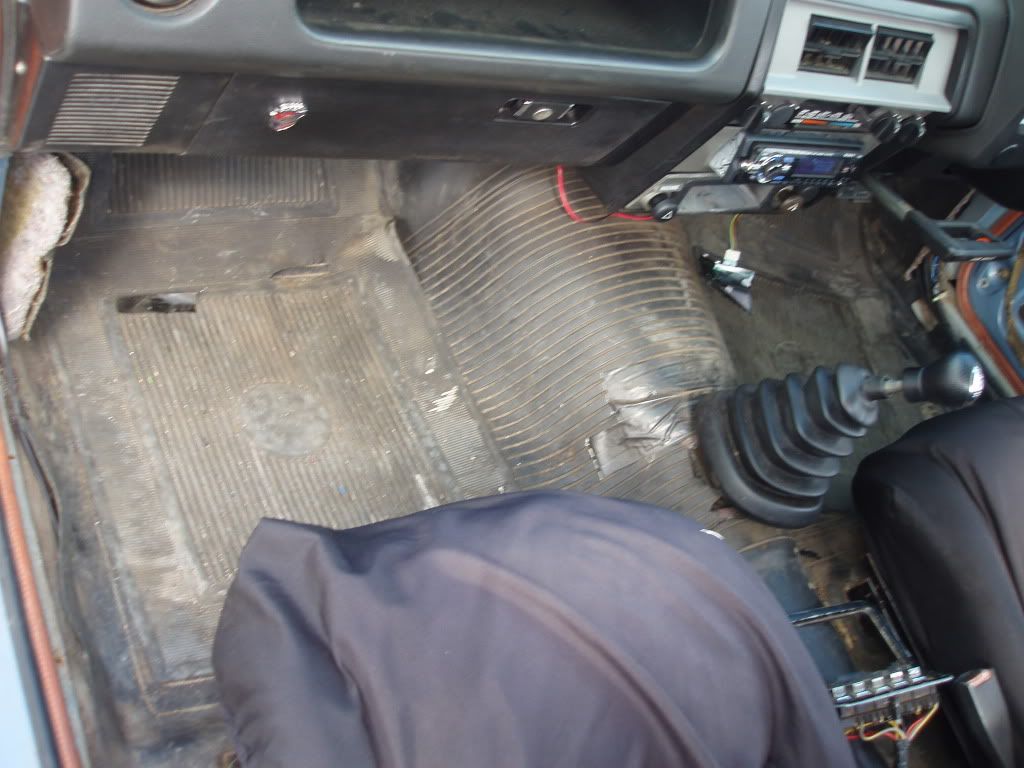 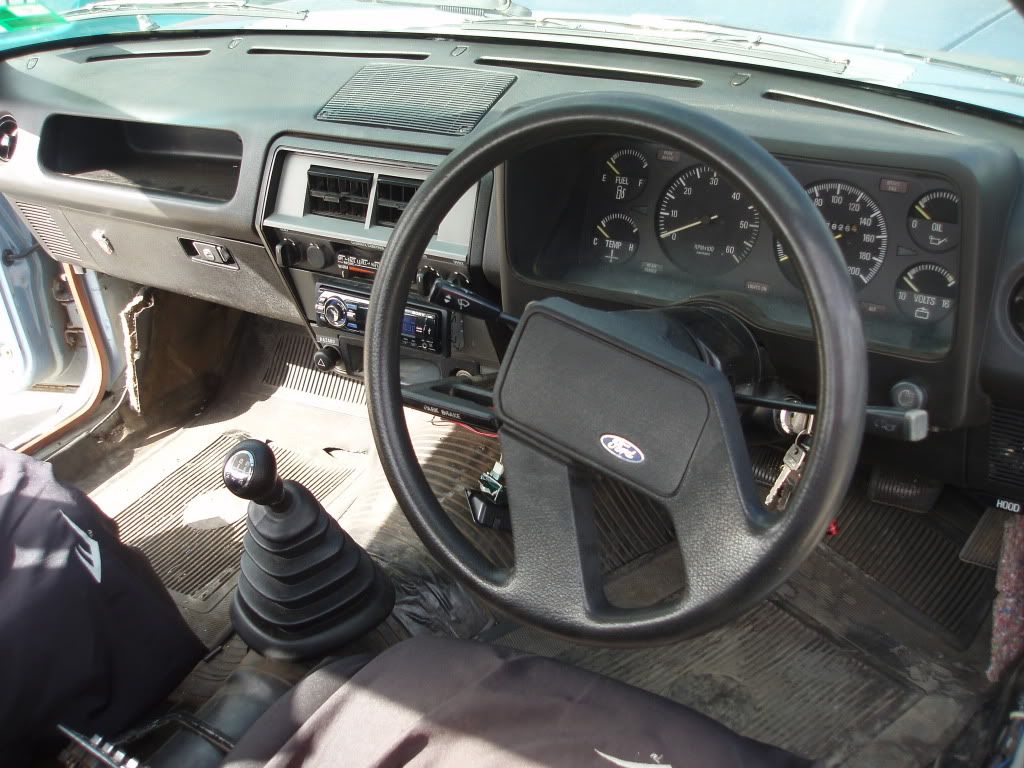 Out it comes.. 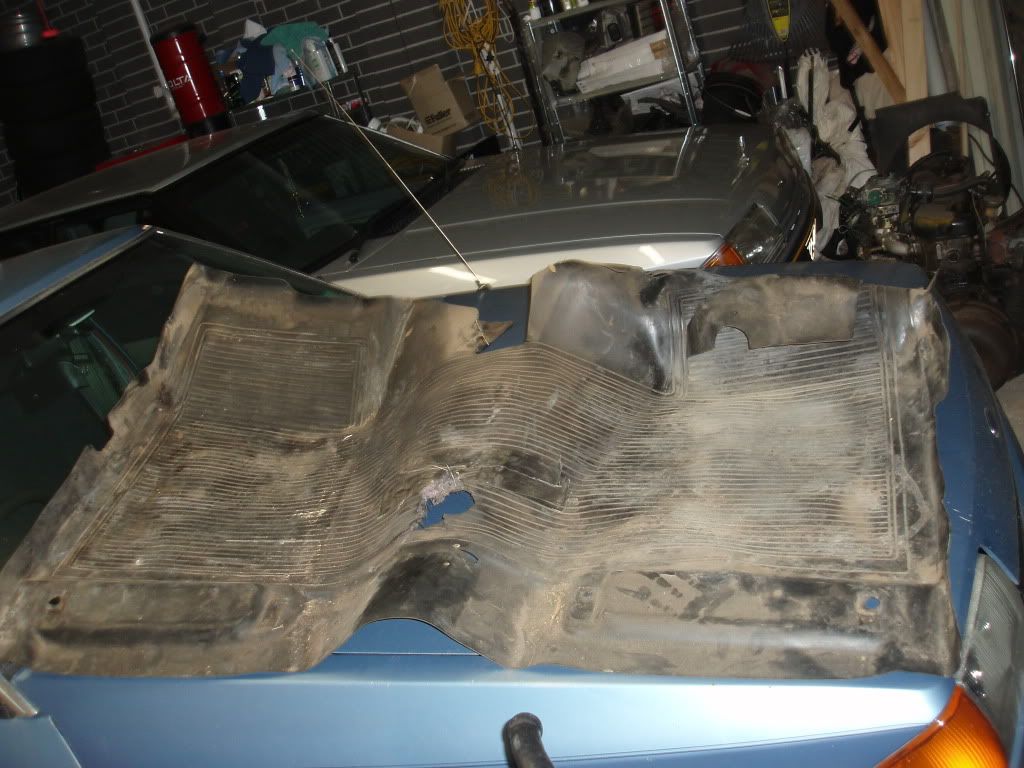 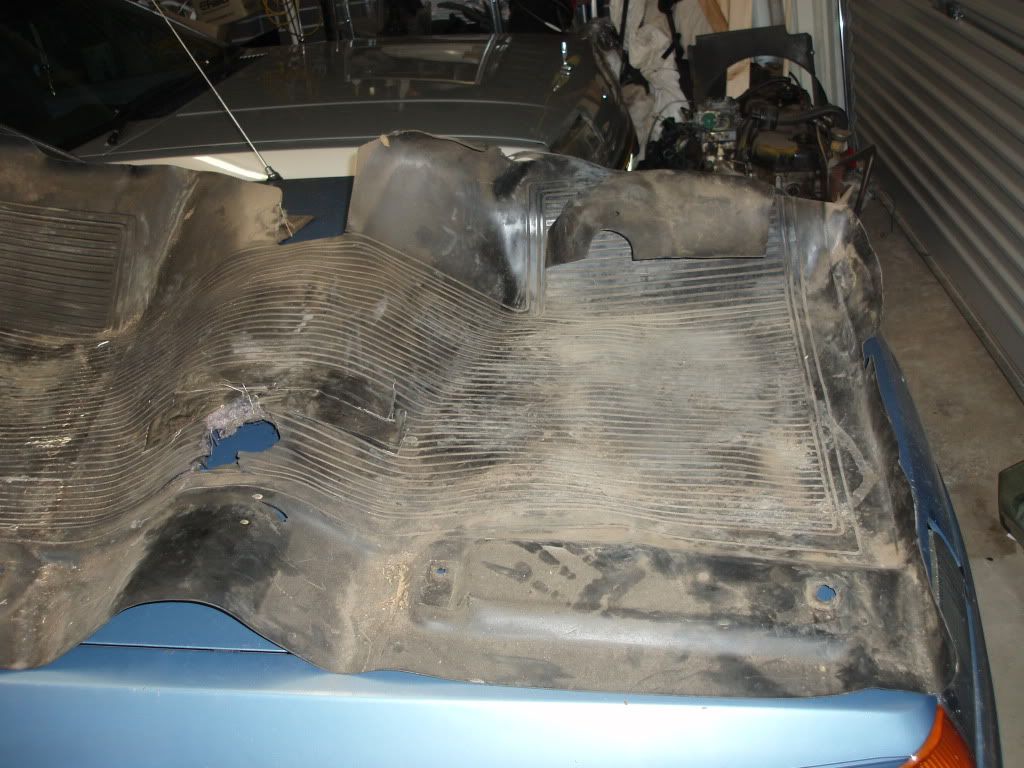 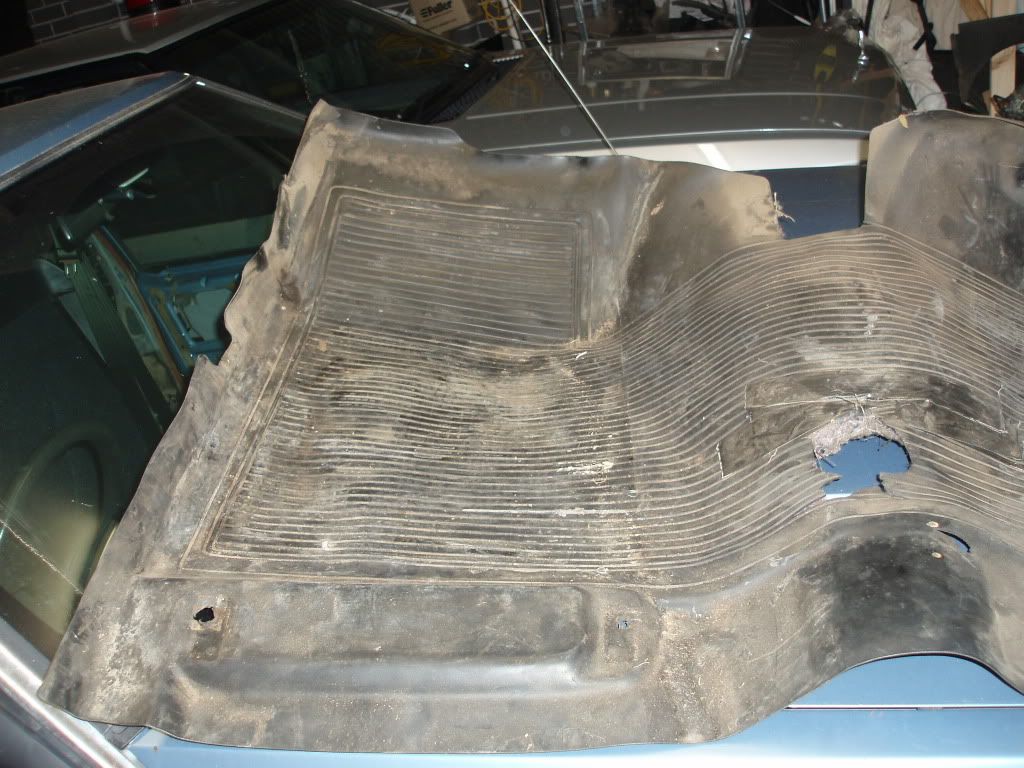 And here is the bare floor, needs a clean up and a scrub but it's in good nick.. 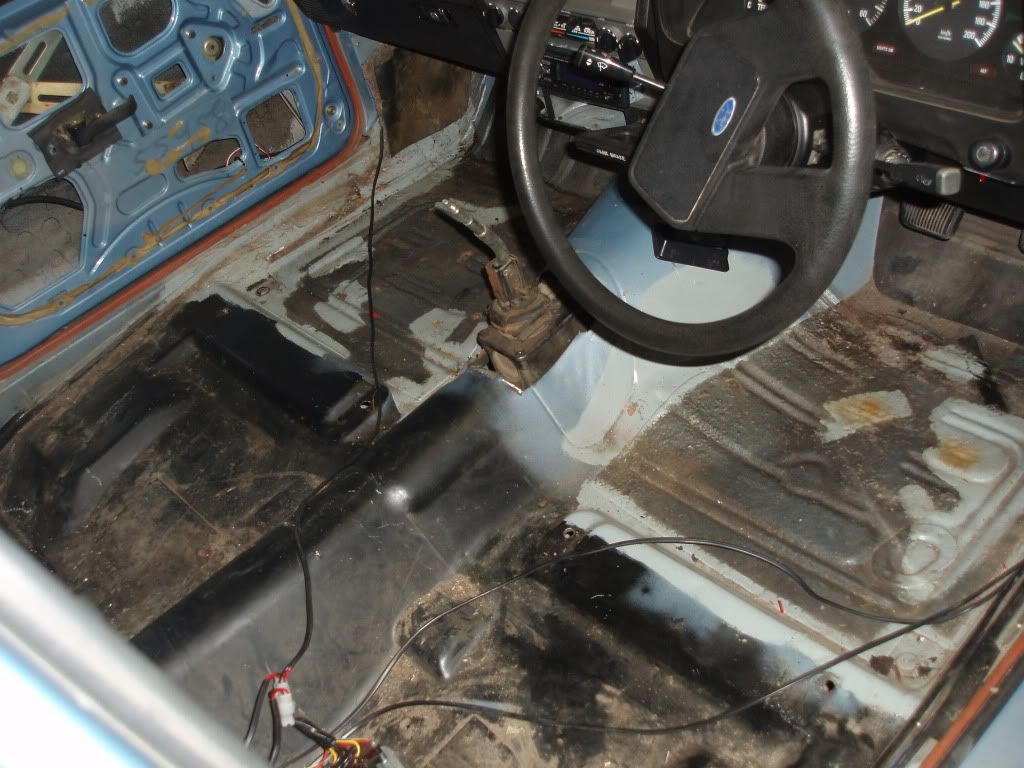 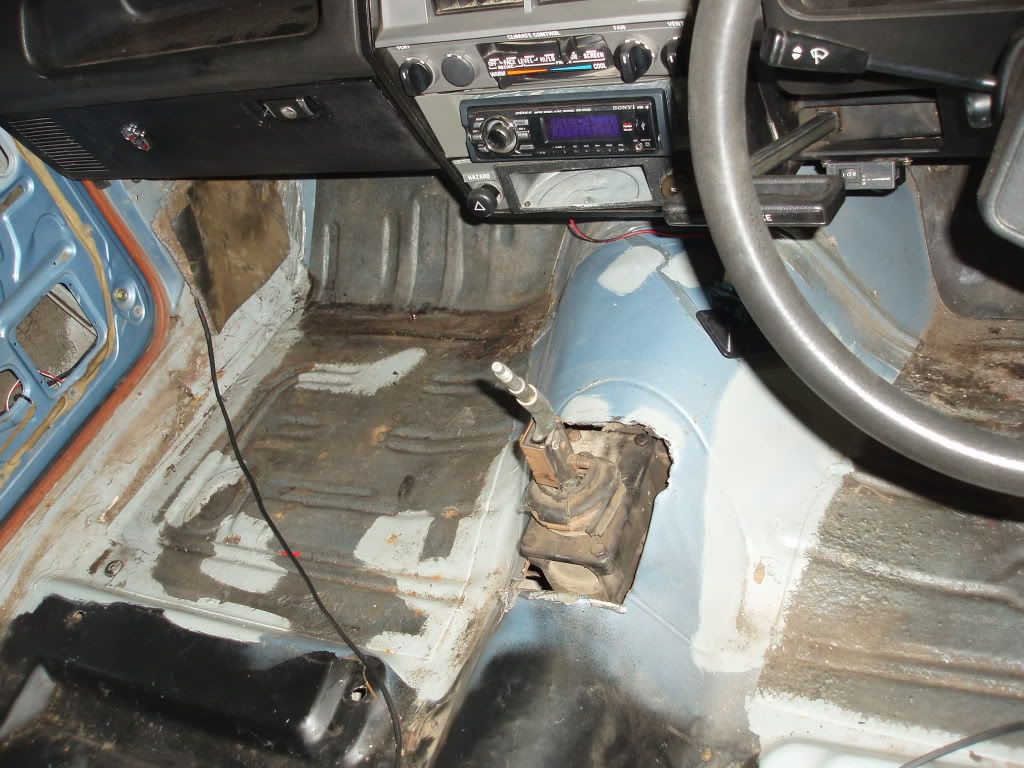 Things were going well until i spotted some evidence of moisture... 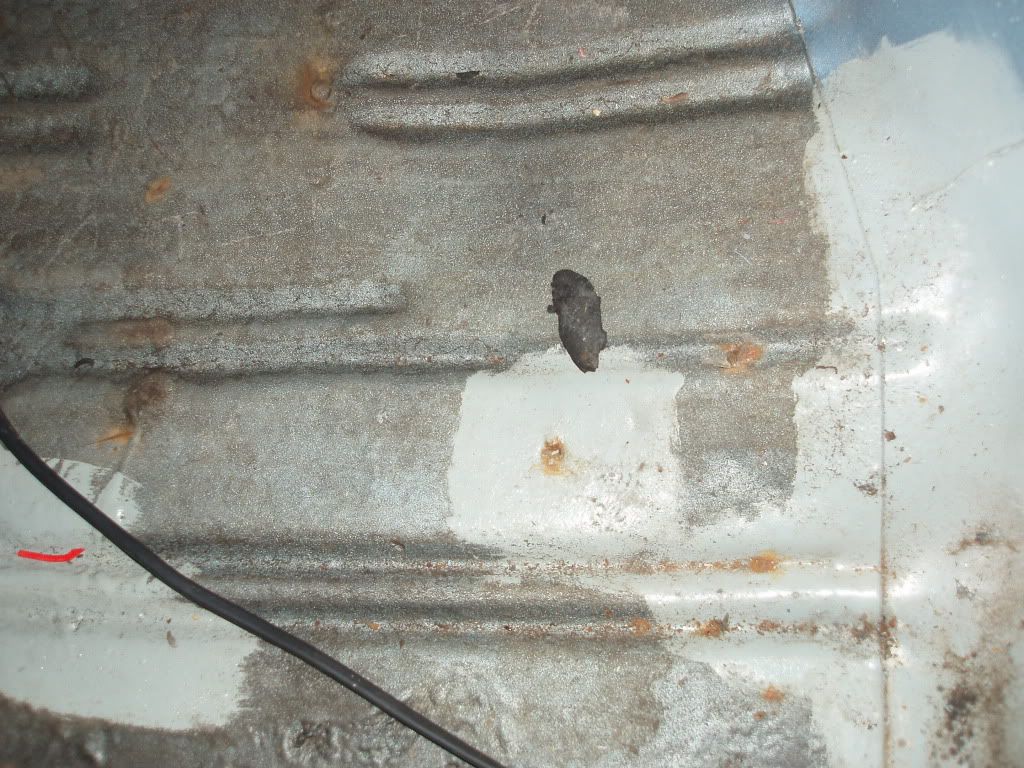 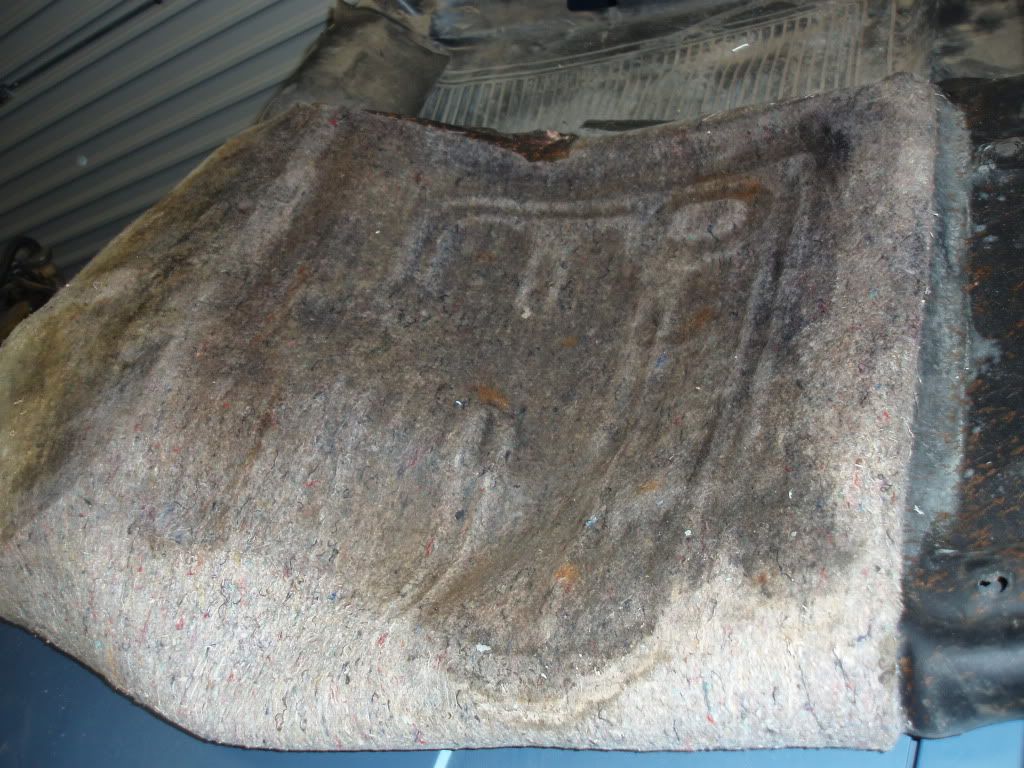 I realised the passenger side floor was wet and there is some rust spots forming on the floor, and the insulation under the original rubber flooring was soaking wet, the smell of mould was very strong. Hmmm. I stuck my head underneath to try and see where the water is coming from and took a couple of photos... 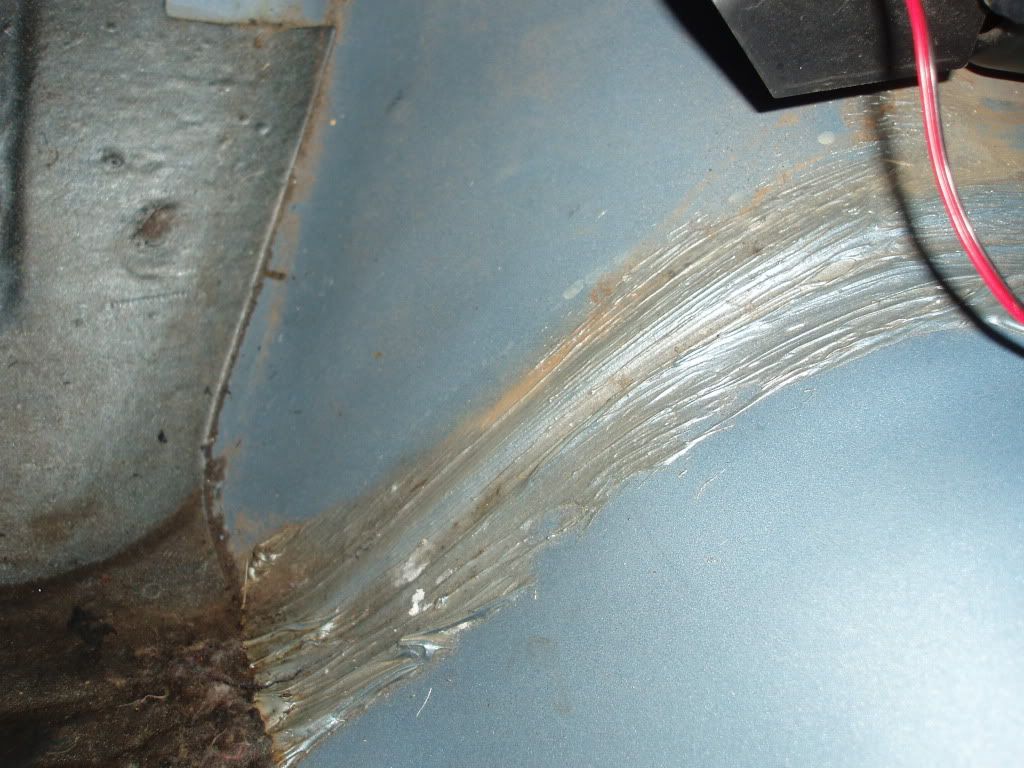 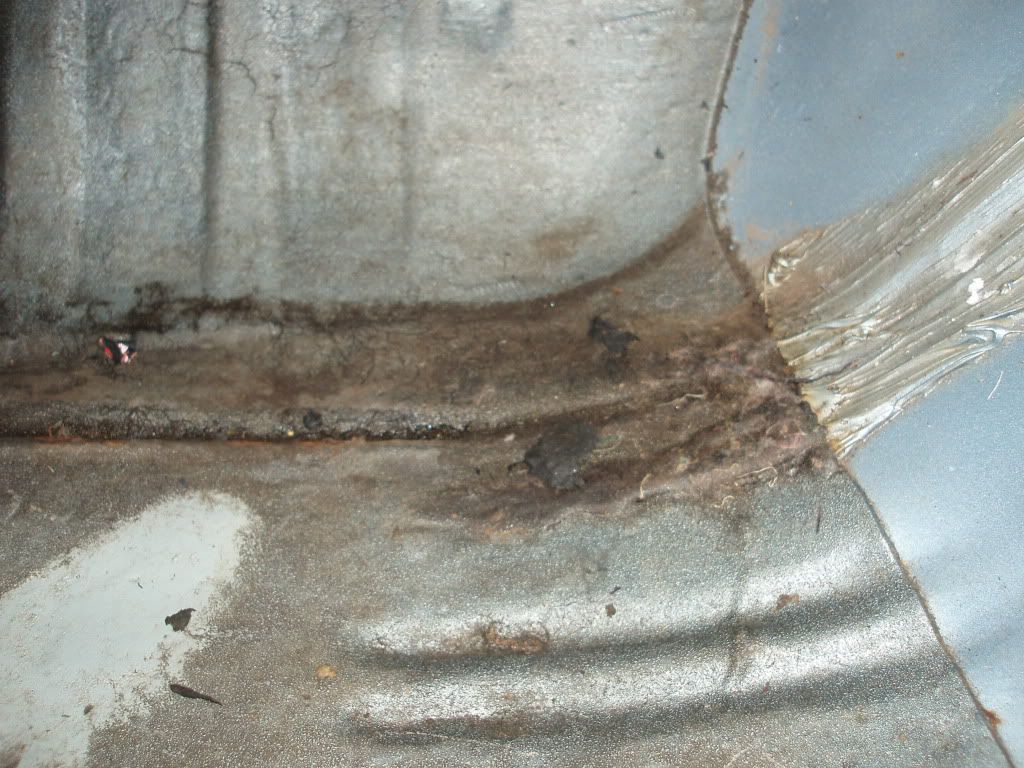 In the first pic in the top right, you can see the white trail of water drops, I thought white means coolant so maybe it's something to do with the heater. I started the car and left it on for 20 minutes to see if it leaks, but nothing. So I couldn't put the interior back together until i find and fix the leak which could take some time. Whether the leak is from the heater or from the firewall, either way I have to take the WHOLE dash off and try to find it. So that was a major set back as I didn't know when I'd get time to do that. The plan for the following day was to clean and scrub the floor, put some kill rust and lanolin on the whole floor, put the driver's seat back in and just leave it for a bit. |
||
| Top | |
||
| XESP351 |
|
||
|
Next day, this is how the floor came up after a clean, pretty good I thought
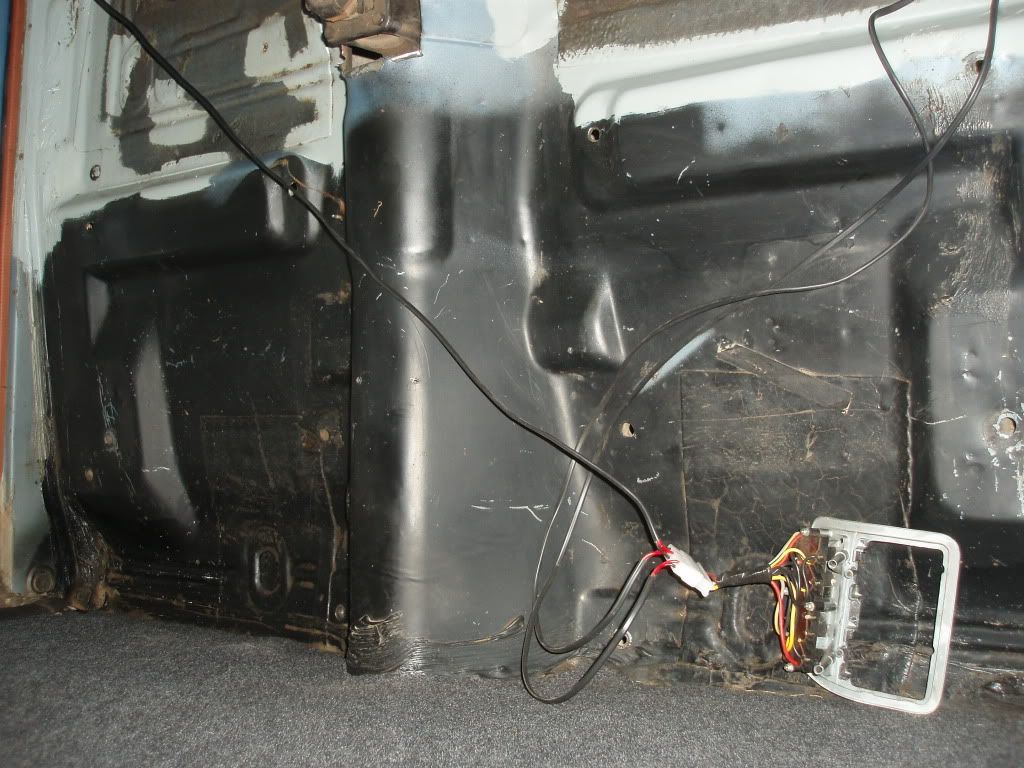 And this is how the car sat for a while.. 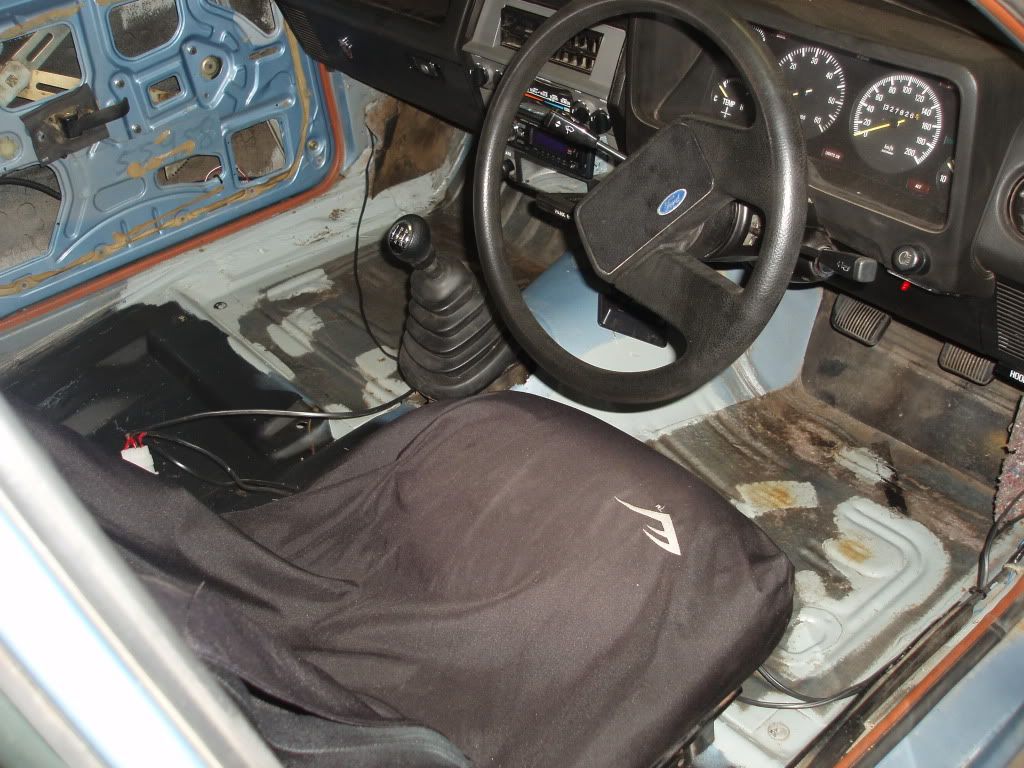 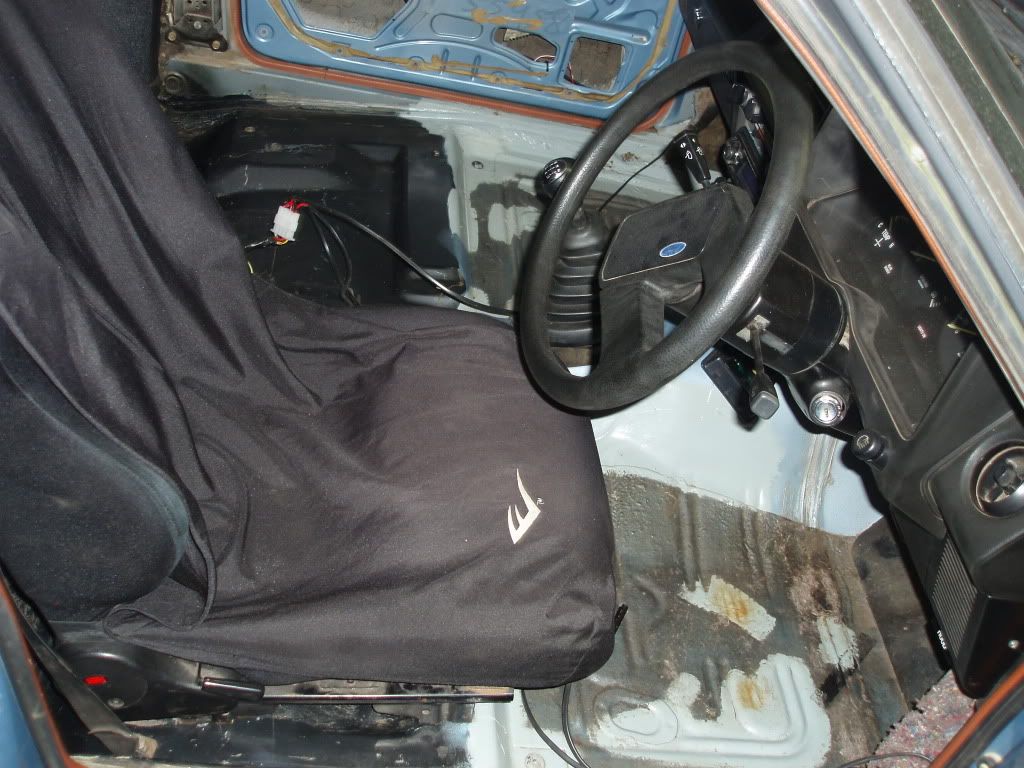 'I will leave it like this until I can find where the leak is coming from which I'll try and do this week.' I thought. |
||
| Top | |
||
| XESP351 |
|
||
|
At that stage I was starting to get worried this project would get a bit out of control. The intention was to clean up the car and make it a nice clean (and very quick) ute, not a show car.
But this rust that I found (and if there is also some rust in the plenum) is making me want to rip the whole car apart which is not good because if I do and I find any more rust (which I know I probably will lol) I will have to fix it properly. I do not have the room, facilities, bodywork skills or cash to bare metal the whole car any time soon, so I changed the order of things and decided once interior is done, drive train and suspension will be next and the body work will be the last thing to get done as it will take the longest and most cash. (Little did I know what would happen later) The plan was to take off both front guards and have a good look underneath them (and clean up any build up of rubbish in there) and make sure any gromets etc are sealed up. Then I will take off the wiper assembly then I can have a good look inside the plenum and clean any rubbish i find, replace the door seals and take off the A pillar trims to make sure there is no rust and no where for water to come in to the cabin from. Once I do all that then I'd assess where to go from there |
||
| Top | |
||
| XESP351 |
|
||
|
So I took off the wiper arms and the plastic grill so I can take a look inside the plenum, this was the first thing I saw.
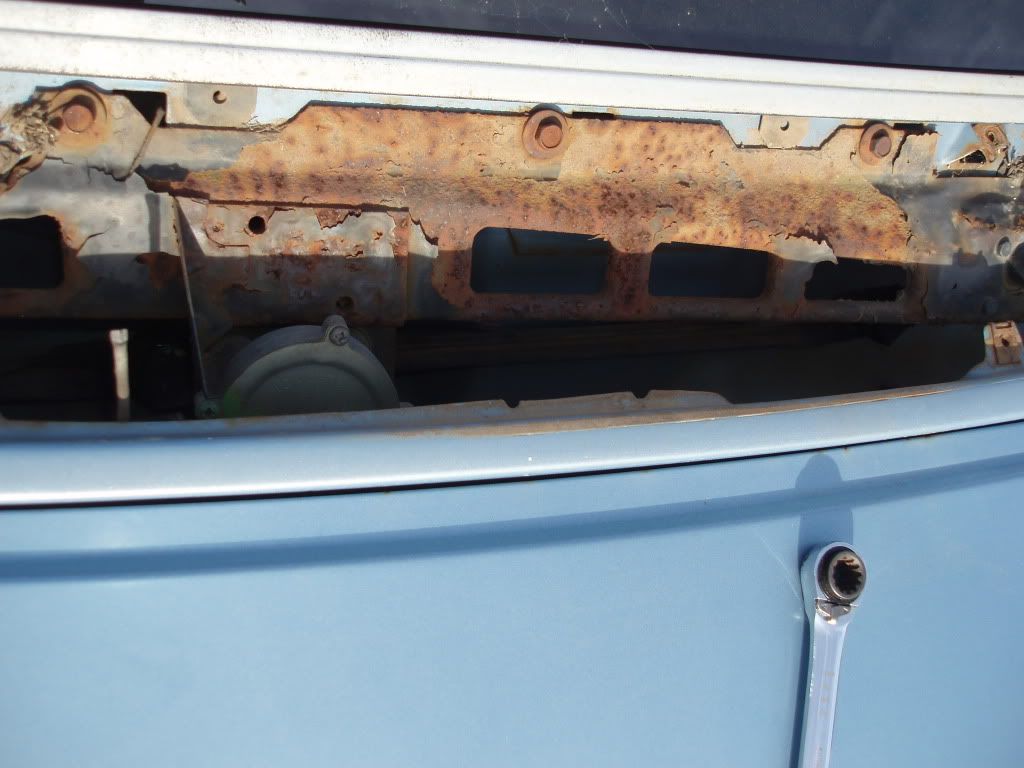 So obviously the wiper mechanism is not looking too healthy, I'll need to take it out and clean all the surface rust off and give the whole thing a going over. Looking inside the plenum, that's what it looked like... 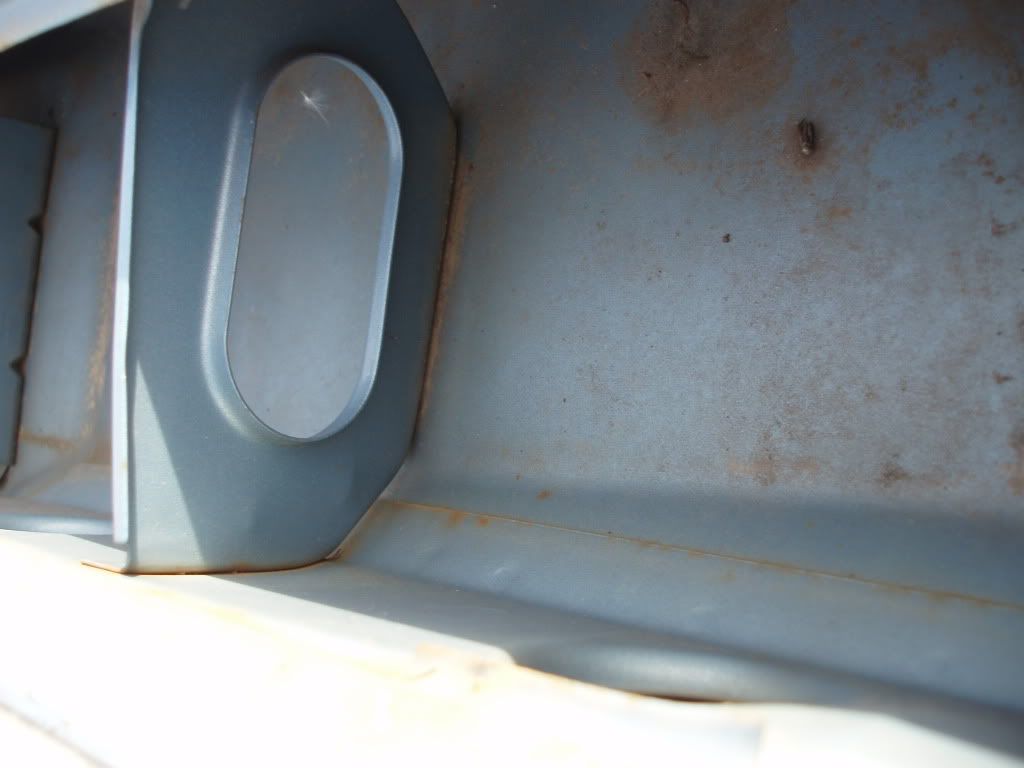 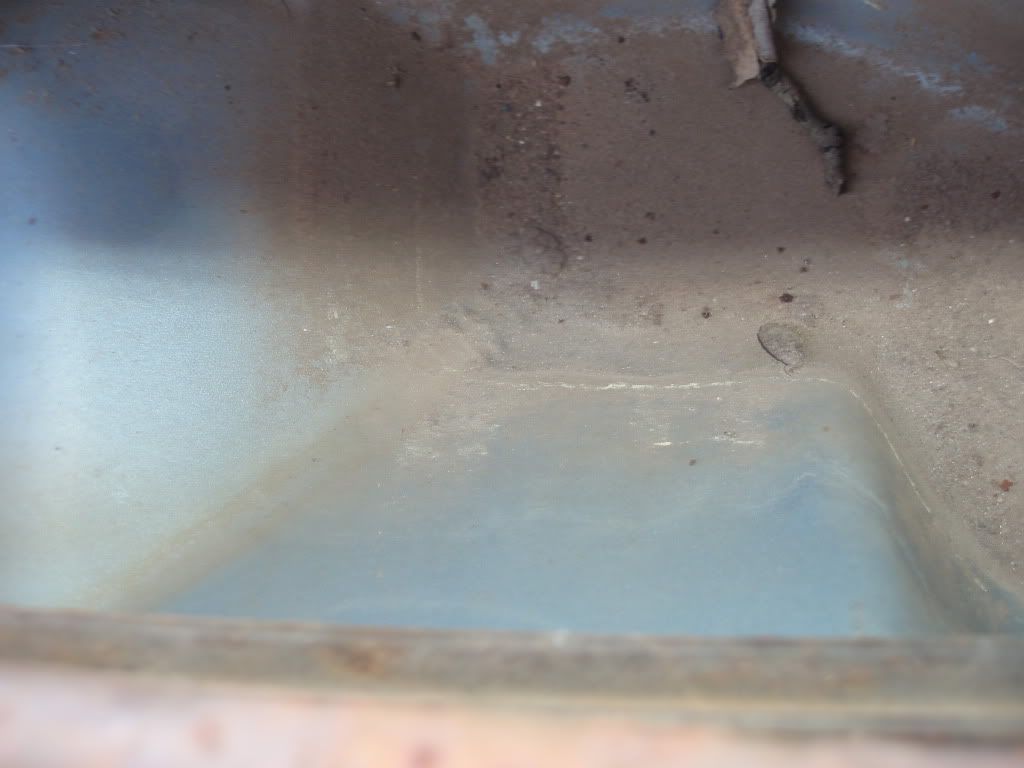 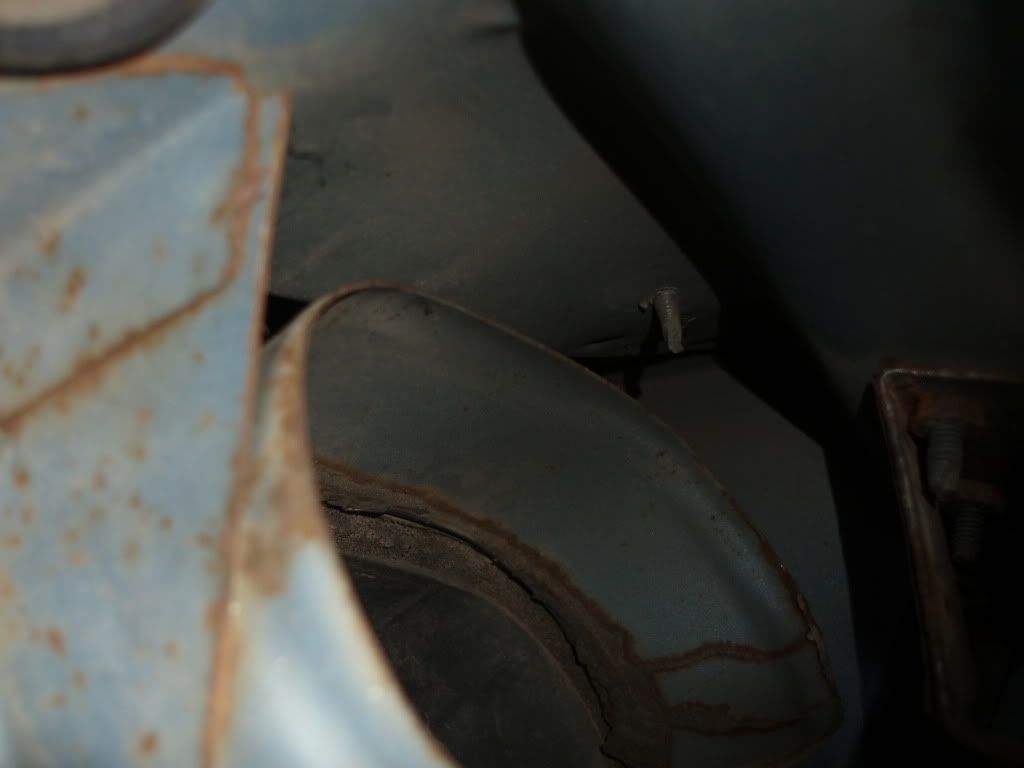 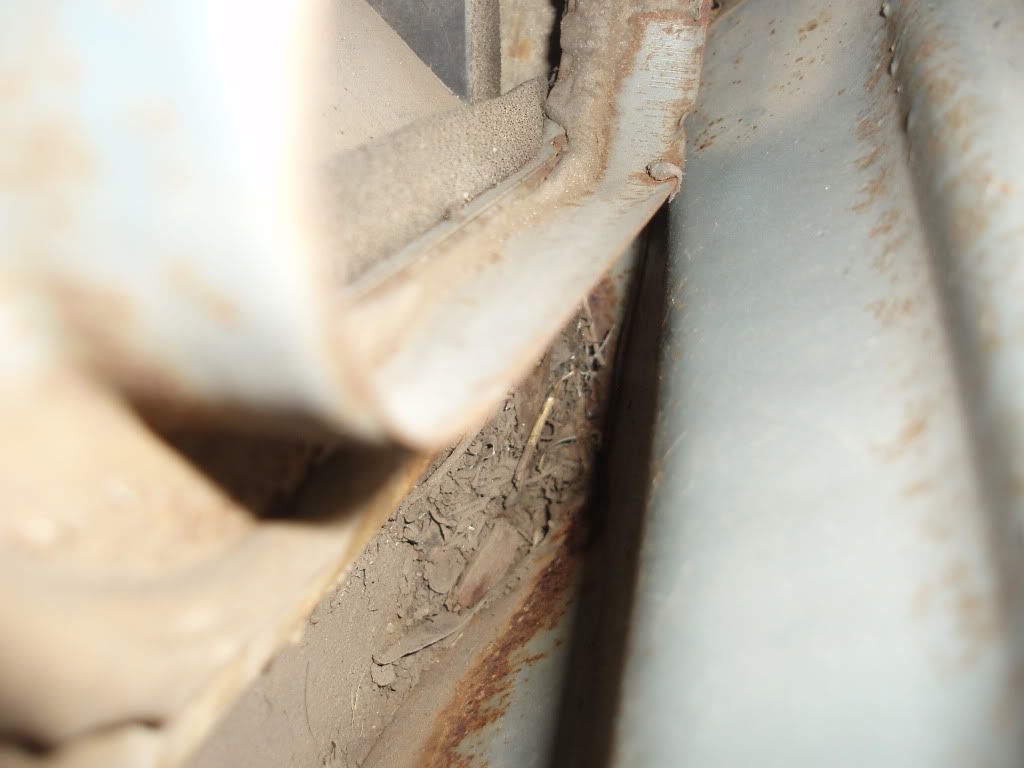 [URL=http://i493.photobucket.com/albums/rr294/XESP351/P9130011.jpg[/IMG] 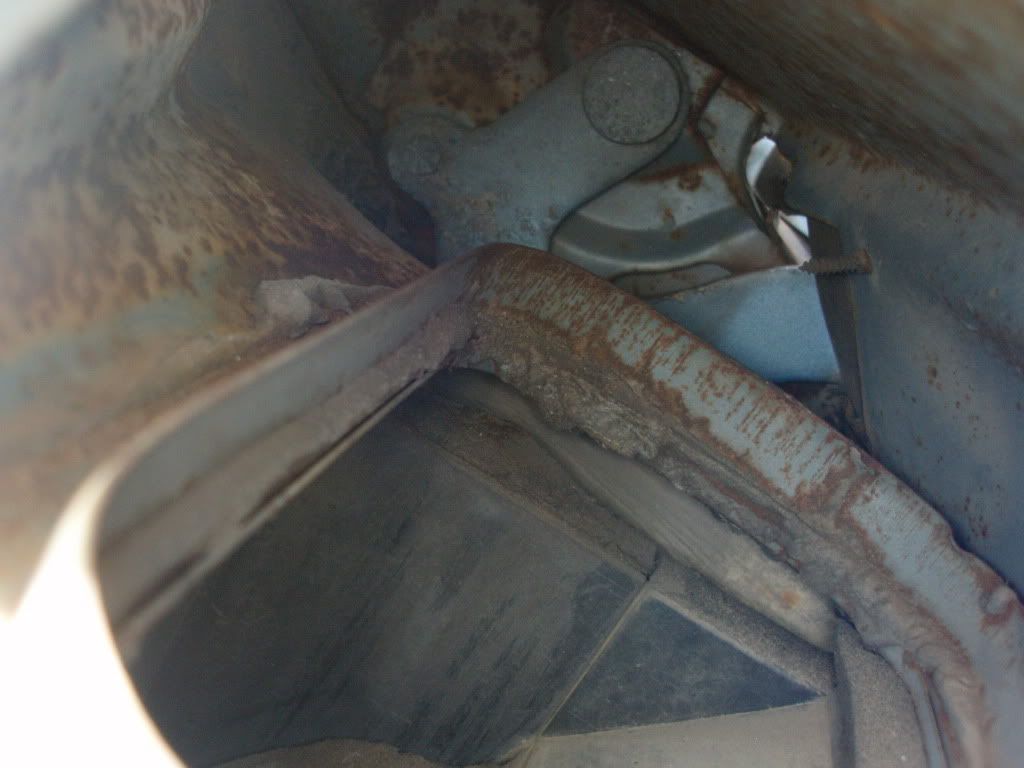 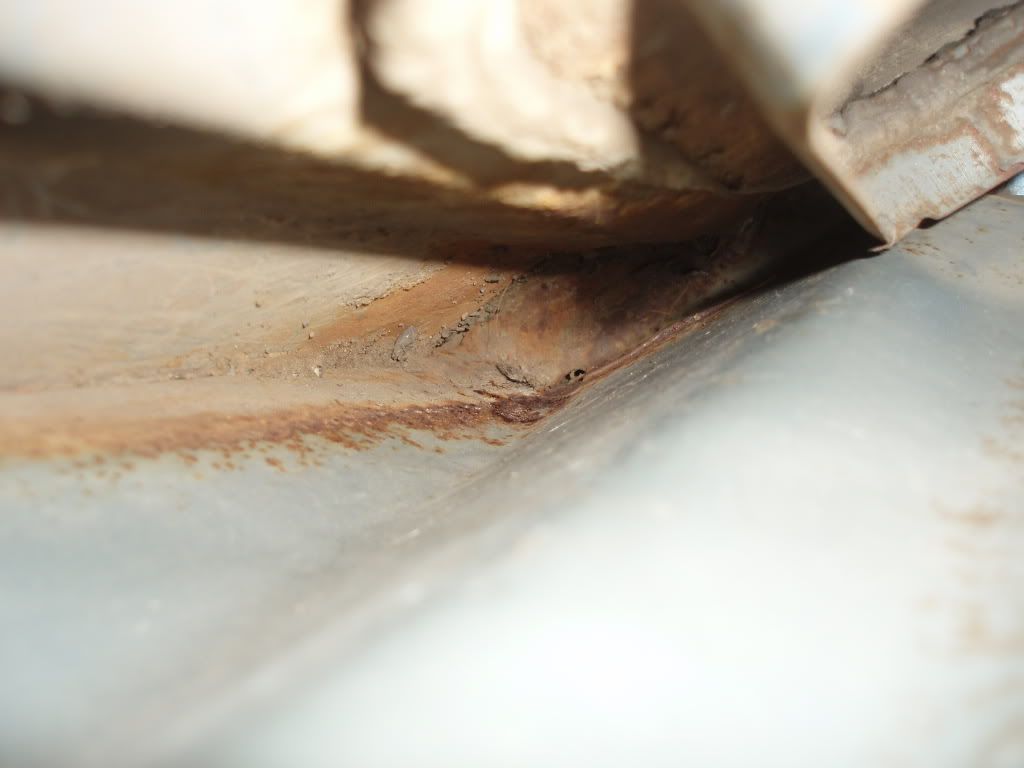 It looked better than what I ever expected actually, I even had a poke with a screw driver to scrape off some surface rust and it was just surface rust, plenty of metal behind it. So I used a vacuum to clean up some of the dirt and small leaves in corners and thought I better pour some water down there and see what happens. No water inside. Then i sprayed water (heaps of it) on the whole front half of the ute from all angles which resulted in a puddle on the passenger side floor. Hmm, this was going to be a PITA to find. After half an hour of looking for water trails, it seemed like the water was coming from somewhere in the A pillar, so I took off the interior A pillar trim and there it was..... 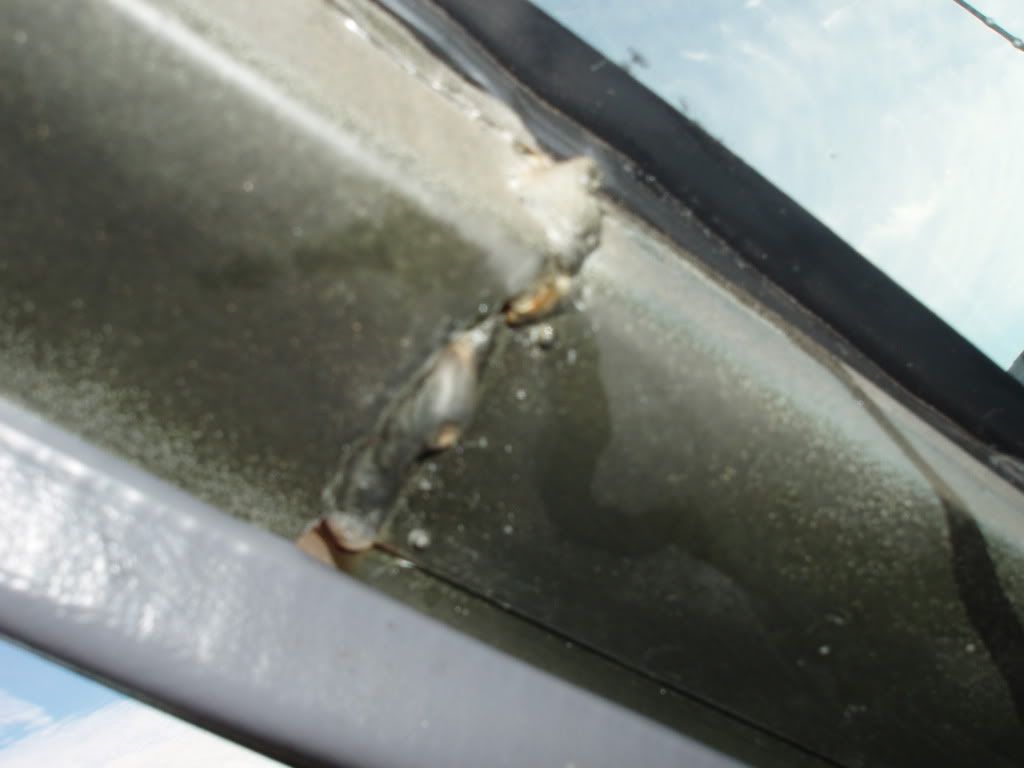 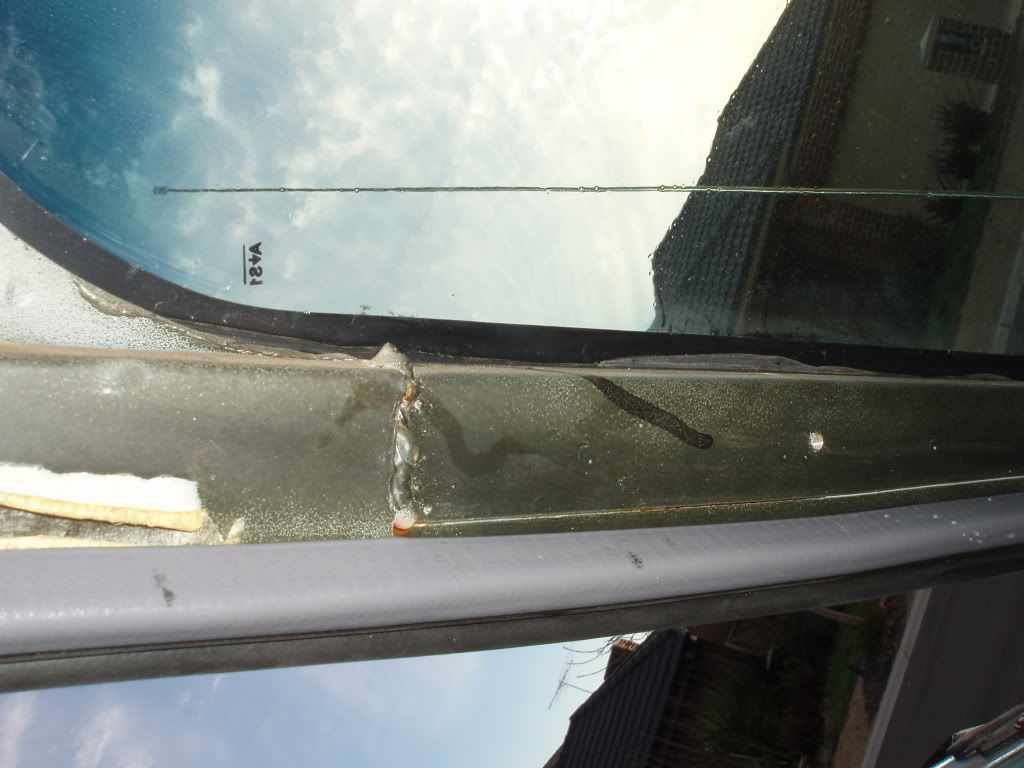 The water was coming through the weld (initially I thought the roof was cut and shut but after having a look at other ute photos, that is a factory weld). So I found the leak and I can easily seal it but my question is HTF is water getting in there in the first place? If I seal it (which I will) water will just accumilate in there and eventually rust out the A pillar, I don't think it's a windscreen not sealed properly because I only got the windscreen done not long ago. Thought I would swing past the panel beater on the weekend and get his opinion on the water in the A pillar issue. |
||
| Top | |
||
| XESP351 |
|
||
|
I took the car to the panel beater, he agreed the plenum is very clean but just put a hose in it for a while just to make sure. No leaks inside. He doesn't think it should be sealed now as he will treat the surface rust in there and spray when he sprays the rest of the car. His words were, if it hasn't rusted in 30 years it'll wait until you spray the whole car. Made sense i guess.
He sprayed a lot of water on the car to see if the A pillar leak is still there, but since I sealed it at the start of the week, there was no leaks. We scraped the sealant off and sprayed the car again and it started leaking but only small drops and nothing like the tap it was when I took the photos above. His advice was to re seal and just leave it until the rest of the car is with him. His logic is he will be taking the windscreen out when he sprays it anyway so there is no point taking it out now just to check if it's sealed properly especially when the windscreen is near new. I gave him my XE Ghia bonnet and bumper bar to respray. So the good news was I would continue putting the interior together as per the original plan and everything was back on track again. |
||
| Top | |
||
| XESP351 |
|
||
|
Things began to slow down on the ute but over the next couple of months I did some small things which needed to be done before the interior went back in the car.
The windscreen wiper assembly was in extremely bad nick and was pretty corroded, I peeled whatever paint was left off it by hand that was how bad the rust was, this is the before shot.  So I took it out, wire wheeled all the rust off, gave it a clean then two coats of POR15, then re installed. Here are the after shots. 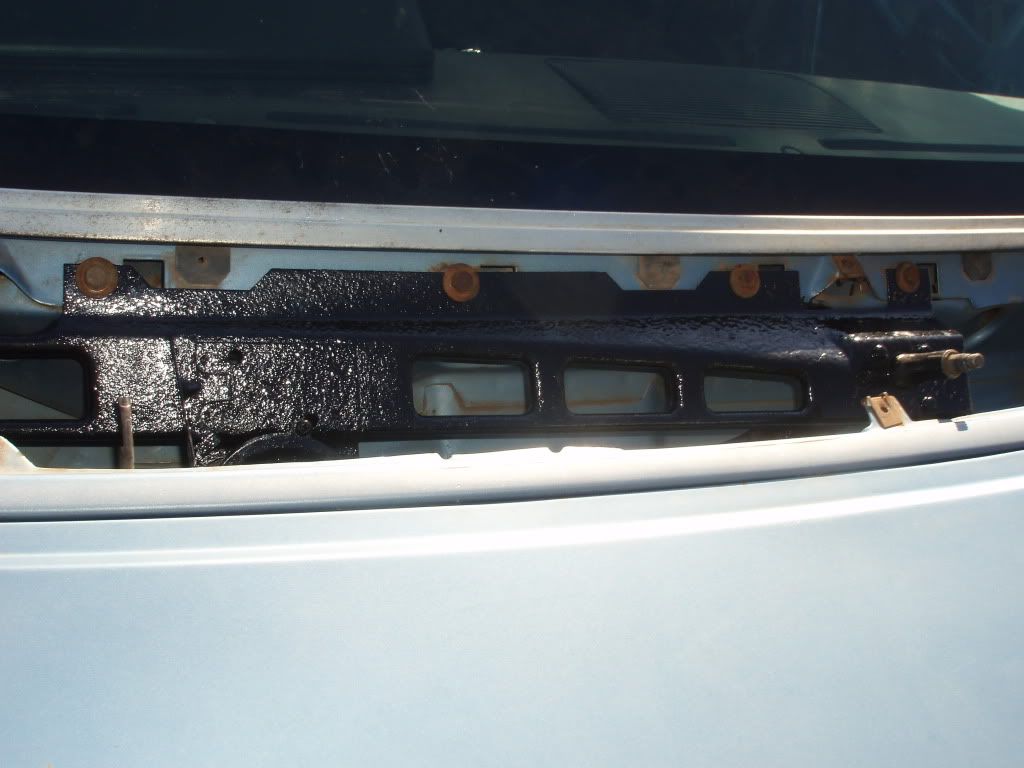 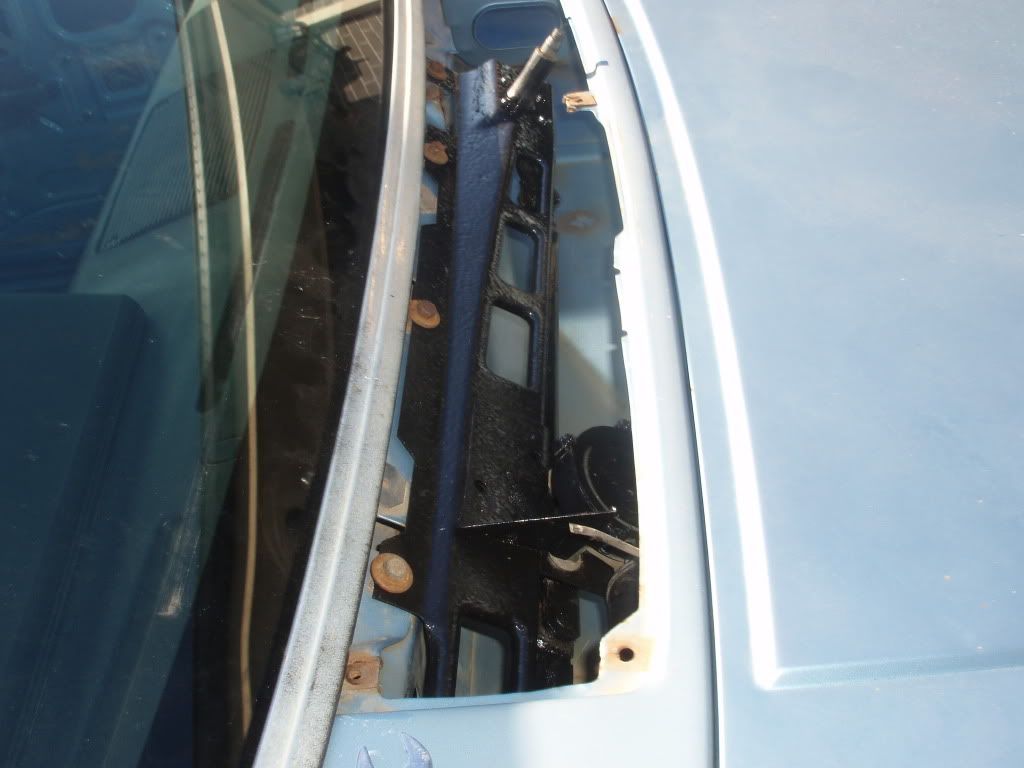 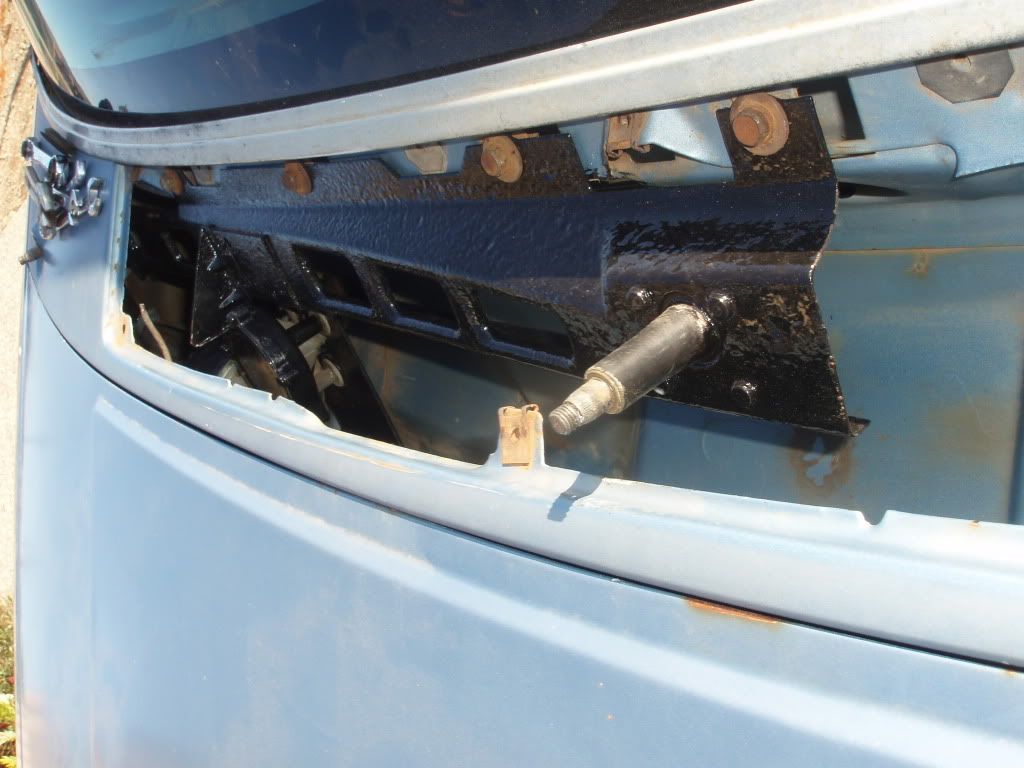 The aim is to protect it from rusting away not for it to look immaculate, hence why the bolts were untouched. When the car gets resprayed, things like that will be looked after. Next was the hole in the floor which was cut for the T5. At the time it was cut in a rush and looked pretty dodge and butchered, I forgot to take a before shot but below was the best I could do to clean it up. 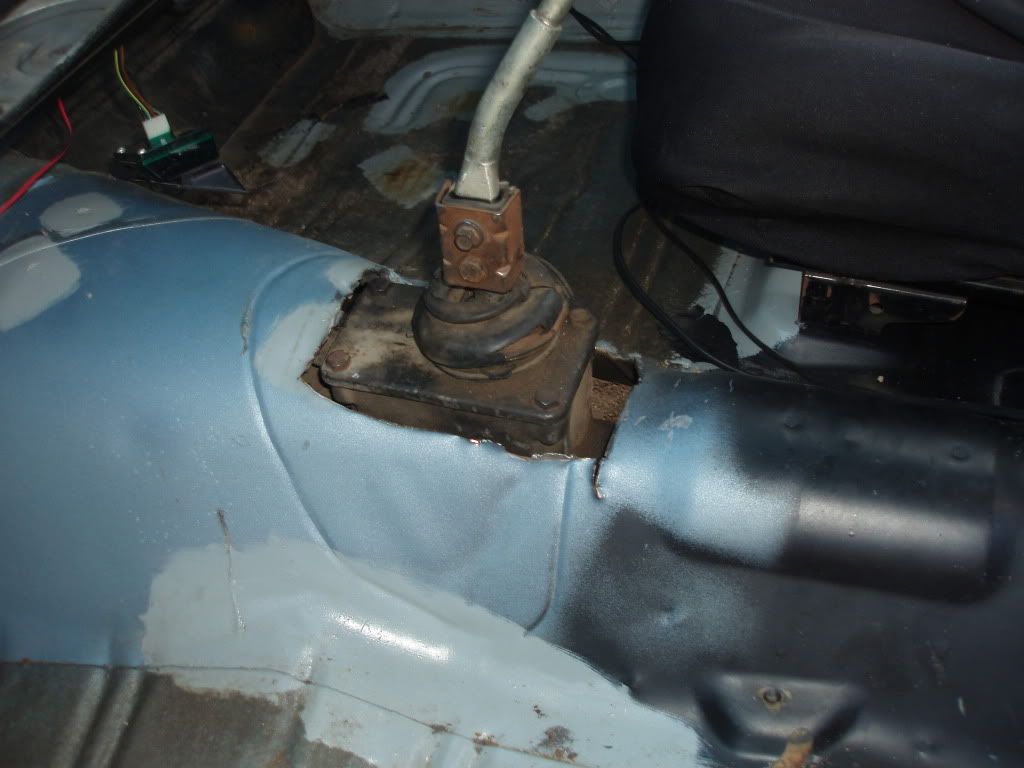 Then I had to get a transmission hump made up to follow the shape of the tunnel and stop as much heat from coming into the car through there as possible. Important to note here that the carpet i bought was shaped for a ute with column shift i'e no transmission hump, so if I simply put a factory transmission hump there I would have to buy new carpet for floor shift (knox carpets have both types and they ask for which one you're after), hence i decided to make one up. So I made the template.. 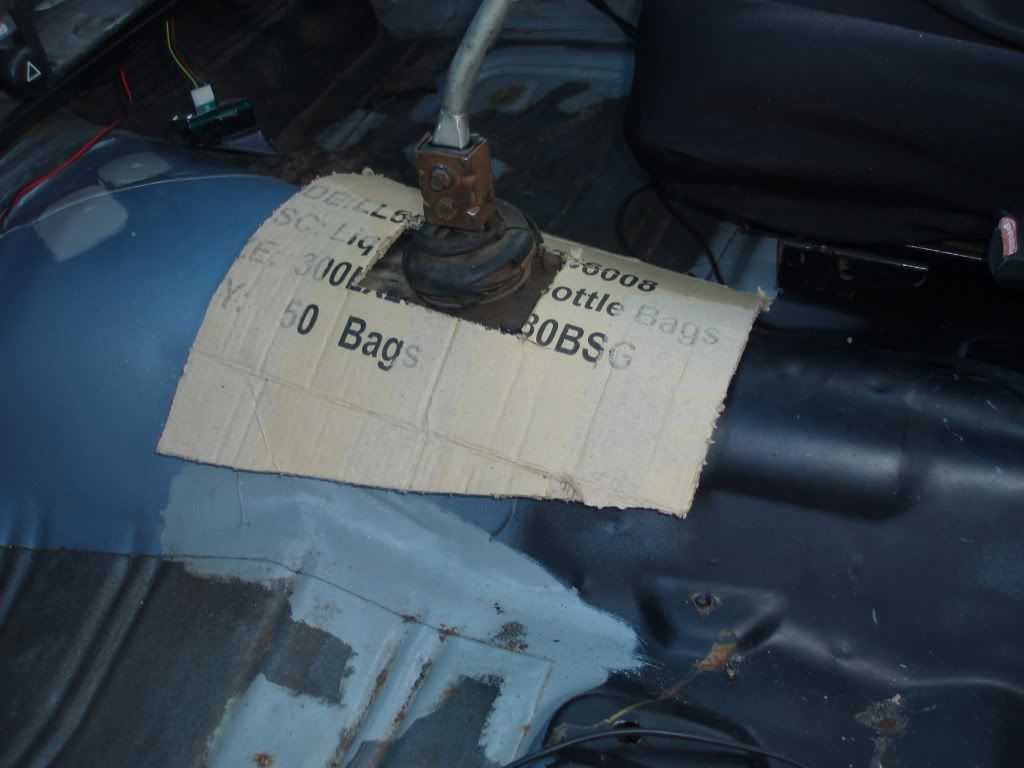 Got a sheet of 1mm Zincanneal..  Then I cut it and shaped it as per the template. After a few test fits, I gave it a couple of coats of primer then a couple of coats of matt black, put on some thick foam seals from underneath to make sure no air gets in as it didn't completely follow the shape of the tunnel and there was some small gaps, bit of silicon on the edges and she's on. Looks good too. 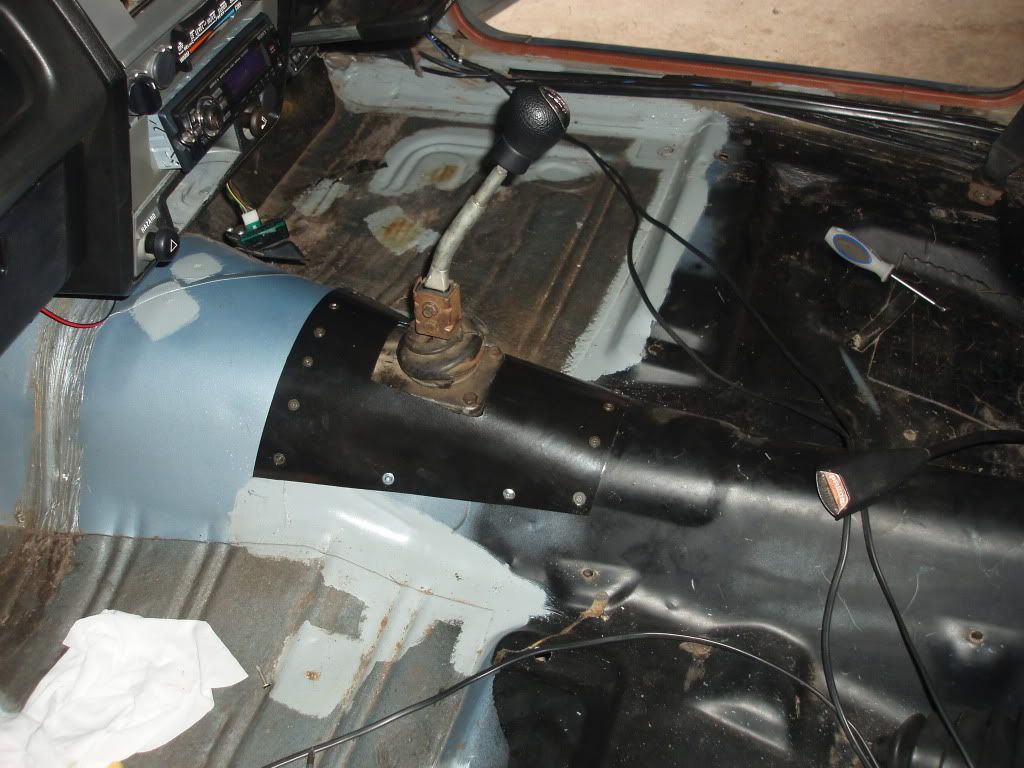 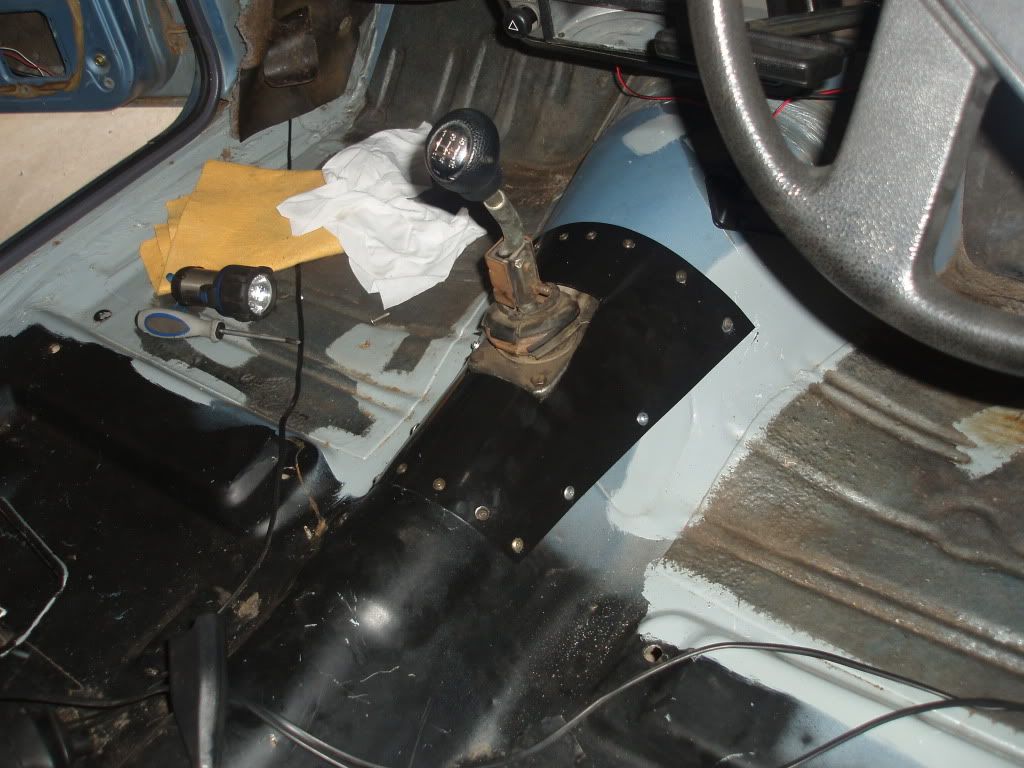 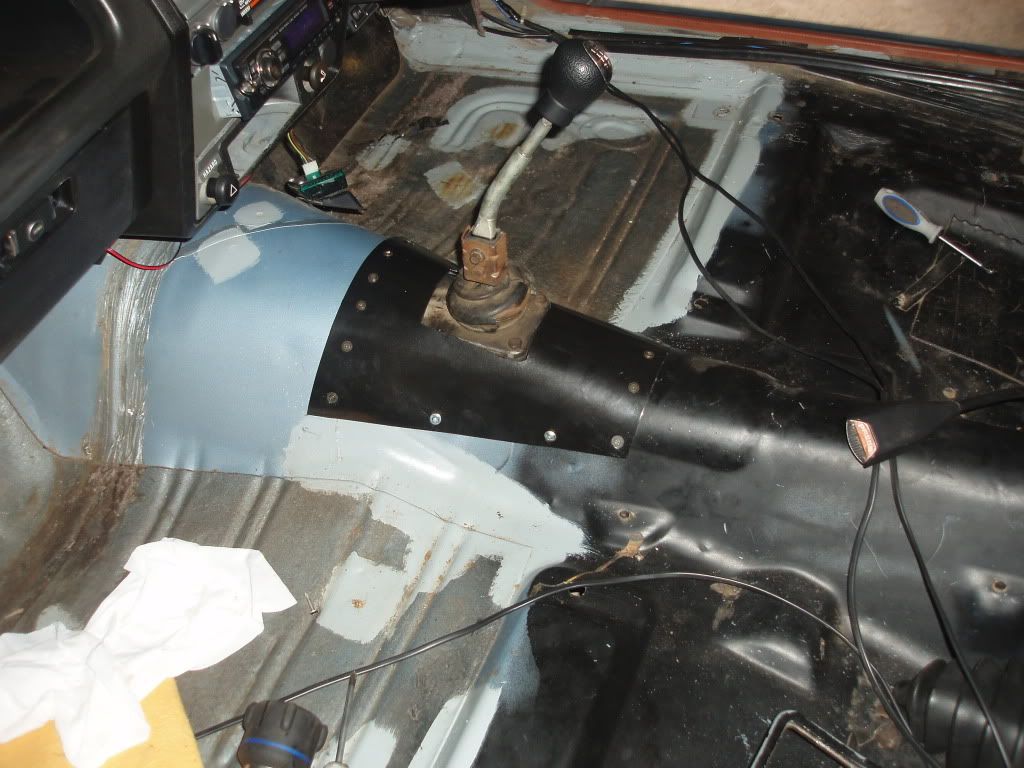 So I gave the floor another vacuum and clean, sprayed lanolin on the whole thing and just left it to dry. Started putting the carpet in, driver's side is all in place properly, passenger side still to do. 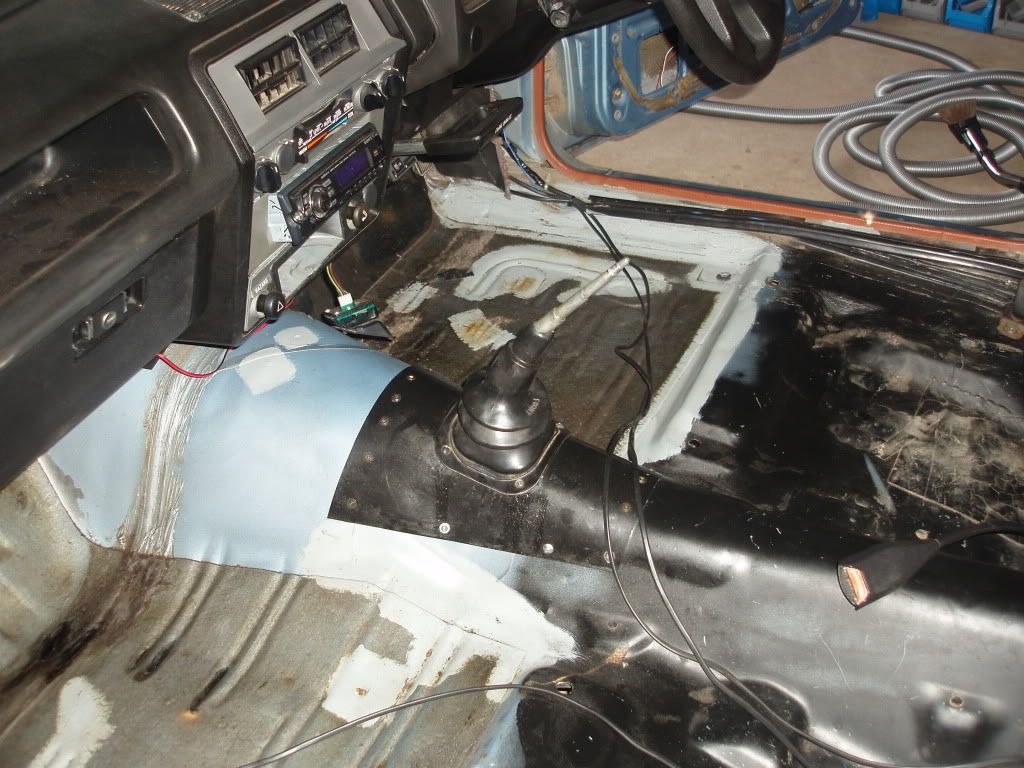 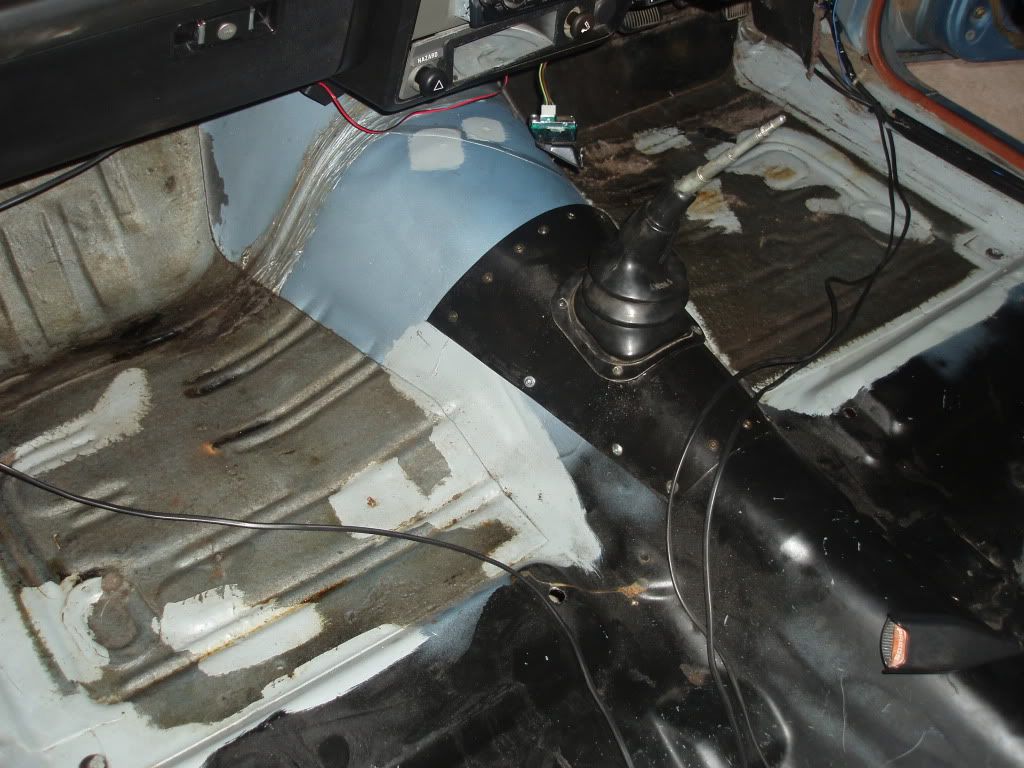 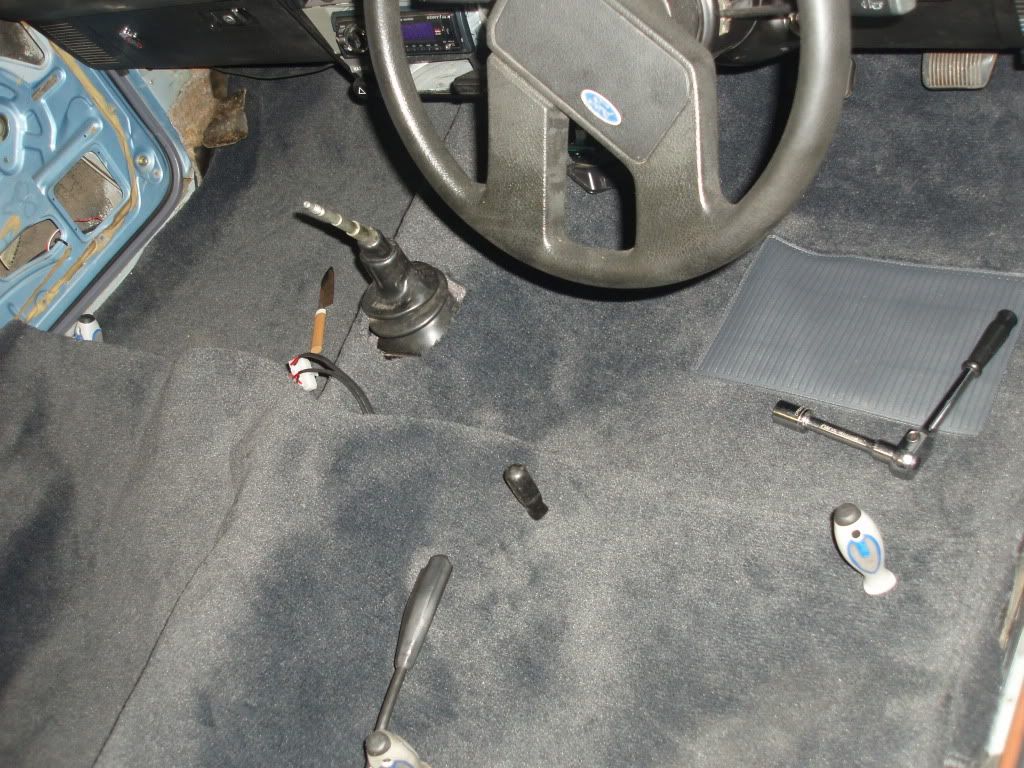 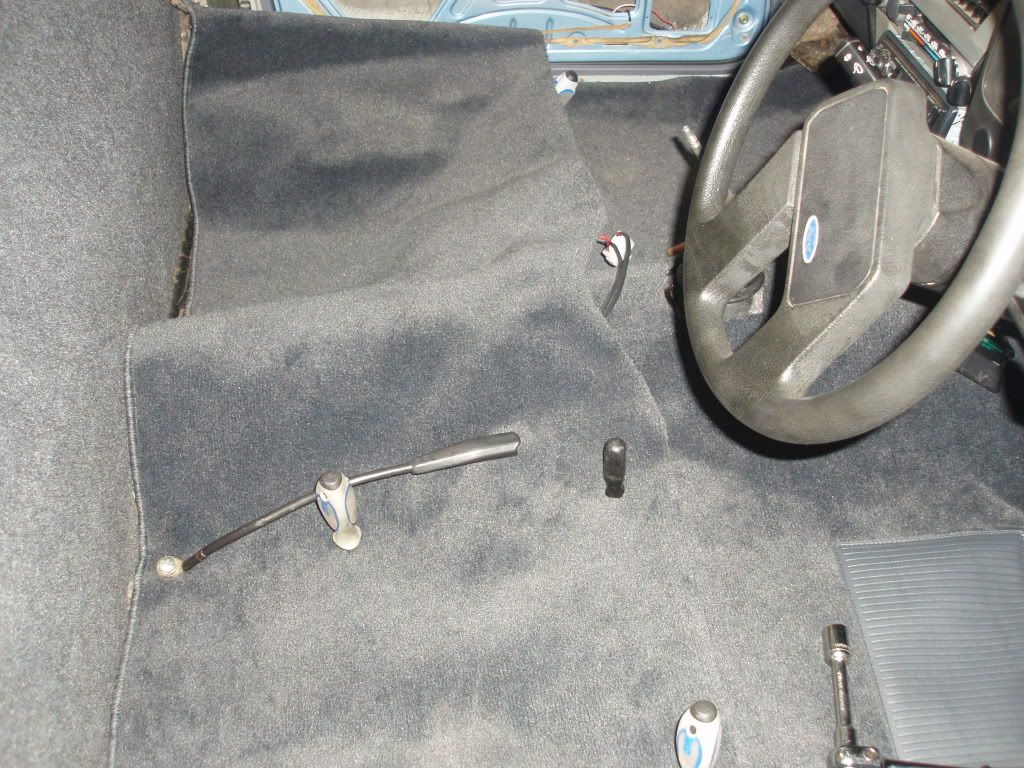 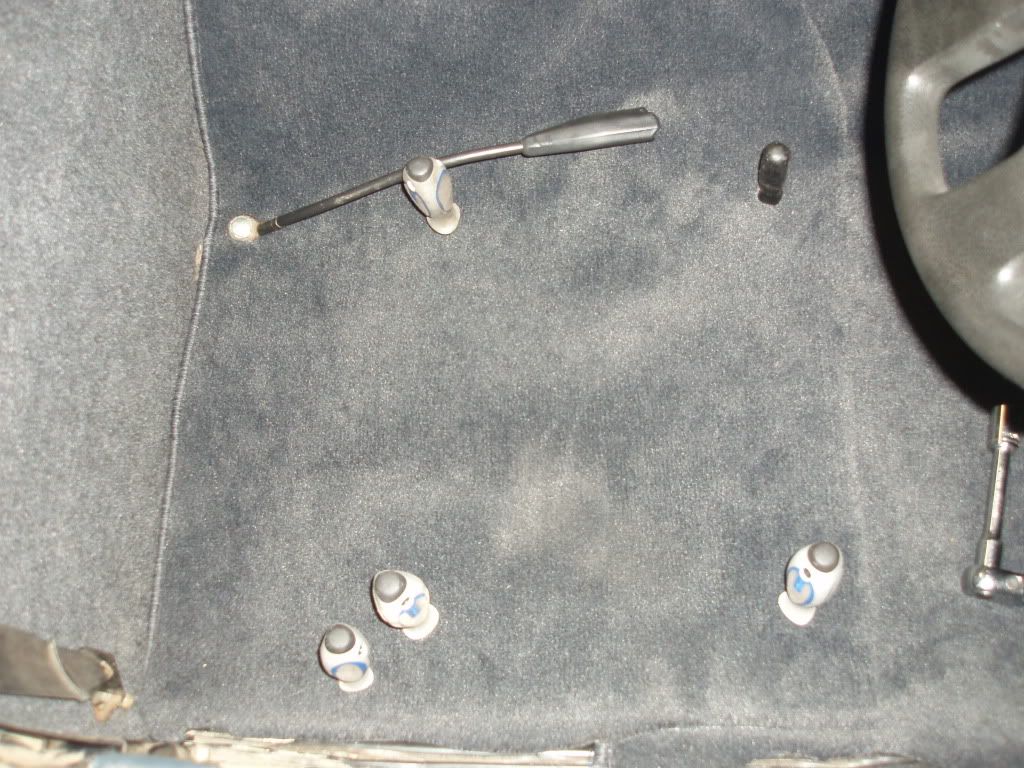 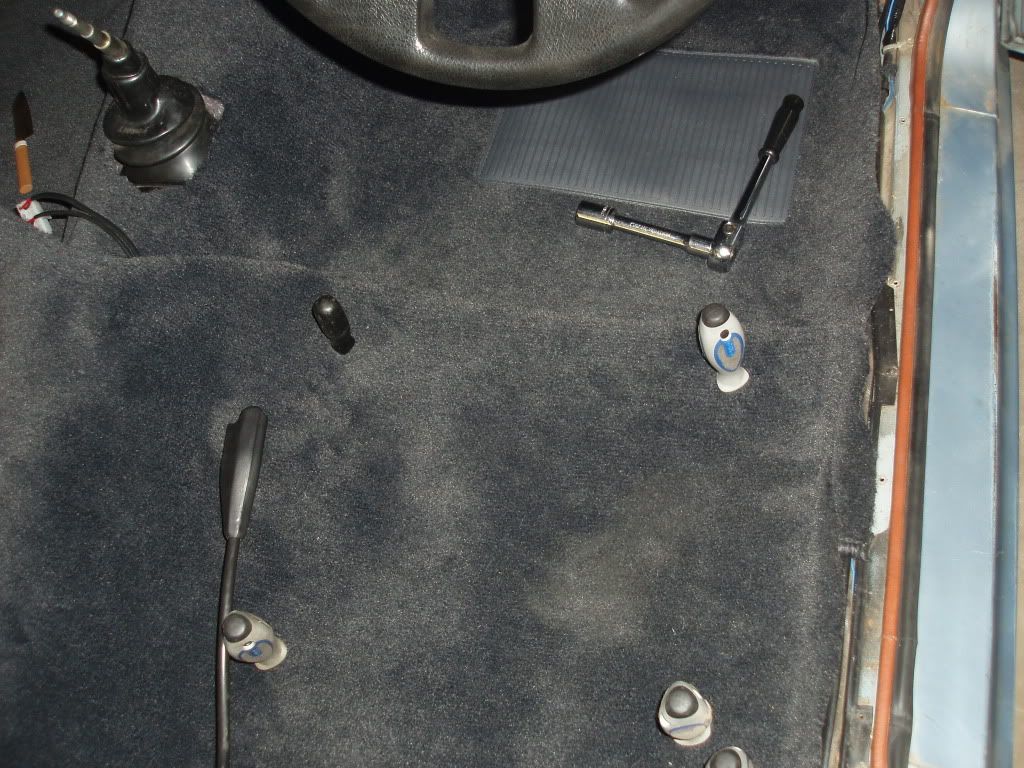
|
||
| Top | |
||
| XESP351 |
|
||
|
Carpet in place, grey seals, grey pillar trims and kick panels fitted (a lot trickier than one would think with carpet and insulation in the way) and driver's seat fitted so I can drive the thing out of the garage.
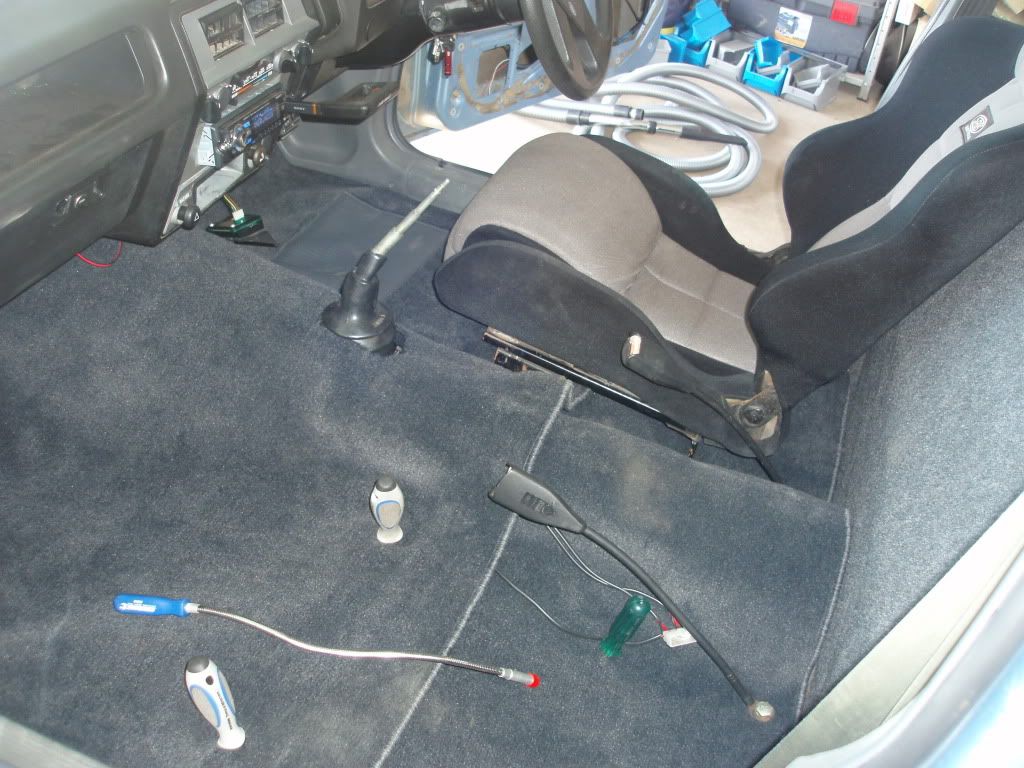 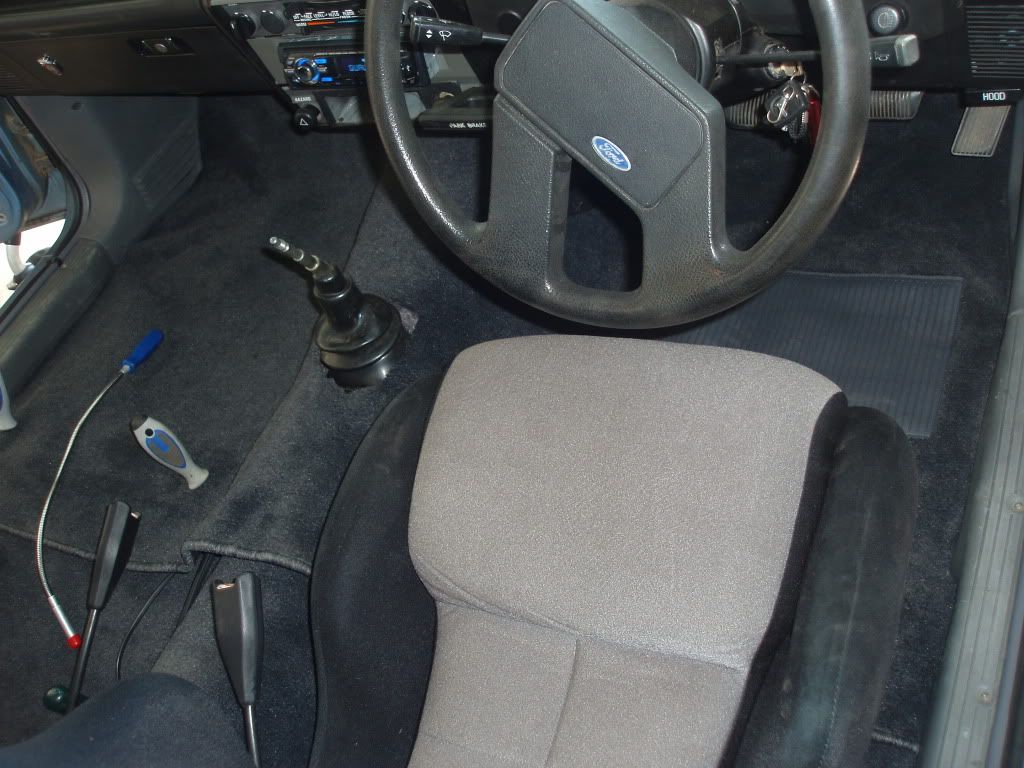 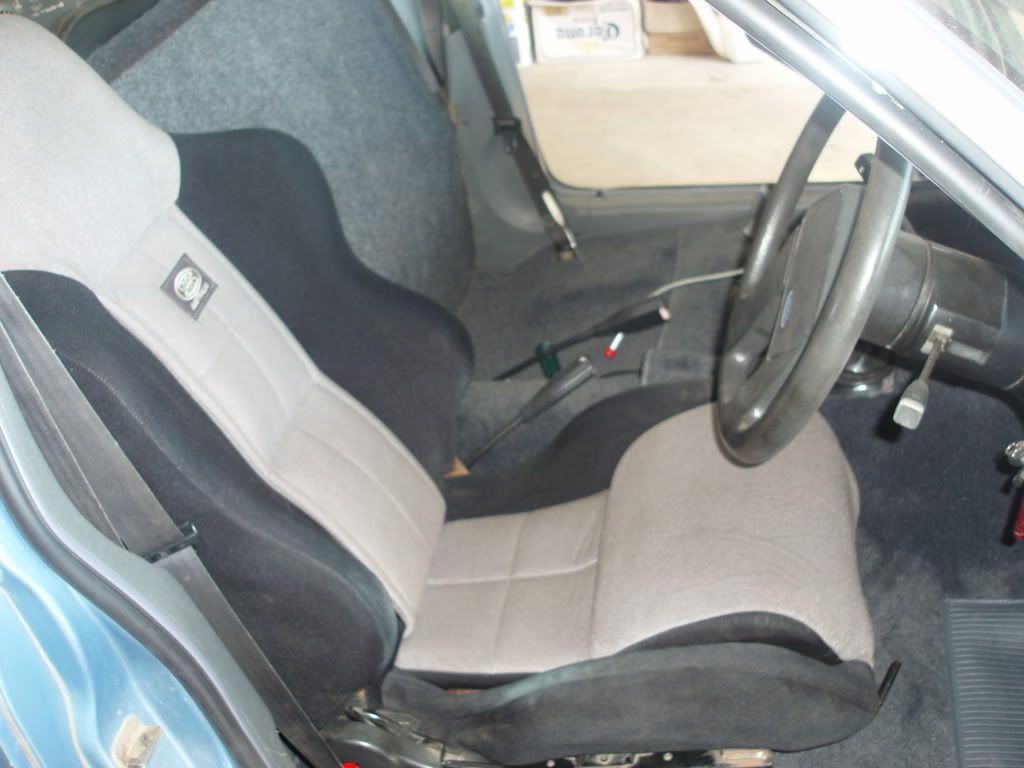 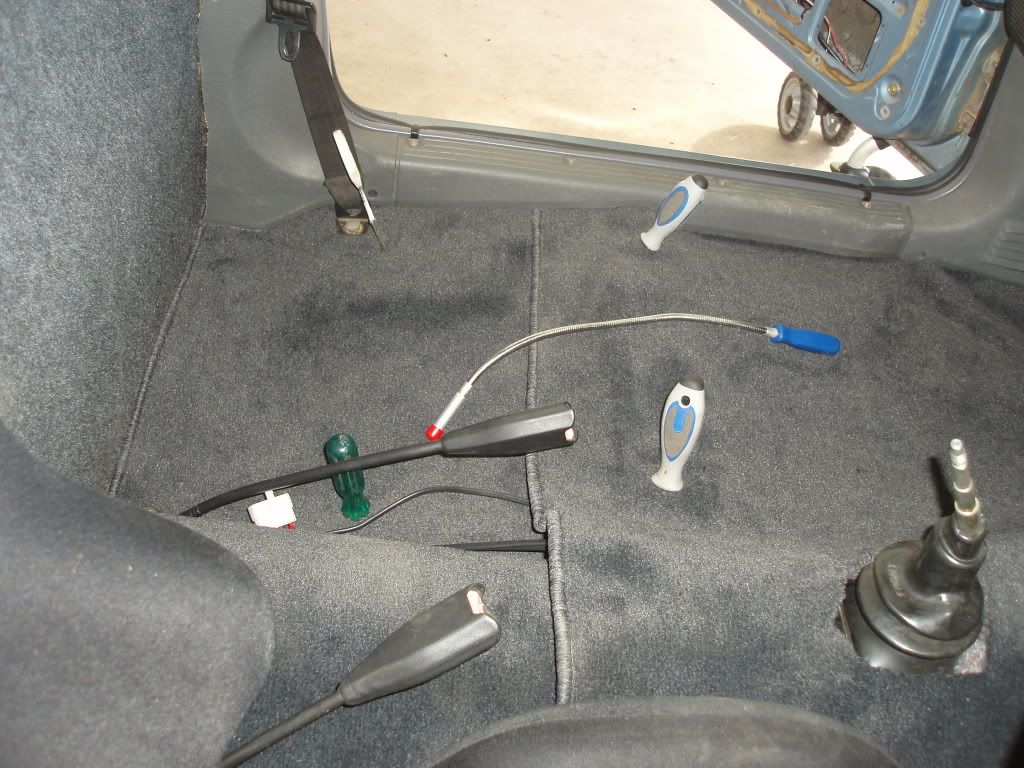 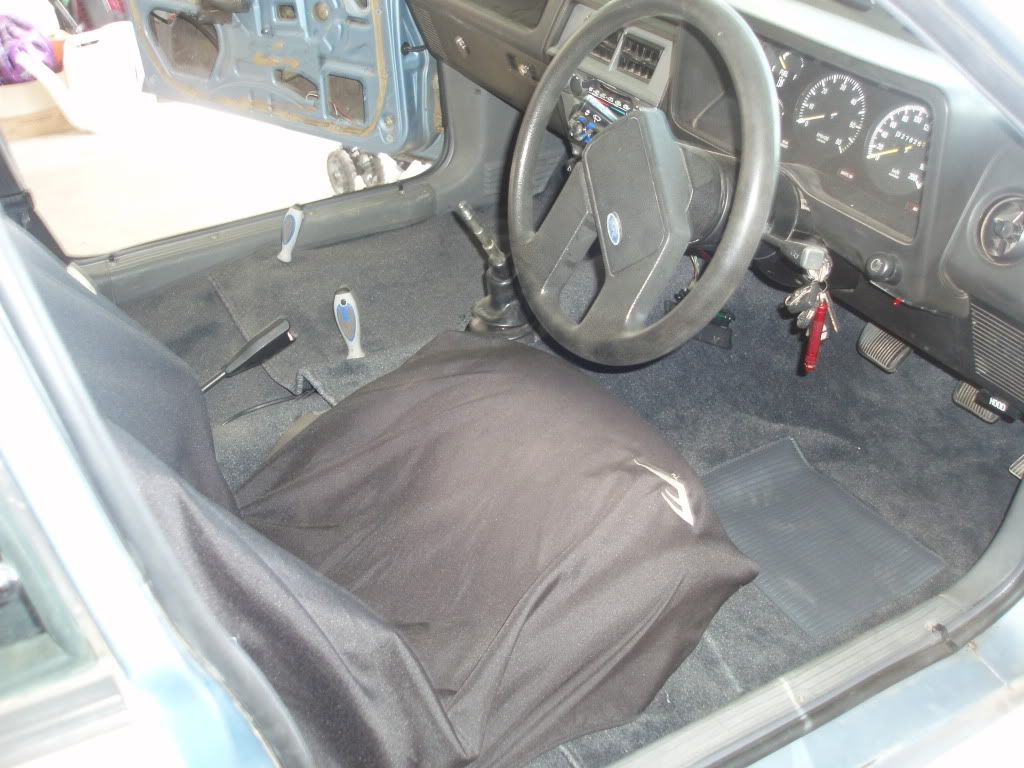 And then something different. I knew the brake pads were low but was hoping they would hold on until the brake upgrade is done considering the car doesn't get driven much, not to be. While picking up some stuff from the in laws, the brakes were grinding badly and the car was almost undriveable and getting a bit dangerous. Oh well, lucky changing the pads is easy on those things, a set of RDA extremes and she's braking awesome again, it surprised me how well that car braked compared to my ESP (Girlock calipers versus PBRs in the ESP, I guess the weight of a big V8 at the front of the ESP doesn't help its cause either). |
||
| Top | |
||
| XESP351 |
|
||
|
I then started cleaning up the messy wiring under the dash and behind the stereo, I ran new wiring to the factory dash speakers, soldered wires together instead of the thousand dodgy connectors which were coming apart and making speakers come in and out as the car goes over bumps.
The head unit now went into the dash further than what it used to after cleaning up the wiring behind it but still doesn't quite go in all the way as it hits the dash from behind, still I don't think it looks that bad and was pretty happy with it. I put in the ESP clock and fascia, cut up the console so it's ready for the refurbished electric window bracket and fascia when it arrives, and then finally fitted the console (complete with functioning lighter after being wired up), and lastly I put in the passenger seat, some pics: Looks just like my ESP (except for the gear knob): 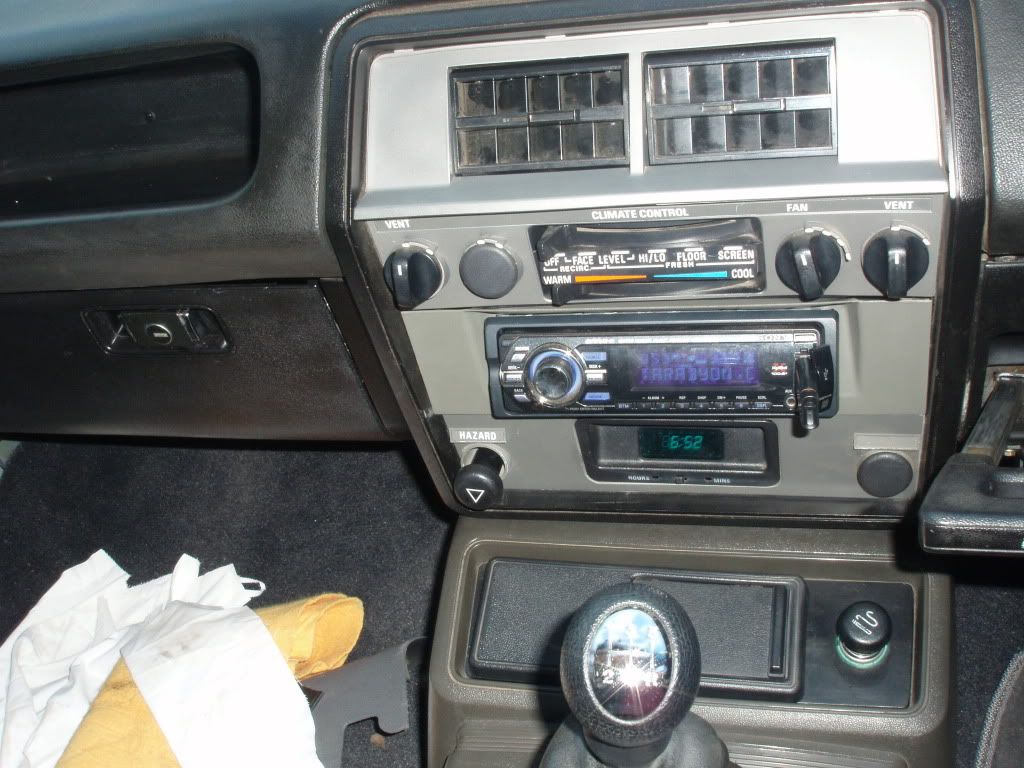 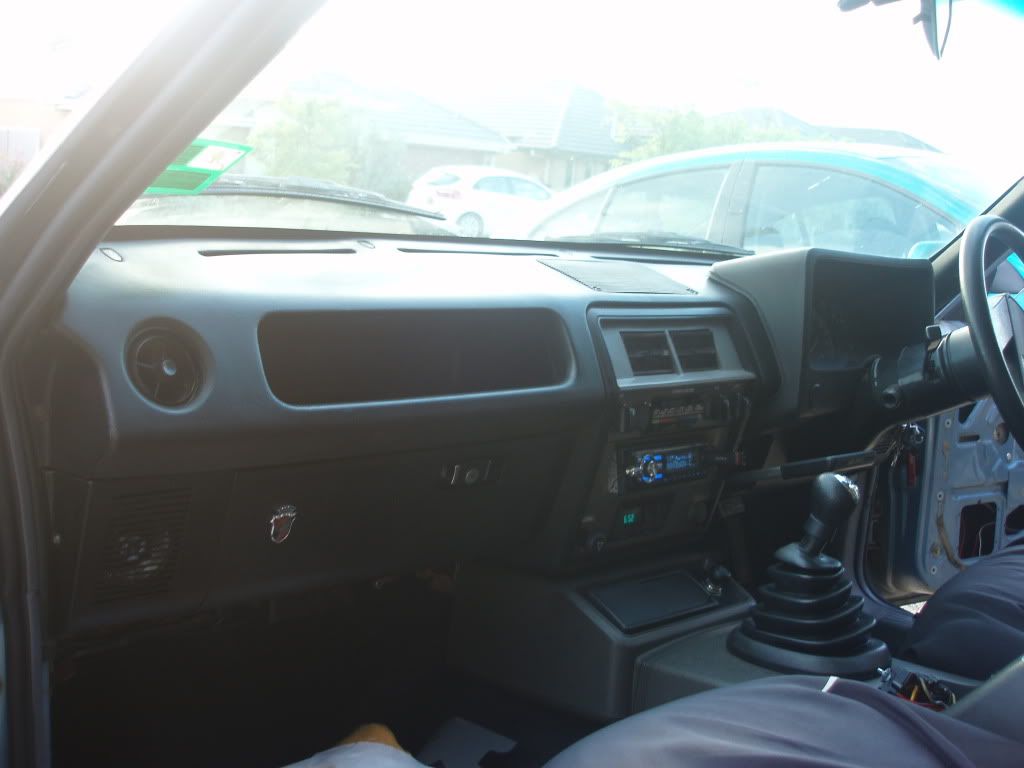 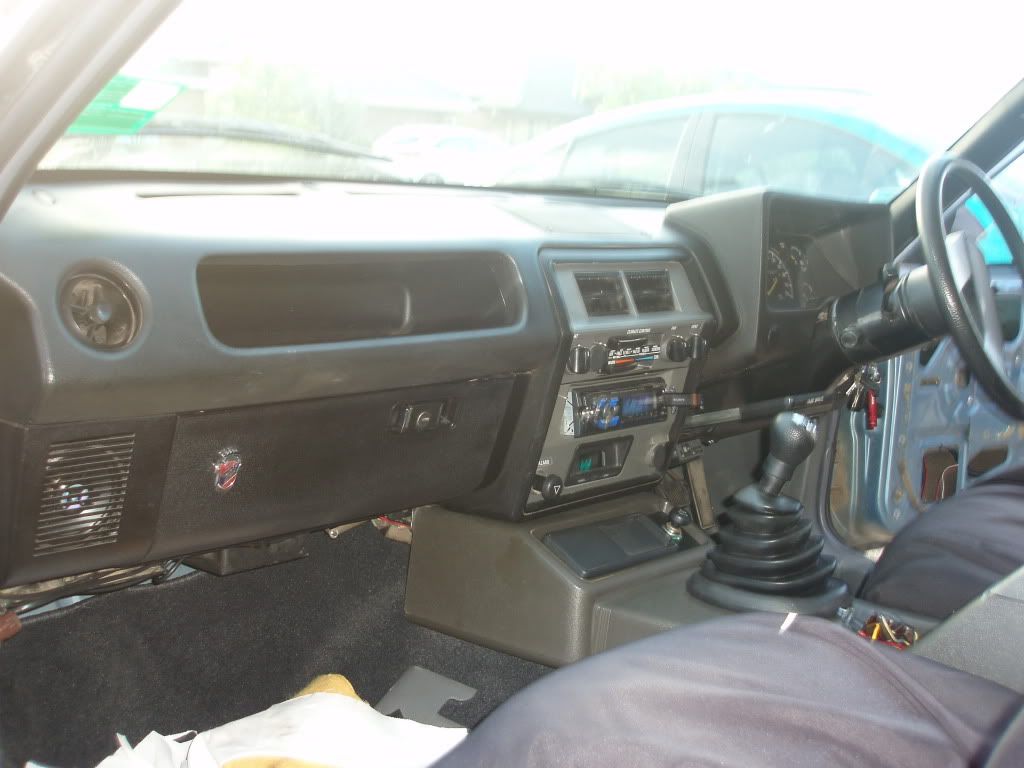 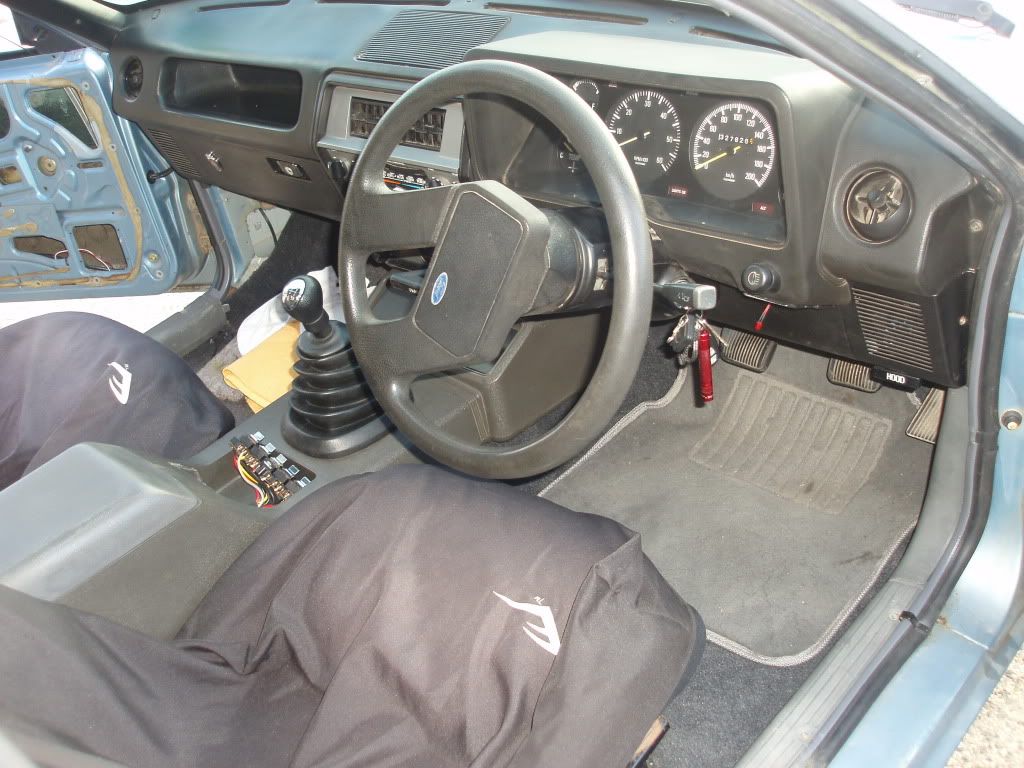 ESP/Ghia interior light 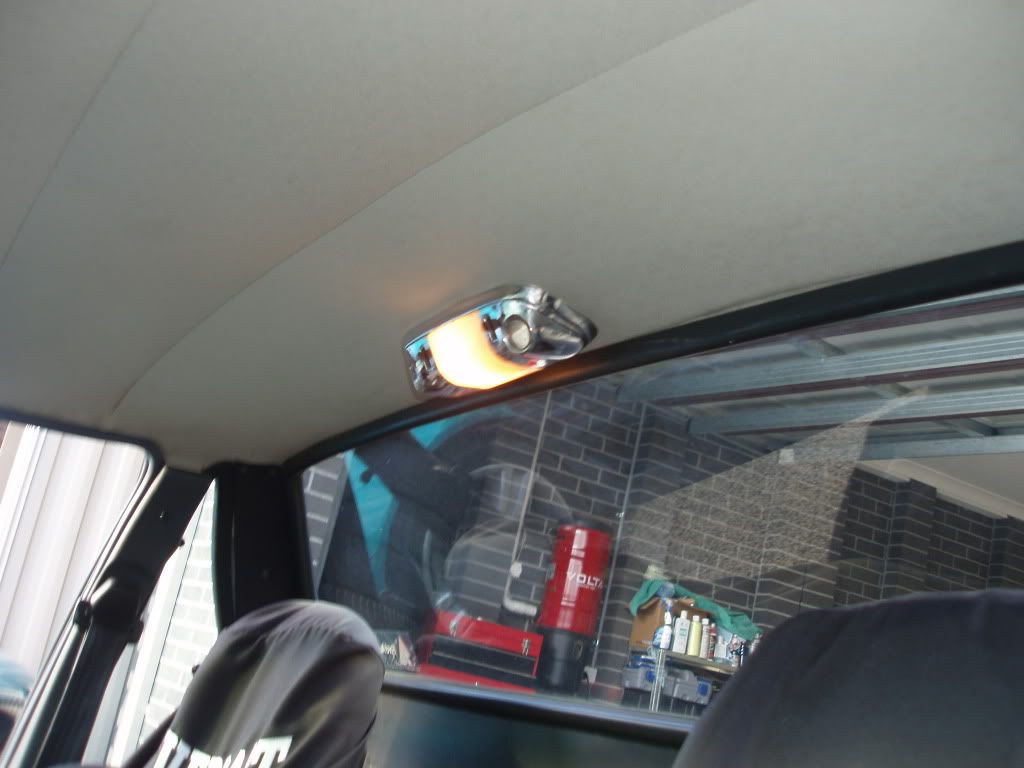 So all that was left was to put on the ESP door trims and speakers and the electric window fascia, when that's done I'would take off the seat covers and take photos of the whole completed interior. |
||
| Top | |
||
| XESP351 |
|
||
|
So the driver's door was done, there was a few hiccups like a blown tweeter and some wiring had to be rearranged and soldered inside the door for neatness, but was all done. Looks great, really happy with it.
Progress shots: Bolts are gone and factory rivets now hold the regulator to the door 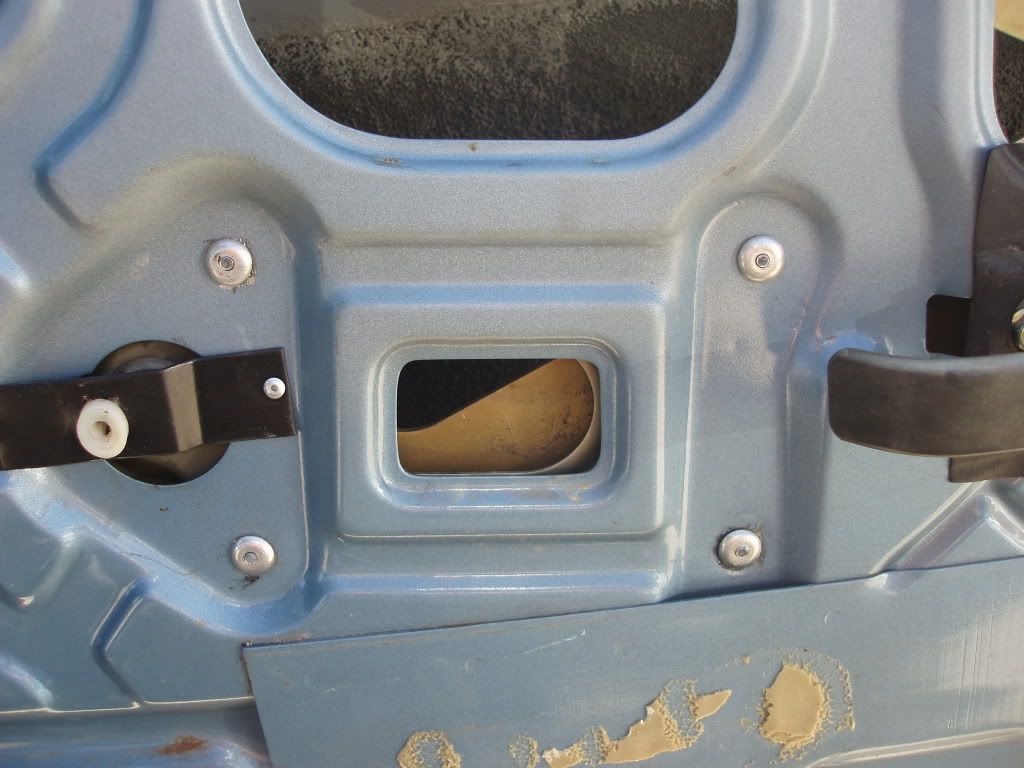 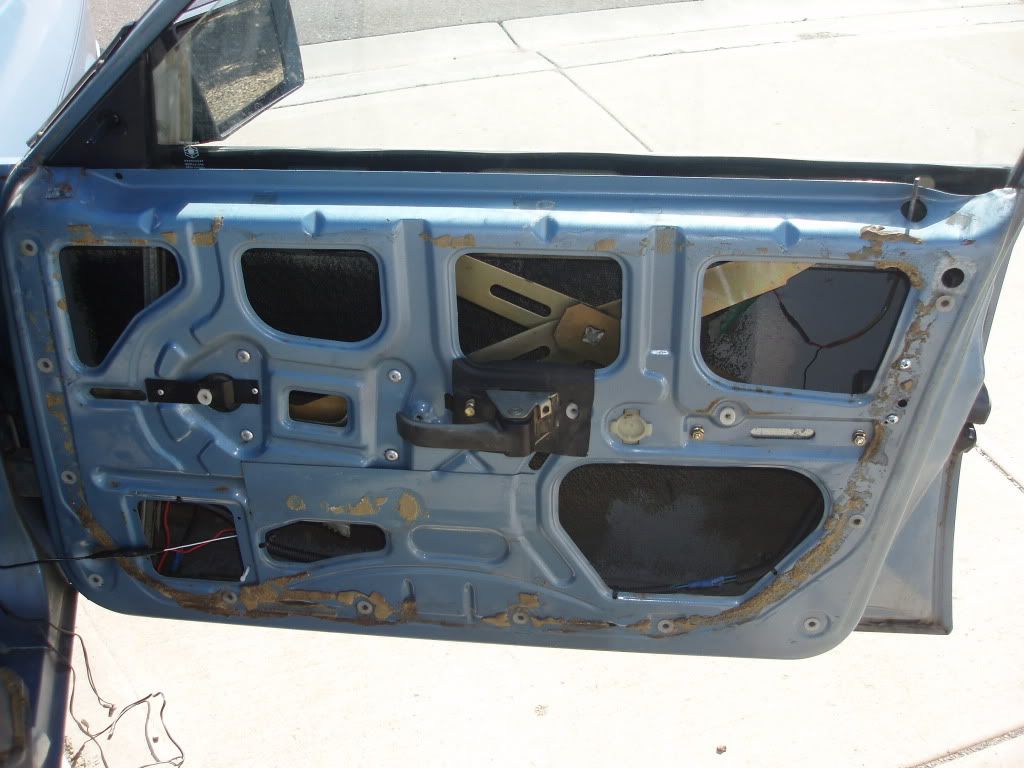 Door trim (with pod) and armrest fitted 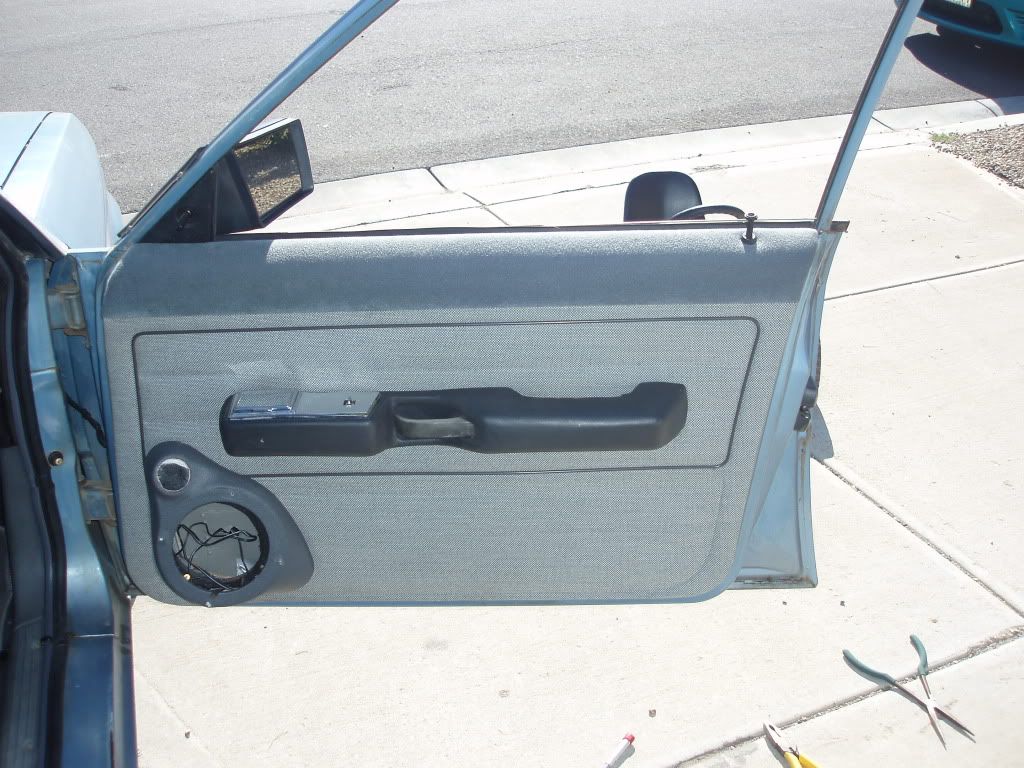 Speakers in and door finished.. 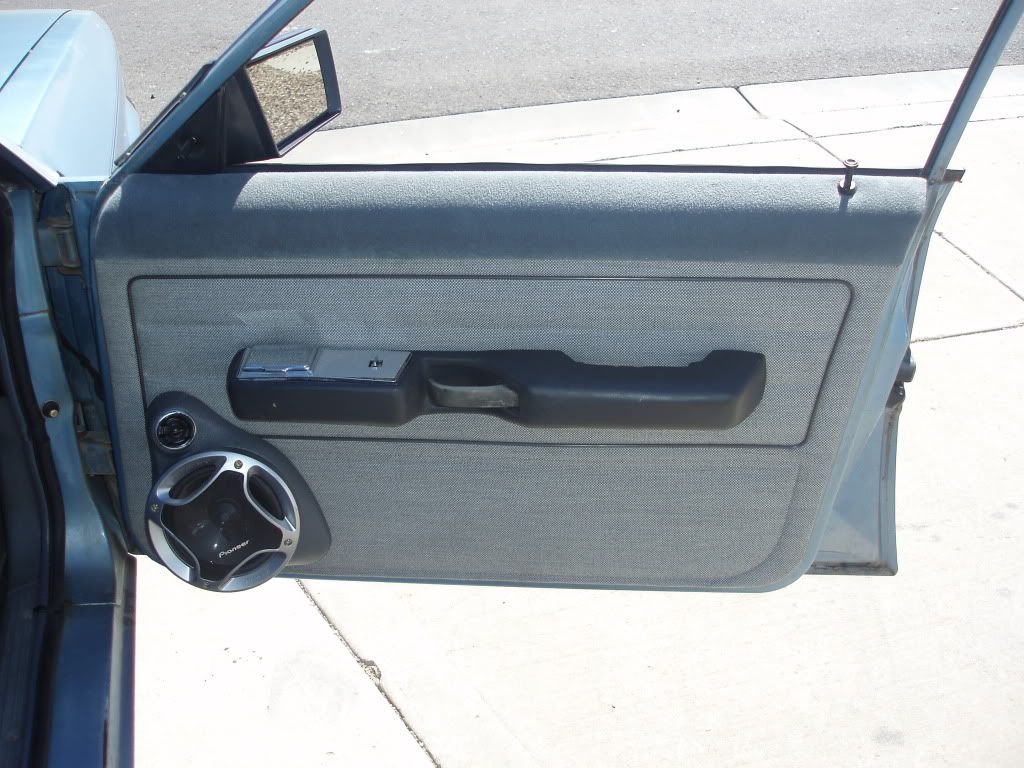 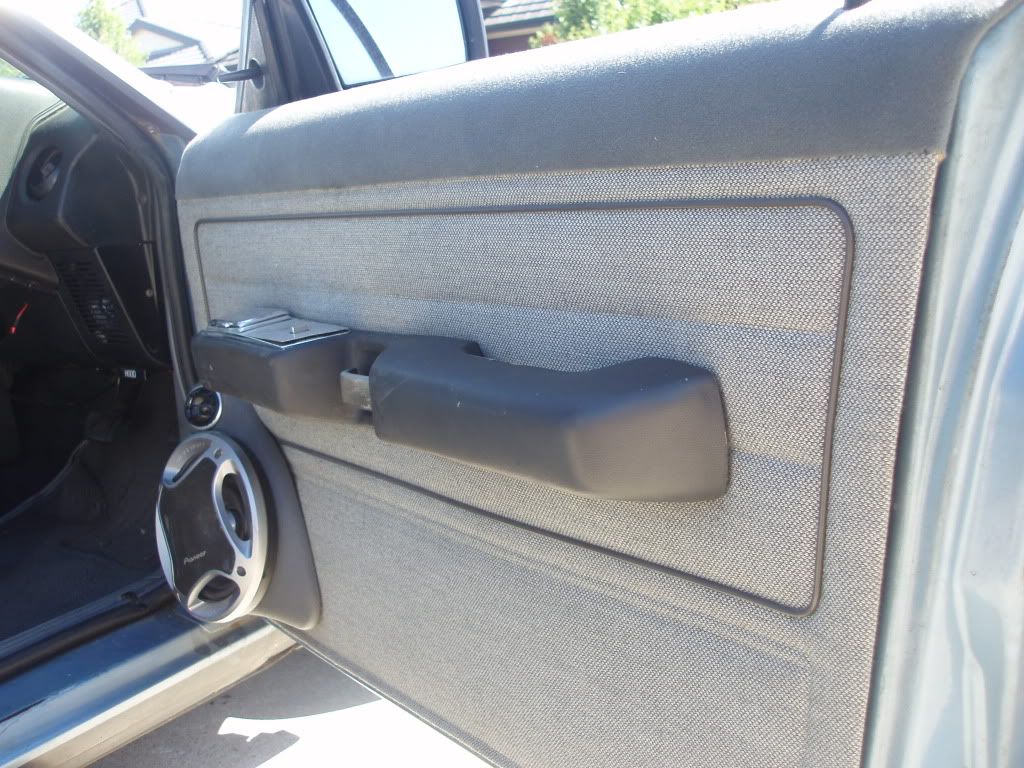 The passenger door will be a bit trickier as I'm not happy with the window regulator so I have to take that out and fix it or replace it first then give it the same wiring treatment as the driver's door. Really need to hurry up and finish this interior as I need to do some work on the house for a change now that the weather is getting better. Last edited by XESP351 on Tue Aug 26, 2014 9:51 pm, edited 2 times in total. |
||
| Top | |
||
| XESP351 |
|
||
|
A bloke on another forum suggested to use ATF to bring up the interior door handles, so i tried it with amazing results.
Driver's before: 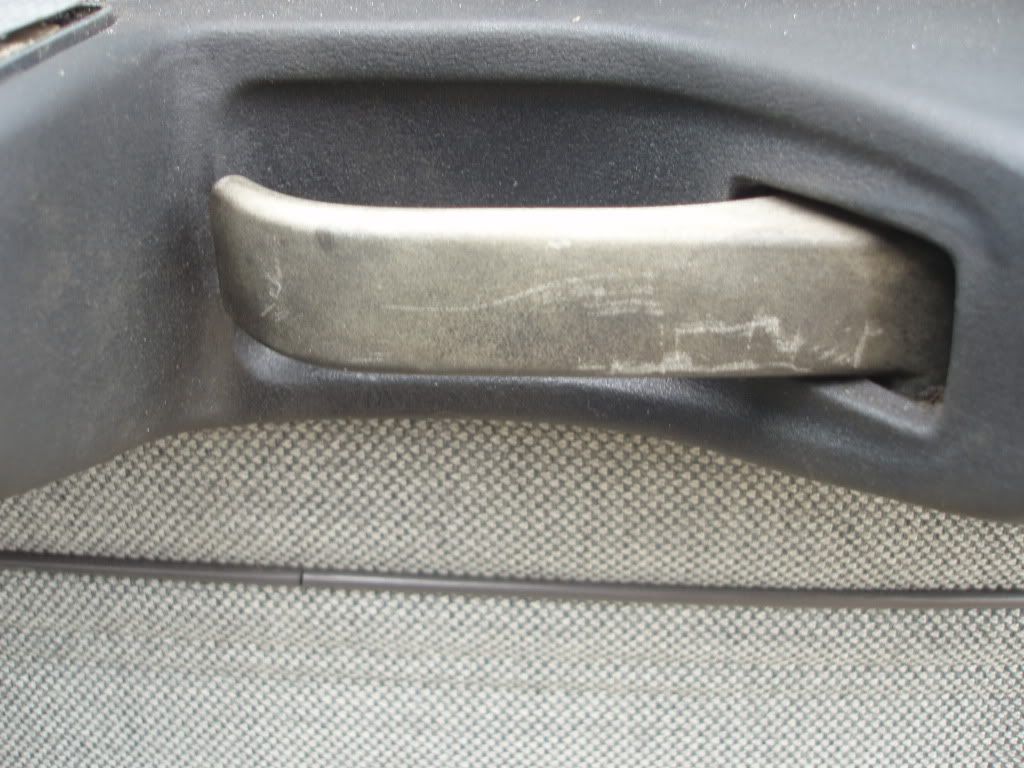 Driver's after: 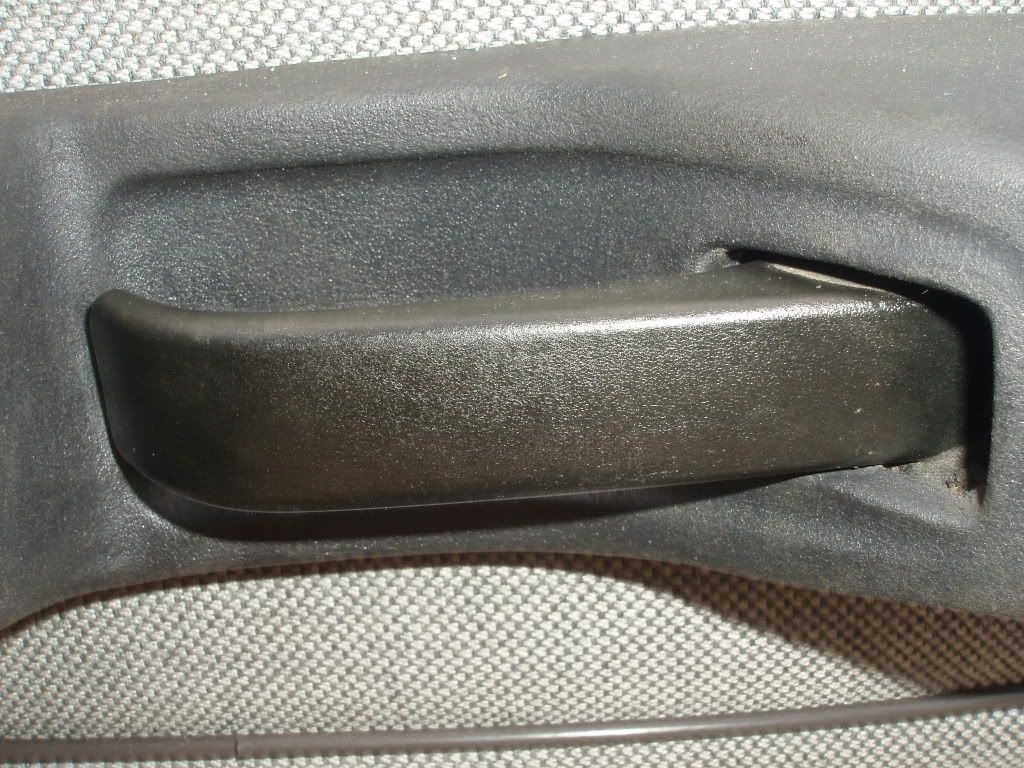 Passenger before: 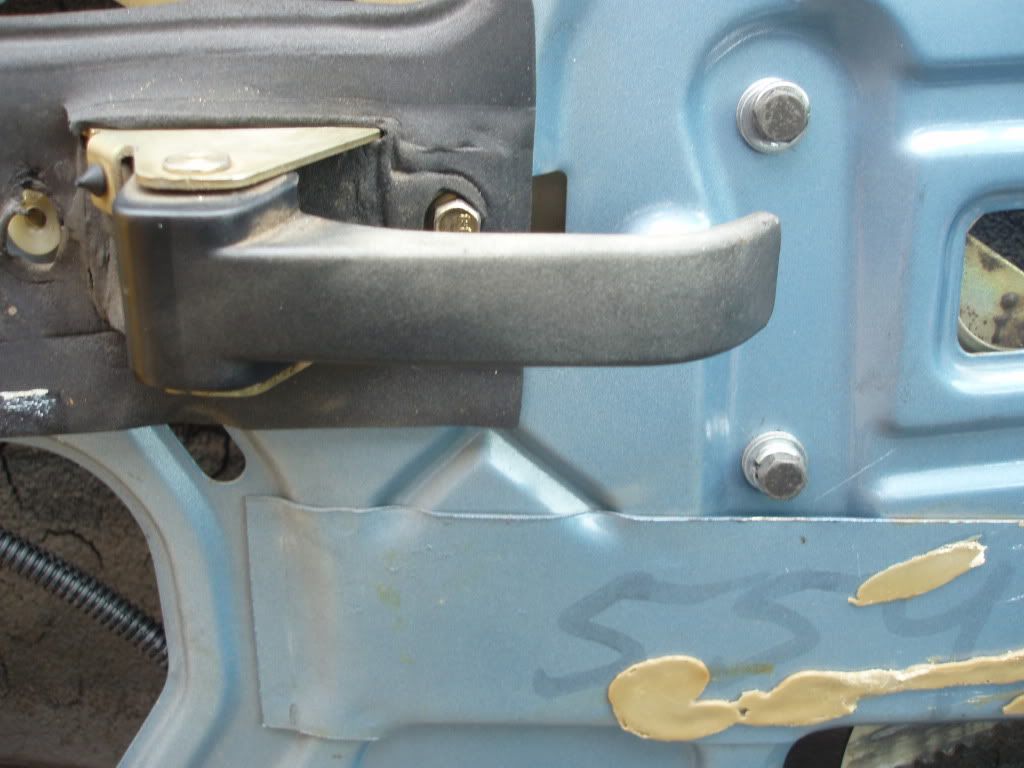 Passenger after: 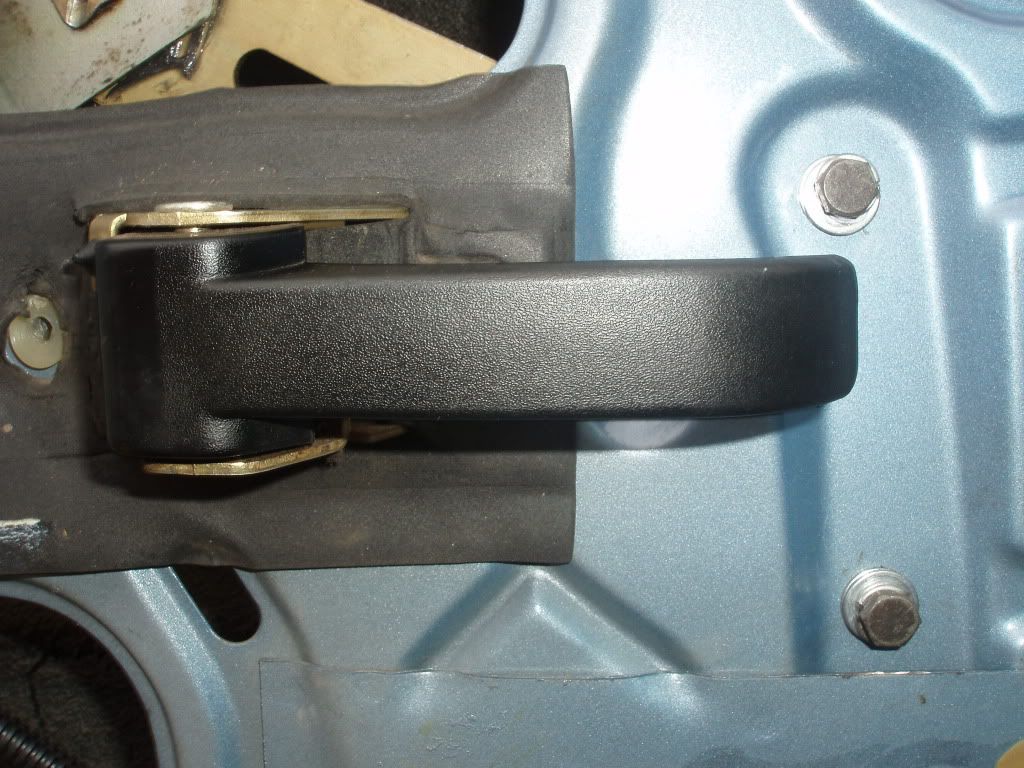 I would never have thought of PS fluid to clean that with and best of all it took less than five minutes. Hopefully good tip for someone. |
||
| Top | |
||
| Who is online |
|---|
Users browsing this forum: No registered users and 192 guests |